Asked — Edited

Stream-Lining Dewy

Hey everyone. I'm currently in a pickle. confused

I'm currently trying to find a way I can smooth out Dewy's body at edges and so on.

Video:

Paint scheme: User-inserted image

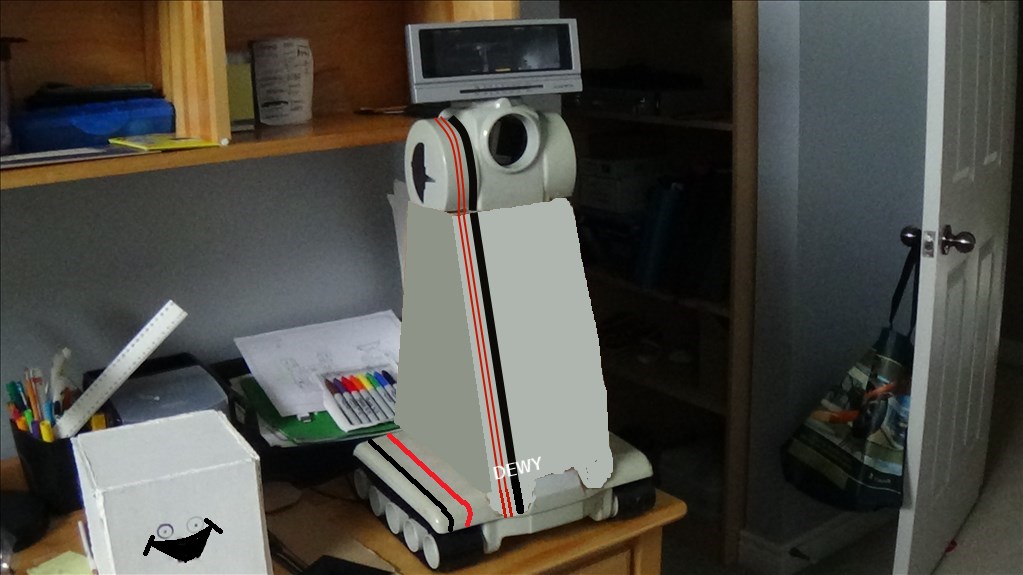
Any ideas are welcome.

Thanks, Tech


ARC Pro

Upgrade to ARC Pro

Stay on the cutting edge of robotics with ARC Pro, guaranteeing that your robot is always ahead of the game.

#1  

Part of the challenge is you have different media - you have plastic, cardboard and hot glue (I think). If you had plastic to plastic you could use a plastic epoxy.

I would probably lean towards a skin - total covering of the cardboard media.

> Aluminum sheet metal the sort that is rolled for roofing (like for flashing) can be cut with tin snips (gets snips for straight and angle cuts). The tricky part is making it lay flat since it comes rolled up. You might also find precut pieces of thicker aluminum plate that can still be cut with tin snips at your local hardware store.

> Plexiglas covering. It might cost more for larger pieced and again it is not easy to cut and score.

> Along those lines, skin only the front or/and back with Aluminum or Plexiglas.

> Package wrapping (the brown thick paper you can wrap boxes in) you can get this at some stores like office supply stores would for sure have this. The idea would be to wrap the entire cardboard like wrapping a gift and you could tuck all the pieces inside the inner body. But it looks like body is sealed up and you have it glued in place to the tracks and upper body already, so that may not work.

> Use a paint scheme to highlight the rough spots...like it's an old beat up robot.

> A much more complicated method that I do not recommend as it would require a lot of time and patience is to fiberglass the whole thing. I've done a couple of small fiberglass projects and it's not fun. But you could cover the cardboard in it, layer by layer. Then use bondo to smooth it out. And after lots of sanding you'd have a very strong and smooth body for your robot.

> Chuck the cardboard and find a plastic trashcan that fits the body needs.

#2  

I like the brown paper skinning idea but I have to spray paint it, so it might not work.

The trash can might be better, but I'm not sure how I'll explain the amount of wasted glue to my parents. ;)

Thanks Justin.

I'm still open to other ideas though, just in case someone happens to have gone through the same ordeal.

United Kingdom
#3  

Fibreglass the whole thing would provide the best outcome however fibreglass work is messy, smelly and can involve a lot of sanding down therefore insane amounts of dust.

"Bondo" is easier to smooth out however may crack while curing.

PVA glue and scrap paper can produce pretty neat finishes. A combination of that plus bondo/fibreglass once dried may be a compromise.

There are other products out there too which could help. "Smooth On" could be painted on to do exactly what it's name suggests.

#4  

Oh, ok @Techno....I thought you were older, it sounds like you are younger though. Probably half those ideas I suggested (like the fiberglass) are bad ideas for a younger person. Here is my revised advice.

> See if you can get some of package wrapping paper (it should be as paintable as card board. Then get some test cardboard boxes (small scale) and wrap it like you would your robot. If you like it, then cool. If you don't like it, lesson learned and your family can use the package wrapping on something else.

> Consider just skinning the front of the robot, that might improve the appearance.

> If you go with the trash can, I'd tell my parents (if I had to answer to them) "The glue idea did not achieve the effect I was hoping for. While this is a set back and a waste of glue I have learned an important design lesson which is tremendously more valuable for me then the original cost of glue. If you could see your way to purchase me a trash can I will be well on my way to learning many more valuable lessons." (don't forget to smile really big at the end) - that always worked for me.

Or leave it the way it is. It doesn't look that bad to me and a good coat of paint will probably do wonders.

#5  

I think I'm going to redesign the body anyways, cause it appears by aligning skills are bad.

Let's put it this way. When the base is straight, the top of the body is off by 5-15 degrees. So, looks like I'm redoing the body. I'll look for garbage cans but if not I'll take special care in using cardboard.

One idea I got a little while ago, was to put clay into the holes and crevices and then seal/glue them in.

#6  

And as a note, I am thought of as older, for many reasons.

#7  

@technopro , if you have access to a fabric store then you will have easy options for fiberglassing. Using a stretchy polyester you can tack it in place on one end with glue then stretch it accross the void and glue to the other side. Then mix up about 4 ounces of resin . You can use many kinds of resin. The easiest to work with , cures in 5 minutes and very little odors is alumilite plastic resins. You can buy about 16 ounces for 20 dollars from hobbylobby craft store. I like using indoor friendly materials so i dont piss off women in my life or the neighbors.

If you want to go this route i can walk you through step by step easily.

#8  

Here is sort of a work in progross pic doing the method i was suggesting on my cars dash to mold in a 6.25 inch center channel speaker and tweeter. The pink is bondo on top of the resin.

User-inserted image before

User-inserted image

during

User-inserted image

After

#9  

Here's what I've done.

I layered clay along the rough edges and areas to give a smoother surface. Then I spread hot glue over the surface of the clay to give a paintable surface(yes, you can spray paint hot glue...).

Pictures:

User-inserted image

User-inserted image

User-inserted image

User-inserted image

User-inserted image

All sorted out.

Tip: If you put an ice cube on freshly poured hot glue you can quickly spread it while it quickly cools. Soldering irons work well for spreading hot glue.

Thanks for the help guys!

#10  

Very interesting. I can't wait to see how it looks with a coat of paint.

#12  

here's a cool idea: when you paint, you can do a base coat of black, and then clear coat it. Then you can use plasti dip and make painting easier/cheaper. I use it on my car rims alot.