
Perses
USA
Asked
— Edited
Using Newbright Chasis For Ez-Robot Locomotion
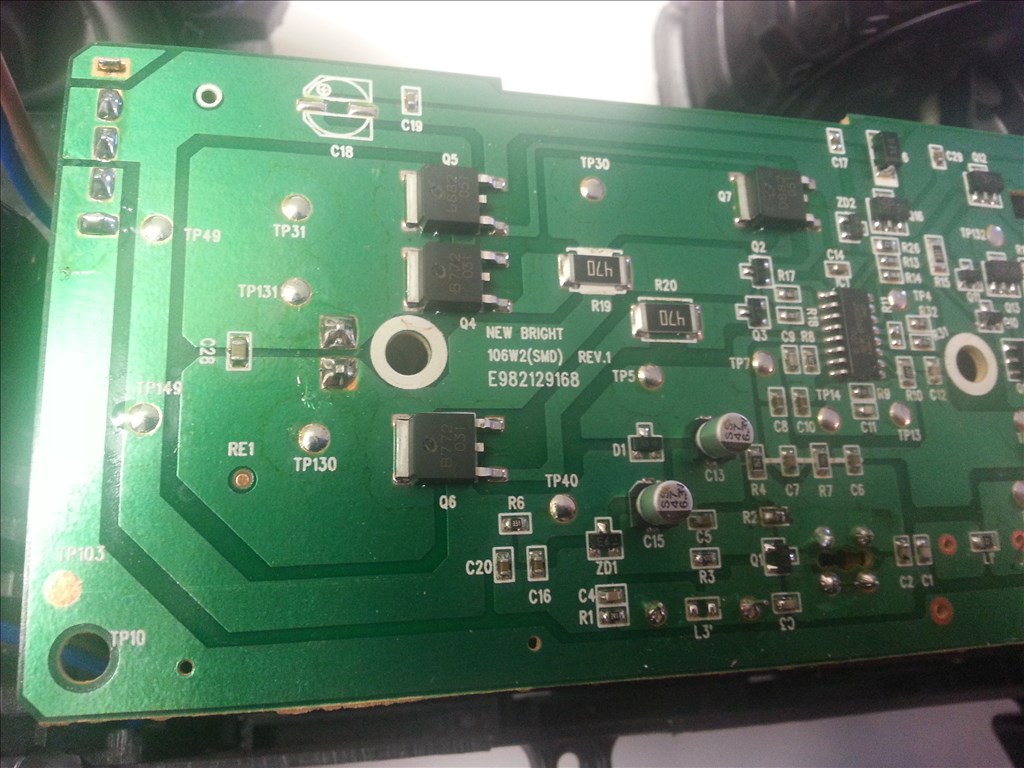
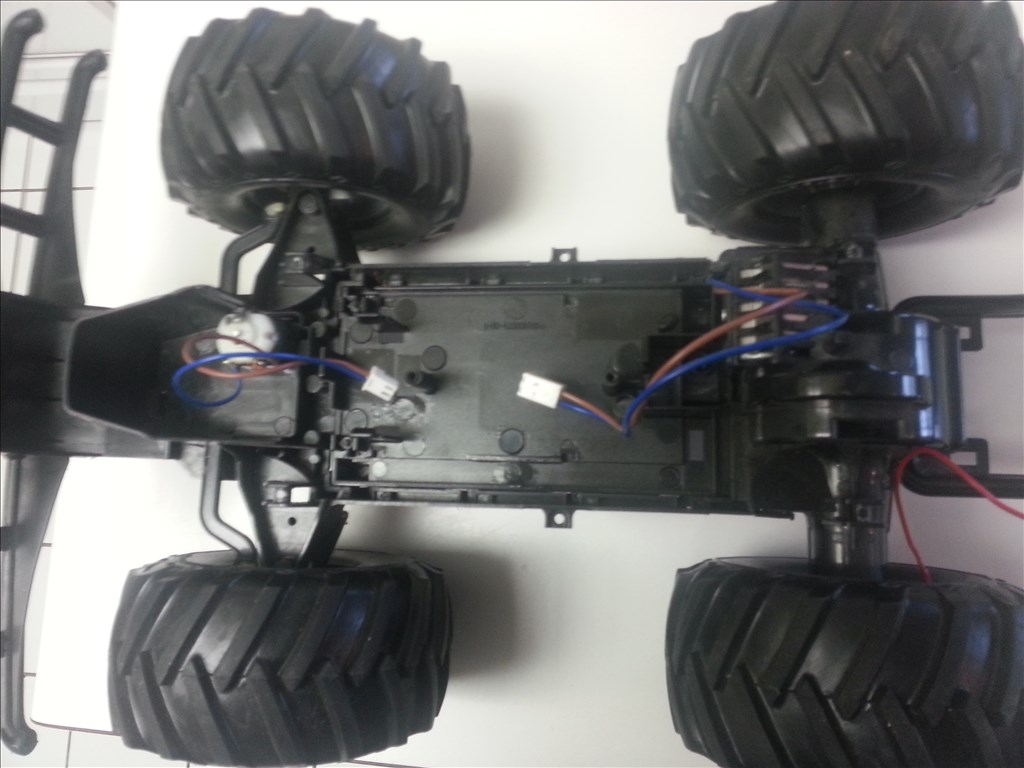
I got a couple of newbright 12.5" monster trucks "raminator" Was looking to plug the chasis into the ez-b. So i opened it up, its got a board with two connections and holds one battery 9-6v. Connects one to driveshaft and gears & motor, and one to steering servo. The antenna is also wired to the board
So, im looking for some pointers before i break it
Also, i was thinking about just removing the board, and just using the servo and motor, but then i cannot use the battery, so i was hoping that theres a way to control the board through the antenna wire instead?

If you are planing to use and EZB instead of the wireless control , it is feasible by disconnecting the control boards and directly connect to motor to hbridge+EZB board . Looking at the document ( link below) . It is simple connection to the existing wires and battery.
In theory should be easy work .
Raminator manual
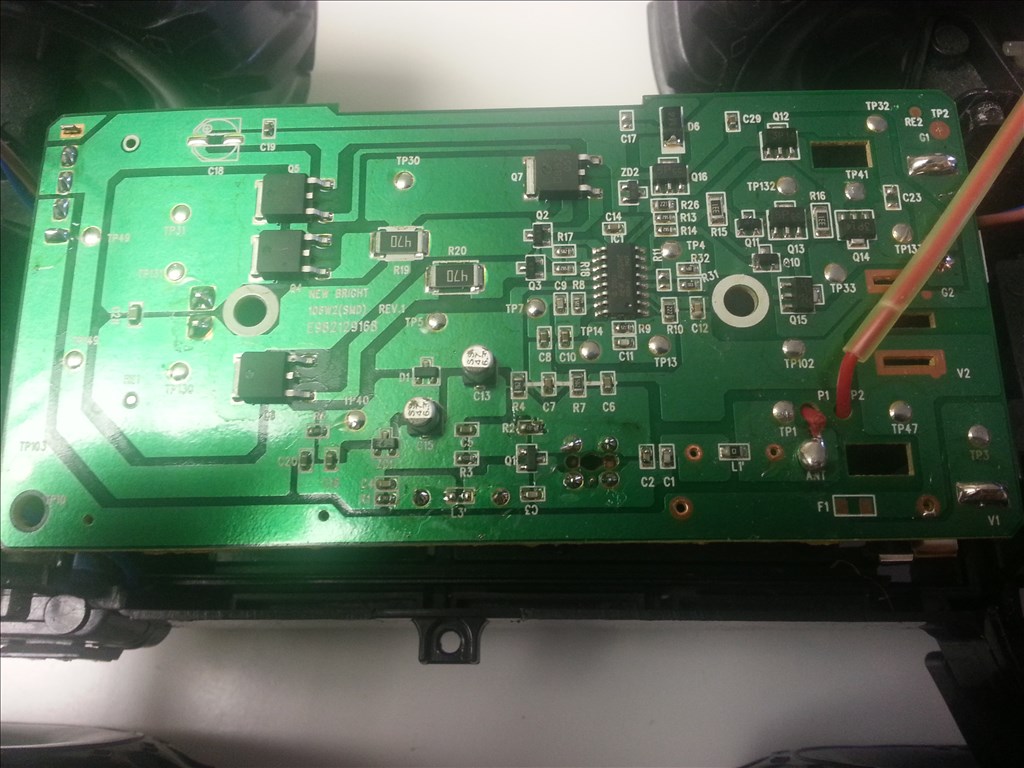
Updated After you posted the new pic it looks different model than the one I found. I am not sure but should have same principle .
The manual and pics are here.https://www.newbright.com/public/manuals
Under raminator 12.5"
Yes, I have seen the documents but no technical details or drawings. In principal , you have only one motor and one servo to control. Should not be an issue with EZB . Later on you may add other sensors to make it more fun.
I seen theres ways to control wowwee robots via antenna
Was hoping some one figured this out with simpler rc toys
The Wowwee robot control is not through an antenna, what happens is the EZ-B replicates the IR signals and sends those signals to where the IR receiver was. The robot doesn't know the difference and just works as though the signal received was from the IR receiver. It's different to how an RC car works.
Replace the guts of the car for an EZ-B, a H-Bridge for the motors and reuse (or replace) the servo for steering.
So is it possible to replace antenna signals with wired ones?
Perhaps i can use this?
https://robomatter.com/Shop-By-Robot/VEX-Robots/Hardware/Electronics/VEX-Motor-Controller-29
It seems that i cannot understand your main objective. What are you looking for exactly ? Using the truck chassis to hold EZB and to upgrade for more functionalities ? Additional Sensors ? Reaching Autonomous operation ? If this is the case , you have to forget about the existing board and the RC remote controller. As per @Rich suggestions , you can upgrade the servos , use the BT communication with the EZB and enjoy scripting. Else Do not hesitate to provide more details and clarifications to be able to help you reaching your objective.