TinkerSato
Target Overlay Misaligns After Flip
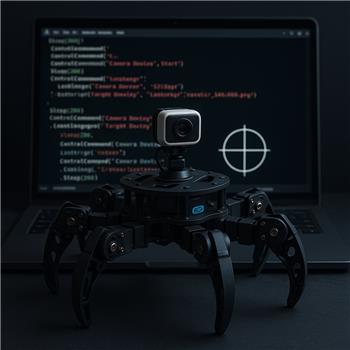
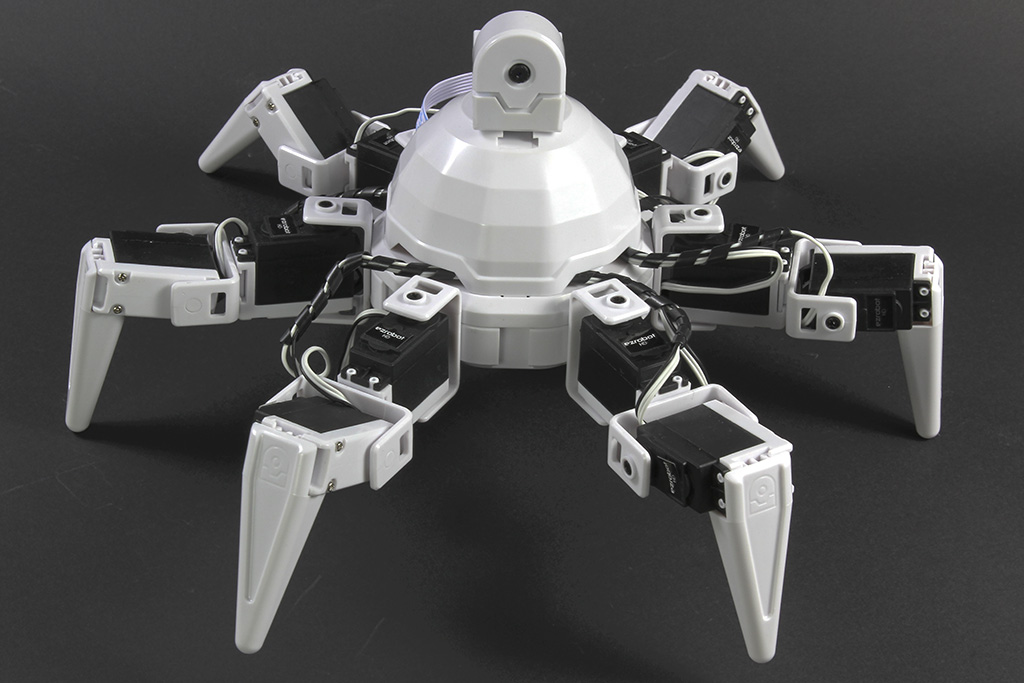
Running a Six Hexapod (EZ-Robot) with the EZ-B Wi-Fi camera mounted upside down under the top plate, connected over Wi-Fi to ARC on Windows. I’m using Camera Device at 640x480 and added the Target Overlay skill to put a crosshair PNG over the video to help center the robot before walking. The overlay looks centered initially, but when I correct the camera orientation in Camera Device (Flip Vertical or Rotate 180), the Target Overlay doesn’t appear to follow that transform-the crosshair is no longer in the true center of the video and sometimes shifts slightly toward the top-left. If I change the Camera Device resolution from 320x240 to 640x480, the overlay also seems stretched or offset, even when I reattach.
What I’ve tried:
- Created PNGs that exactly match the camera resolution (320x240 and 640x480) with transparent backgrounds.
- Toggled Attach/Detach and reloaded the image after changing flip/rotation.
- Docked/undocked and resized the camera panel to see if it’s a UI scaling issue.
- Init script to re-attach on startup:
ControlCommand("Target Overlay", "Detach")
Sleep(200)
ControlCommand("Camera Device", "Start")
Sleep(500)
ControlCommand("Target Overlay", "LoadImage", "C:\overlays\crosshair_640x480.png")
ControlCommand("Target Overlay", "Attach", "Camera Device")
Is there a supported way to have Target Overlay inherit the Camera Device’s flip/rotate and resolution changes on the Six’s camera feed, or should I pre-rotate/mirror per resolution and then auto-attach via ControlCommand on project start?
Related Hardware (view all EZB hardware)
Related Robot Skills (view all robot skills)


Yes - what you’re seeing makes sense.
Why it happens
Target Overlaydoes not inherit the camera’s internal image transform settings from Camera Device.So when you apply:
the camera feed being displayed changes, but the overlay image is still drawn using its own coordinate space and sizing behavior. That’s why it can look:
What to do instead
Best practice
Use an overlay image that already matches the final displayed camera orientation and resolution.
That means:
crosshair_320x240.pngcrosshair_640x480.pngThen load the correct one after the camera starts.
Recommended workflow for Six
For your Six Hexapod camera setup, I’d suggest:
Your startup script approach is the right idea, but I’d make sure the camera is fully active before attaching the overlay.
Example:
If your overlay skill has a configurable image mode or placement settings in the kebab menu, check those too. In ARC, each robot skill’s settings are in the three-line menu on the skill window.
Important limitation
There currently isn’t a built-in "inherit camera transform" feature for overlay skills like that. So the overlay won’t automatically mirror the camera’s flip/rotate state unless the skill itself was designed to do that.
If you want it fully dynamic
If you need this to adapt automatically when you change resolution or orientation, the cleanest approach is to create a small custom robot skill that reads the camera dimensions and draws the crosshair programmatically.
That’s exactly the kind of thing ARC’s custom skill system is for: https://synthiam.com/Support/Create-Robot-Skill/Overview
If you want, I can help you sketch a simple JavaScript-based ARC script or a custom robot skill approach to draw a centered crosshair without needing separate PNGs.
Quick question
Which exact skill are you using for the overlay - Target Overlay, Picture in Picture, or a different camera overlay skill? If you share that, I can tell you whether there’s a specific setting in its kebab menu that helps with alignment.