Asked — Edited

Stl Needed

hi all

is there anyone that can make me an stl file,the cost here in belgium to make an stl,is very high+cost material and chipping.also you dont get the stl file, companies says its there property.you dont have to do it for free ,but i , dont want to spend to much on it.

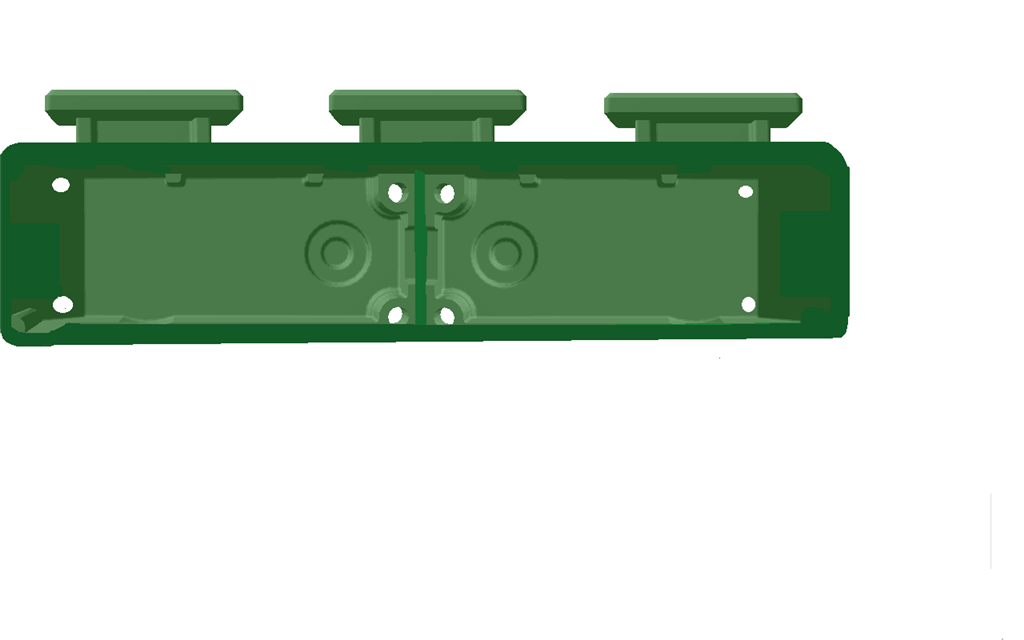
what do i want is a hip case ,similar like the neck part jd,but for 2 big servo's. the ones we use here ,lever servo's.color case is white.i want to give jd , some freedom more ,to be able take side steps.

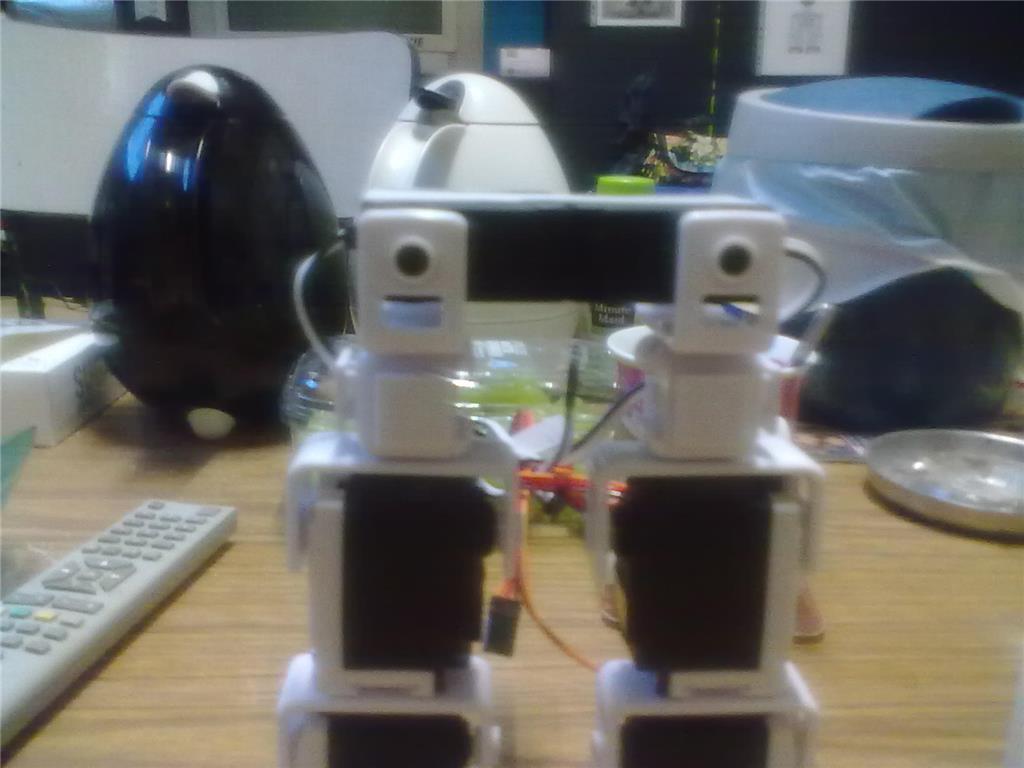
the servo's comes together with no end piece where normal a screw sits. on top servo,here are some pics.

User-inserted image

User-inserted image

thank you


ARC Pro

Upgrade to ARC Pro

Stay on the cutting edge of robotics with ARC Pro, guaranteeing that your robot is always ahead of the game.

#1  

Patrick, in the US, almost every city has a Maker-Space with 3D printers and other tools that you can use for a reasonable membership fee and thr price of materials. Also many public libraries have 3D printers that will print for a small fee plus the cost of materials. You may want to research if there is anything similar in your area.

Alan

PRO
Belgium
#2  

here they are chops too .but they ask to much money for a small part. more then 150 euro is way to much.and most friends i know,cant make an stl file. and you dont get the stl eather,its companie property.

PRO
Synthiam
#3  

I'll whip something up for you:)

PRO
Belgium
#4  

dj

thats very nice of you.do you have any question for me?

PRO
Synthiam
#5  

no - i understand what you're looking to do.

PRO
Belgium
#6  

thank you

got my new camera yesterday jd head.works really well. and i saw new ARC new rgb motion,awesome.

PRO
Synthiam
#7  

I have a few more finishing touches to do - and the bracket, which will have a female clip so the block isn't necessary.

  • i added heat vents since these servos will hold a bit of weight
  • i have yet to add the nub on the rear side for the bracket
  • it will obviously look better in white, but for test prints i use the ugly stuff

PRO
Belgium
#8  

thats a cool design.i did earlier with my bioloids the same ventilation. with testing them servo's they never get to hot and die,i tested them for 4 houres, long without moving the horn,thats the highest heat you can make. pinokio is a fully jd now,he's waiting for his hips. thank you for doing this.

PRO
Synthiam
#10  

I'll work on the project tonight and publish the files with the project...

PRO
USA
#11  

Thanks! you have another watcher waiting!

What kind of printer you use, and software ?

PRO
Belgium
#12  

that is really awesome.are you doing the side steps too?

thank you

#13  

It appears that that improvement gives him a more natural walk. Love it.:)

PRO
Belgium
#14  

i see you didn use cubes ? but made cross bracket.

PRO
Belgium
#16  

woohoo awesome great thank you .

i have to mention when you cut the male off and i wanted to put a bolt&nut on the bracket.so i draw a cross to find the middle off the male,and i dril, a tiny hole in there for the bolt&nut,what i didn saw was the little wall, under in the middle male part.so my drill whent eacther left or right. so the hole was not in the middle,many thanks for the bracket with, female .my friend is allreddy printing.

#17  

Hi Patrick,

I look forward to seeing Pinokio dancing soon.

Be Well, Ron

PRO
Belgium
#18  

hi andy

pinokio has become a fully jd robot now.the head was nice but not , practical.didn get the rgb and cam in there.but he wil dance soon, or sing opera.

PRO
Belgium
#20  

i choosed the three tenors.pavarotti,jose careras ,domingo but i dont no how to uploaded when reddy for ,sabam will be a problem.

PRO
Synthiam
#21  

Ha - i'm having fun with JD's new hips

PRO
Belgium
#22  

it looks really great.cant hardly wait to have mine hips.

i put the brackets a little off center,again a little more freedom.

User-inserted image

#23  

Dj.....That is SOOO cool.....

Patrick ,, good Luck with yours ...

#24  

It looks like that could be used to help JD walk without so much of a shuffle. Lean to one side so one leg is bearing all of the weight, then lift the other leg high, lean forward until the front leg touches the ground, then lean to that side to it takes the weight as the leg straightens out.

It is too bad there isn't an easy way to do a servo controlled ball joint, which is what a hip really needs, but this could really help with JD's mobility.

Alan

PRO
Belgium
#25  

i think dj gonna surprise us,new update ARC.:)

#26  

Next need is a two axis waist. and more powerful servos.

PRO
Belgium
#27  

or the backpack for jd from anthony.

#28  

Watch the way you walk in a mirror Your waist twists you hips. The movement is complex but you can get more of a walk gait with a waist added. This walking will make you crazy... LOL

PRO
Belgium
#29  

i notest to get a robot on one leg ,you start with the otherfoot lift outwarts, that puches the robot into the direction off the other leg you want him to stand on. ones you see he's going that way,take over with the foot also lift outwarts, you want him to stand on.

#30  

User-inserted image

Thank you for the nice design... is there an action implented in roboscratch?

Tnx Eddy

PRO
USA
#31  

@DigiEddy are you happy with your Flashforge Dreamer ? Do you use a different software ?

PRO
Synthiam
#34  

@DigiEddy The hips require a specific project, not the standard JD project. For reference, this is mentioned in the instruction video, this thread, and the description of the 3d printable part for anyone else reading this.

*Note: at the time of this writing, the jd with hips project is not complete. It does not have optimized walking and movements to use the hips. We're slowly working on it, and feel free to contribute:)

You can get additional apps using either EZ-Cloud from ARC or the Robot AppStore on this website: https://synthiam.com/Community/EZCloud/RobotApps.aspx

PRO
Belgium
#35  

dj

thanks for mention this.am gonna try the side steps ones i got my 3d parts.

howmany downloaded the stl from the hips ?

PRO
Belgium
#36  

i got the hip part,but the size is not correct.you can pull the backside easly off. eather the bottom inside must lift 2 a 3 mm or the nots on the backside, 2 a3 mm longer so the bracket cant come off.

PRO
Belgium
#37  

here are some video's.

PRO
Belgium
#38  

here you see where the 2 mm is missing,it also prevent the bracket from, getting stuck on the head from the screw.

User-inserted image