Asked — Edited
Resolved Resolved by Steve G!

Pololu H-Bridge Wiring And Settings Not Working

Its Sunday so I must be having H-Bridge problems :D

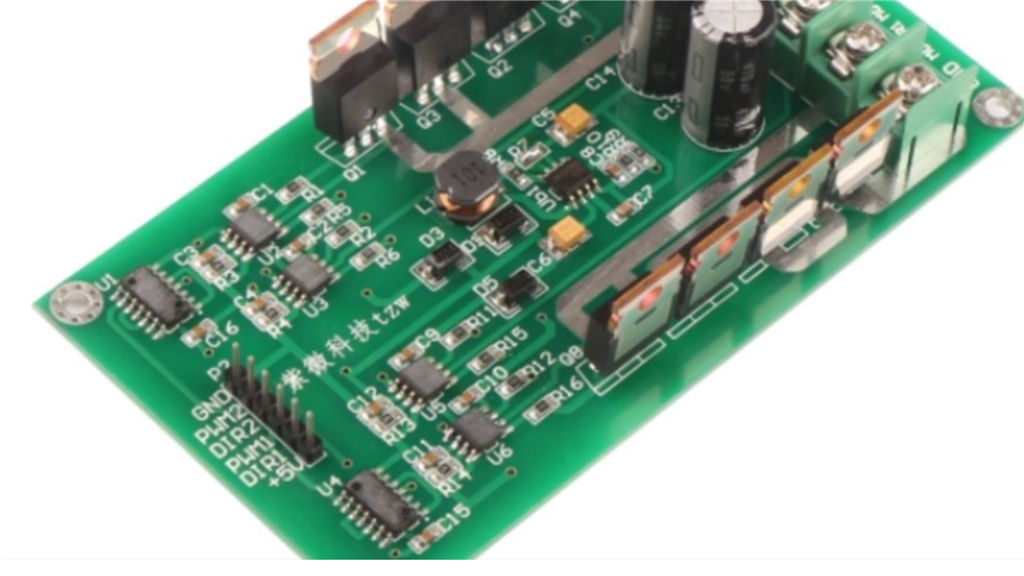
So I'm attempting to set up another Pololu H-bridge on a second board. I currently having one working smoothly so I copied the configuration and settings however I've been unable to get any motor activity. I was hoping someone could take a look and see any glaring mistakes.

Power

Power to Polulu from 12 volt source (same type of source I've used on another H-bridge set-up). Power to EZ from 12 volt source. Motor is 24 volts but I'm running it at 12 Common ground between Pololu power connection and EZ power connection

Connections

Full cable connection (white, red, black) to DO Port 1st Signal connection to D1 2nd Signal connection to D2

Port settings in EZ are

Left Trigger A 	DO
Left Trigger B 	D1
Right Trigger A 	D2
Right Trigger B 	DO

PWM set at:

Board 3 (correct board) Port DO

Sliders all the way up (on)

I read power entering the Pololu board and power leaving the board and entering the EZ.

Can anyone see a problem here? I have tested this configuration with another H-bridge and another motor.

Again I have another H-bridge running smoothly on another board with the same configurations.

Thanks,

D. Scott


ARC Pro

Upgrade to ARC Pro

Join the ARC Pro community and gain access to a wealth of resources and support, ensuring your robot's success.

United Kingdom
#1  

Not knowing your set up but from what you have discribed, this might explain the problem.

If you are using two or more v4 boards on one ARC project, a movement control panel controlling a H-Bridge will only work with the first board, mainly board 0. For example, if you have a H-Bridge connected to board 0 and using a movement control panel, connecting another H-Bridge to board 3 won't work. It would have to be connected and controlled by board 0 as well (although you can only have one movement control panel per project, but multiple H-Bridges can be used).

Is thet similar to what you are doing?

H-Bridge movement control panel tutorial

#2  

Thanks Steve

These are separate projects and unrelated. Each of my controls (waist movement, head rotation, and other components) exist as a separate project with their own dedicated EZ board. So one H-bridge per board. I open a project to control a movement. My plan was to go this route until I was proficient at script.

Are you saying I can't have multiple projects open if I want to use this route to control more than one motor movement?

D Scott

United Kingdom
#3  

No worries. In answer to your question, I've never tried it. With multiple instances of ARC open, I think that each individual project, with its own v4 connected to it, should control their own movement panels fine.

Why are you using board 3 in the project related to this post? With a different board on its own project, you can scan to find the board, and use board 0. I'd give that try to see if it helps.

#4  

That does work but when I use 0 on each board for each of my H-bridge movements then I have to shut down each board before using another one. The signal goes to whatever H-bridge is active. I think I misinterpreted the 0-4 range . I thought they designated separate EZ's s and I could add an H-bridge to operate independently. I use 0 for waist rotation, 2 for head rotation, and so on.

D. Scott

United Kingdom
#5  

As far as I know, the zero to four range is for connecting multiple boards to one project.

Depending on if you have enough available ports left, you could connect the second H-Bridge to board zero or board 3 and use simple scripts to control movement. This could be using separate script controls, or for example, use the mobile interface to create your own buttons to control each H-Bridge for each portion of the body.

#6  

Since you are using h-bridges for what it seems as simple left/right movements and such, can't you use basic scripts to do the same? This way you get around the one Movement Panel restriction....

United Kingdom
#7  

@Mulberry.

That what I was planning on doing on something a while back, not using movement control panels, and just script the simple movements using the digital ports for on/off and PWM. If you use board 3, just remember to add the 3. in front of the port number in your scripts, for example Set(3.D1,On)

#8  

I think Daniel is a little worried about having to write scripts. This seems to be the reason why he's useing several ARC programs opened at one time to be able to use more than one movement panel.

United Kingdom
#9  

That's a fair point Dave. It's the only simple'ish way I can think Danial can do it. I know scripting can be a bit challenging for some (me included).

@Danial.

In keeping with what Dave has said, I'll give you a couple of script examples similar to what I use with the motor controllers I use in one project, and will try my best to explain what does what to hopefully help you.

Just for reference to the following info, here is the motor controller I use...

User-inserted image

One way I have it in one project is using the mobile interface control. My motor controller (different to yours) are connected as follows...

On the motor controller, Dir 1 and PWM 1 pins are connected to D2 = (Dir 1) and D3 = (PWM 1)

On the motor controller, Dir 2 and PWM 2 are connected to D4 = (Dir 2) and D5 = (PWM 2).

I added a script button and added the following...


#This makes two motors go forwards.
Set(D2, Off)
Set(D4, Off)
PWM(D3, 40)
PWM(D5, 40)

#Keeps the motors turning for one second.
sleep(1000)

#And this stops the motors.
Set(D2, On)
Set(D4, On)
PWM(D3, 0)
PWM(D5, 0)

The above code will turn the motors at a speed of 40 for one second, then the second half of the code will stop the motors. You can change the 40 to whatever speed you desire (5 or 10 would be slow, and 80 or 90 would be fast). You can also adjust the Sleep() from 1000 to however long you would want the motors to turn before the Stop script kicks in.

To control just one motor, Yopu can have...


#This makes two motors go forwards.
Set(D2, Off)
PWM(D3, 40)

#Keeps the motors turning for one second.
sleep(1000)

#And this stops the motors.
Set(D2, On)
PWM(D3, 0)

The second script is a little different. On another project I have, in a connection script editor (on the connection control next to the board you are connected to for example), I have the following...

$pressed = 0

This sets a variable which I will explain shortly. Now, again on a mobile script button, I have the following...


#Makes the motors go forwards.
if (!$pressed)
Set(D2, Off)
Set(D4, Off)
PWM(D3, 40)
PWM(D5, 40)
$pressed = 1

#Stops the motors.
ELSE
Set(D2, On)
Set(D4, On)
PWM(D3, 0)
PWM(D5, 0)
$pressed = 0

endif

What this script and the variable does, is in the first half of the script, when the mobile script button is pressed, the motors will go forwards without stopping. When the same mobile script button is pressed again, this triggers the second part of the script, and stops the motors from turning. This is also good as you don't have to have GO and STOP buttons as the one button will do both.

Bear in mind that the way I have mine wired up will probably be different to yours, but what I have written above should give you a good idea of what to do. You can give it a try yourself and practice with just an EZ-B, a motor or two not fitted to any body parts (the robots I mean :P), and your motor controller/H-Bridge. Set the ports you have your H-Bridge connected to, the change the other values such as the On and Off, and speed. The way I have mine set up is having the SET() commands Off and PWM at 40 drives the motors forwards at 40% speed. Having the SET() scripted to On and PWM at 40, drives the motors in reverse at 40% speed. And either On or Off with PWM set at 0 (zero) stops the motor from turning.

I hope the examples help explain how to use scripts to move motors with a H-bridge/motor controller without a movement panel, and are not to confusing. If you need any help, just give us a shout and either myself or someone will help you further.

Steve.

EDIT:

Don't forget, if, in your example, you're using another board like board 3, don't forget to prefix the script commands with 3. like the following...


Set(3.D1, Off)
Set(3.D2, Off)
PWM(3.D0, #Your desired speed)
#10  

Dave is partially correct :D

I haven't used code for a couple of reasons:

First - I haven't written code in ages. I suspect I can quickly get up to speed but these days I don't have much time to devote to my build (job, marriage, teenager, chemo/radiation) so I wanted an easy route. Plus I have several EZs lying about.

Second - my understanding was the code would not provide variable motor control but must adhere to settings. For example, with my radar (head rotation) I wanted to be able to move to various positions depending on the interaction with an audience. Same to be said for my arms. Other components are fine with preset positions (my soil tester extending to a specified length).

My build is essentially finished (first generation). I can now take the time to get back into coding but if I'm incorrect about point two please let me know cool

Daniel

United Kingdom
#11  

First, the examples I have given you should make the process of controlling your motors and h-bridges a lot easier now without having to swap between multiple instances of ARC projects, and should give you a head start getting up to speed with scripting.

The basic code I have given you is essentially no different to a movement control panel uses anyway, especially a custom Movement Panel where you add your own scripts to control motors, the difference being that you can use things like radar controls which link to a movement panel. As you are saying that you cannot control your h-bridge connected to another v4 and are a bit rusty on scripting, I am assuming that is what you were trying to use.

Quote:

I wanted to be able to move to various positions depending on the interaction with an audience.

Second, it sounds to me that you need to use some very heavy duty servos, servo gearboxes, or some kind of feedback boards to attach your motors to if you want variable control (not quite sure what you mean by that). If you want the head to move with sound sensors or camera tracking for example, a simple motor and h-bridge won't do this by itself. You would need something that can feed information of the object or person back to the EZ-B like a servo or encoder/feedback pot in a motor (unless your pololu can do this). You would have more chance doing what you quoted with code/script than you would with a simple movement panel.

By adjusting the motor speed (PWM) and sleeps, you can have the motors move to various positions. For example, in my example of using one mobile button to start and stop a motor, you can have two buttons.. one for left and one for right. For example, pressing the "left" button would move the moter left 10%, pressing it again would stop. Press it again would move the motor a further 10%, pressing again to stop... and so on. Pressing the "right" button would do the same in the opposite direction giving you variable movement. Adjusting the speed and sleeps could increase or decrease the percentage of movement.

Hope that helps.

#12  

Thanks Steve. I'm giving it a shot.

Daniel