
3dfixer
USA
Asked
— Edited
I have purchased 2 ezb’s and was wondering two things. Where Can I mount them. And how do I connect both at once so the ARCs can move in synchronization.

A few prints will help you dial in the best settings. I use Hatchbox PLA and run at 210C / 65C You can always check the website of your filament manufacturer, The will list the best specs for their particular PLA. Ultimately, you will have to dial it in to best fit your printer/conditions.
Not bad for a first print but how do I correct this
and what should the fill density be
What should the fill density be What should the the fill pattern be and what should the top\bottom fill pattern be
I use 20% density for parts that don't need strenght and 40% for those that do. Hexangonal fill - looks like honeycomb. I'm using 5 perimeters top, bottom and sides for parts that need strength, and three for those that don't. I also moved away from PLA and use Hatchbox ABS. Your print looks like the hot end is running a little hot so you could dial that back and see. #Perry_S gave the best advice. It's going to be unique to your printer within the range, and there can be variations with the size or delicacy of the parts...
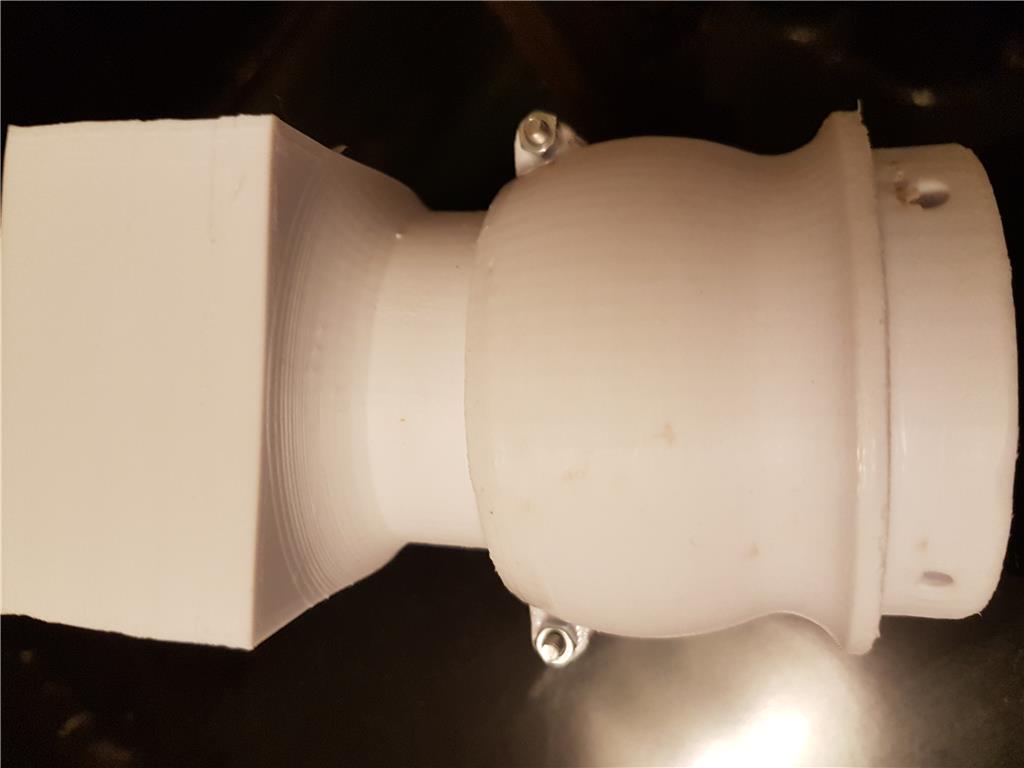
This is a picture of a part I am making for my inmoov, it is the ball joint from Bob Houston's Articulating Stomach for InMoov. The part has not been cleaned up yet and usually it does not need sanding, it was made on a cheap $250.00 printer using PETG by MG Chemicals, on a glass build bed with aussie hairspray, bed temp 80 and ejector temp 230. 2 or 3 perimeters top and sides 20 infill on most large parts 50 on parts for strength. PETG has no smell, can be put into boiling water to join the dovetail joints they need no sanding and join perfectly with taps from a hammer. PETG parts are joined together using weldon 3 or 4 solvent just like ABS with acetone. the parts are fused not glued. make sure you use the retract setting on printer and you will have zero stringing. PETG is much stronger then ABS and I have no wasted parts that break.Thanks for the advice we have a 300 x 300 d 420 I3 Flusun printer. It was a DIY only cost us 242.00. My only questioni Now is . I seen it somewhere but cant remember where how do u know what infills to use on what parts. I seen it somewhere just cant find it now. I just want to make sure i have the right infill on the right parts
I use Repetier Host V2.0.5 and the slicer Cura Engine latest version I leave the infil pattern to automatic, solid top and solid bottom 15% infil overlap shell thickness if you are using PETG is 2 and top and Bottom 2 . thicker is not necessary. parts like the gears and screws make the sides thicker maybe 4 with 50% infil