PRO
jstarne1
USA
Asked
— Edited
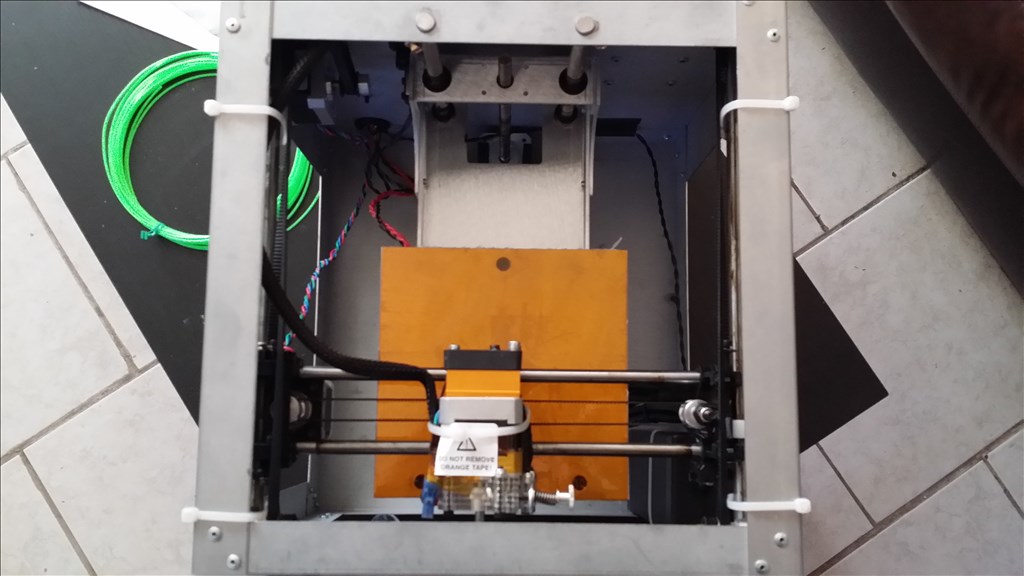
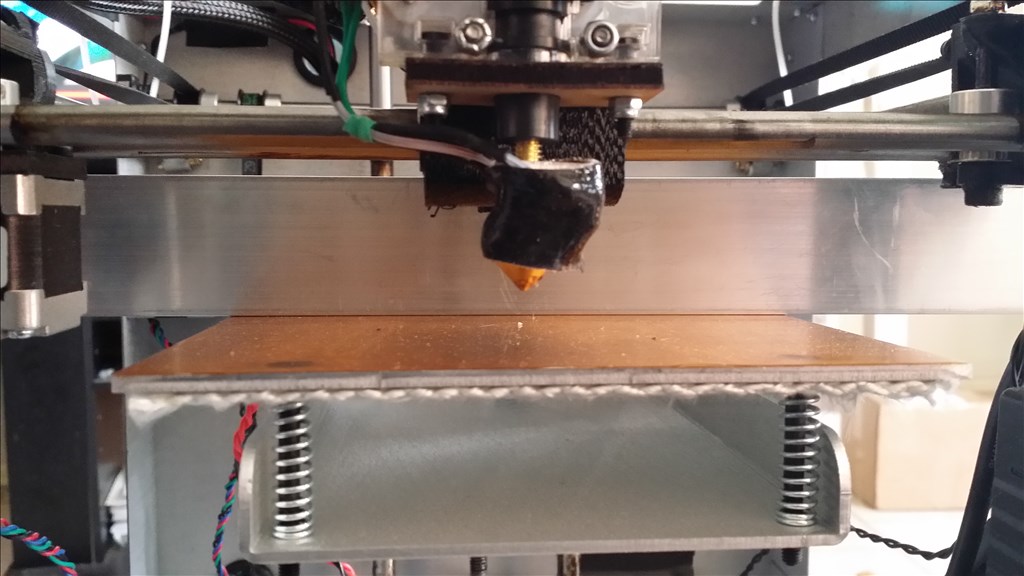
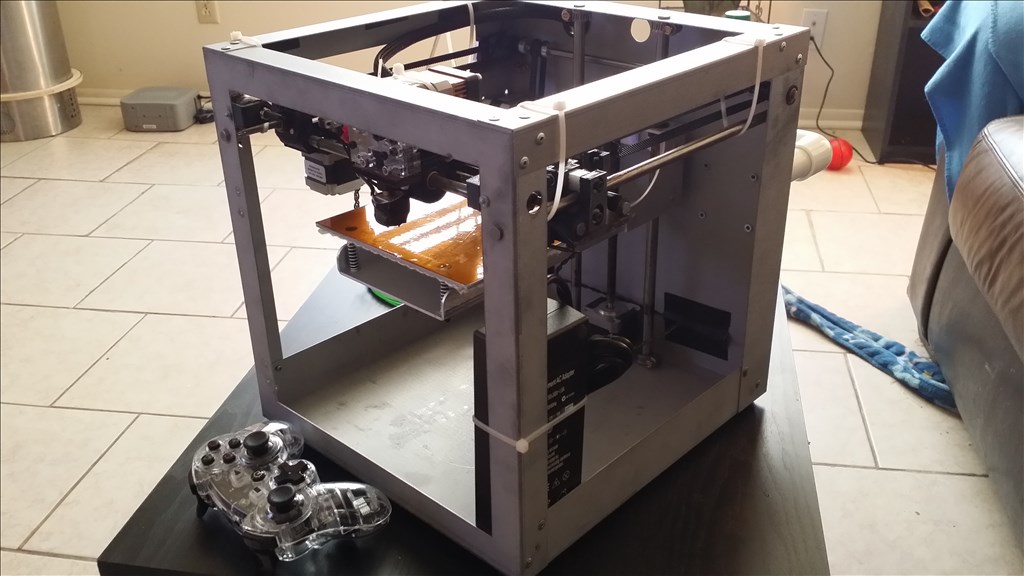
I ordered a Solidoodle 2 Pro which arrived today. I also ordered with that 2 rolls of filament. It should be 4 total pounds of material to start with.
https://www.youtube.com/watch?v=_8yqM-2DsD0&feature=youtube_gdata_player
Wiki.solidoodle.com
i will fill the tiny tips on the top edges with resin filler and they will be done. These tight overhangs are exactly what the extruder fan is intended to be used for. These edges were thin and we're too hot so they curled. I'm just waiting on the fan I ordered which should be here Friday but the prints are going good enough to continue.
next are the thumb and pinky fingers on the bed right now. Estimated 7 hour print.
i started recording my prints with amcap which is the software that comes with the V3 ez robot cams. I could use these videos in the future for troubleshooting or technical assistance.
Since you've been using it a while, what would you say are like your top 3-5 tips for 3D printing - things you wished you had know when you started more or less.
Thanks for sharing these posts and your progress!
Ok so that list
1. I wish I had started by learning to use autodesk 123d or the pro version autodesk 3ds max before buying a printer. Imagine the printer is just a tool to print what is designed. Sometimes prints don't come out right because the design is not optimized for your printers capabilities. Getting to know how to slice objects and make slight changes is very important and I'm not there yet.
2. I wish I had either bought a makerbot ( yes way more money but I wish I had its ease of use) or at least the solidoodle 4 to have a bigger build area. 6 inches build volume is good size but bigger is better.
3. Soon as you get a solidoodle you need to spend your whole first month calibrating it. There are many many options and it takes a while to understand what each does. I'm still learning them and even need to get with solidoodle to show them various price and video of print so they know how to resolve the issues.
4. Consider using alternative software, different slicers for example because each one has its limitations. Document any changes you make so you can reverse them at a moments notice. Some settings work for one model but not a different one.
5. Print out all the recommended mods and also replacement parts for your solidoodle. Things like extruder fan shroud, adjustment knobs, z backlash mod, and a over the top filament roll holder. Even if you get a solidoodle with no case a case is absolutely needed as well as the heated bed. You can buy a model with heated bed and even a case included.
Document everything you do , don't make permanant changes to your machine so you still get tech support. Printable mods usually are held on with a screw or magnet but the machine is still intact.
Lastly read through soliforum.com that is your biggest asset considering there is no real instruction manual for these things.
i am going to move the printer into a closet downstairs so i can print even when I am asleep and get more use out of it. I can absolutely see myself having another printer in the future. They are useful in so many ways.
I know you did several mods and have some more to go. Once all is said and done, how much do you think you will have spent above the original cost to have it really working the way you want? If you had just gone Makerbot from the start, does it have all the things you are adding/changing, or would you be starting with a higher price and still adding to it before it is the quality you need?
I am no where near being in a position to buy one and by the time I do there will probably be improvements and lower prices all around, but I think this kind of info might help those getting ready to pull the trigger now.
Alan
Flashforge-USA
because the shape is square and there is a screw that sticks out in the back. Also I used the soldering iron to widen the holes and fit in the magnets.
i soldered the 9 volt adapter to the leads of the fan and covered them with white heatshrink.
I kinda want to spray this black so that it blends in better. The brown burned marks are from the soldering iron where I heated the plastic up some to widen she shape around the square heat element. I covered the inside and outside of the fan duct with epoxy to help give it some heat resistance but it should be fine.
Well overall it looks good. I used flex seal to give the piece a rugged finish. We will see if there are any heat issues but this is a duct that has been printed and used many times. I did widen the air outlet by trimming the edges all the way around. It clears the bed when the extruder is touching by about 3 mm. It does however stick out the front if I push the extruder all the way forward. I will extend the mounts by say half an inch for the front plexiglass so it will clear easily.
Here is their set behind the scenes...
i will be back in their studio later this week I guess to teach them how to use the machine.