MovieMaker
USA
Asked
— Edited
I thought I would start a new page. I would like to completely delete the old stuff. I will have pictures soon. They are already taken. I have had my struggles, so i named her Botchy instead of Sunshine.
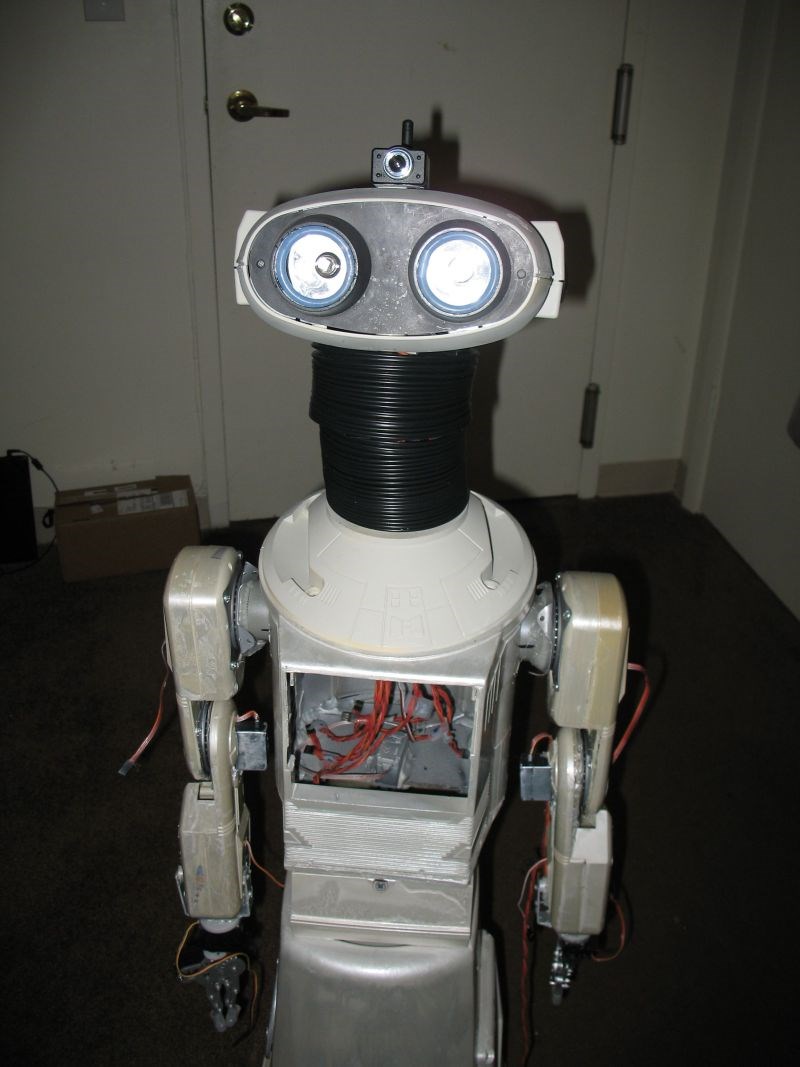
Here are some pix:
Thanks for your support!
:D
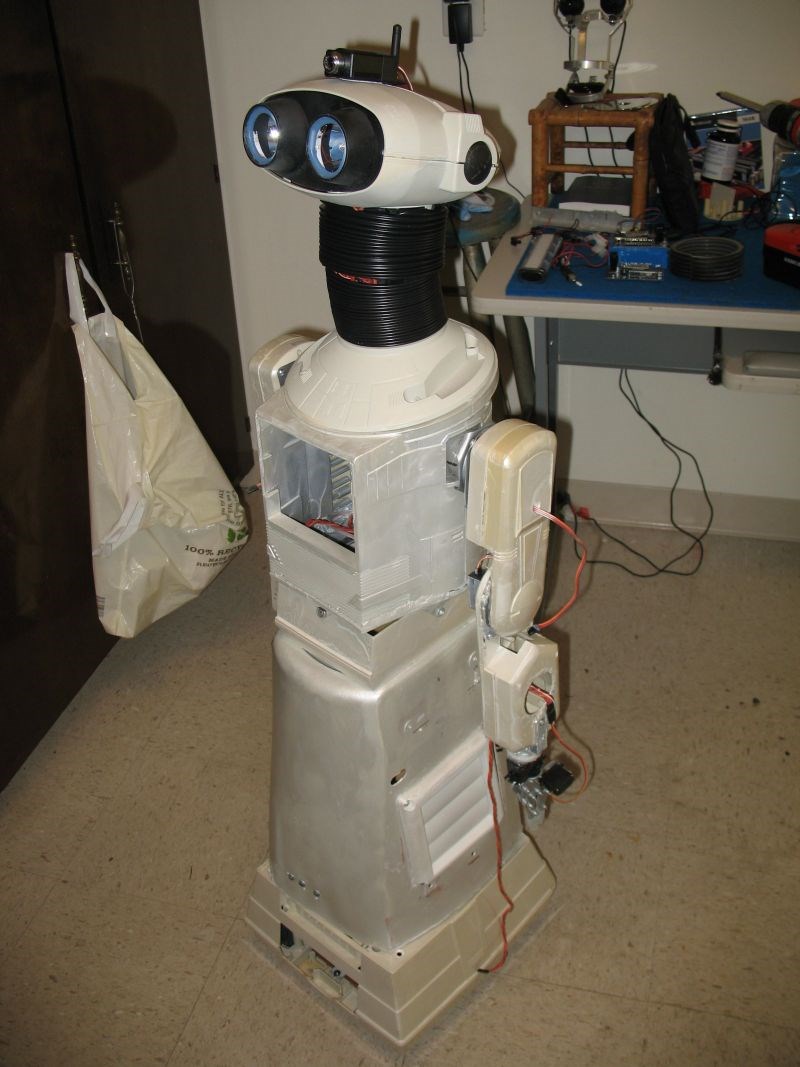
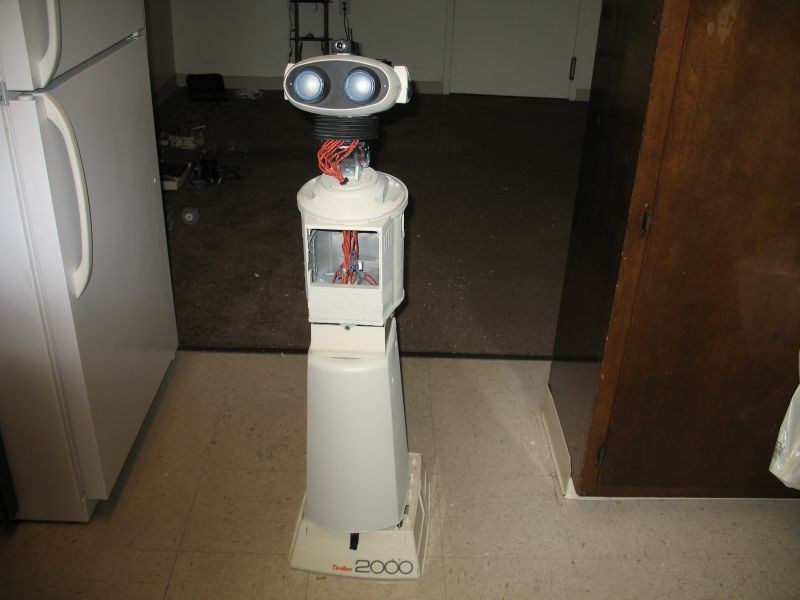
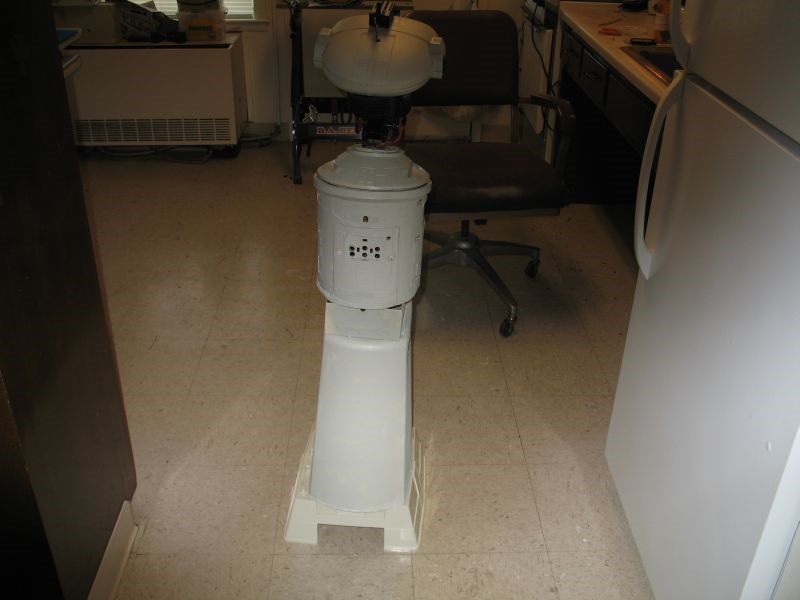
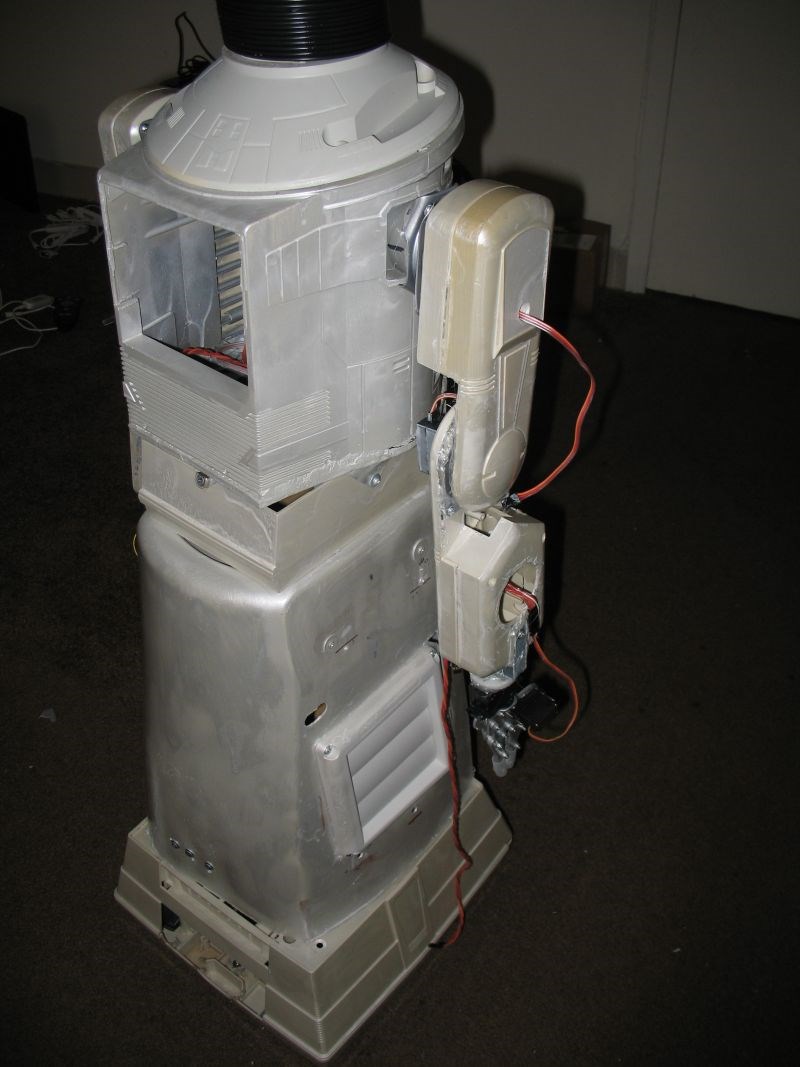
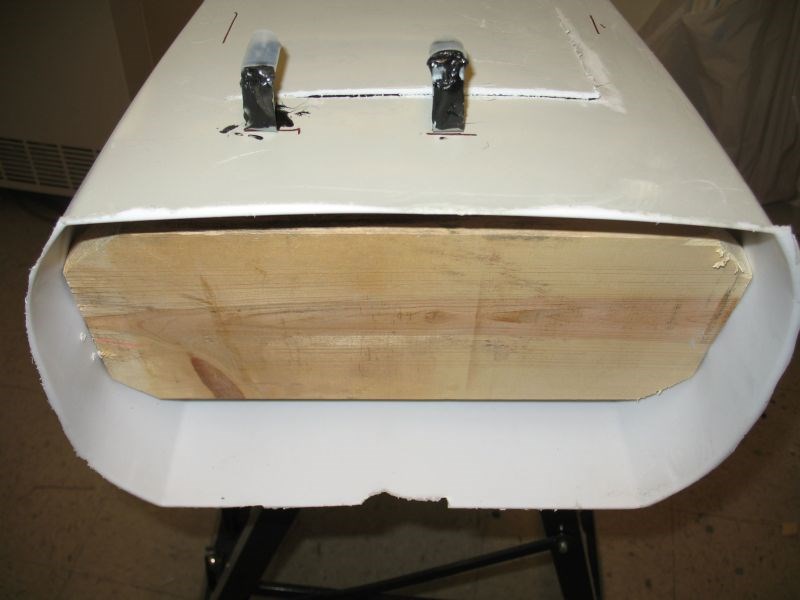
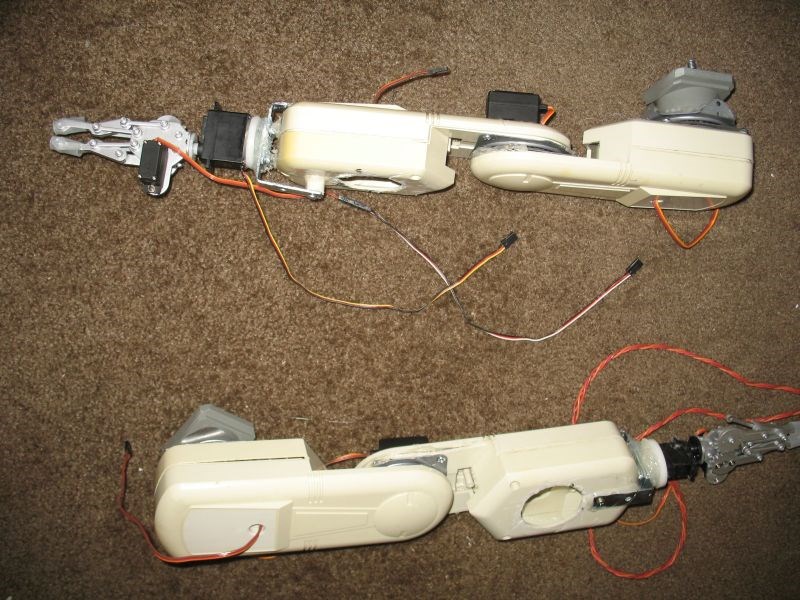
That is what I have so far.

Ok, thanks, Bret! It was said to use a metal horn, but I just don't have any metal horns. I ordered quite a large selection of beautiful horns. When they got to me, they won't fit on a standard servo, there are too big. But, even they were not metal. I did try the epoxy equivalent (Goop). We will see how it works. I have to let it dry overnight. It will be probably MONDAY before I can check it.
When buying horns for the servos bought from the old EZ Robots store always buy ones that fit Futaba (Standard Spline (25T) servos. It's a direct match.
Here's a set of Super Duty plastic horns that will fit the servos sold by EZ Robots at servo City: www.servocity.com/html/futaba_super-duty_horns.html
Here are some nice hubs that will fit these servos: www.servocity.com/html/standard_hub_horn.html
In fact here's the link to servo City's servo arm and horn page if you want to browse around: www.servocity.com/html/servo_arms___horns.html
I don't see any aluminum control arms that will fit a standard Futaba (Standard Spline (25T) servo at servo City but I bet they are easy to find at other Robot Supply outlets like The Robot Store or even on Amazon or Ebay. As long as you get ones that fit Futaba (Standard Spline (25T) servos you'll be OK.
Now I don't know what EZ Robots will be offering for servos when their store reopens so this info only pertains to the old ones sold before the store shut down.
Also, I don't know why you or anyone would need to glue these horns onto the servo's Spline. Shouldn't the screw hold the horn properly onto the spline? Unless I'm missing something here (and that's completely possible), if you get the proper horn that fits your servo's slpine you shouldn't ever have to glue it to down. If you want a trouble free robot that lasts as long as you are interested in it get the proper parts that fit.
Good luck, Dave
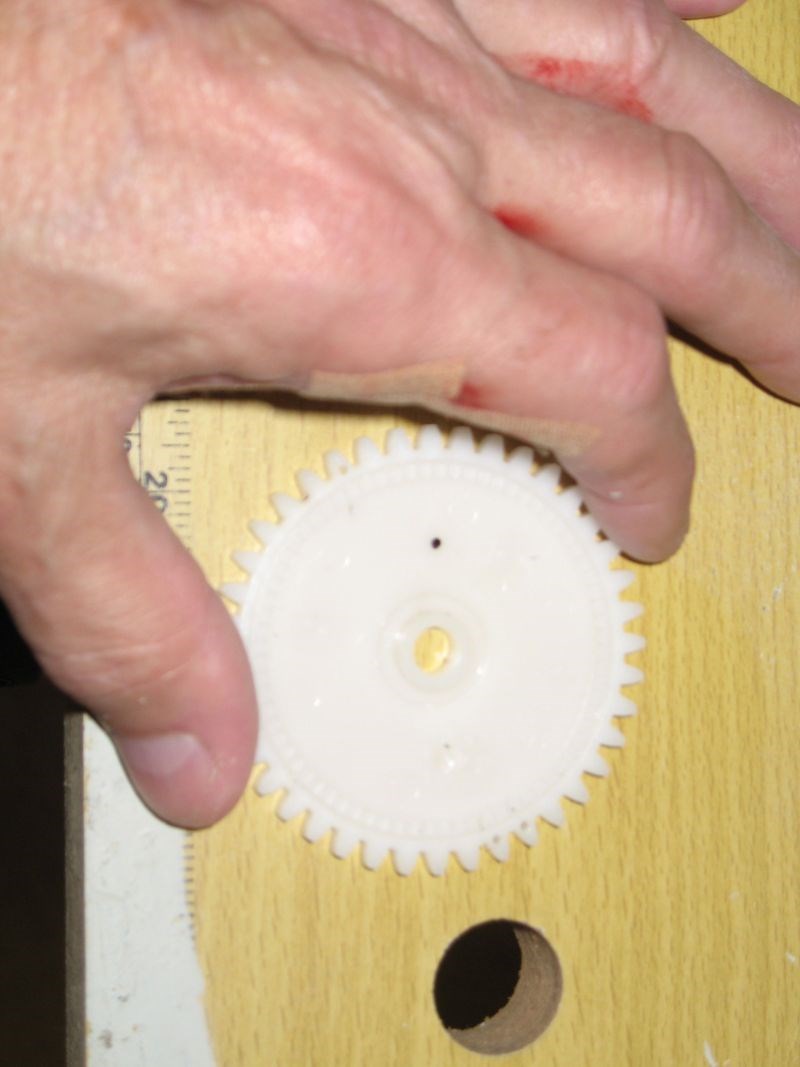
hey, Dave! those horns look nice. And it is nice to know standard is 25 teeth.
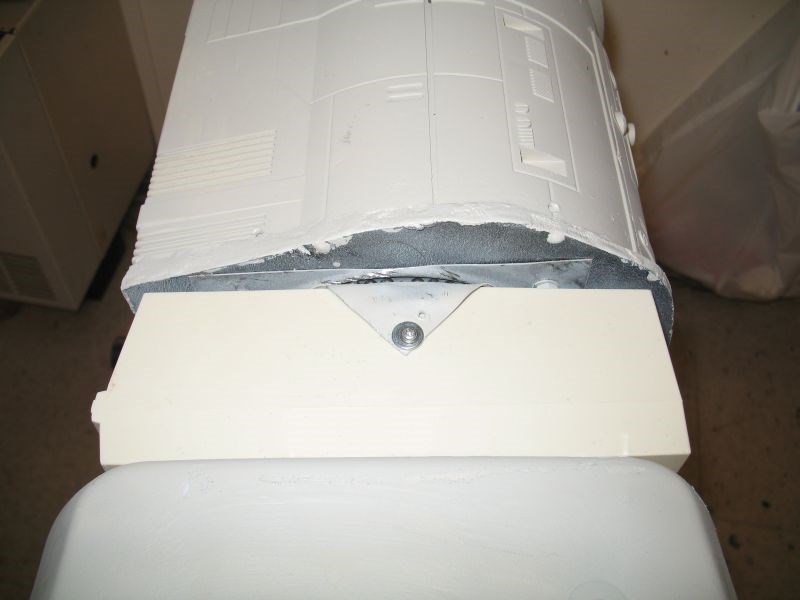
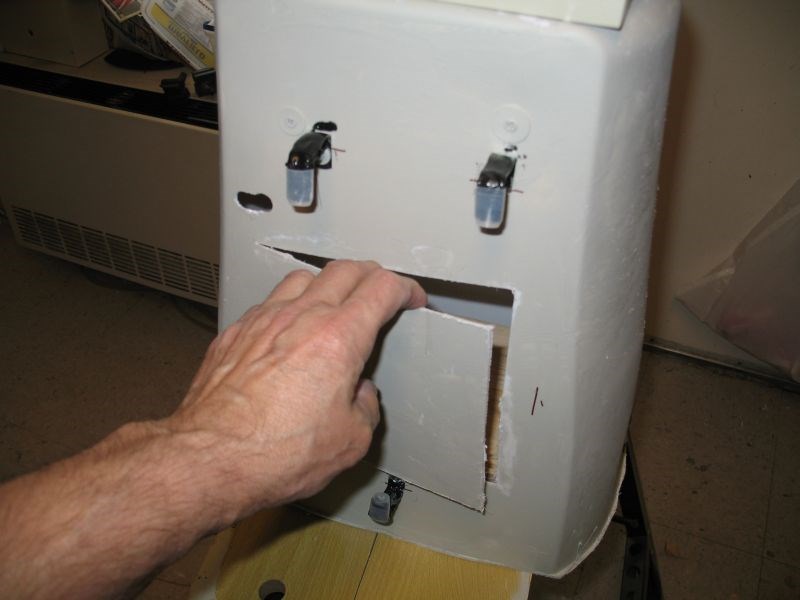
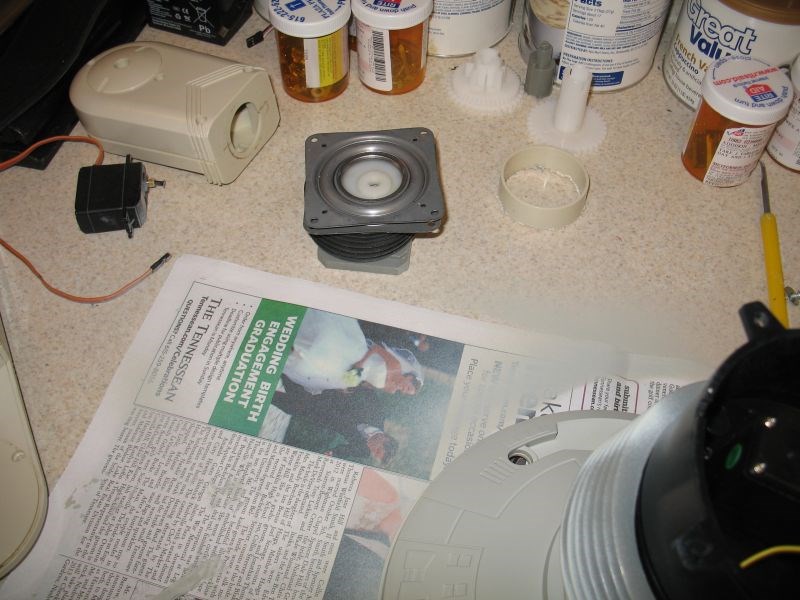
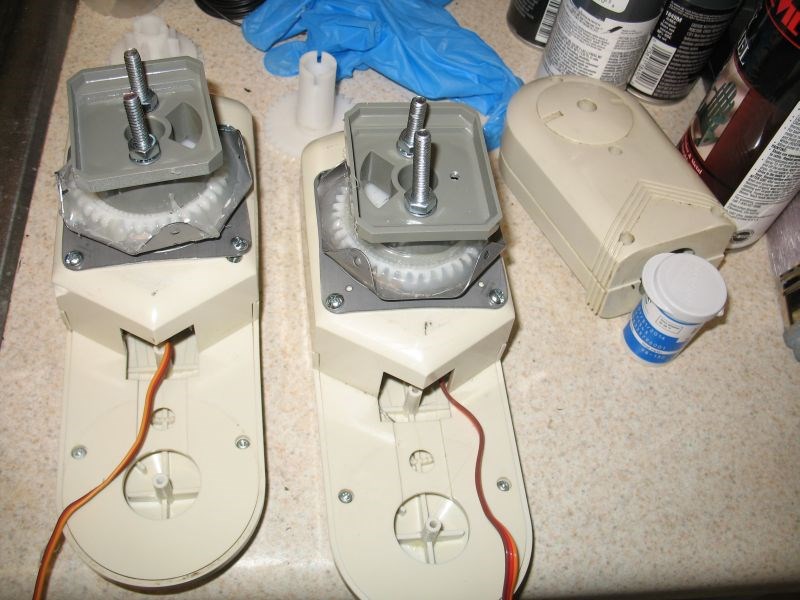
Thanks for the advise. Yes, we screw the little screw after the servo is connected. BUT, we have to glue the horn to something that needs to move. In this case, it is the Lazy susan. No way to screw it, you gotta glue it. it is just the design and the way it is made.
so, I am trying to attach the horn to the gear that is attached to the lazy susan. BUT, I have to consider I cannot attach it directly because to servo cannot reach the horn. So, I have to build it up a tad. SO, I attached a castor from a furniture leg to it and then the horn on top of this. It has to have a hole through it so I can screw in the little black screw to hold the servo. Then I have to attach the servo to the Elbo part of the arm. It is a lot of steps, but, it does work eventually, I hope. At this point, I have spent all my money from my allowance through October 31st. So, any funds that I need for the servo horn (metal) must wait until Nov first when I have funding. so, I have to work with what I have and that is plastic servo horns.
Thanks for your support!
;)
OK, I understand now and also understand about the lack of funds. Hobbies get expensive.
However there has got to be a better way to attach the servo arm to the Lazy Suzan then glue. Seems like a weak point in the design. I hate weak points. They ALWAYS cause problems somewhere down the line. How small are these Lazy Suzans? Don't they have mounting holes at the edge? You can get control arms that are long enough to reach these holes or make an adaptor that will reach. Even if you cant use these holes why not drill holes just outside of the ball bearing housing area and tap them? That way you could use a shorter control arm (horn). Then you may be able to run a small machine screw in through a hole in the horn from the servo side and into the Lazy Suzan. A little Loctite would hold the screw in place.
I think I saw someone on this forum building these arms like you are and posted a bunch of pics. Can someone point me to that thread? I'd like to see how this is assembled.
Thanks! Dave
If you must use glue perhaps a plastic turntable would be better. It would be easier to find glue that is able to adhere or "weld" the two parts together. MCMaster-Carr sells a nice little 3" light duty round plastic ball bearing turntable for about $5: www.mcmaster.com/#turntables/=oi8b3q
Here's the specs on it. It comes in black, white and clear: www.mcmaster.com/#cadinlnord/1413t11/=oi8bts
If using metal you need to use the proper glue when attaching to plastic. An epoxy as mentioned before is what you need but the proper kind and one that wont eat through plastic. Here's a good site that will help with choosing the right glue (JB Weld seems to be everyone fav): www.thistothat.com/
Have fun, Dave
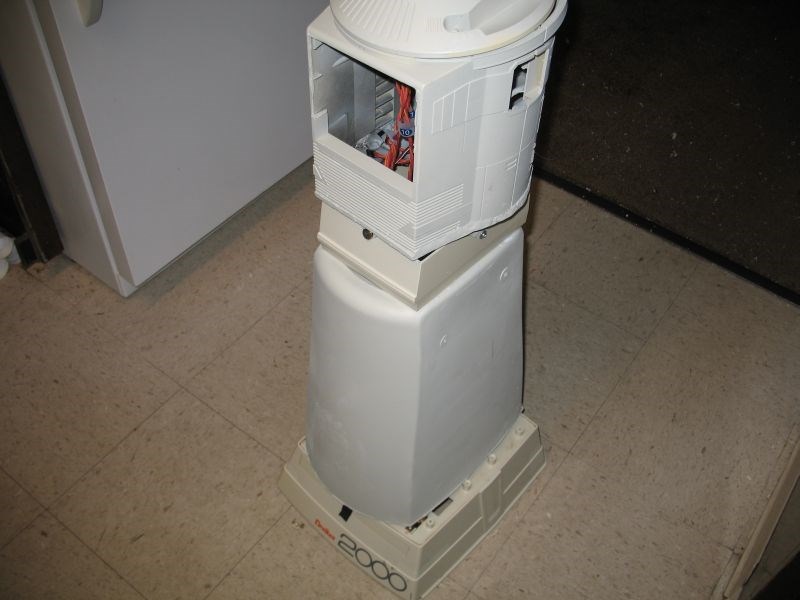
Dave, for pix look at the post on the Omnibot3000. It should be on the first page.
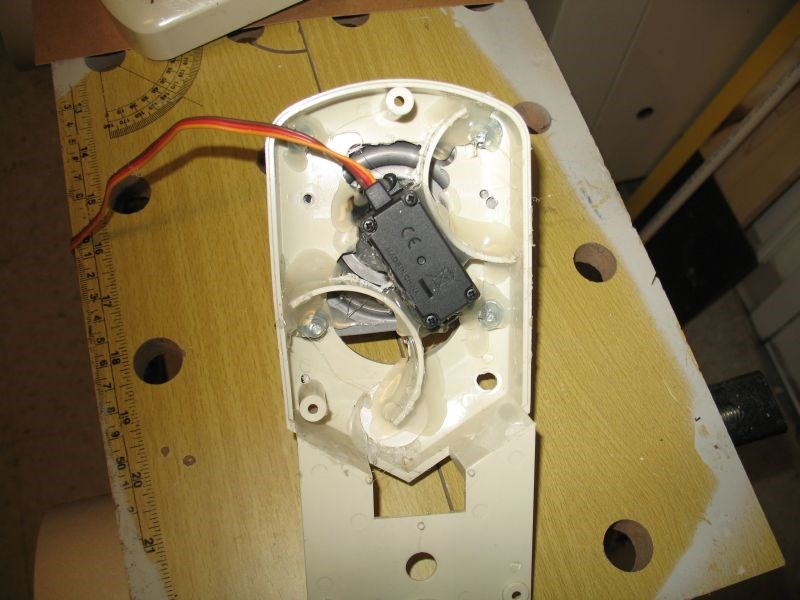
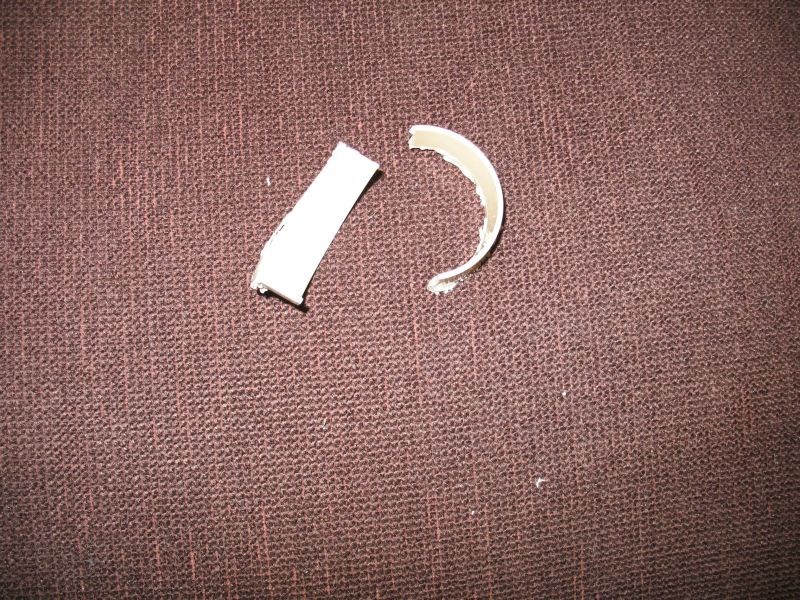
As it turns out, I had two problems. ONE: the connection on the lazysusan is not exactly centered. This causes the horn to move in an orbital pattern. SECOND, the horn is plastic. I don't know if I will be able to fix this or not. I don't have any heavy duty servo horns and I don't have what I really need - Metal servo horns. My next expected income is expected to be in Jan of next year. So, I am stuck for a while.
Thanks for your support.
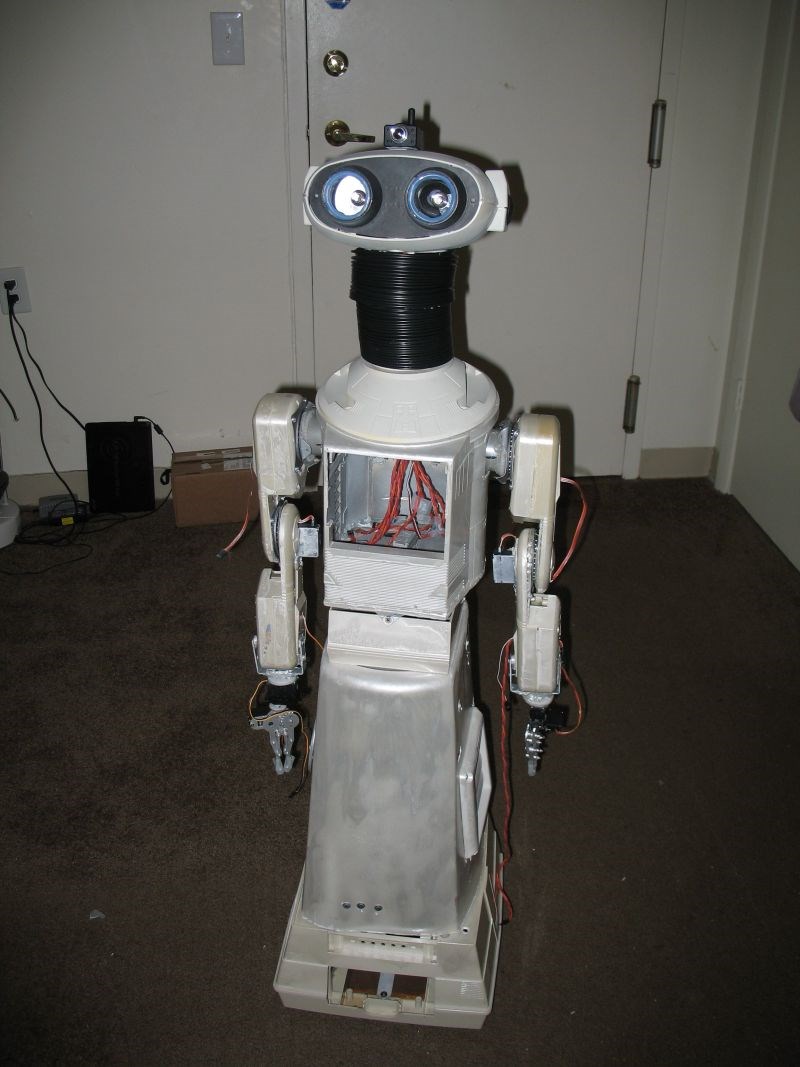
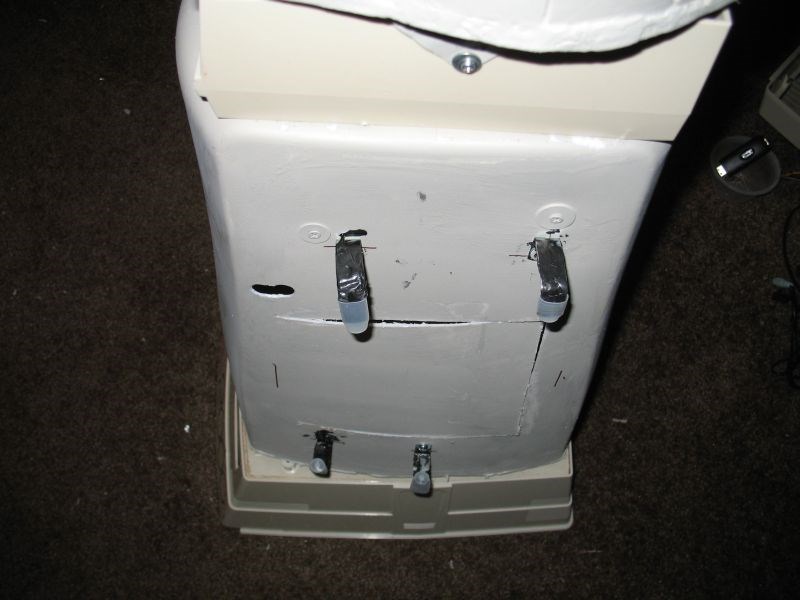
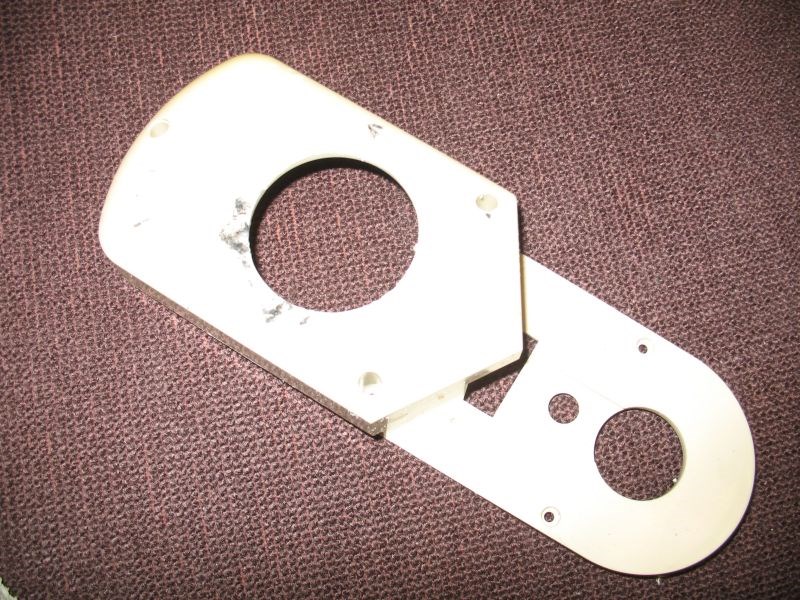
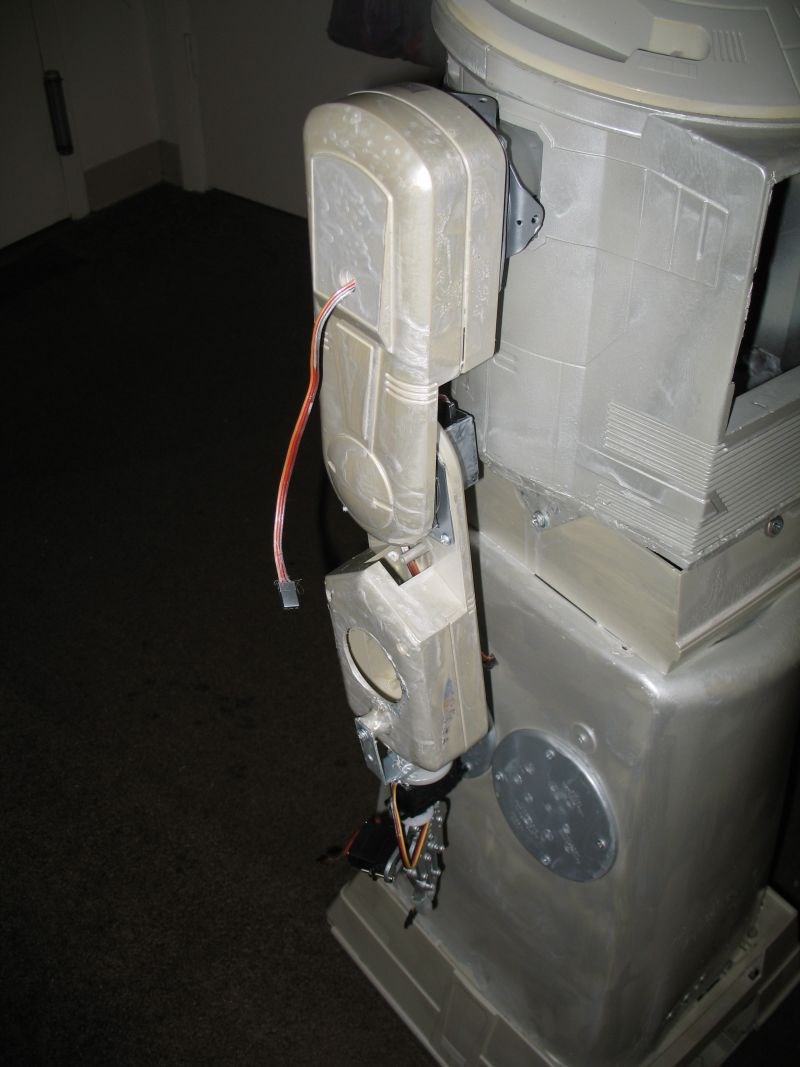
I Now have the ARM put back together. I still used Plastic, but I tried to get rid of the rotational orbit. I tried to make it centered as possible. I haven't tried it on the unit yet.
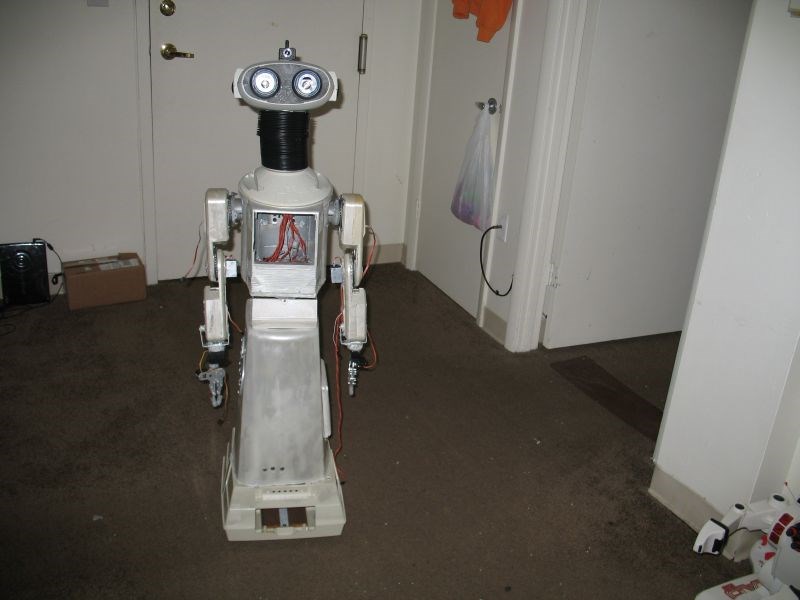
I am waiting for Papa Tony to print the neck and bezels.
I recently recieved an Early Christmas gift -- An Acer W3. so now I don't have to have that bulky netbook on the robot.
I should be getting this unit in a few days or so.
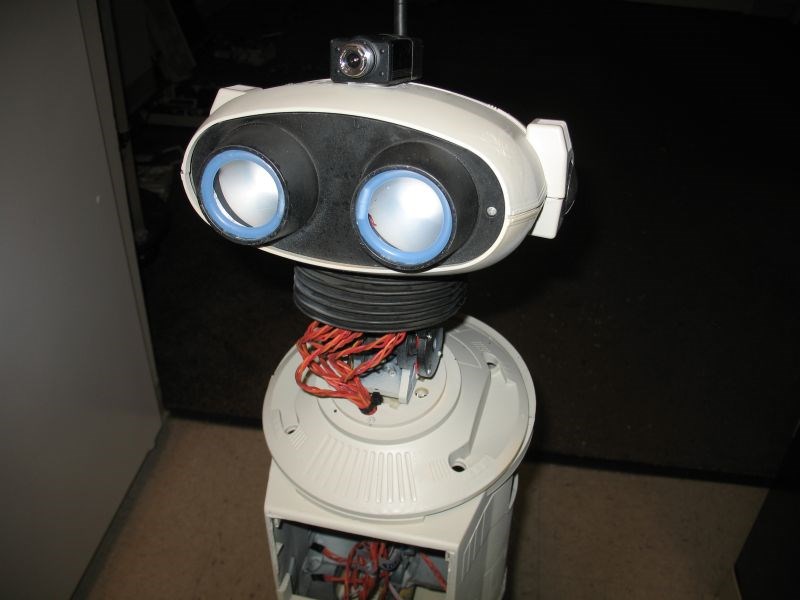
I rebuilt the Eyes with new rubber and LEDs. I decided to scrap the idea of blinking because it requires too many wires to go threw the neck.
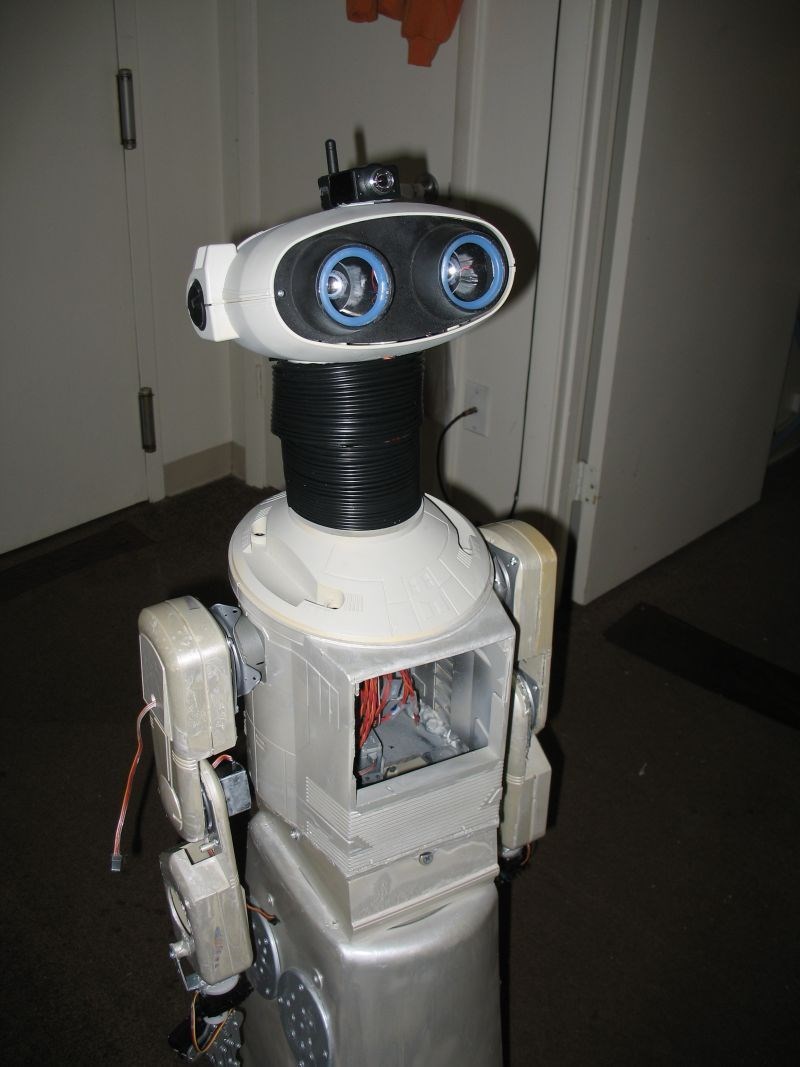
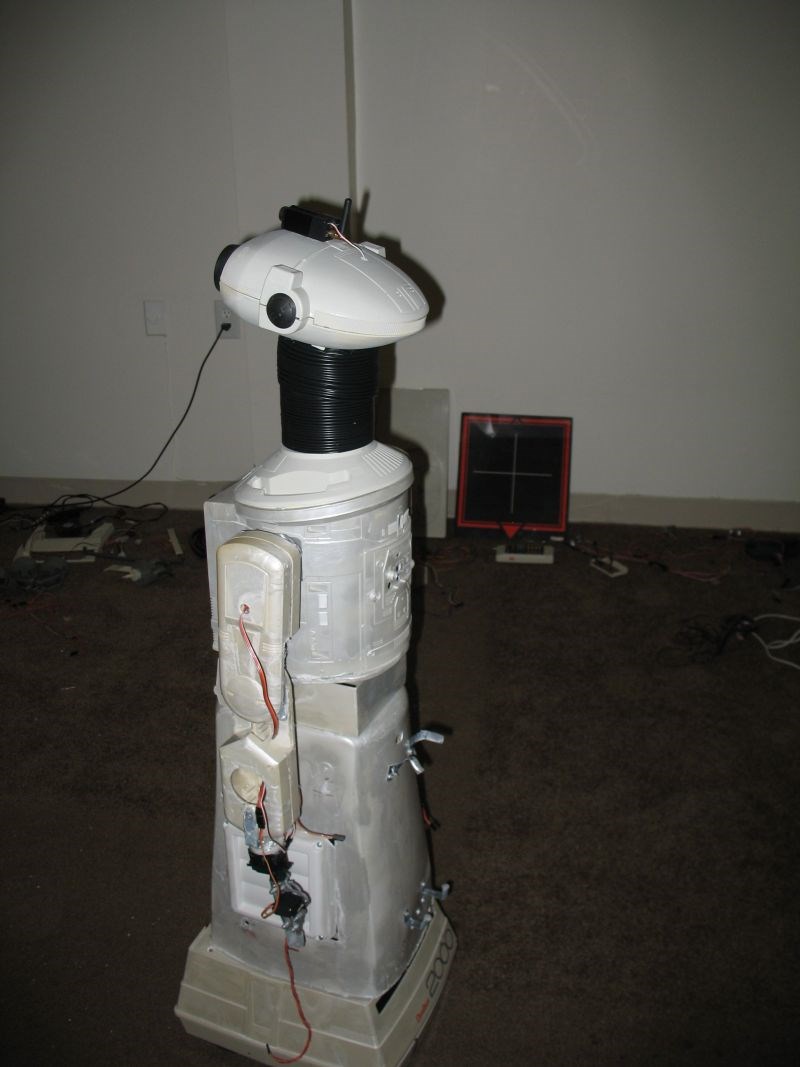
Eyes are Ready Head is Ready Arms are Ready, I think.
Just need the neck completed and the W3 and mimo monitors in place.
Shouldn't be too long.
Thanks for your support!
:D