
MovieMaker
USA
Asked
— Edited
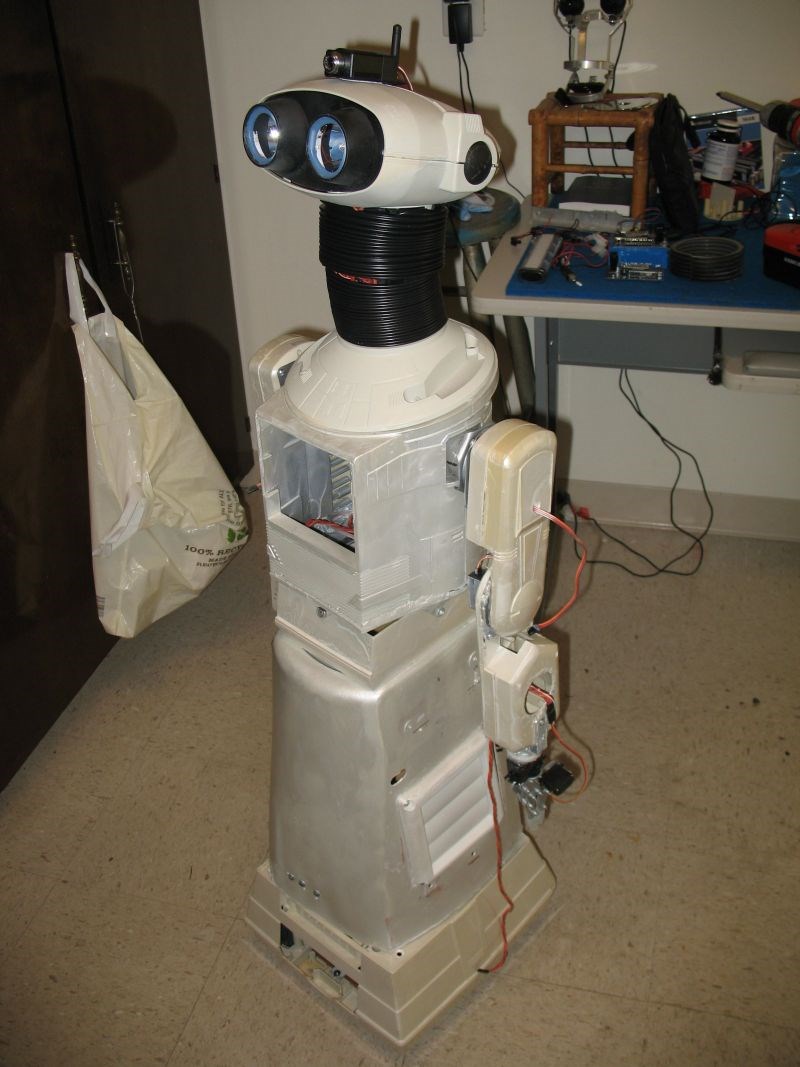
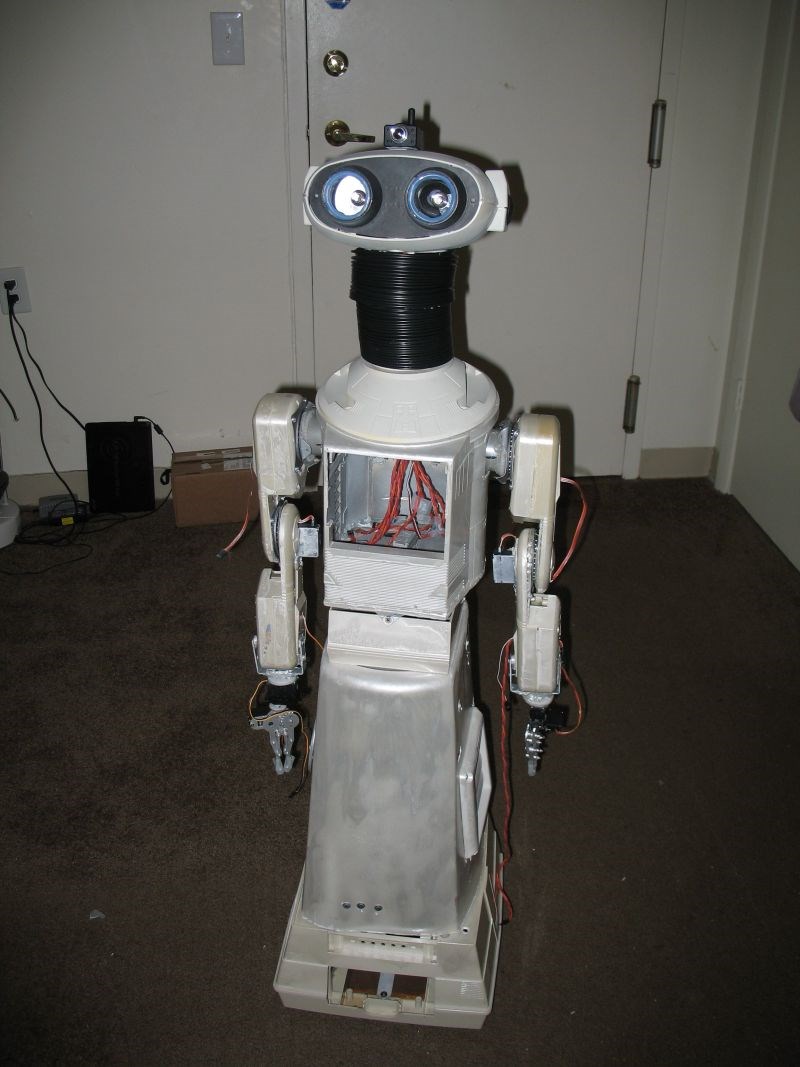
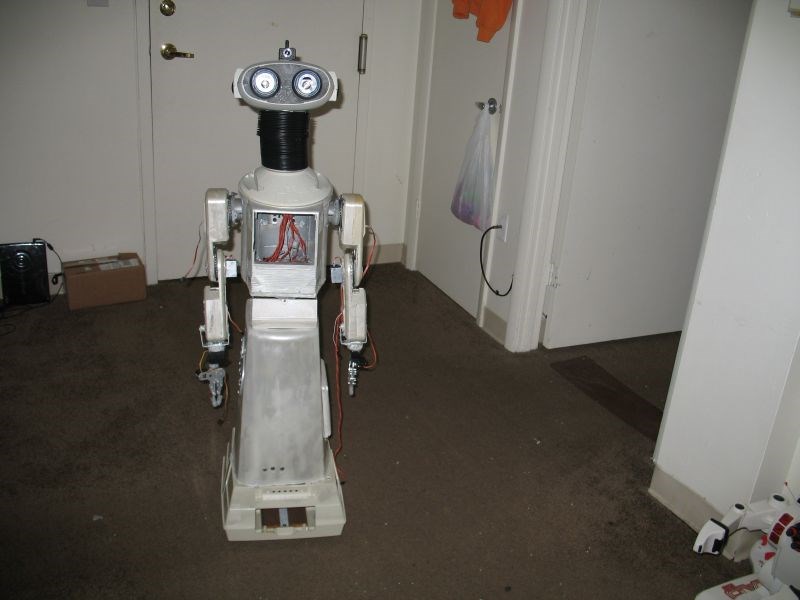
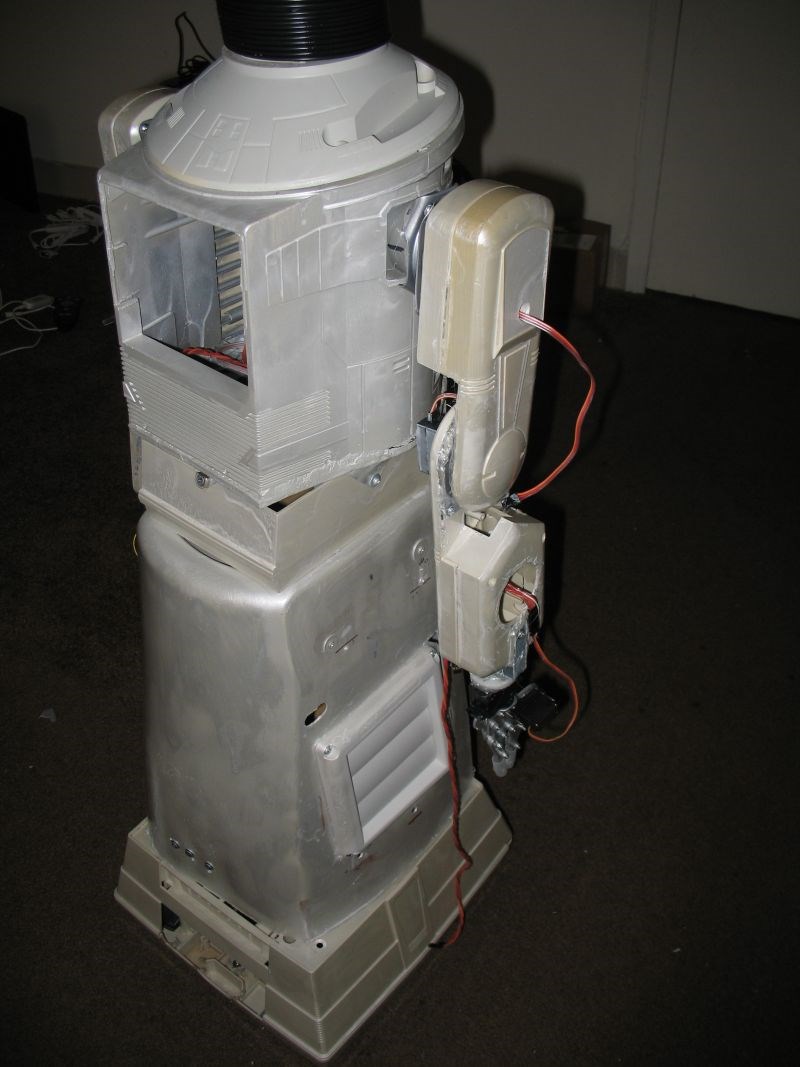
I thought I would start a new page. I would like to completely delete the old stuff. I will have pictures soon. They are already taken. I have had my struggles, so i named her Botchy instead of Sunshine.
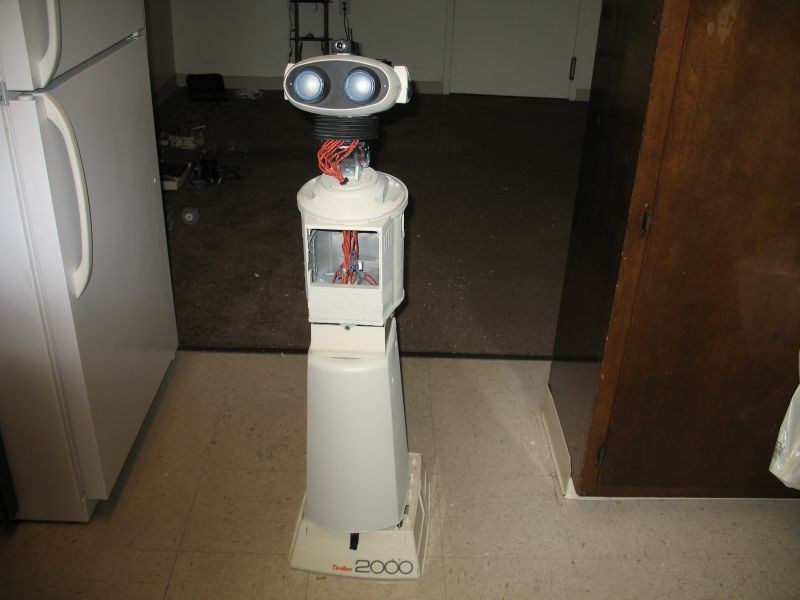
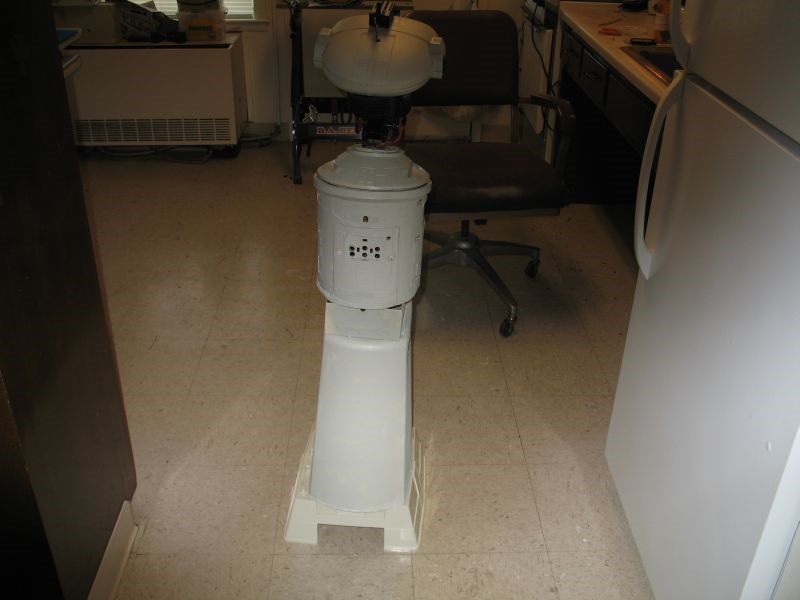
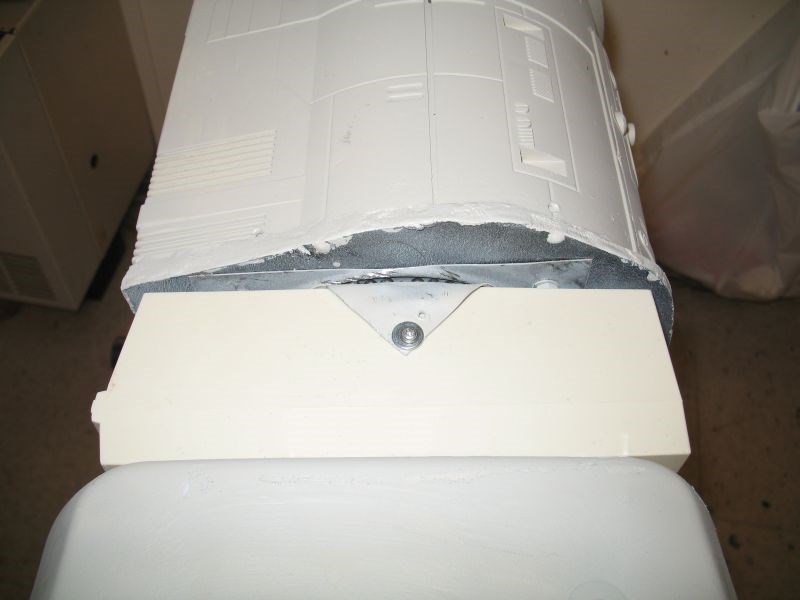
Here are some pix:
Thanks for your support!
:D
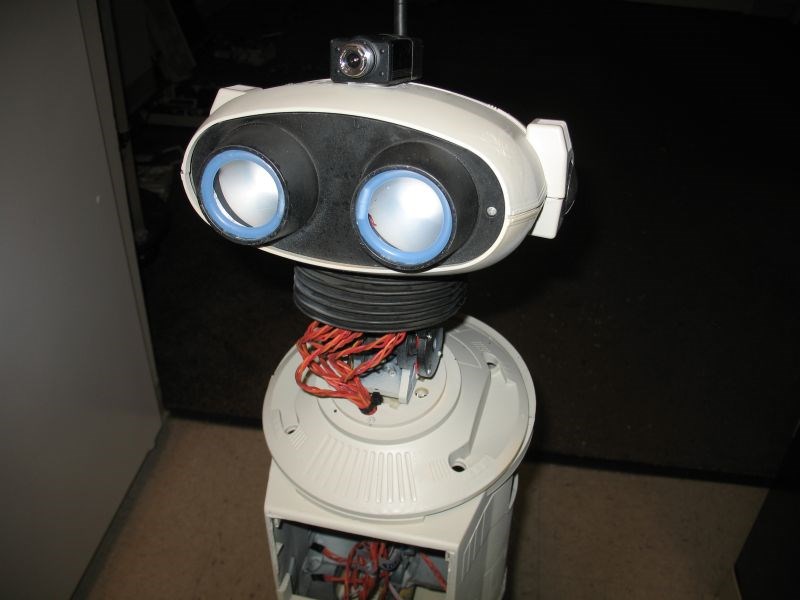
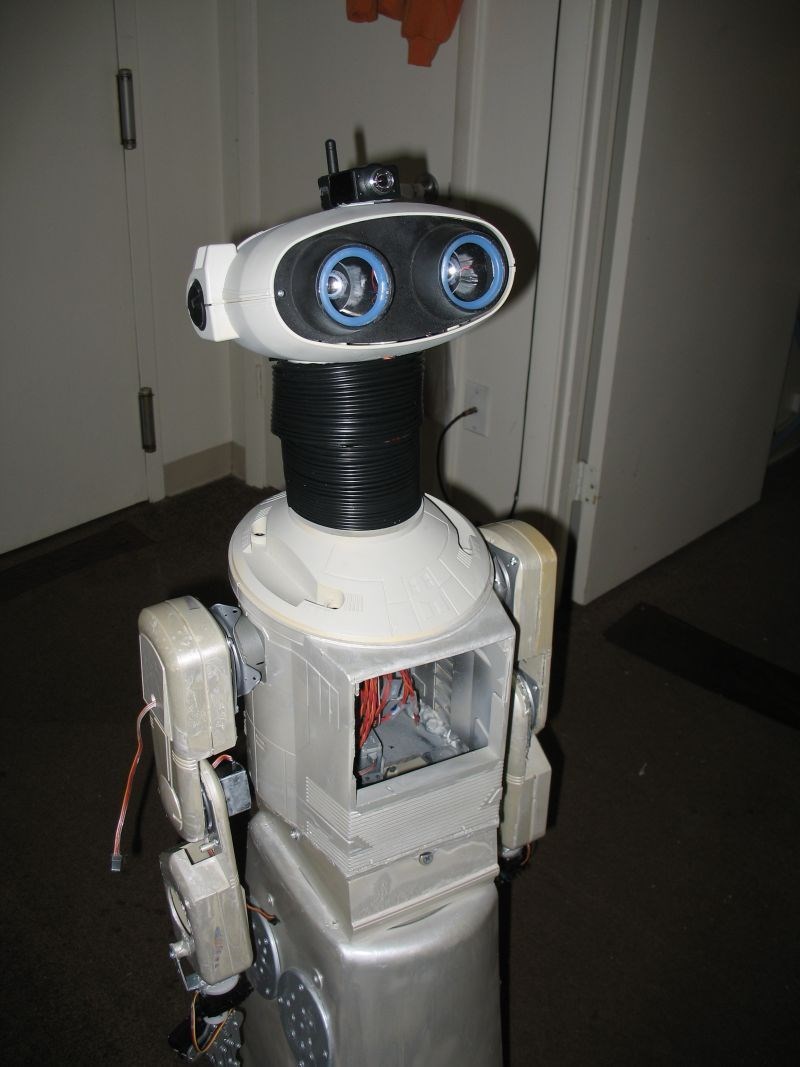
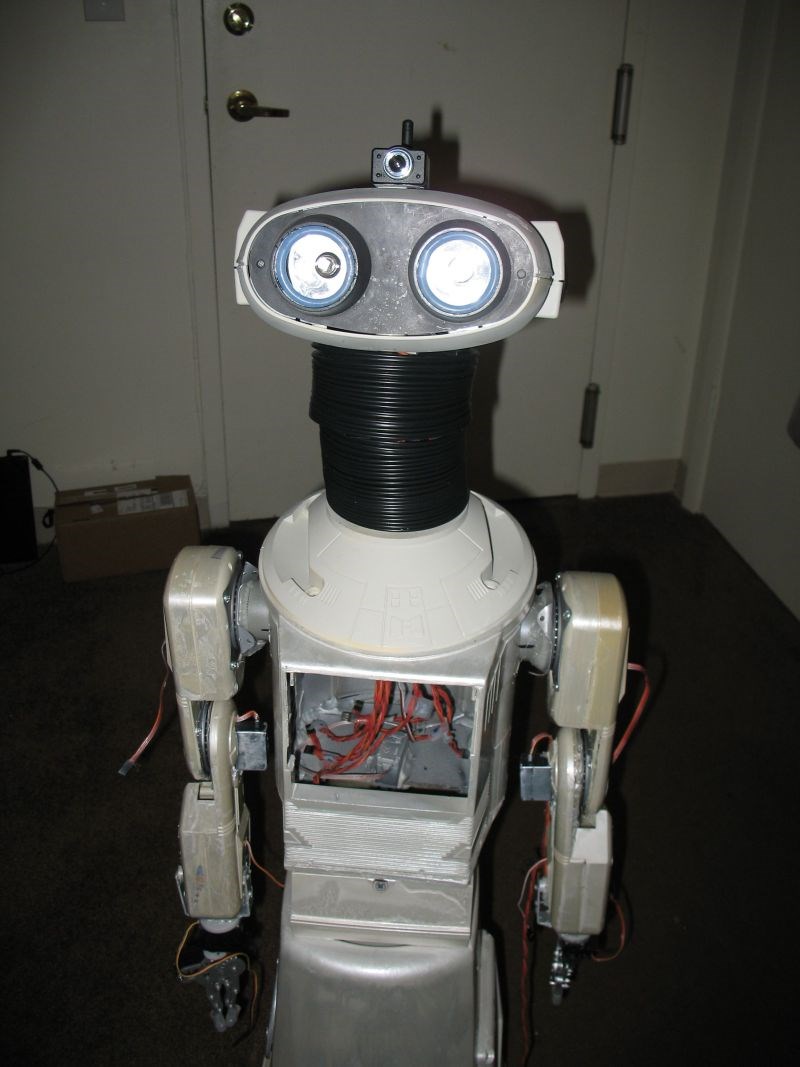
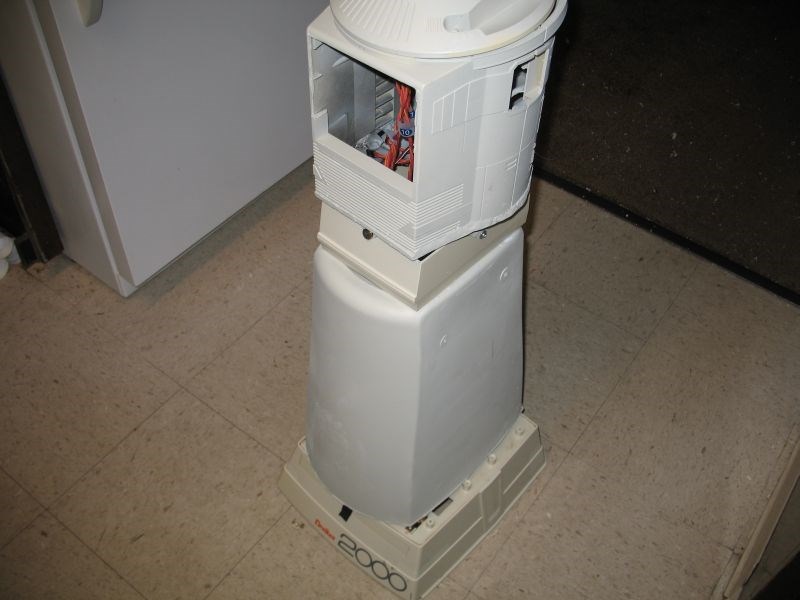
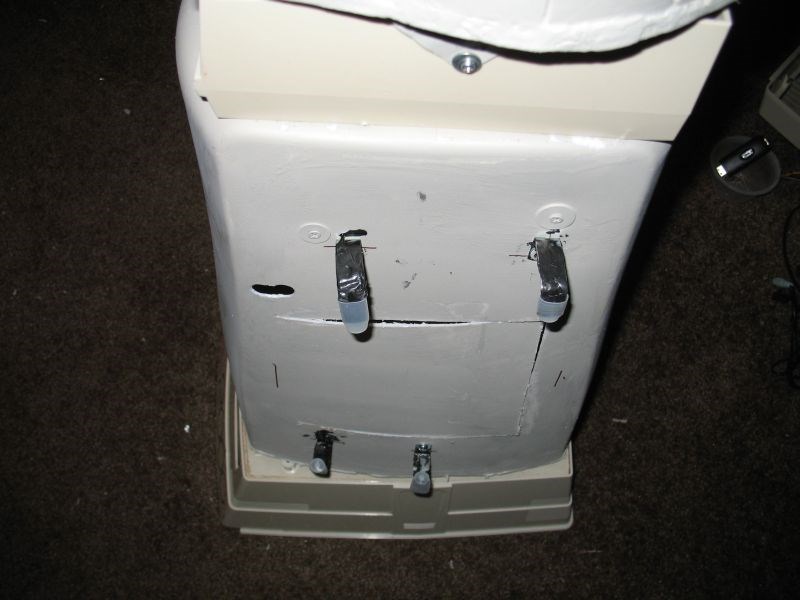
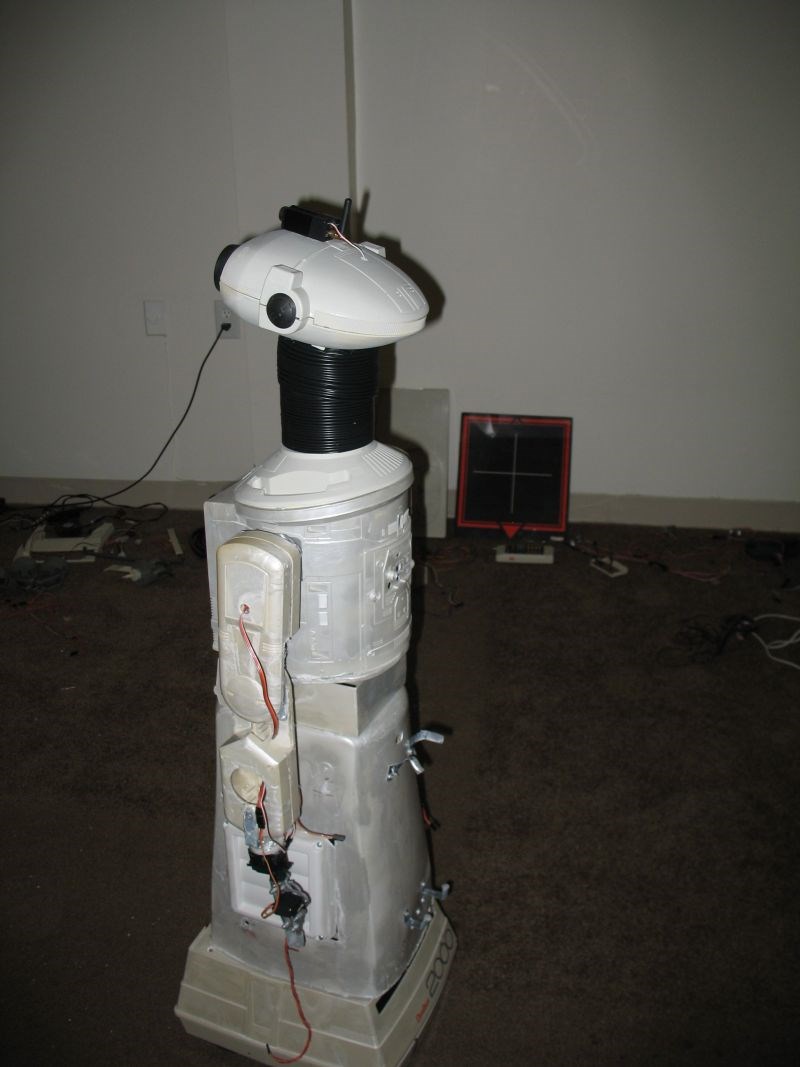
That is what I have so far.

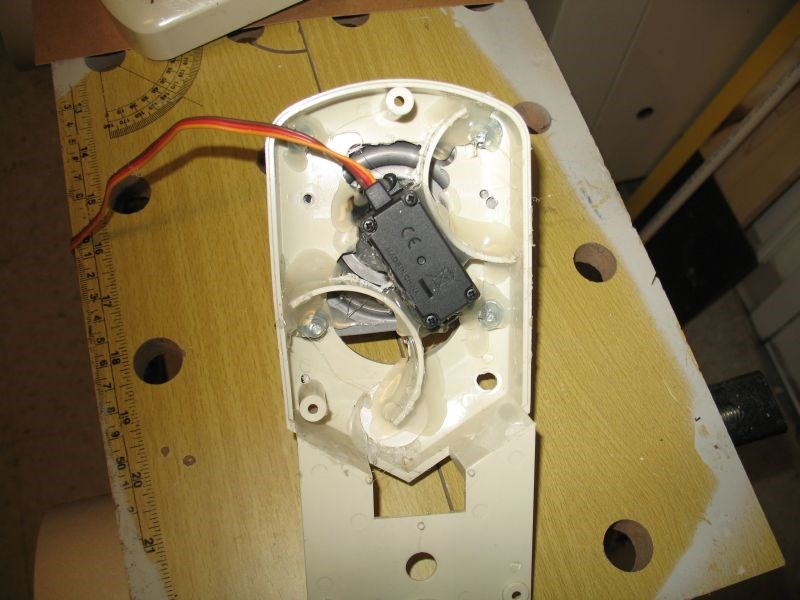
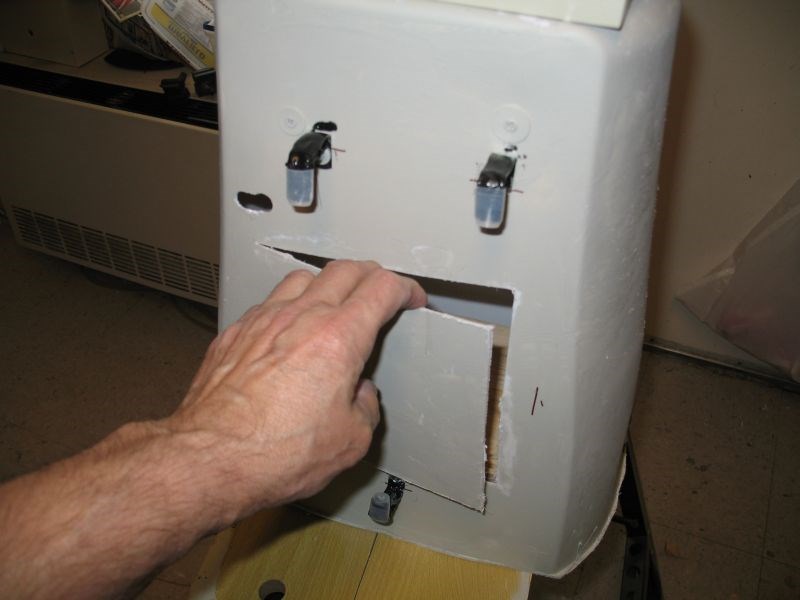
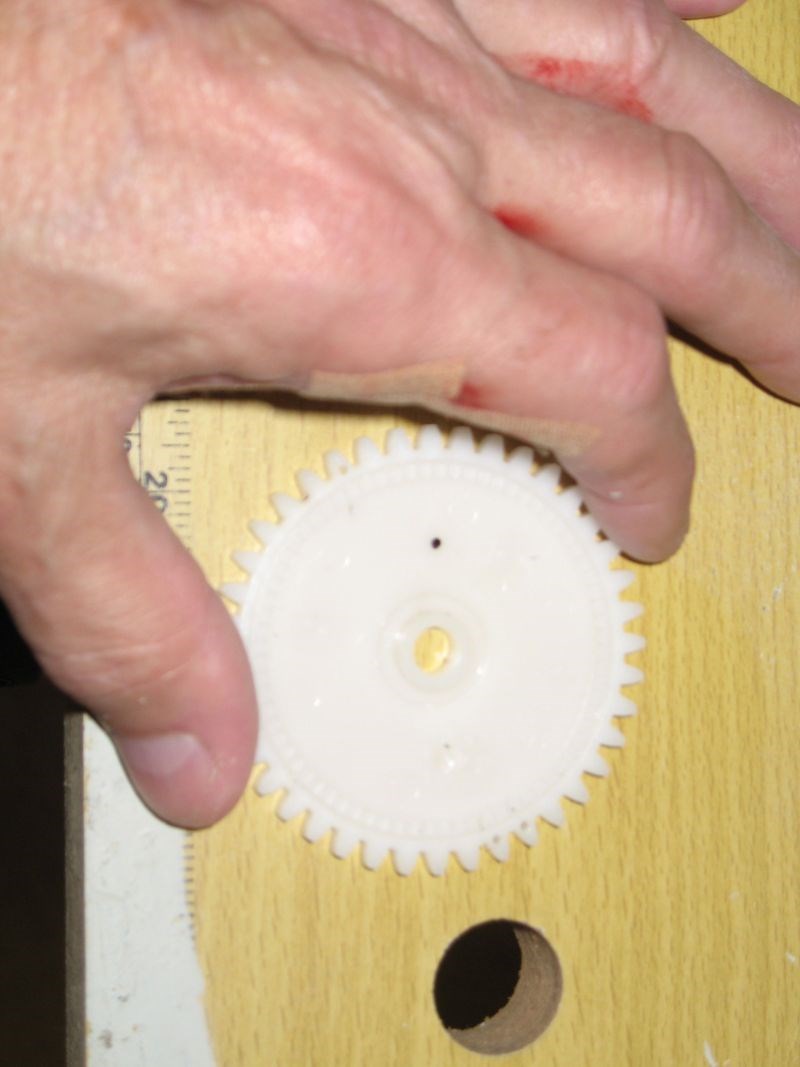
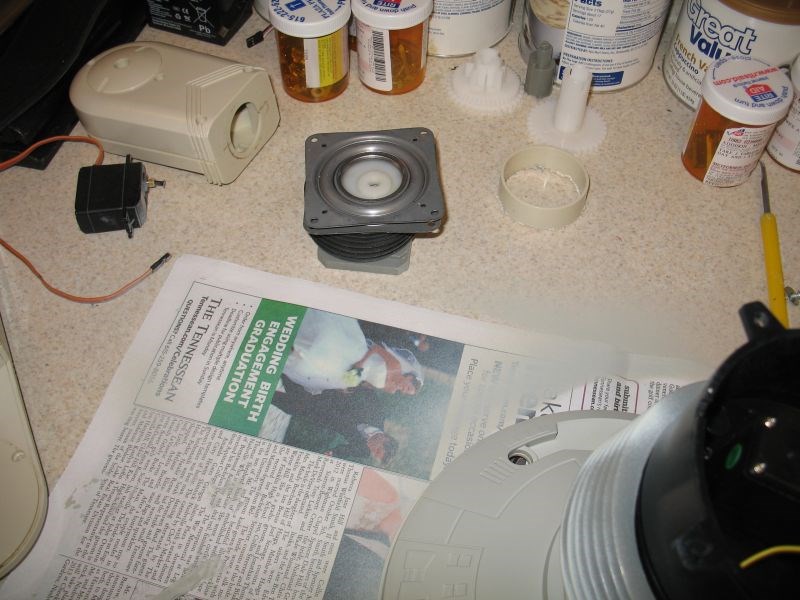
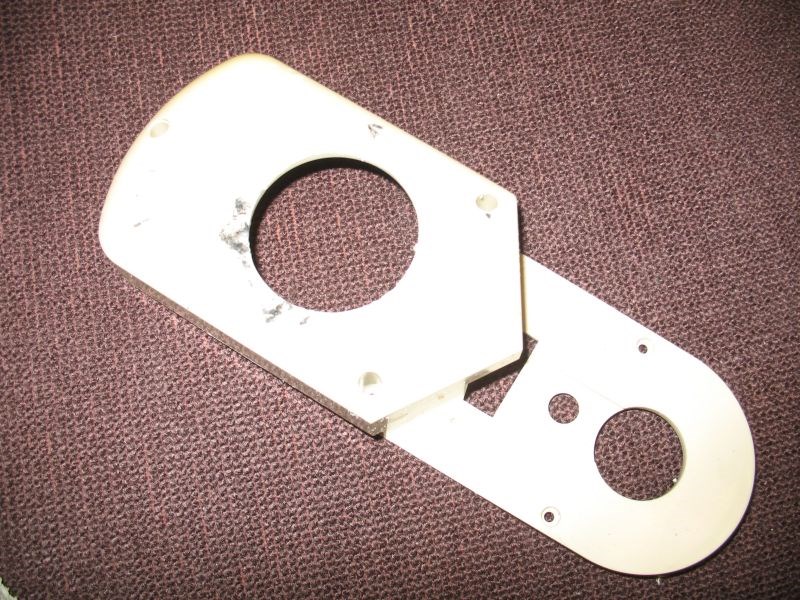
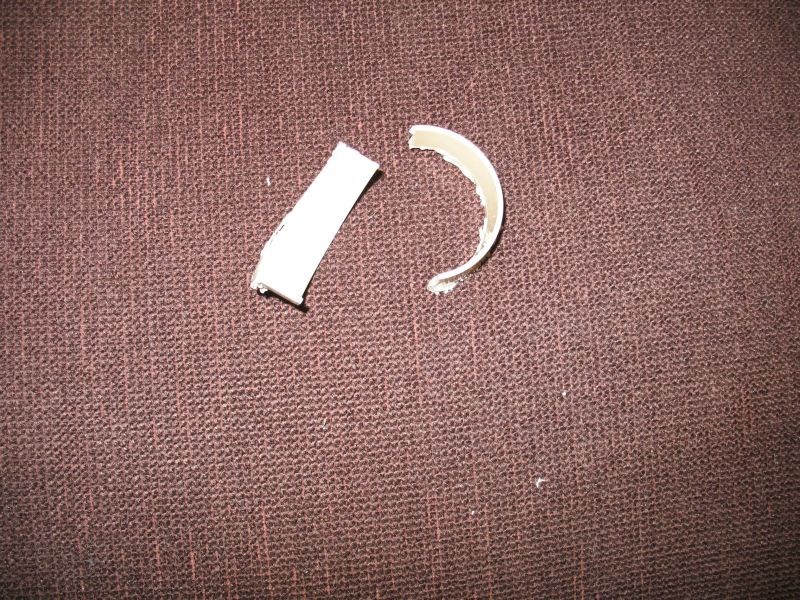
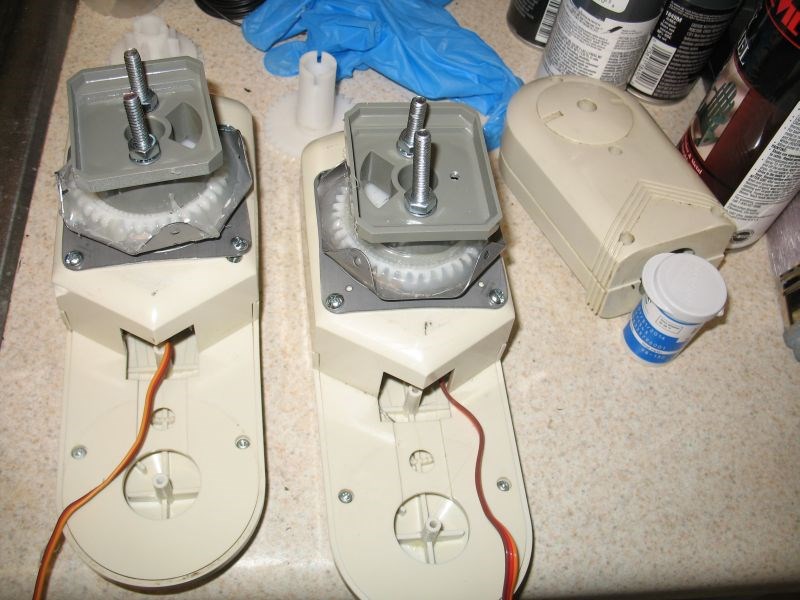
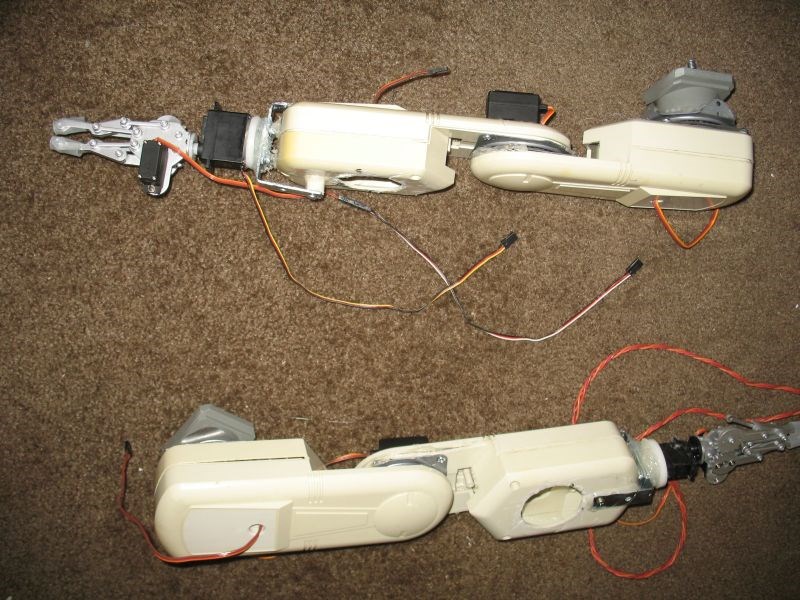
@rgordon. I think if I had the time and money I could do a much better job on future items now that I have done these things. I am almost ashamed of this robot. But, considering that I cannot see very well at all since my last eye operations and I am using only a sander and a drill to do this with, all things considering, I guess it turned out ok. I haven't started placing the sensors. I used to put a million sensors (not literally) on each robot. But, when you have more than one, it seems to slowthings down. So, we will see. It needs PIR, IR, and Ultrasonic sensors. I am sort of tackling one thing at a time. I will update as things progress.
You are doing fine. Once you get him moving around you'll love him!
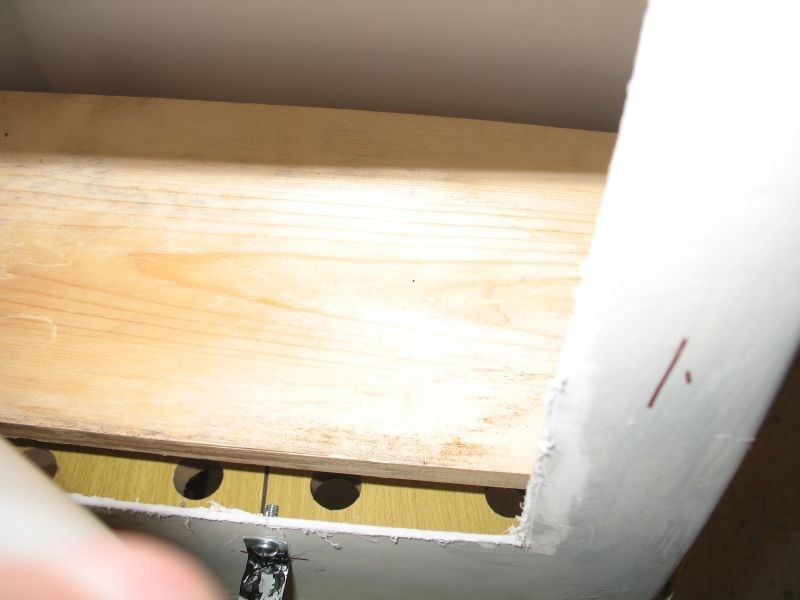
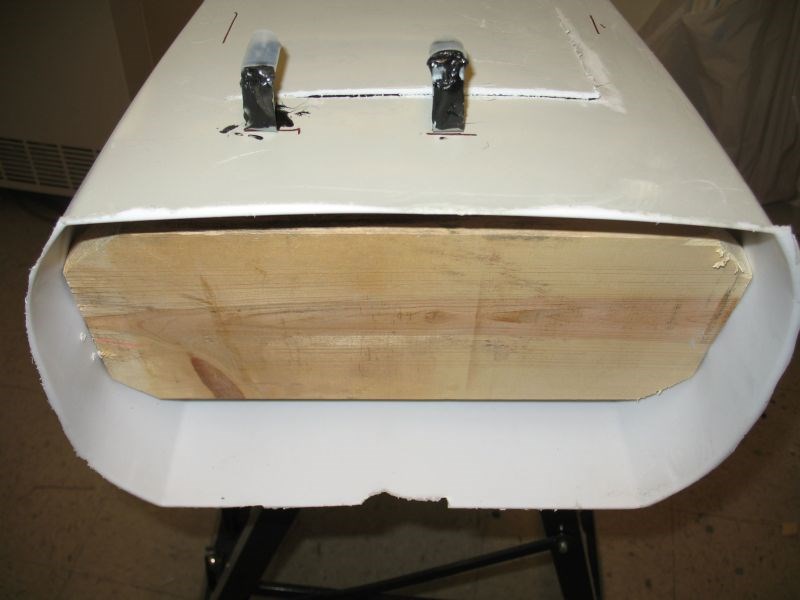
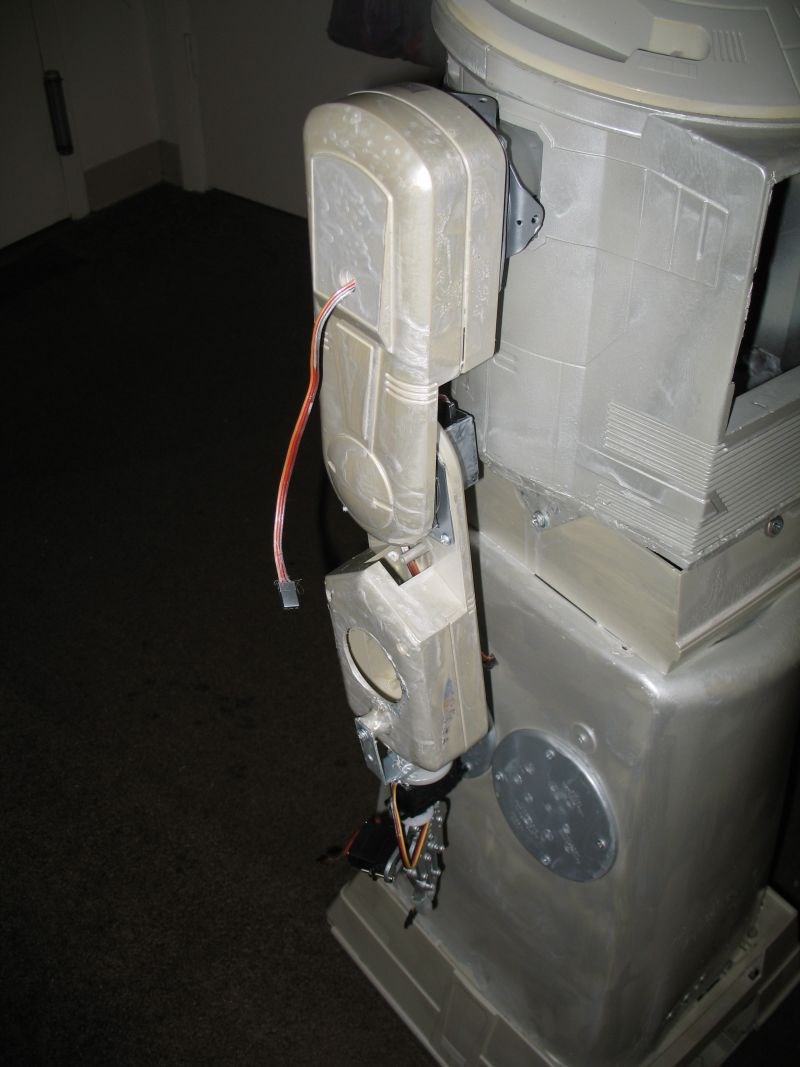
Thank You, my friend. I am really not satisfied with the neck. I had a horizontal pan/tilt that I got somewhere. So far, I have tried it upside down and right sideup. It leaves me nowhere to pass my cables through. I am going to think on this and see if I can come up with a better neck mechanism. Then I have to get it shorter a little bit. It is an ongoing process. I can't wait to get it to the part where I am both operating and programming it. That is my favorite part.
:D
On my project I use on lazy suzan to turn left/right at the base and in the head I use an other servo for the tilt... Sorry it's not very clear and I can't take picture... My lazy is 4'' and I have 3'' with nothing in the center so I have plenty of space for the wiring.
If you can figure the lazy suzan and a little 4'' diameter tubing fixed on it, at the top of the tubing ( 1'' ) you have the head and the tilting mechanism.
I can't actually see in my head what you are saying. I can figure the lazy susan and the 4" diameter hose turning with it, but that is as far as I understand. sorry.
It's me who is sorry, I still have so much to learn to be able to write correctly in english. I will try again, unstead of having a big assembly to make two movement of the head I use the lazy suzan for the left/right, on top of the lazy I put the neck, in the head I have the other servo to move the head up/down. Everything is disassemble now so I can't show you pictures...
Andre,
I am proud of you because you know TWO languages. I only know one.
Hello MovieMaker, I intend to work on my robot this week-end so if I can just find the plastic I need I will post some pictures so you will see my robot neck. You said your lazy suzan is not hollow ? At https://www.leevalley.com they have some at good price metal or plastic.
I am impress by your work because it's beginning to be very good and I am far to achive a result for now.