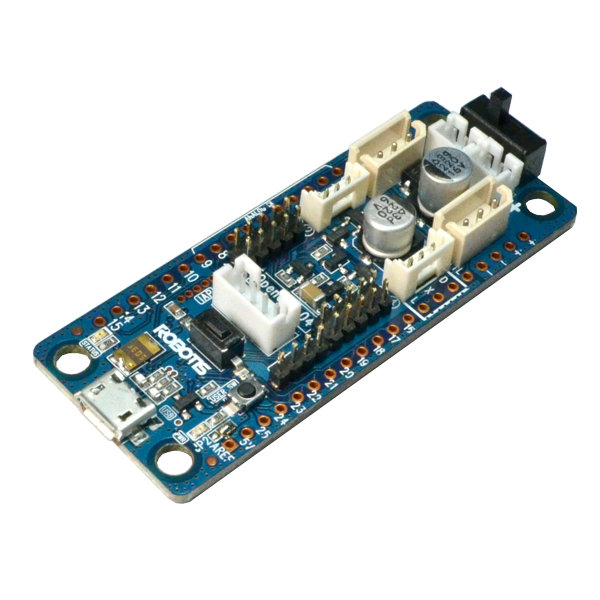

Hardware: OpenCM 9.04
Author: DJ Sures
This firmware converts a OpenCM 9.04 into an EZB for ARC to connect to it.
This firmware is to be installed on the OpenCM 9.04 from Robotis to connect with Synthiam's ARC. Follow the directions below to install and get running.
Setup Video Walk-through In this video, DJ demonstrates how to connect and control dynamixel AX-12 servos with the Open CM 9.04 in ARC using the Dynamixel plugin. There are step instructions below that define each step.
Onboard Ports Onboard Open CM9.04 ports are UART #0 in ARC. The TTL servo ports of the Open CM 9.04 are UART #0 on the Dynamixel plugin. Ensure the plugin has the UART #0 selected for the TTL servo ports to work.
Expansion Board Ports The expansion board ports use UART #2 in ARC.
Setup Steps 1) Download and install ARC 2) Follow the instructions from Robotis to install Arduino IDE tools. 3) Download this firmware file 4) Tutorial to compile and upload the firmware
If using Dynamixel servos, install the Dynamixel servo Control into ARC. Set the Dynamixel plugin to use UART #0 for the Open CM 9.04.
Arduino IDE Configuration The suggested IDE for programming the OpenCM9.04 is the official Arduino IDE. The tutorial link below will recommend downloading and installing the Arduino IDE. However, you will also need to install the Robotis OpenCM libraries and tools into the IDE.
The OpenCM9.04 can be programmed with the EZ-B firmware for a variety of capabilities when connected to ARC. The tutorial to program the EZ-B firmware can be found HERE. This hardware was added to ARC in this beta release and newer.
Connectivity Most Arduino's connect to ARC via 9600 baud. This controller has the technical power to connect at a much higher rate. The firmware is set for 921,600 BAUD, which is very quick! When following the connection tutorial, ensure you specify the correct baud rate for this firmware.
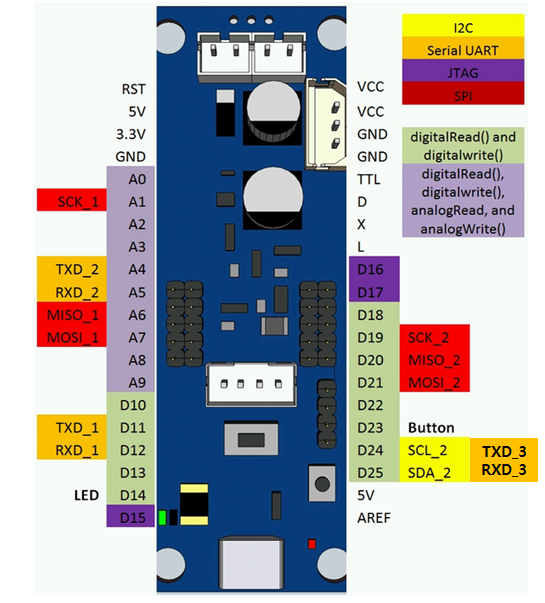
Ports
The ports on the OpenCM perform different features based on their usage. The diagram above demonstrates how the ports are connected to ARC. The Ax ports can be either Analog Input or Digital I/O. The Ax also function as Dx ports. The UART 0, 1, & 2 are connected to UART 1, 2 & 3, respectively.


very good video - auto position
EzAng