
rgordon
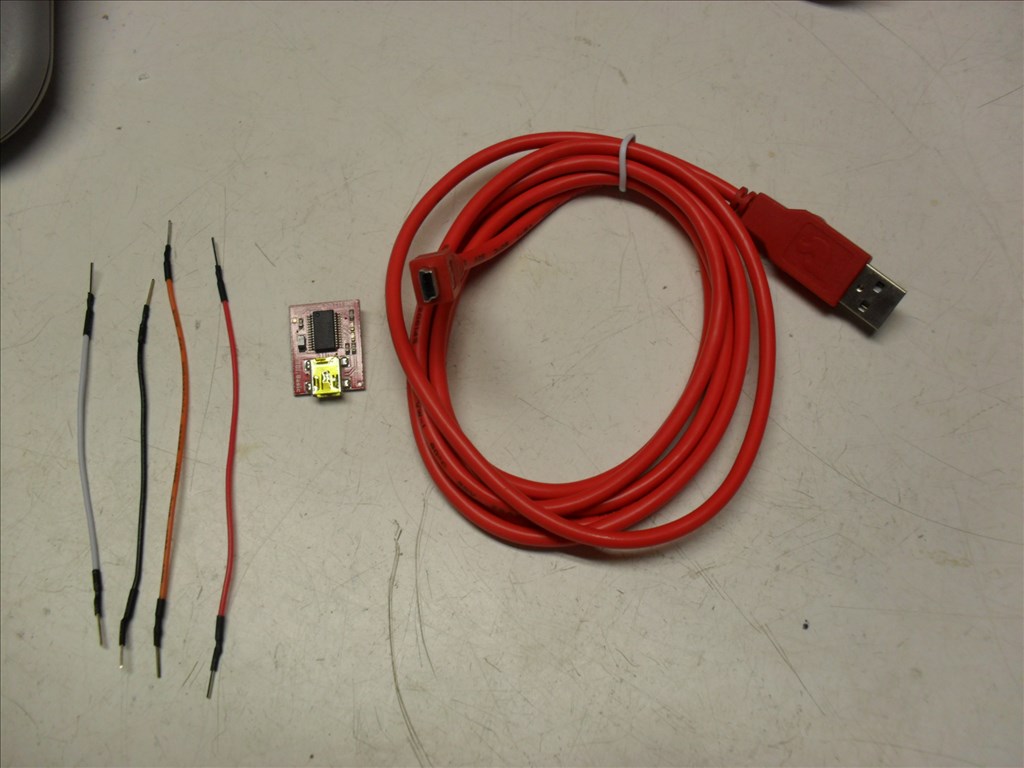
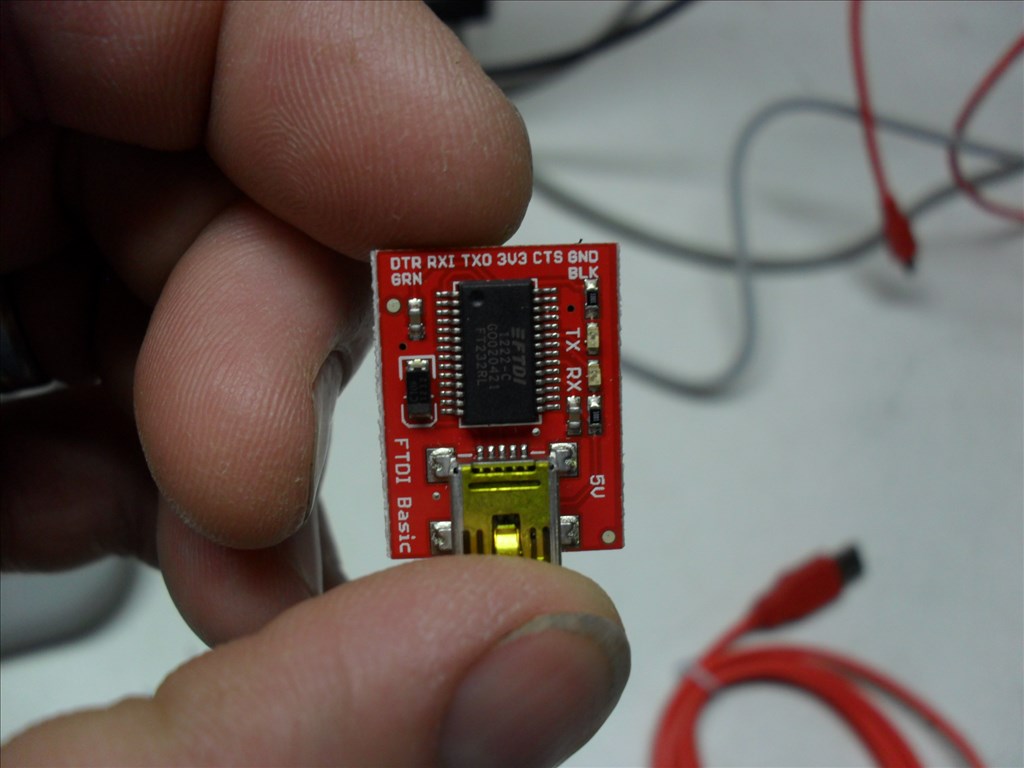
Here is how I hooked up the SparkFun FTDI (USB to TTL) Adapter in place of the Bluetooth module that sits on top of the EZ-B.
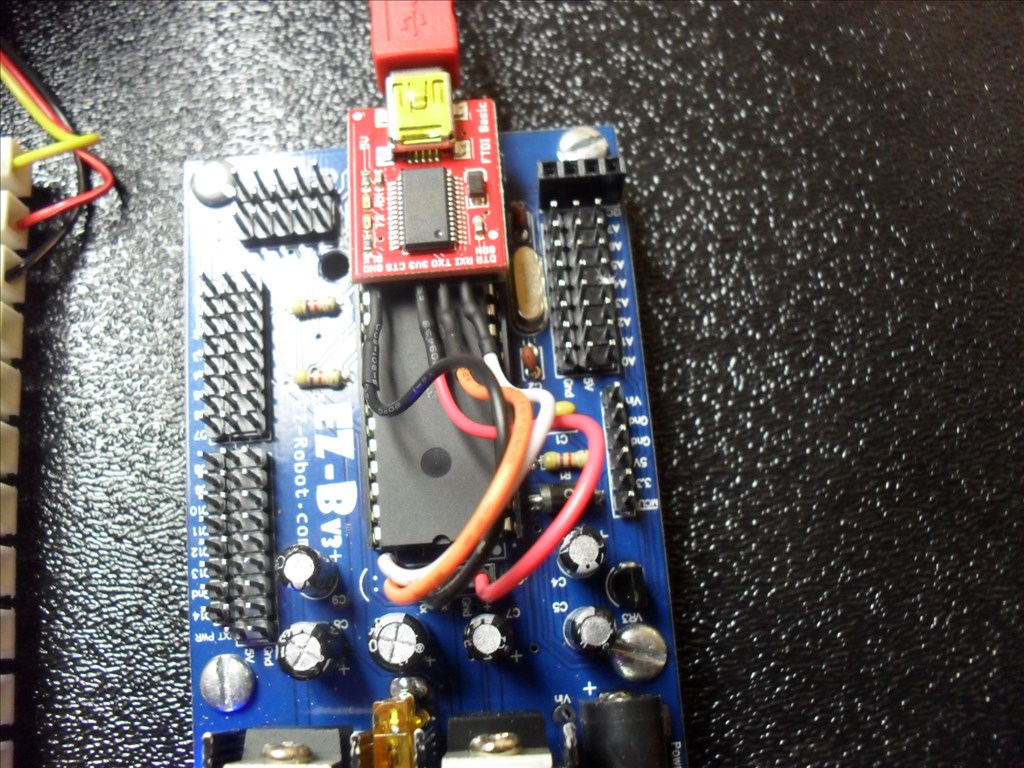
- I very carefully removed the Bluetooth module from the EZ-B by using a small flat blade screw driver to pry it up. The double sided tape eventually let loose from the IC Chip and I pulled the module free from the EZ-B header .

- I used the male jumpers that I got...
Step 1
Here is how I hooked up the SparkFun FTDI (USB to TTL) Adapter in place of the Bluetooth module that sits on top of the EZ-B.
- I very carefully removed the Bluetooth module from the EZ-B by using a small flat blade screw driver to pry it up. The double sided tape eventually let loose from the IC Chip and I pulled the module free from the EZ-B header .
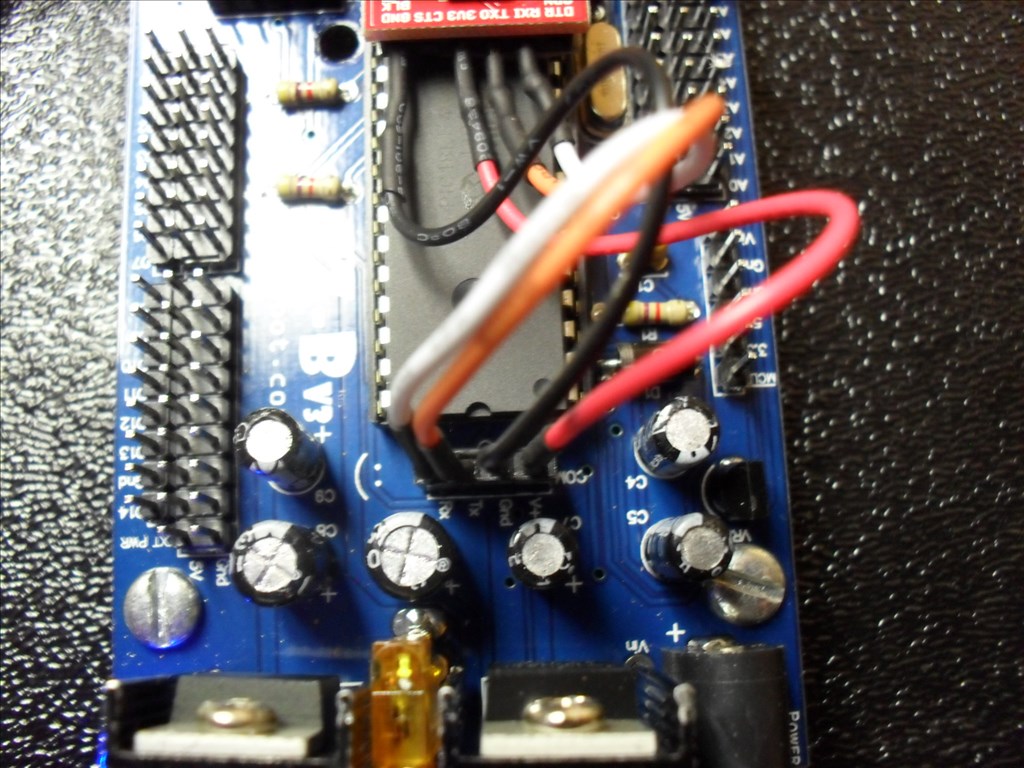
I used the male jumpers that I got from the EZ Robot Store to hook up the FTDI header to the EZ-B header. VCC to VCC <- EDIT: Found out this connection is not needed. GND to GND Tx to Tx Rx to Rx (Yes that's right Tx to Tx and Rx to Rx. I thought it should be Tx to Rx and Rx to Tx but that did not work.)
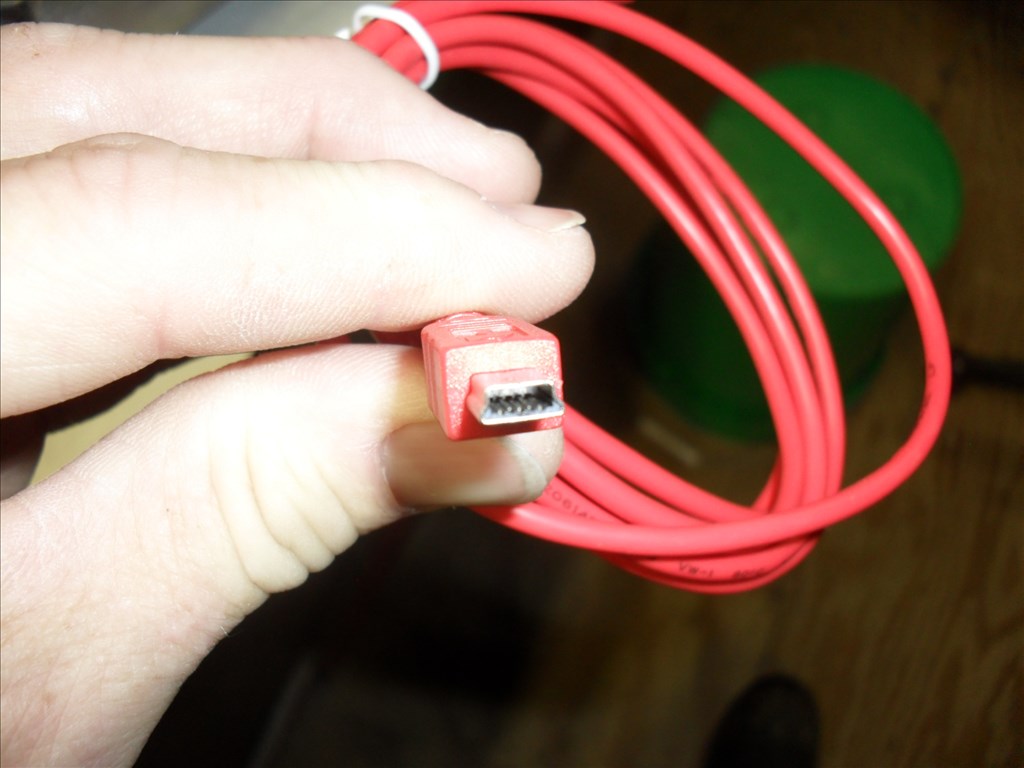
I hooked the SparkFun Mini-B cable from the FTDI board to the ASUS Mini ITX motherboard.
I powered up the EZ-B using a battery pack and then powered up the ASUS Mini ITX motherboard.
Windows 7 Home Edition (64 Bit) informed me that it could not find a driver so I let it search the internet.
It eventually found, loaded and installed a "FT232 USB UART" diver and assigned it to COM 7.
I started EZ-Builder, chose COM 7 and clicked on Connect. The EZ-B blue LED went from blinking to solid blue and all looked good. I hooked a servo to D0 and tested its operation with good results.
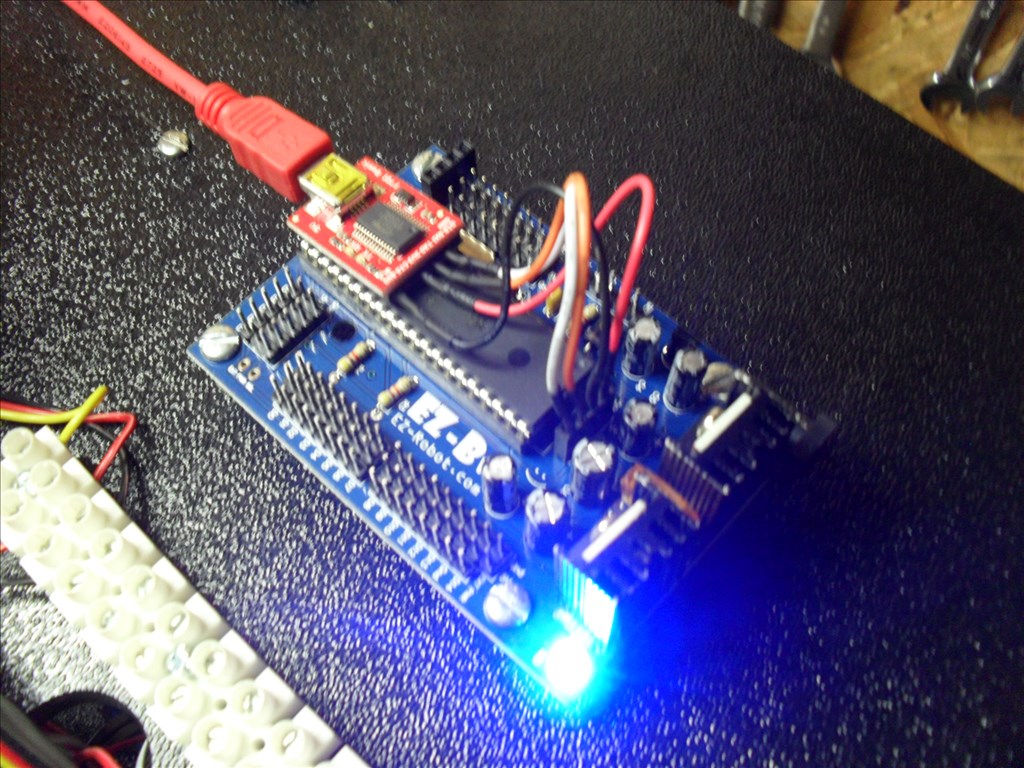
Notice anything interesting in the picture above?..... When I unhooked the battery pack from the EZ-B the EZ-B remained on. It was being powered from the Mini ITX. Connection was not lost. The blue LED remained on. However, I found that the servo would not work anymore until I hooked the EZ-B battery pack back up.
<- EDIT: Found out the VCC to VCC connection is not needed. I have now removed the VCC connection between the EZ-B and the FTDI.
