
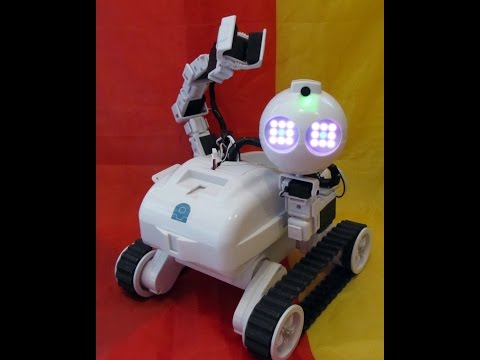
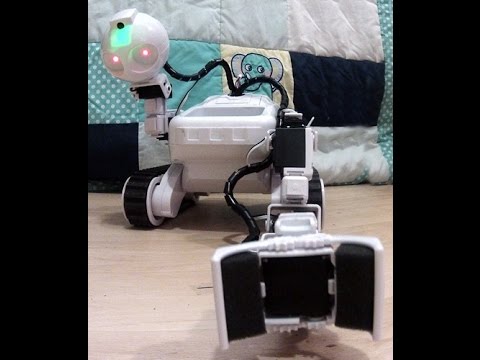
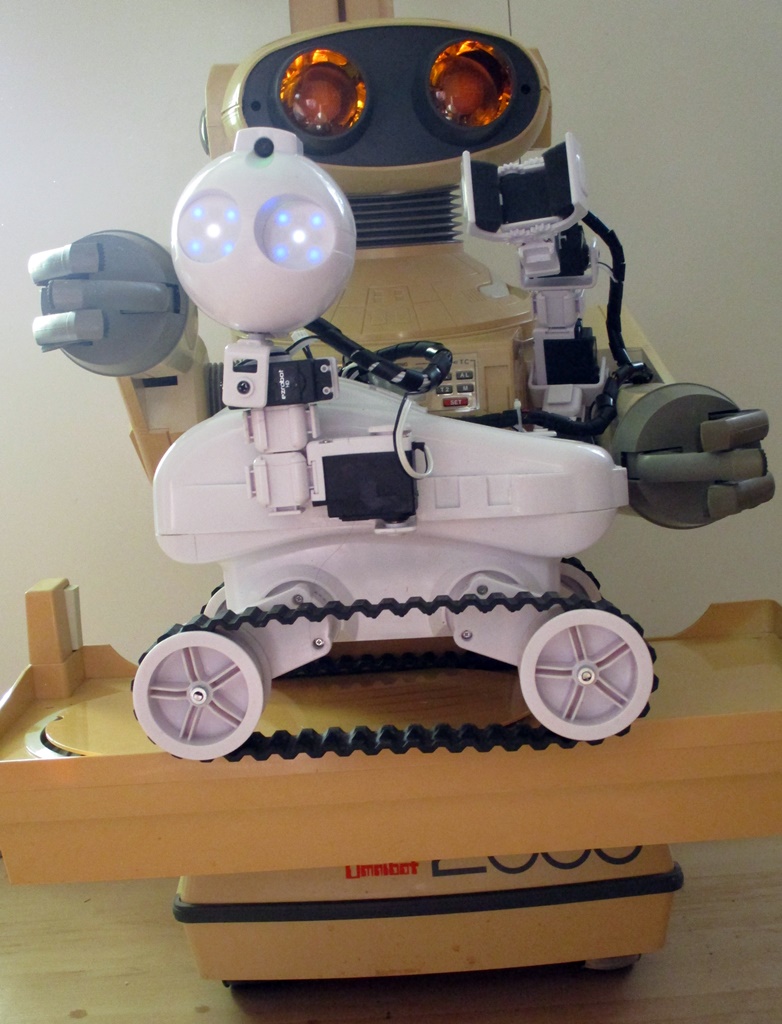
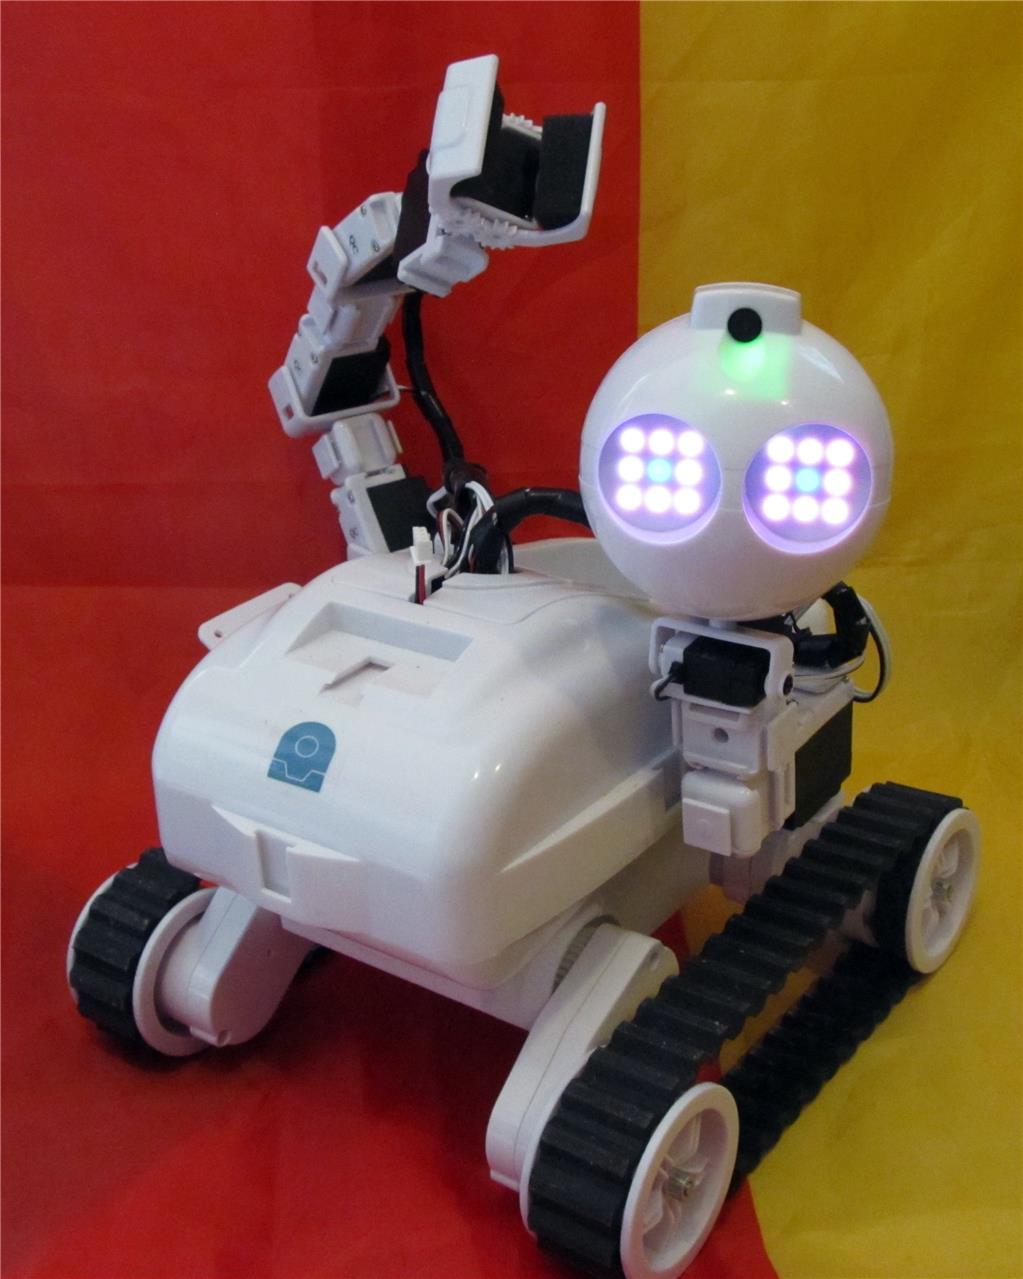
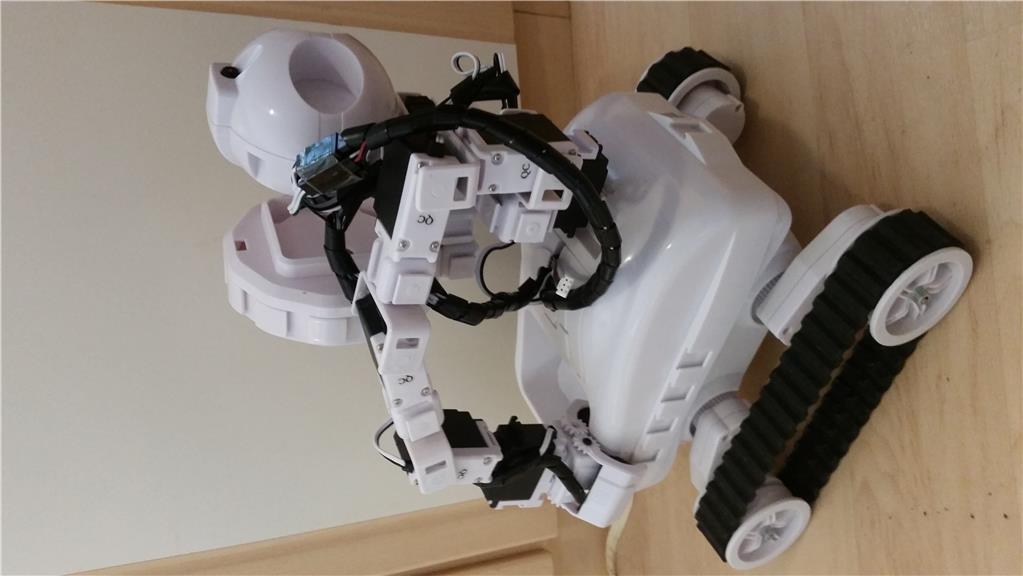

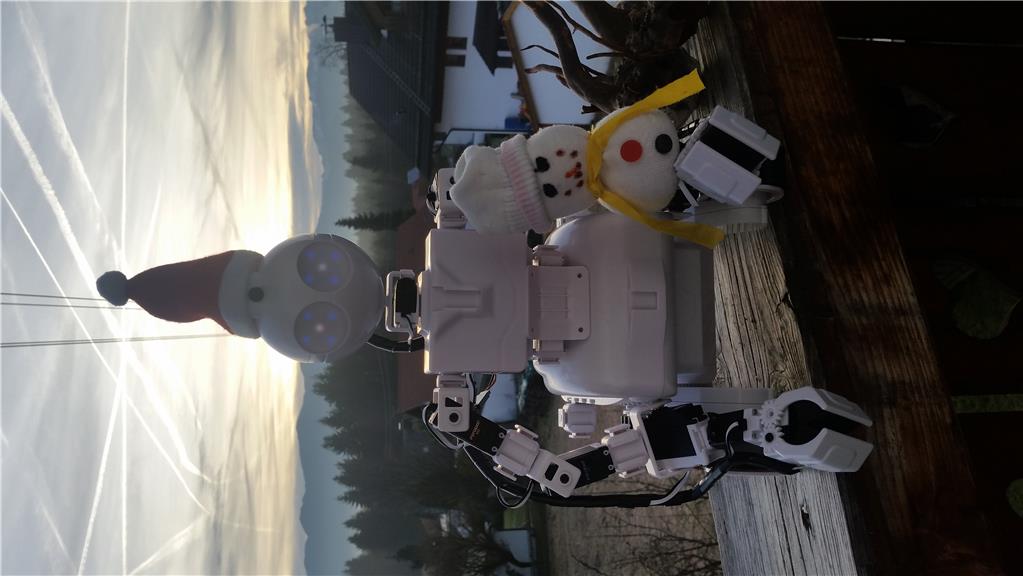
I create here a thread about my Robot. First steps, buildings, Errors and mistakes.
By Stiko
— Last update

Discover more robots
DJ's Super Six Hexapod
Large EZ-Robot hexapod built with 3D-printed STL files, EZ-B v4 controller, heavy-duty CYS S8218 servos, ready for DIY...
Tmesserschmidt's Meet Robot Betty9
Betty9: a 6' tall fembot with servos, blue eye LEDs, Arduinos, EZ-B and Echo Dot, mounted to a hacked Segway MiniLite...
Stiko's Henry The Enchanted Tree
Bring an Enchanted Tree puppet to life with 3D-printed parts and an E-Z-B V4 camera to animate arms, mouth and eyes.
I started searching for a driving camera. The best thing I wanted was a robot with which I could grab things. JD was perfect for me. I experimented with JD but he runs very slowly. I tried to lengthen the legs. There were problems with the stability. I bought him wheels.
With the wheels he could not drive small steps. Now I got Rolli and built a centaur.
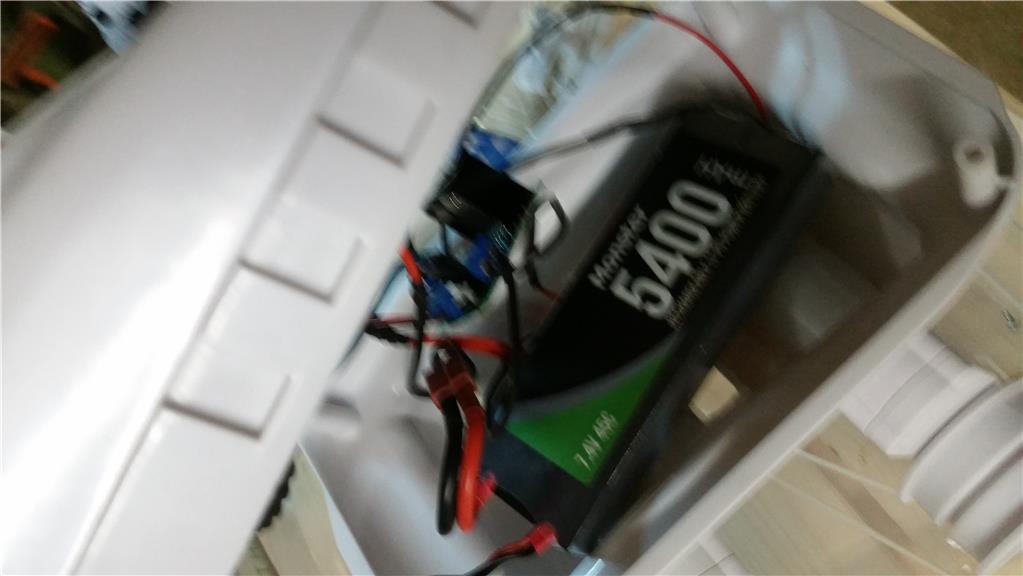
After 30-40 minutes the battery was always empty. I needed a big battery. Now the robot can be used for 6-8 hours with only one battery.
Controlling two arms is not easy. Except for the optics, I found 2 arms senseless. I put the robot on a movable arm. The stress on the rotation servo is too great. The stability is not given.
I tested 2 weeks all positions for one arm. I also wanted to be able to store objects in the body. Then I had the perfect idea. Through the integration of a vehicle and working mode, I was able to fulfill all wishes.
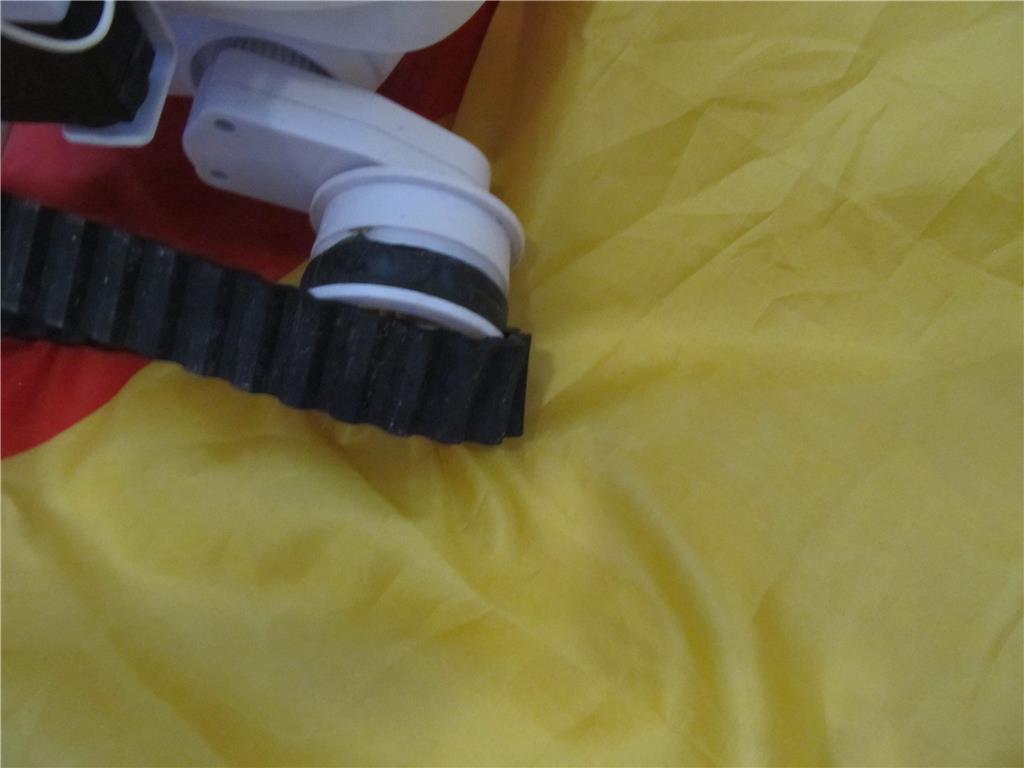
The chains have always slipped. Either they were too tight. Or these were too loose. For normal operation these were ok. As soon as the robot turned, the chains slipped.
Now I attached to each drive wheel a self-sealing tape. Now the chains work perfectly again.
Now i have make a first operating Video with the new Version from my robot EZRI.
Here you can see the robot with full operating arm and grabber.
Nice work! well thought out and great trouble shooting technique.