
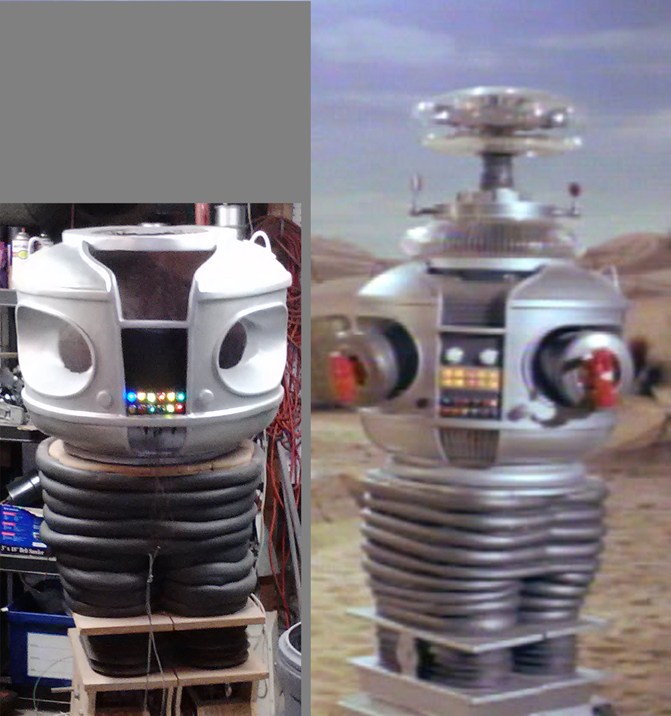
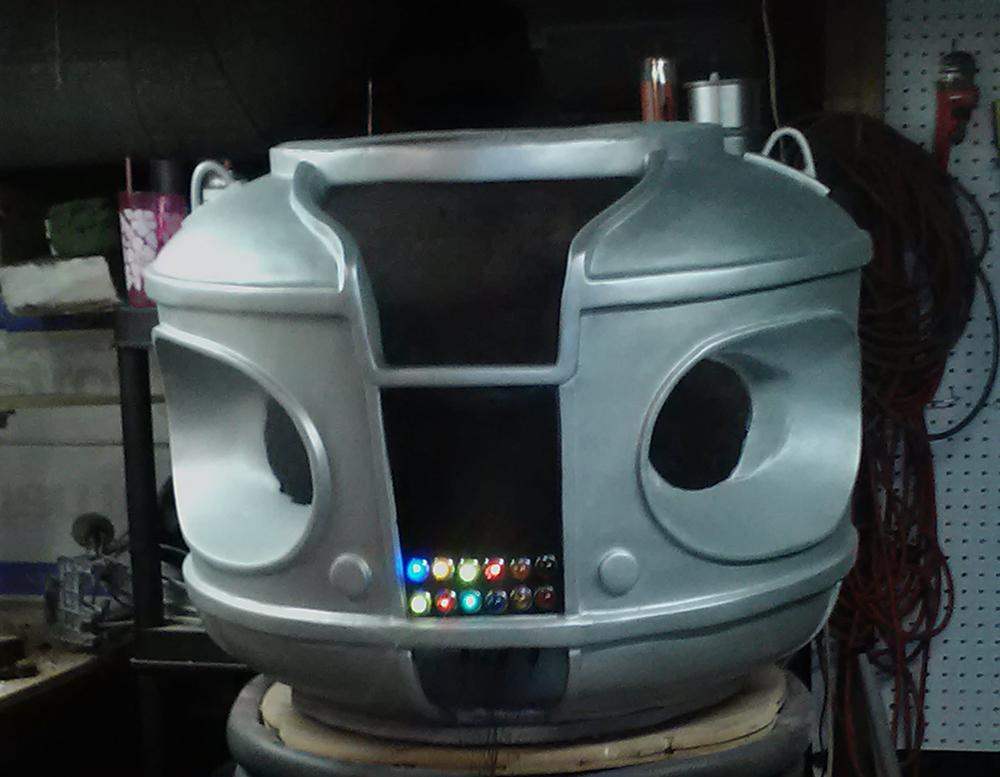

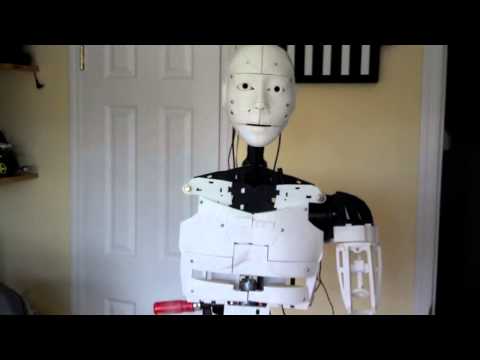
My project is a full size replica of the lost in space robot. My brother and I are working on it together. It will be entirely scratch built. As you can see, it is a long way from being finished. Since it has no moving parts yet, I have yet to use the EZ-B with it, but I have tested some motors, and controllers outside of it. I think that it will work well.
A while back, I posted a link to this site on the B9 Builders site. It seems that several of them have since incorporated the EZ-B into their robots, so I am confident that it will work for me.
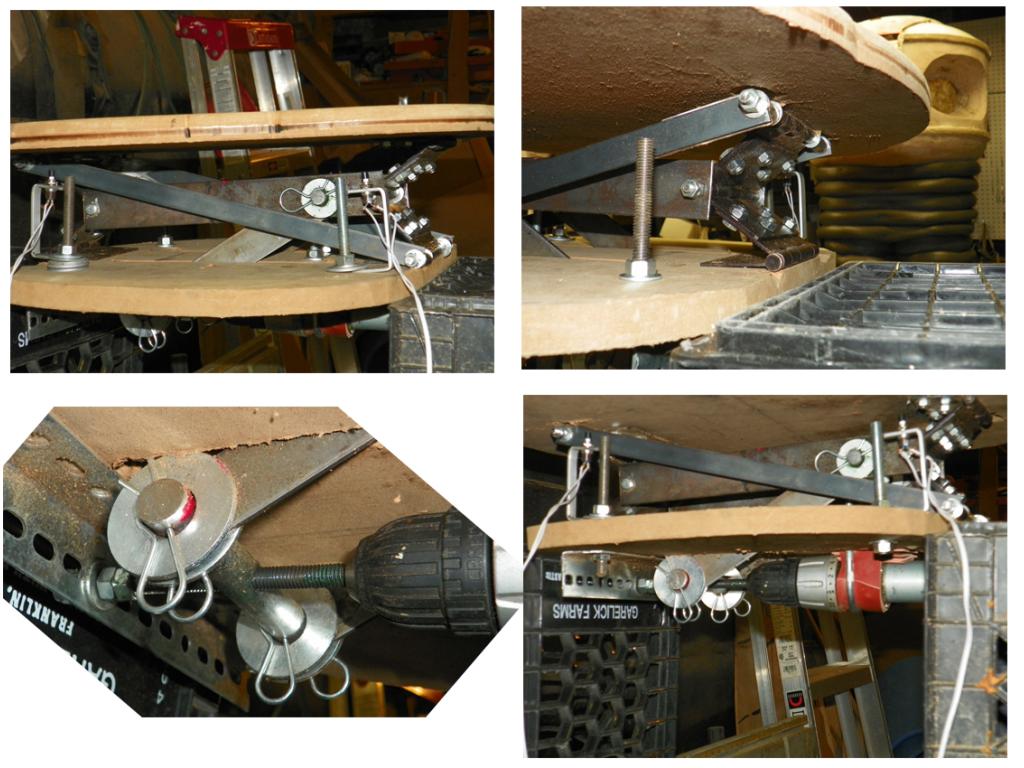
Rgordon asked me how I was making him bend at the waist. I am including a picture of the mechanism that I am working on right now. It might be hard to figure out just looking at the pictures, but there was no way to describe it without something to look at. Basically I have three door hinges on each side bolted together in a "W" fashion. I replaced the center hinge pins with longer bolts, and put flat steel across them. As the steel moves in one direction or the other, one set of hinges opens up, and the opposite end collapses. The diagonals keep the top above the bottom. It is powered from underneath by a motor salvaged from a cordless drill. The threaded rod goes through a larger rod that has been drilled and tapped. My original plan was to have the motor in the middle of the setup, but it would not fit; hence the extra linkage coming through the bottom.
We began with the goal of building a recognizable replica of the B9, and had hopes for animating it as best as we could. Not knowing anything about robotics, I have spent the last few years searching the web and trying to learn what I could. Stumbling upon this site was a real stroke of luck. I feel very positive that this will come out far better than I had imagined.
Discover more robots
Oldbotbuilder's My 'Bot Wilber (Now Ez Wilber)
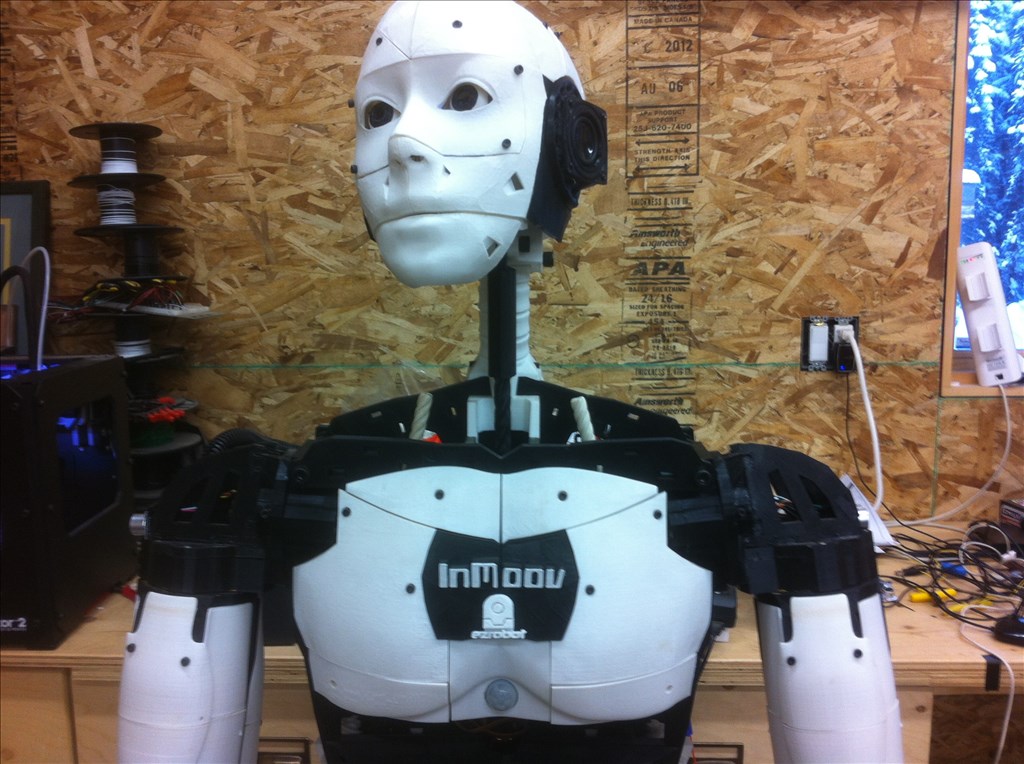
Jphillipsnj's Inmoov Project

Looks like a very cool project. Can you explain your plans for the tracks?
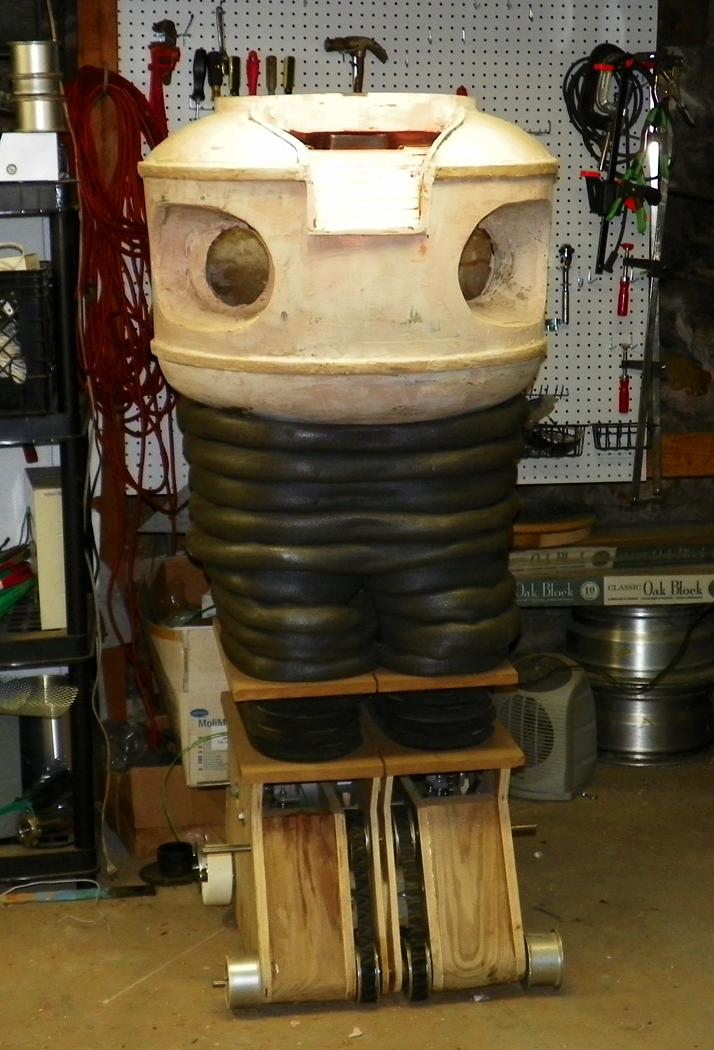
That's complicated. The feet that are on it now need to be replaced. It is up on wheels. We had dummy treads that turned an inch off of the ground; just for looks. We will do about the same thing this time. The problem is that we had one motor with a differential. The drive wheels are set to the back, and there were small steering wheels in the front. The base is too short to steer that way. He has the turning radius of a Mack Truck. We ran into a lot of trouble getting the treads to move, as well. There were pulleys that ran off of the same shafts as the wheels.
I've now got an electric wheelchair with a two motor system. I'll put the wheels in the middle and have small casters on the front and back. I am thinking that I may have to put in additional motors to turn the treads. They will not really be doing anything, but I think that it would look funny if he moves, and they stay still. My priority is getting him to roll first.
It has been a lot of trial and error.
Hey you and I need to compare notes so to speak i need some Ideas how to do things on my B9 and have othe Ideas that may help you . His legs flex like the rubber ones and I made them myself i will tell you how it is SIMPLE and CHEAP yea I know I siad cheap but hey who isn't on a buget now LOL !!!!
I'd be glad to compare notes. [email protected].
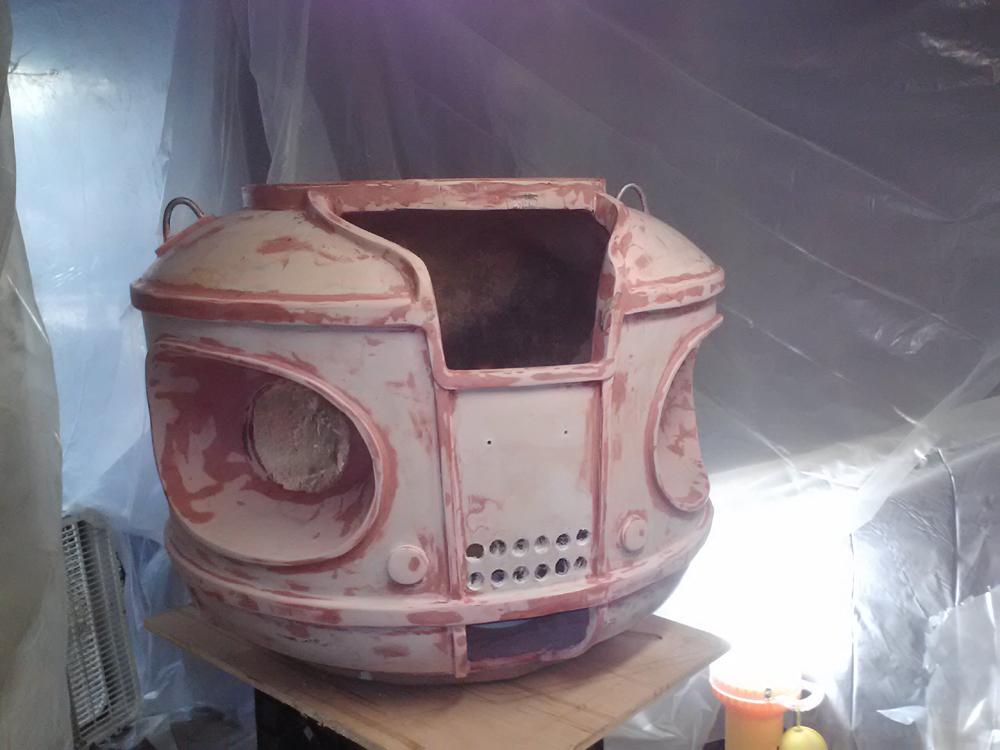
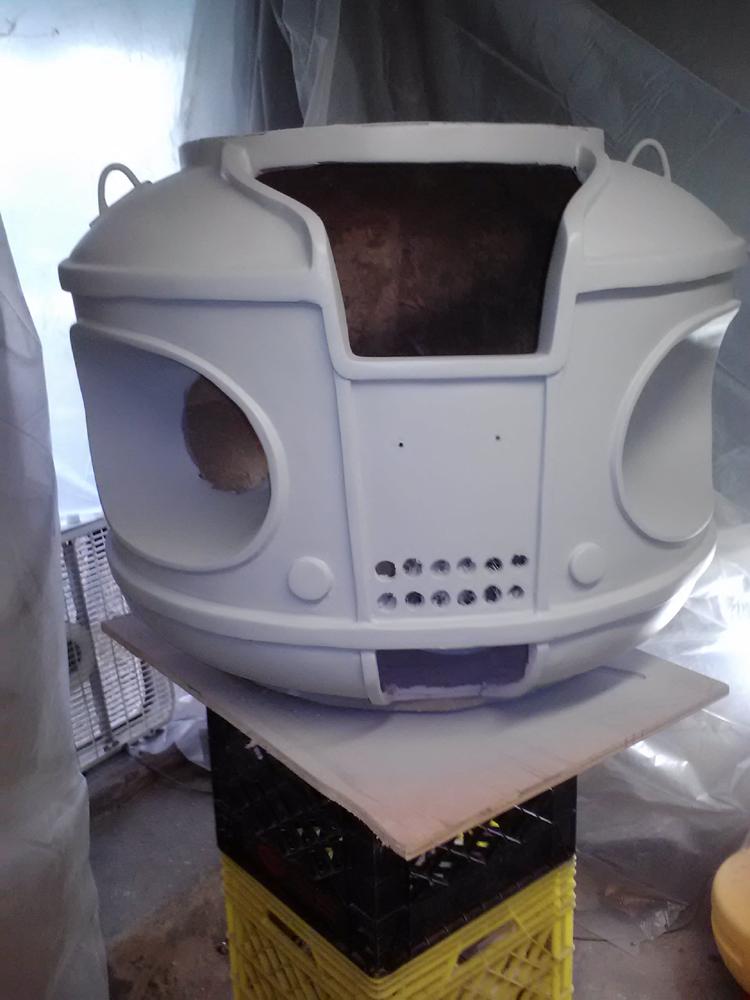
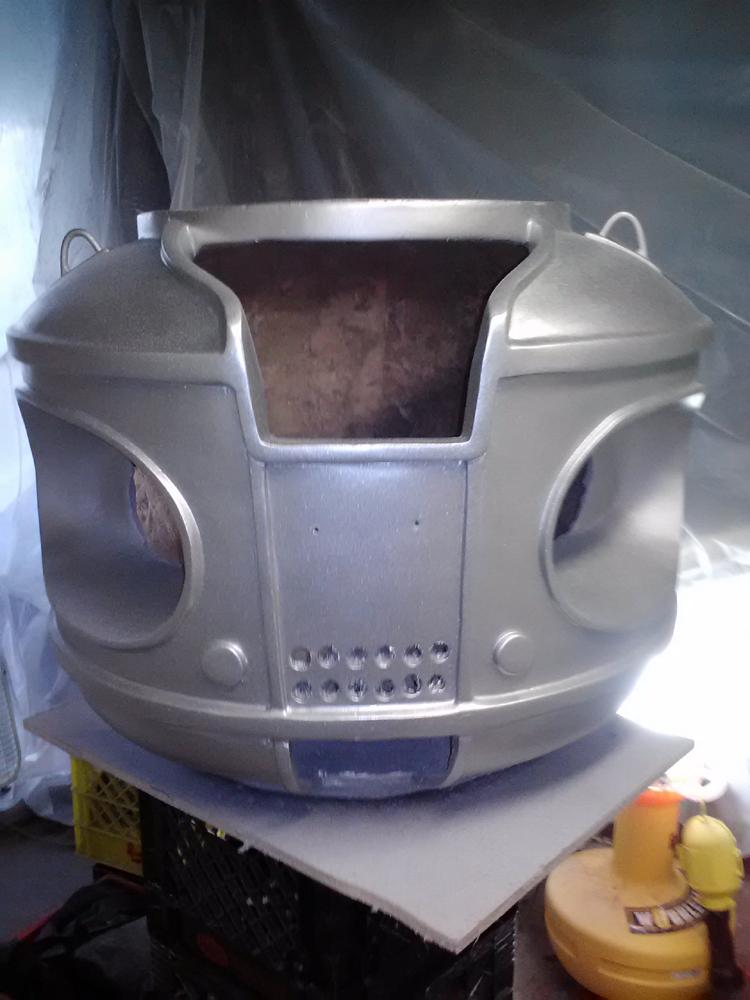
My legs are actually about done. I used pipe insulation. Inside I formed the shape by heating PVC pipe and making oval rings. They are hot glued to the foam, and the layers of foam are glued together. This gives it flex. I think that I'll stitch Velcro on the top to hold it to the waist plate. That way I can pull it apart if I need to. I am still going to coat the outside with some sort of rubber finish. I have several cans of Plasti-dip and Flexseal. I am going to experiment with which looks better. I have been waiting for the warm weather to get outside and do painting, Bondo, etc. Since the weather turned though, I have been trying to catch up with the yard work. It's a never ending battle.
Yours seems like it's coming along. Did you buy the torso?
Where did you get your dome and the top other plastic part?
Mel
I am not sure if your question is directed at Chris. I haven't got them on mine yet. If it helps, I did already buy the stock for the collar. I bought it from US Plastic. The bubble can only be bought from the B9 builder's club. They can be thermoformed from acrylic sheets. I am going to attempt that myself.
Good Luck! I was talking to chris. But, thanks for the Reply. I did the same thing the other day. They were talking to d.J. and I answered in addition to him.
Mel
I got them from the B9 club members a guy had an extra one and gave it to me but they do sell them @ B9builders.com you can find them on the web.