
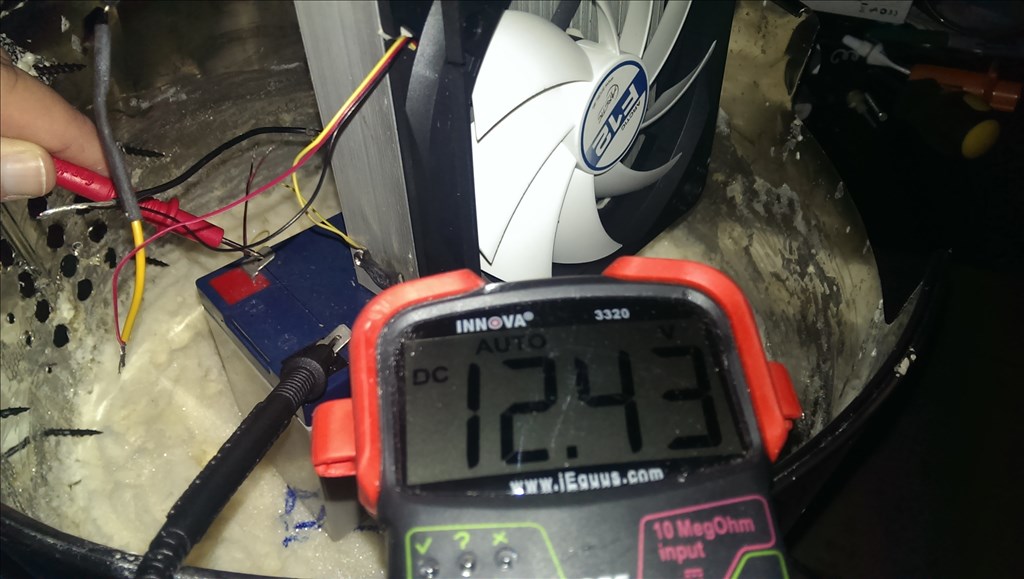
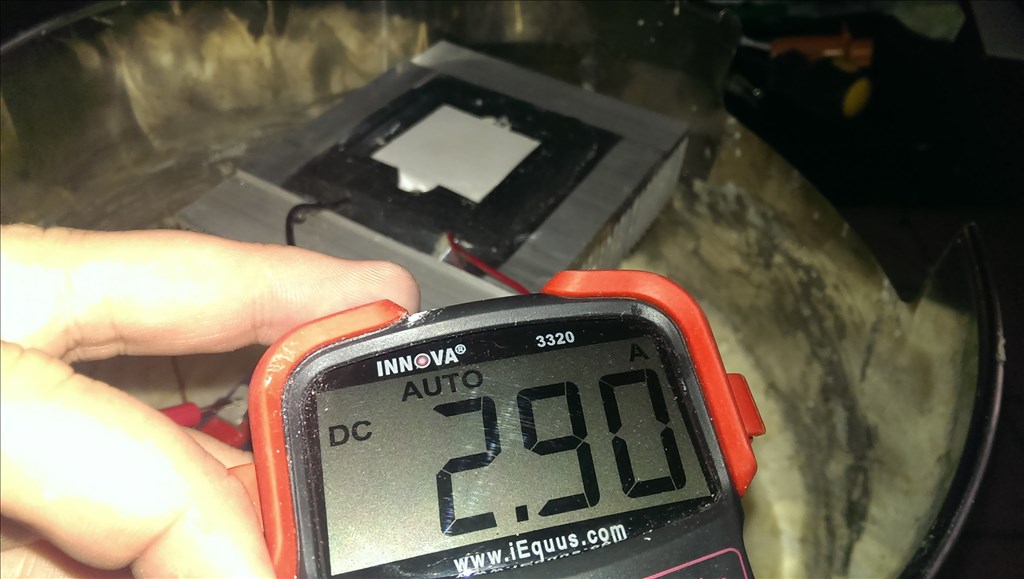
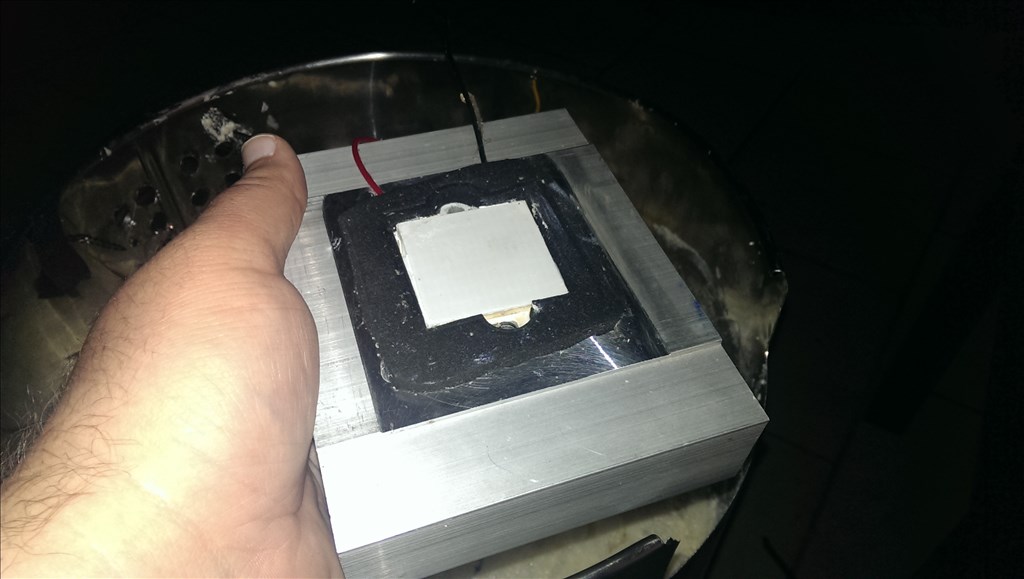
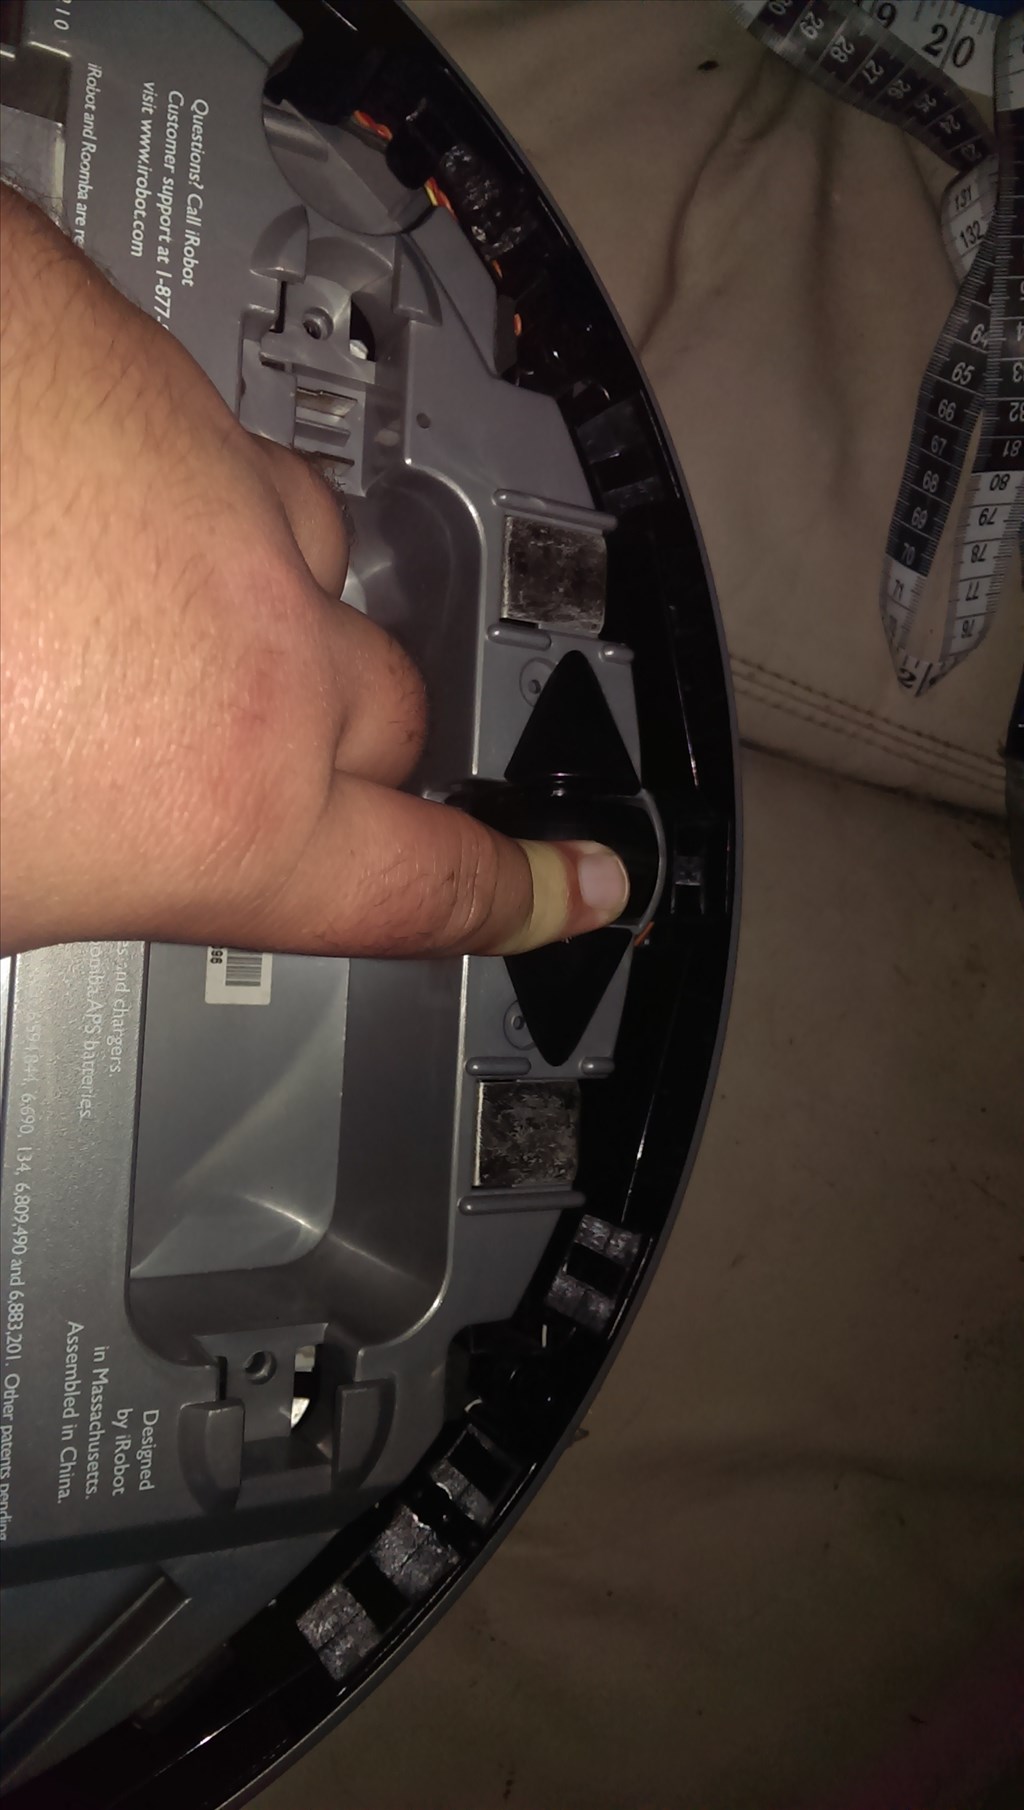


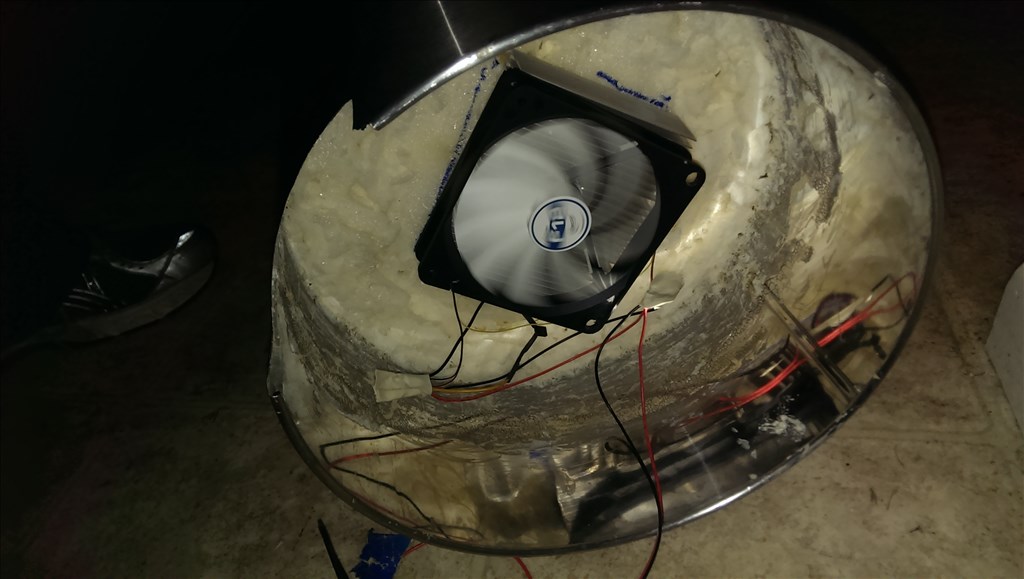
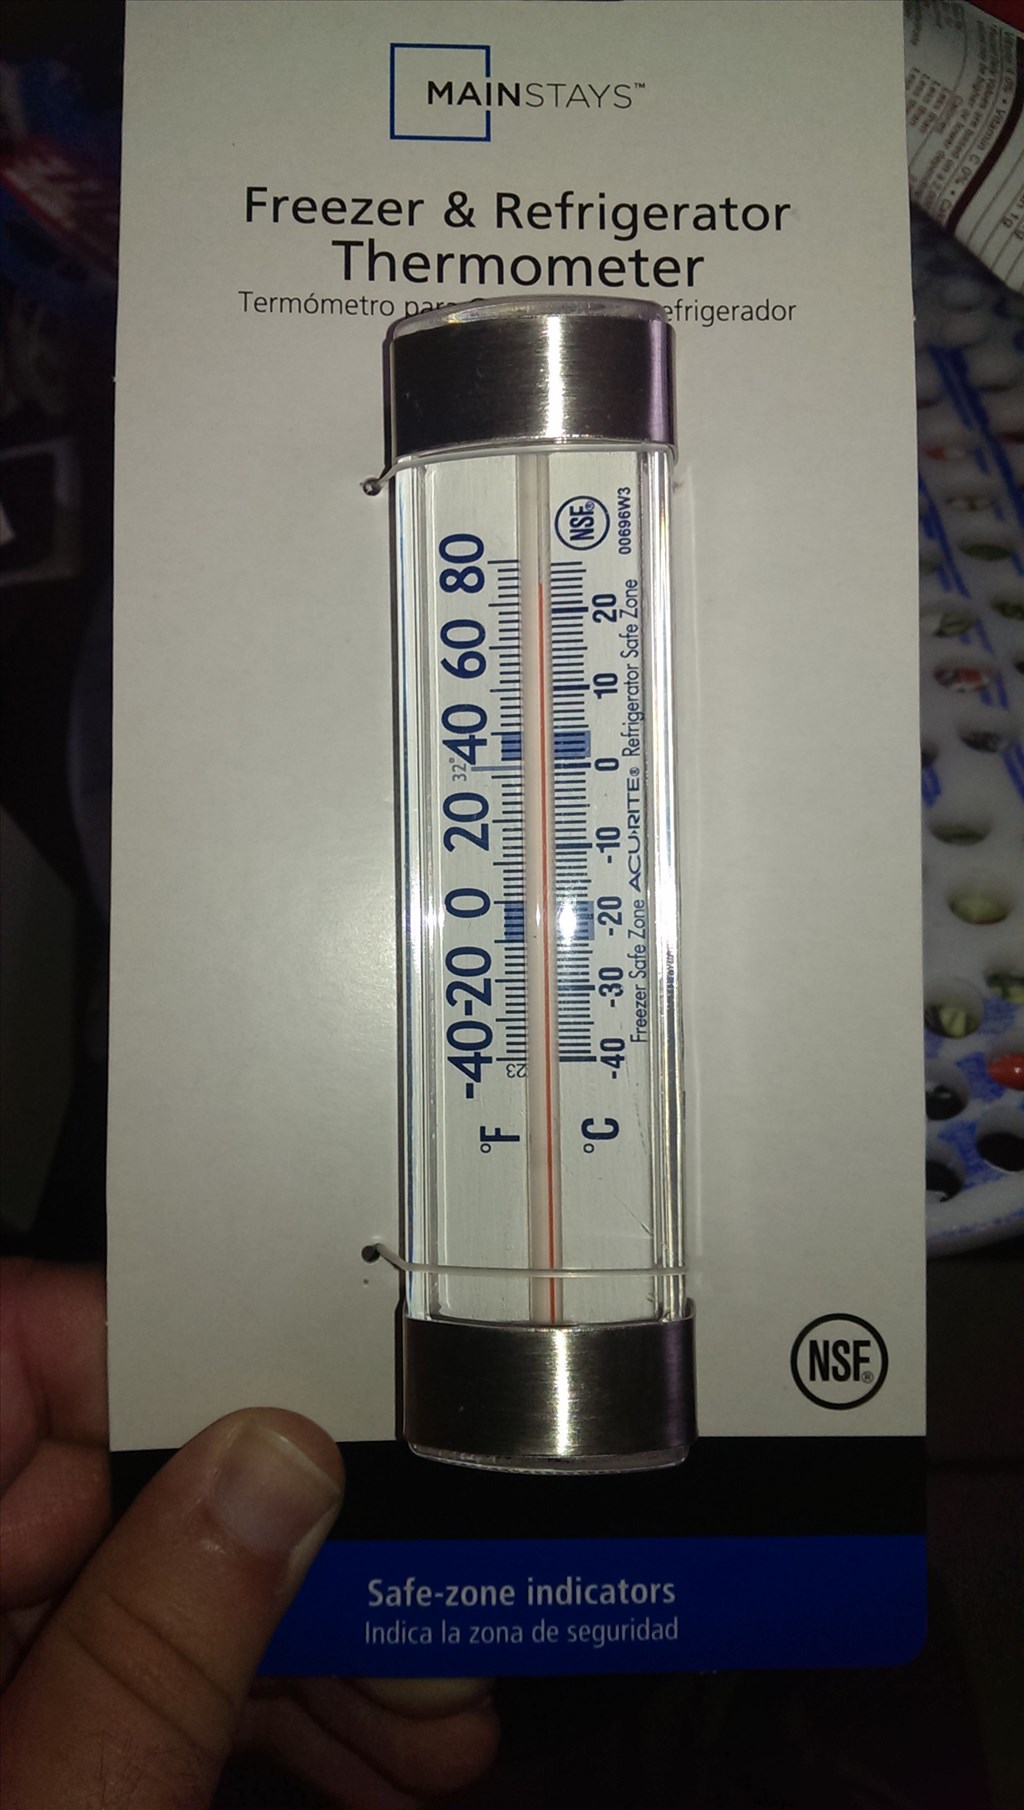
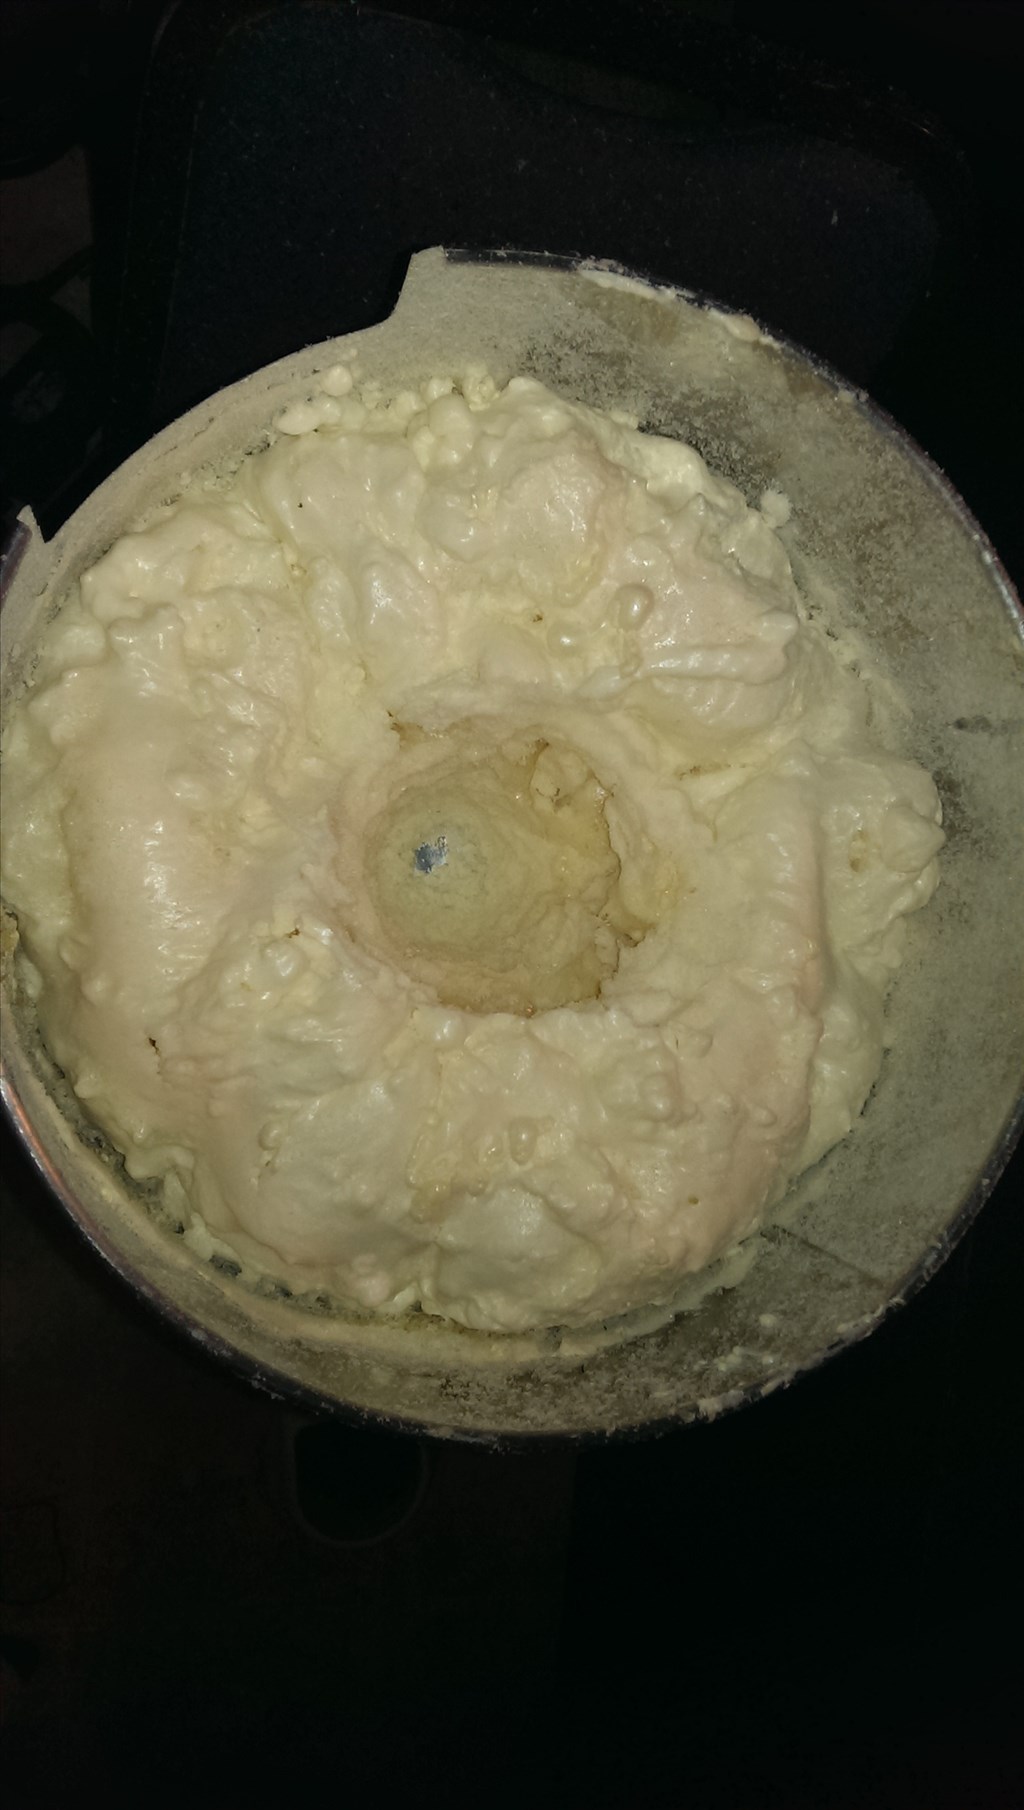
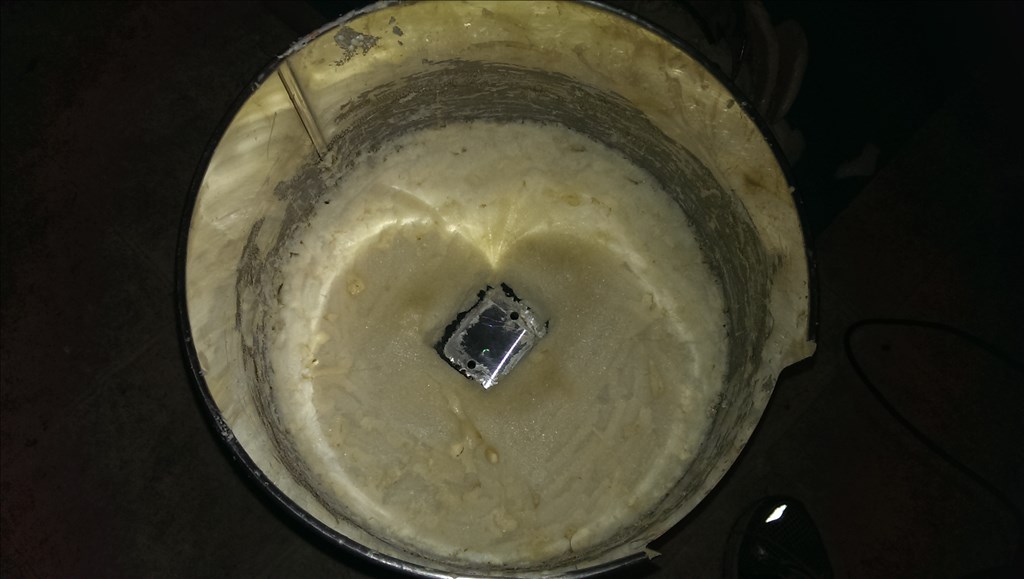
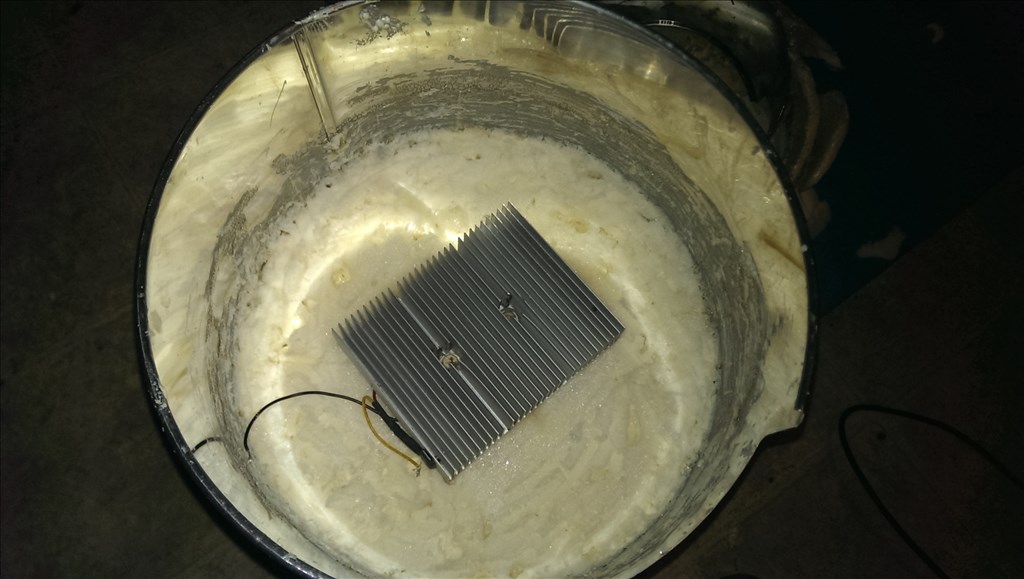
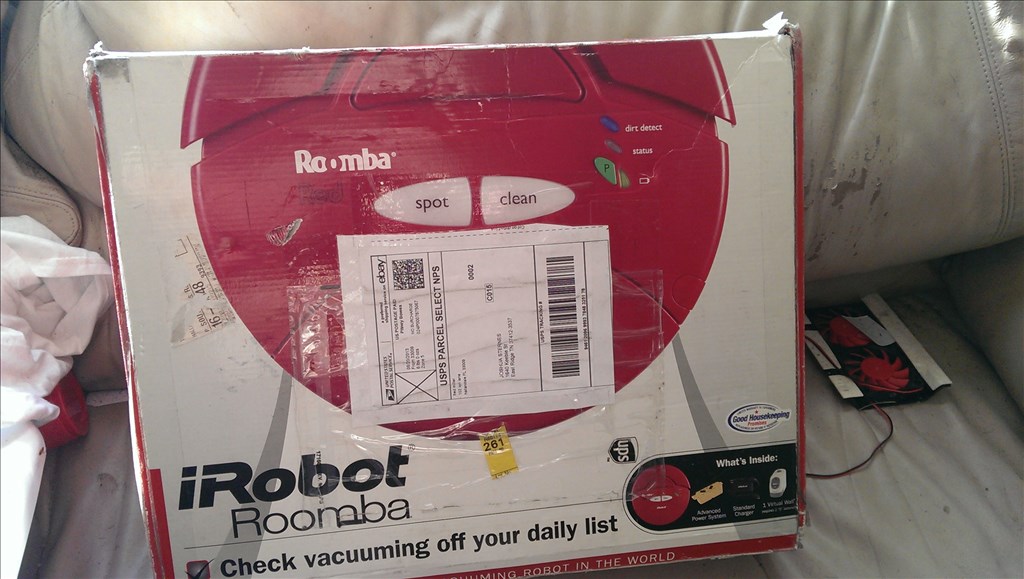
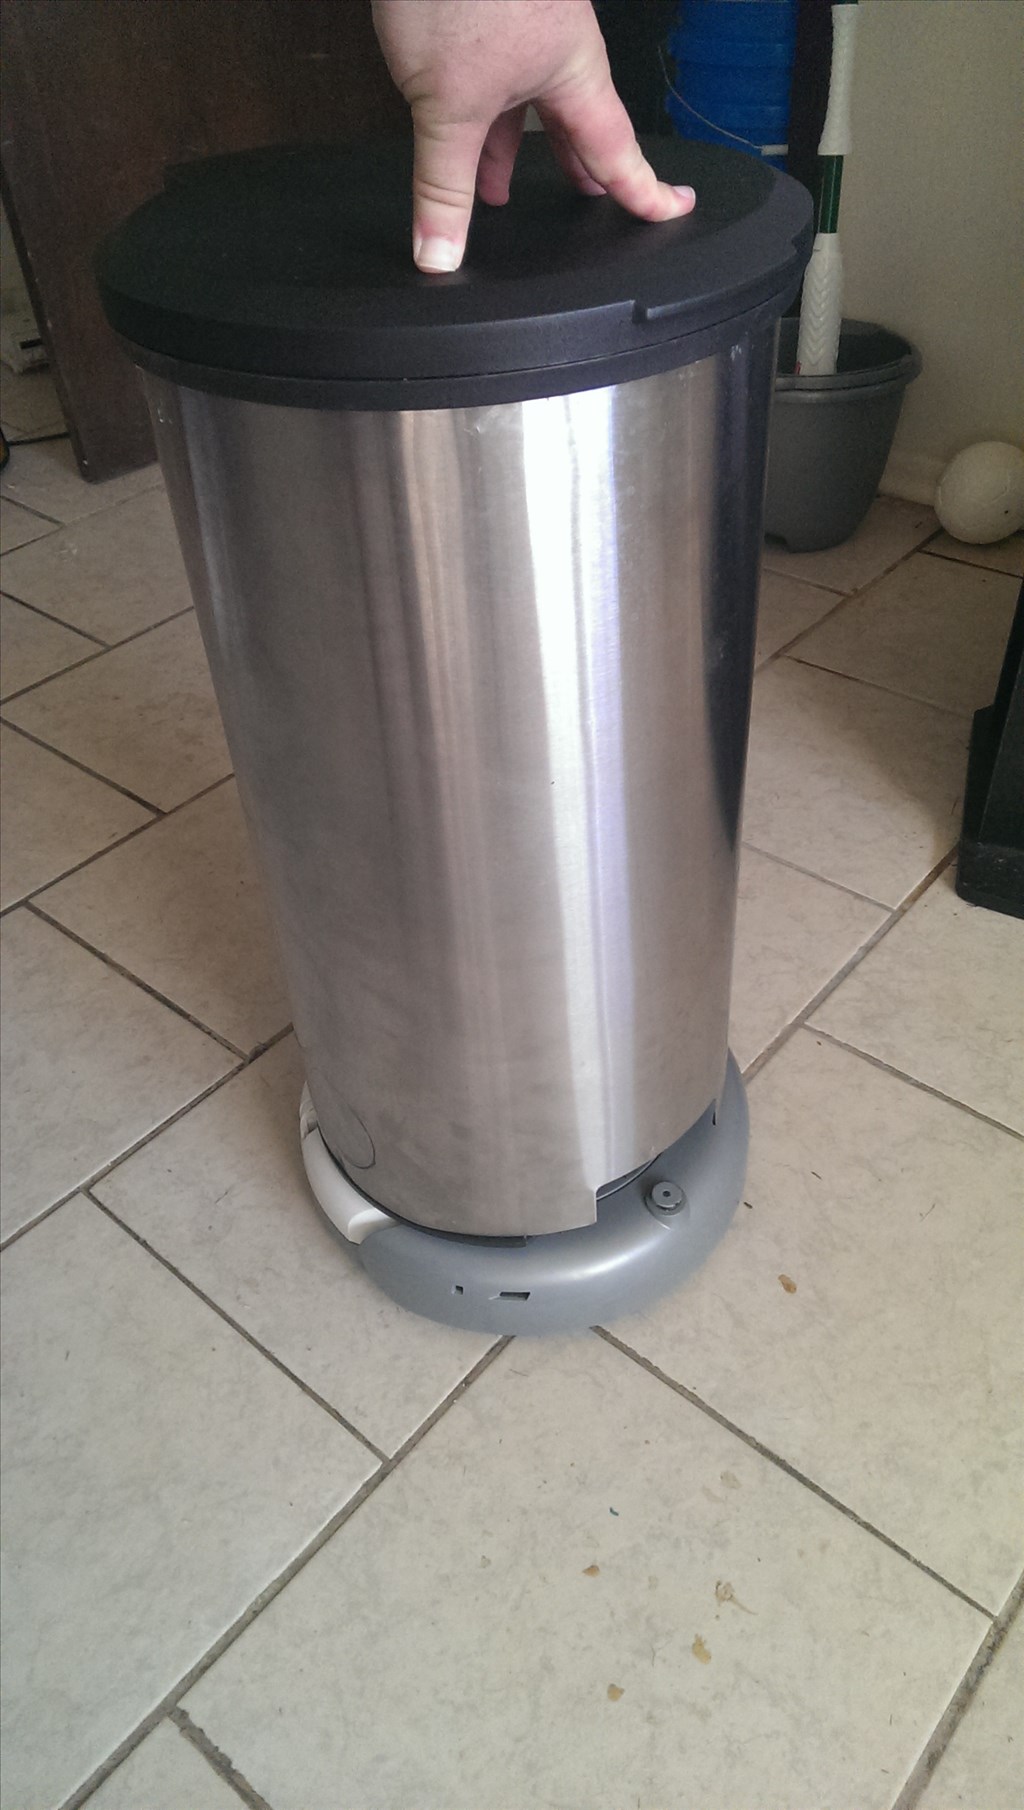

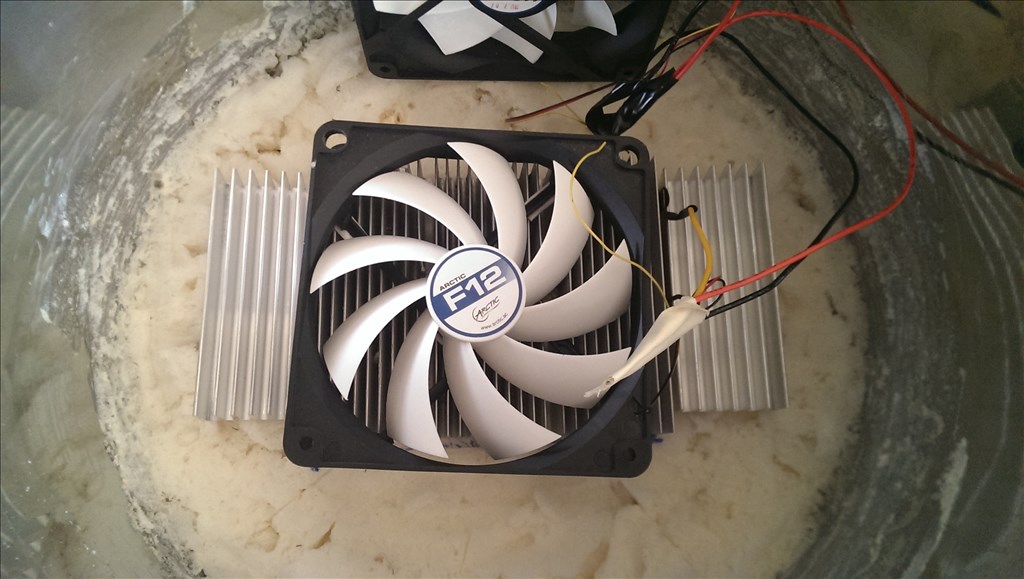


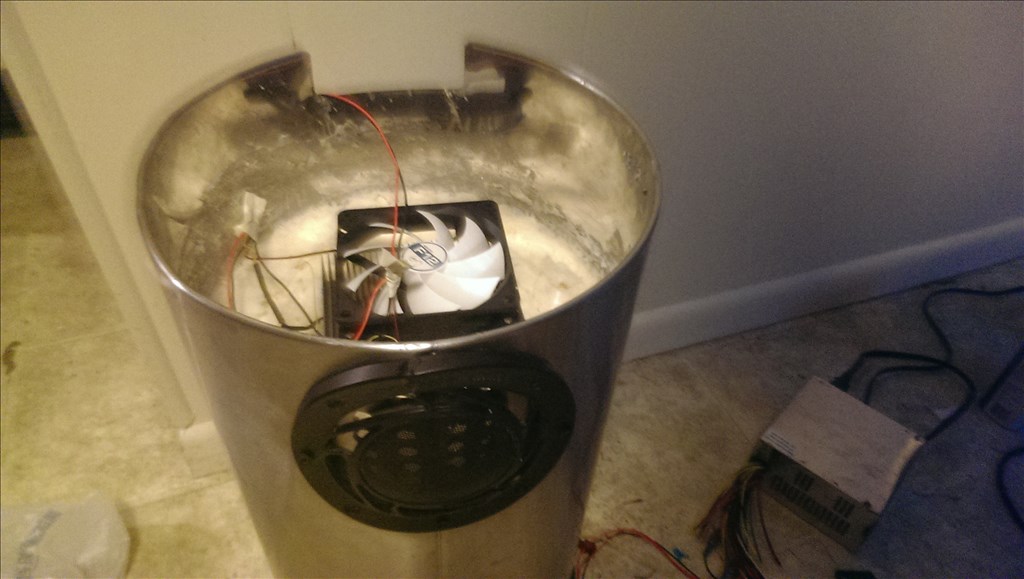
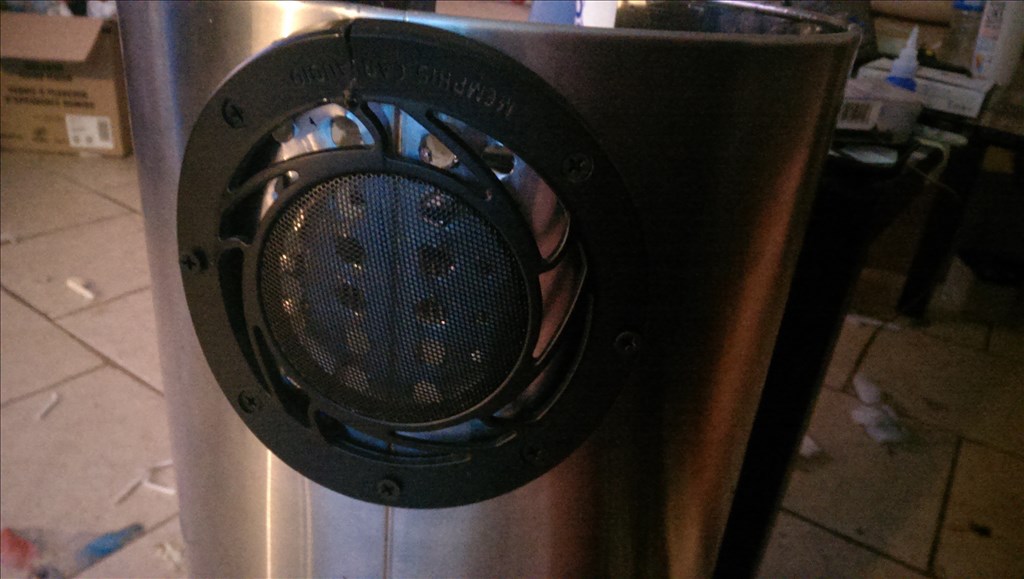


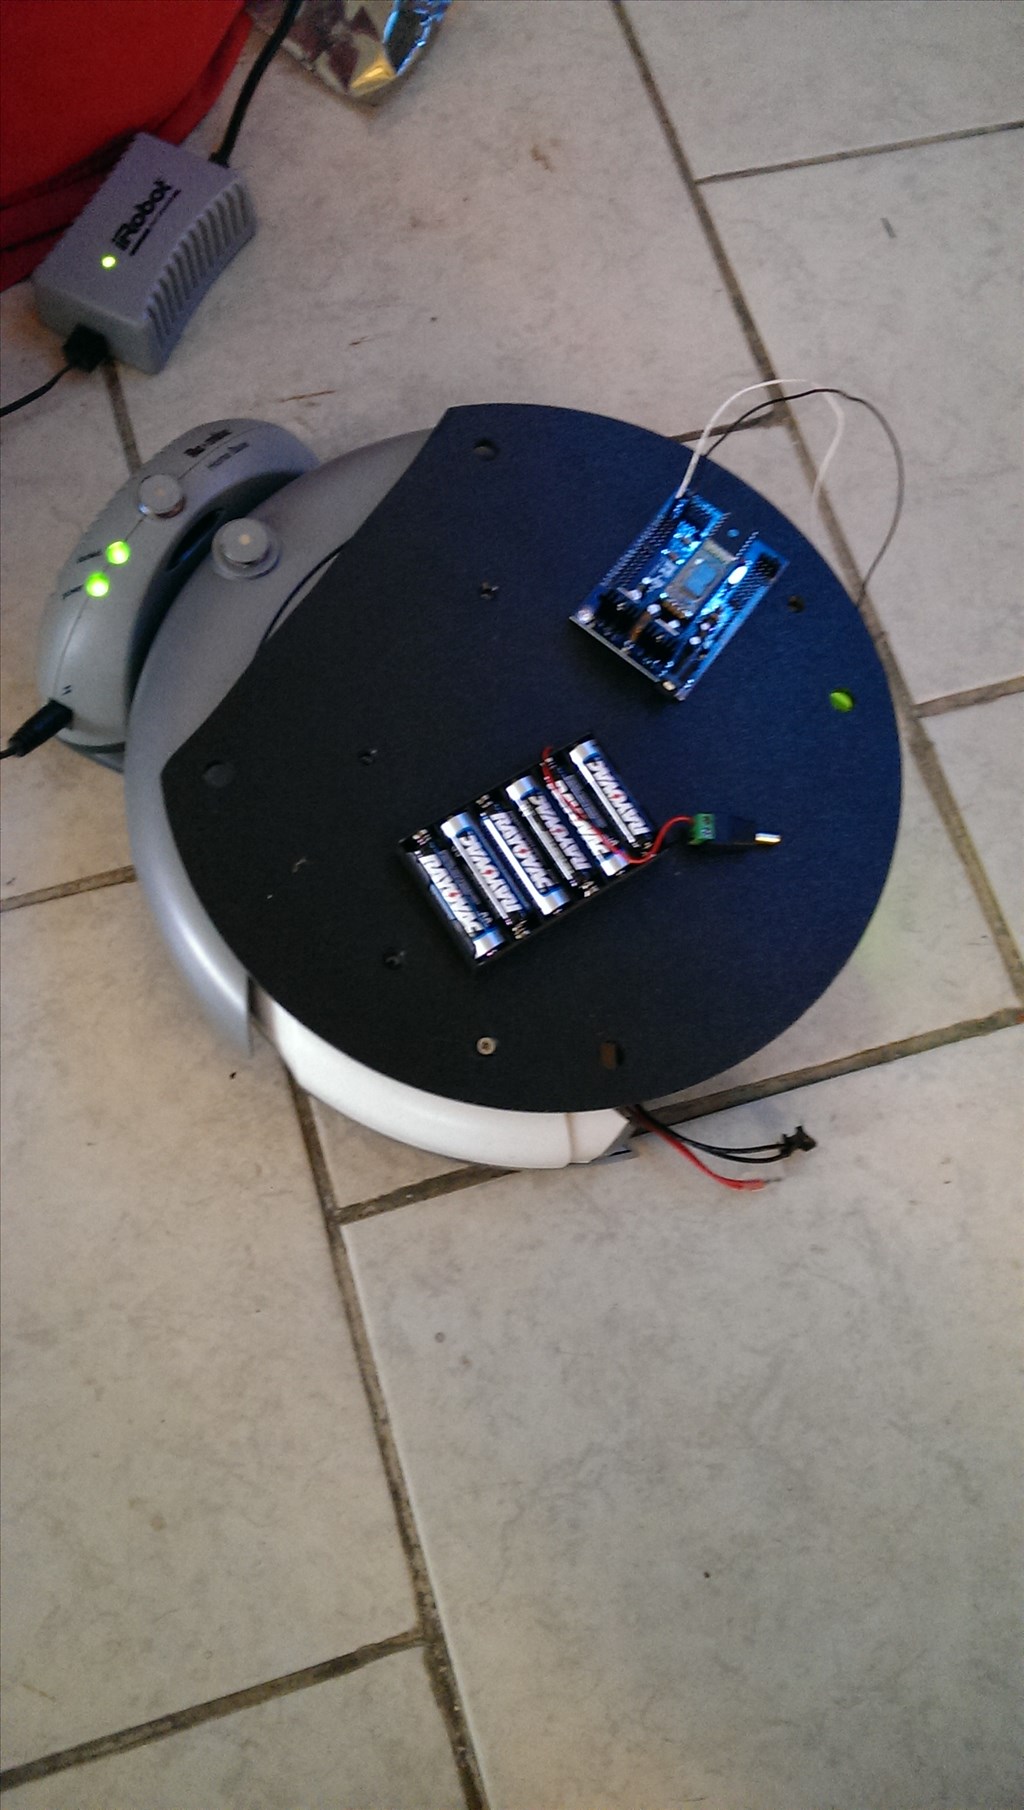
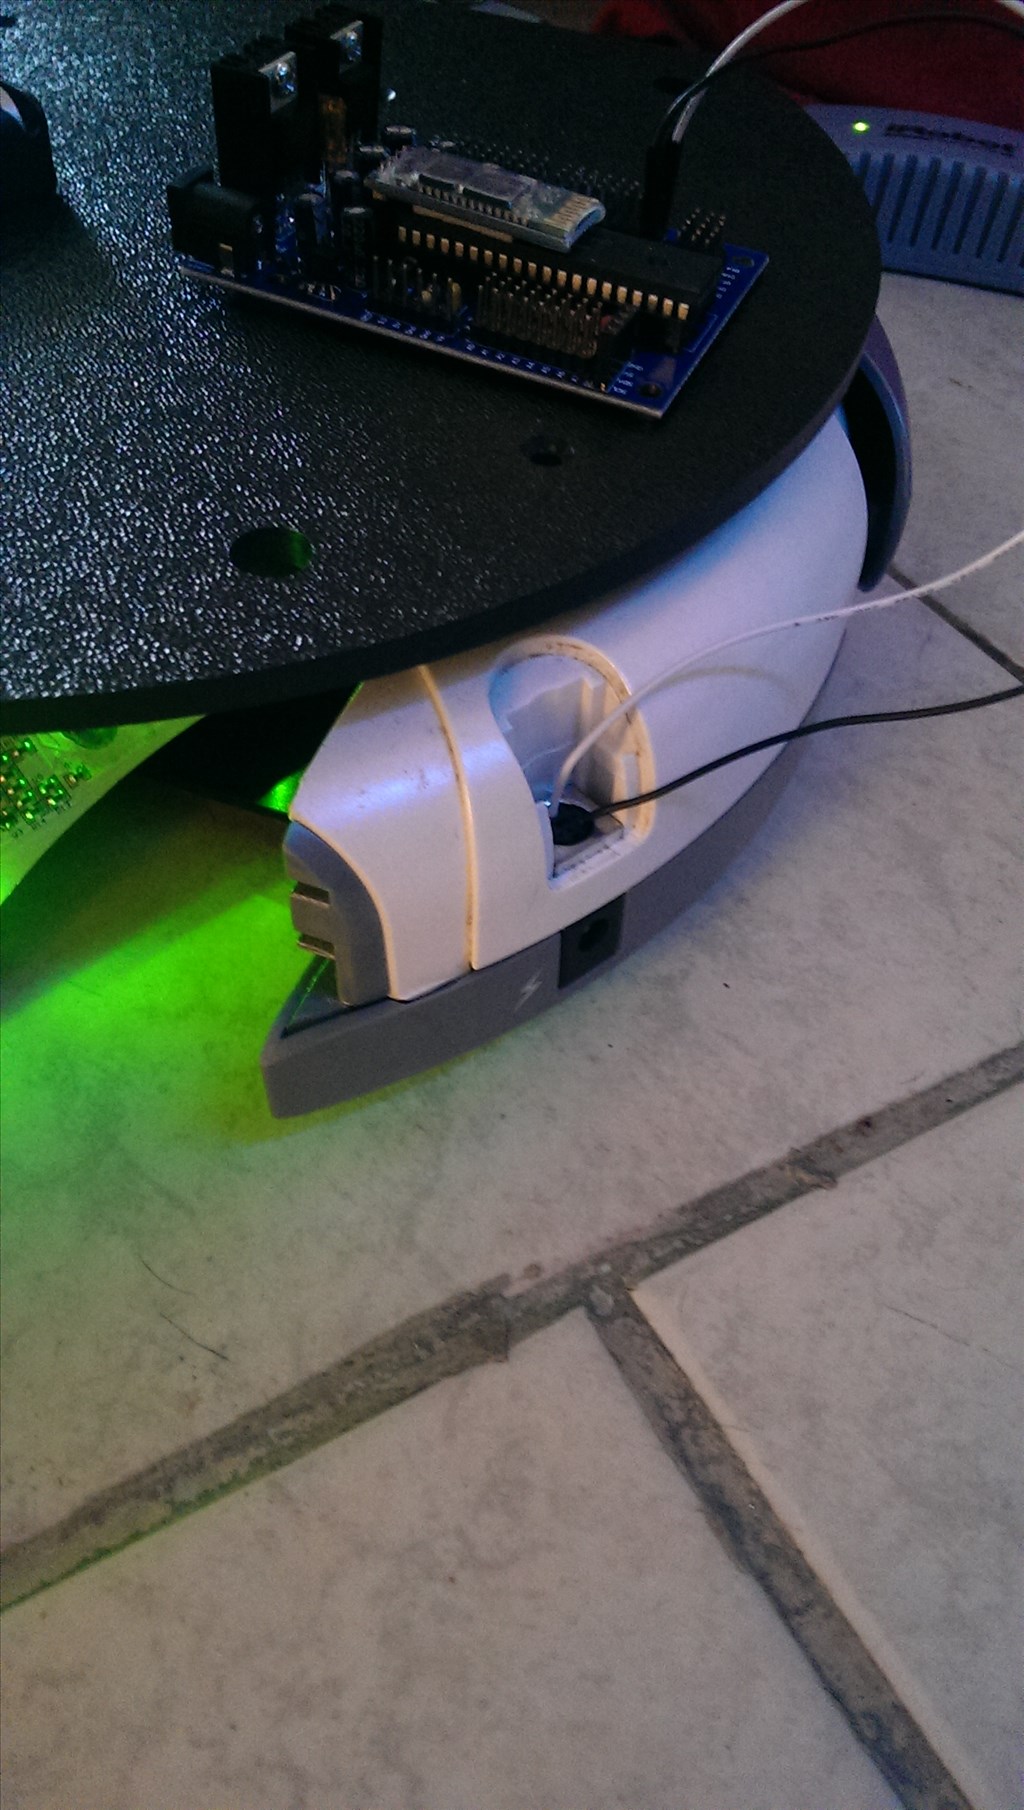
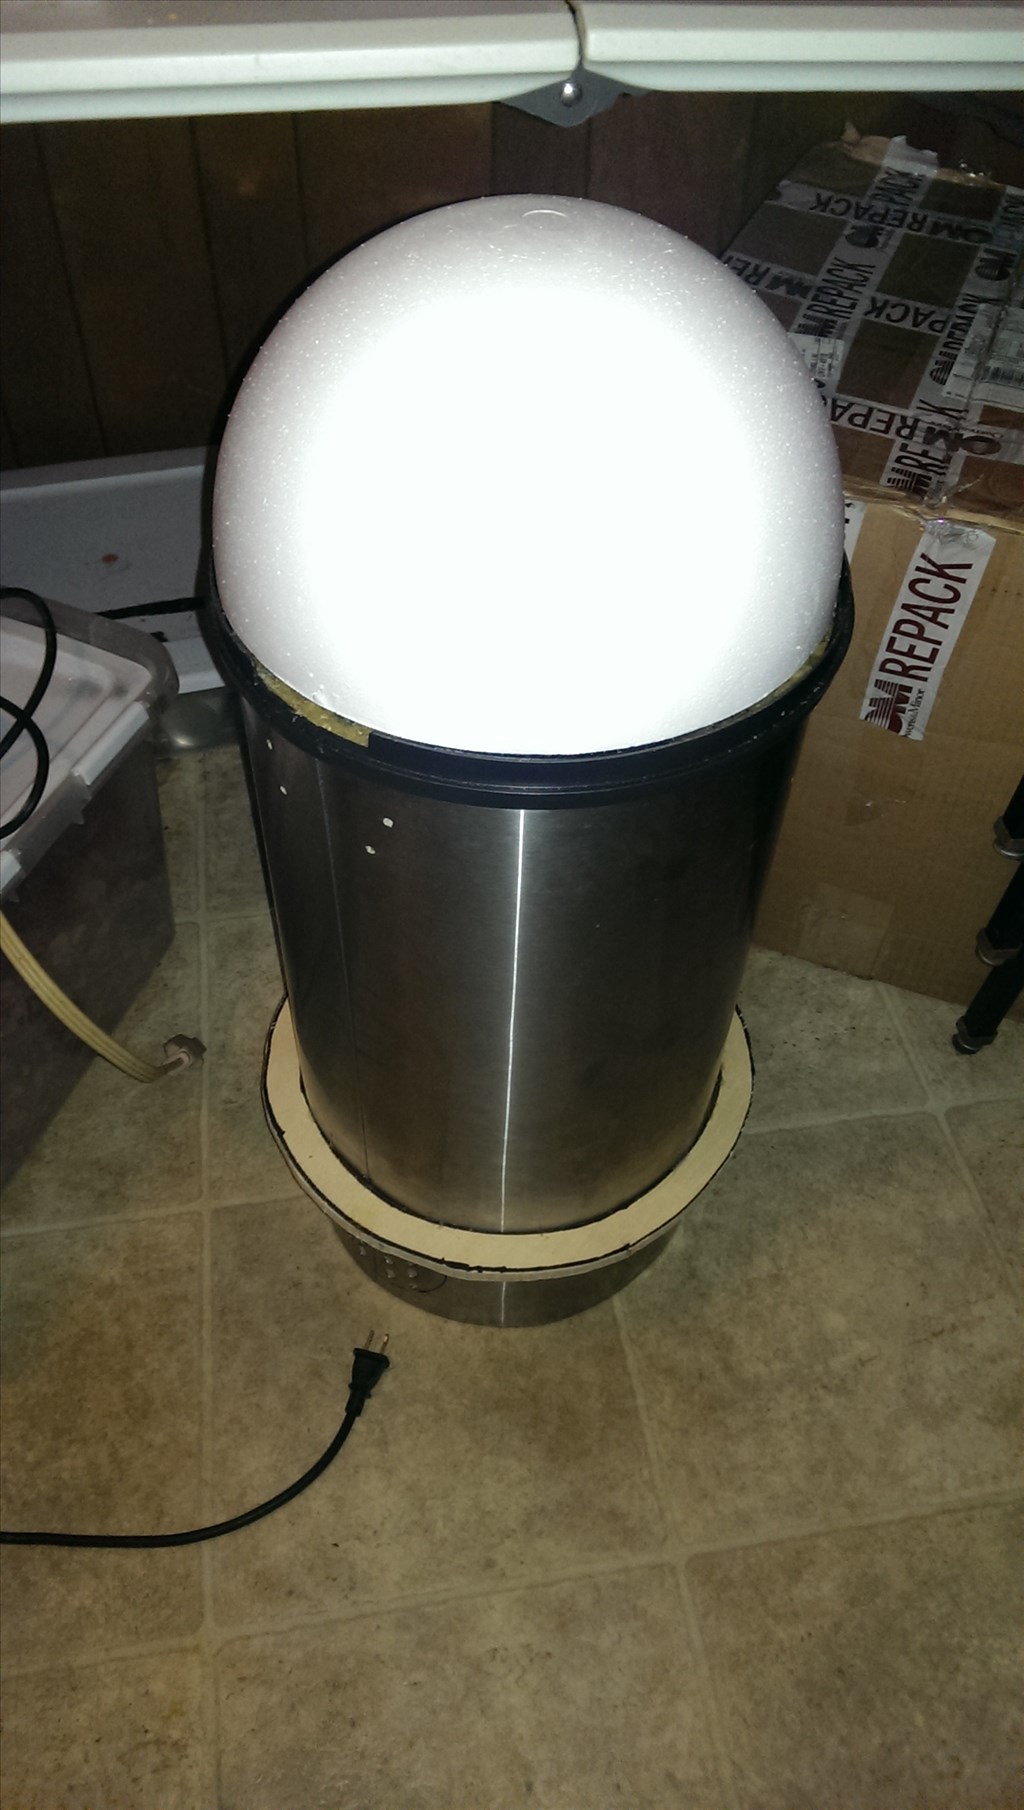

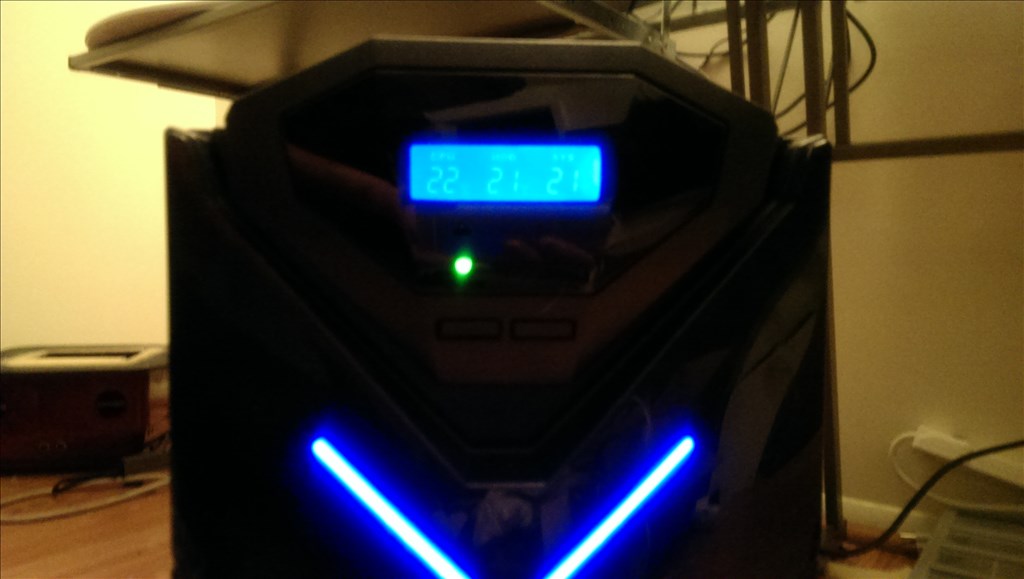


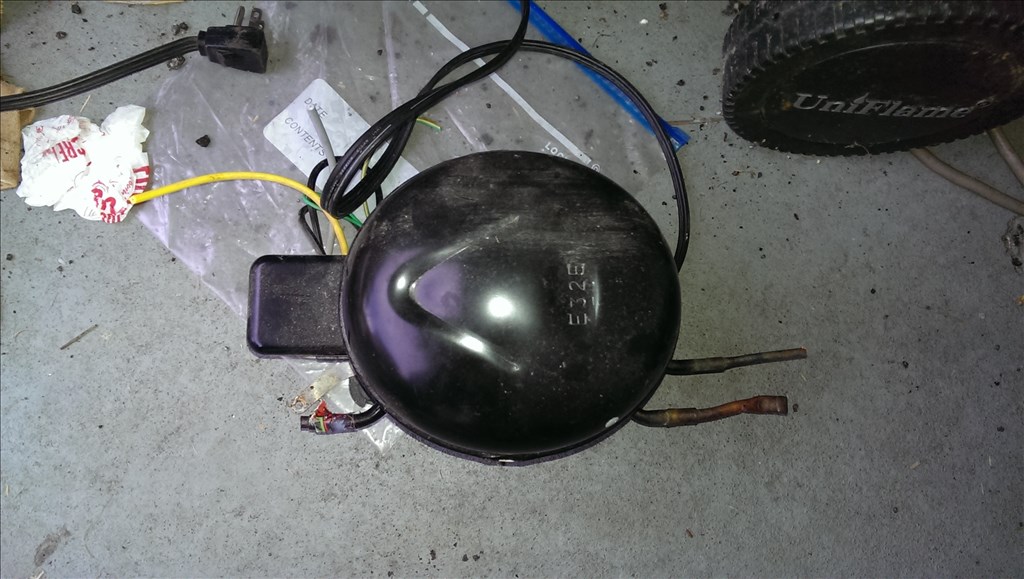
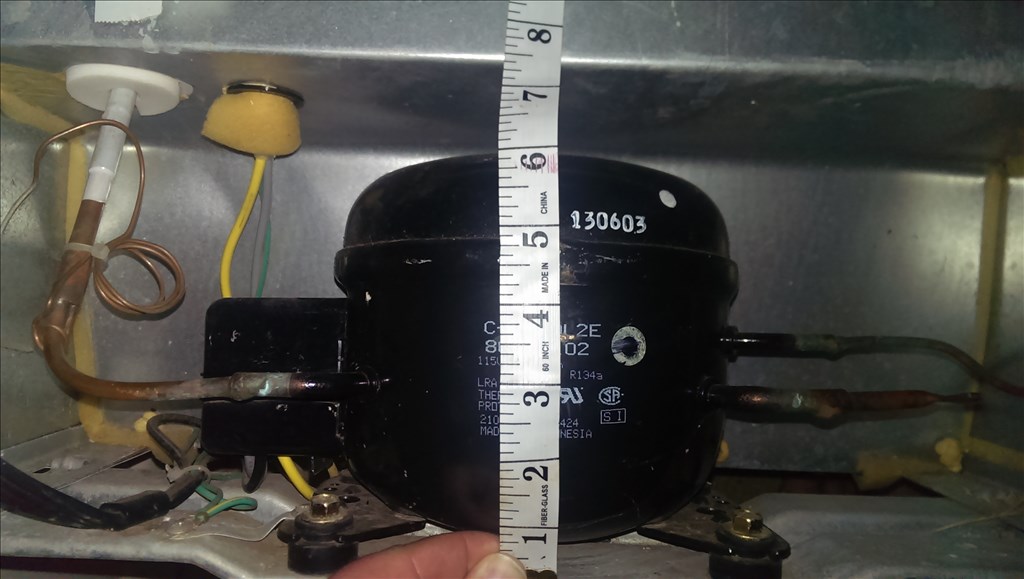

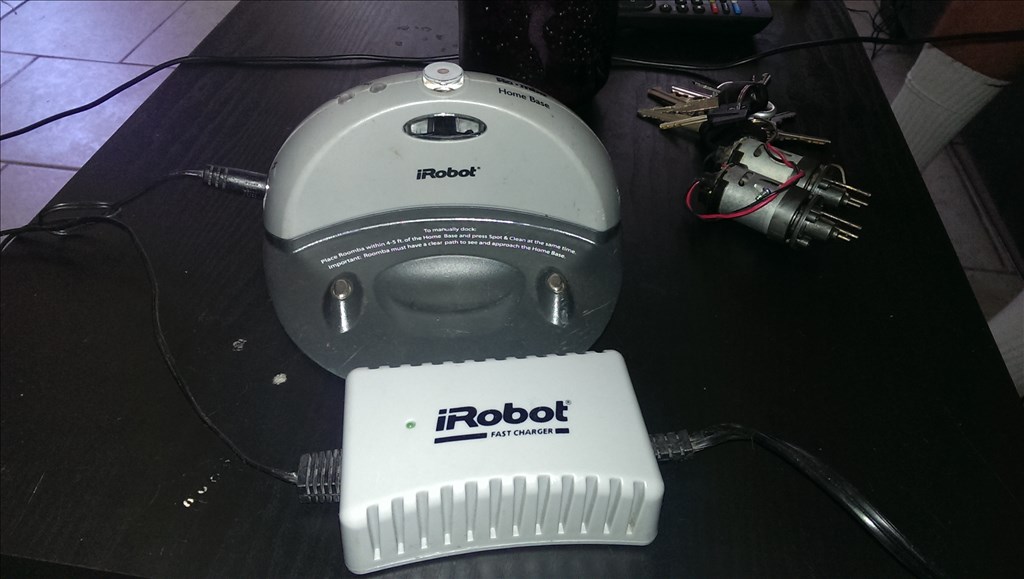
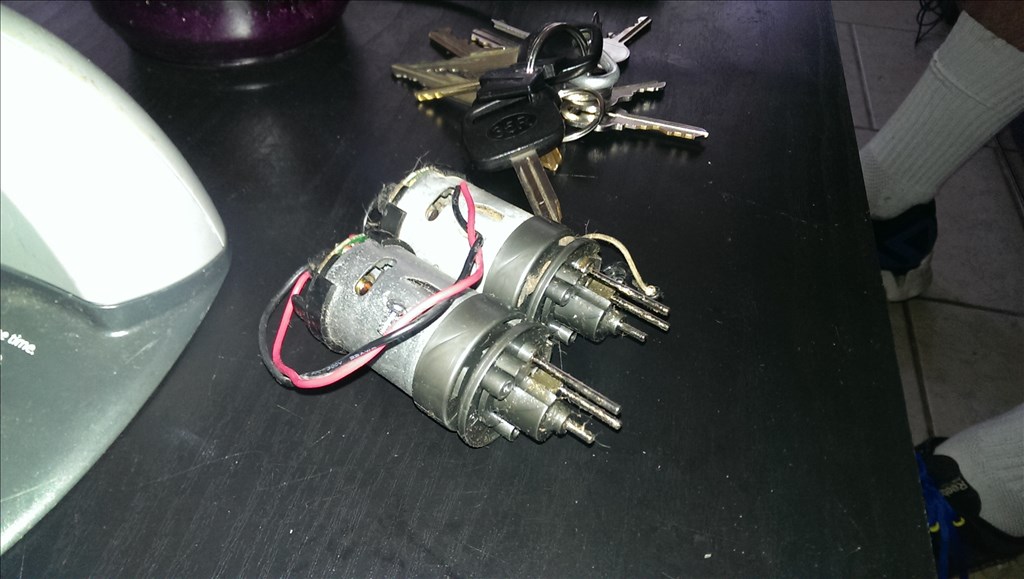


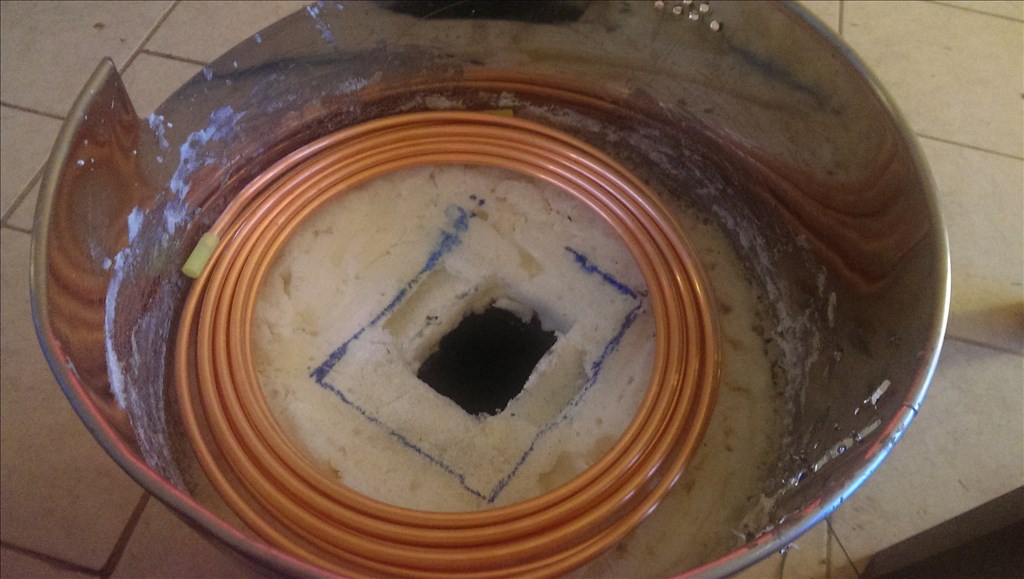
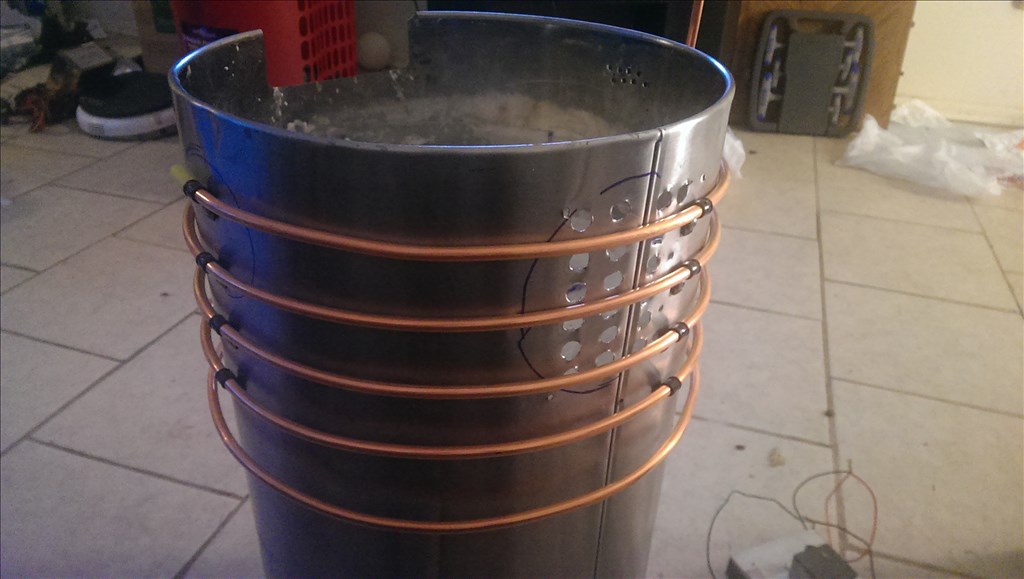


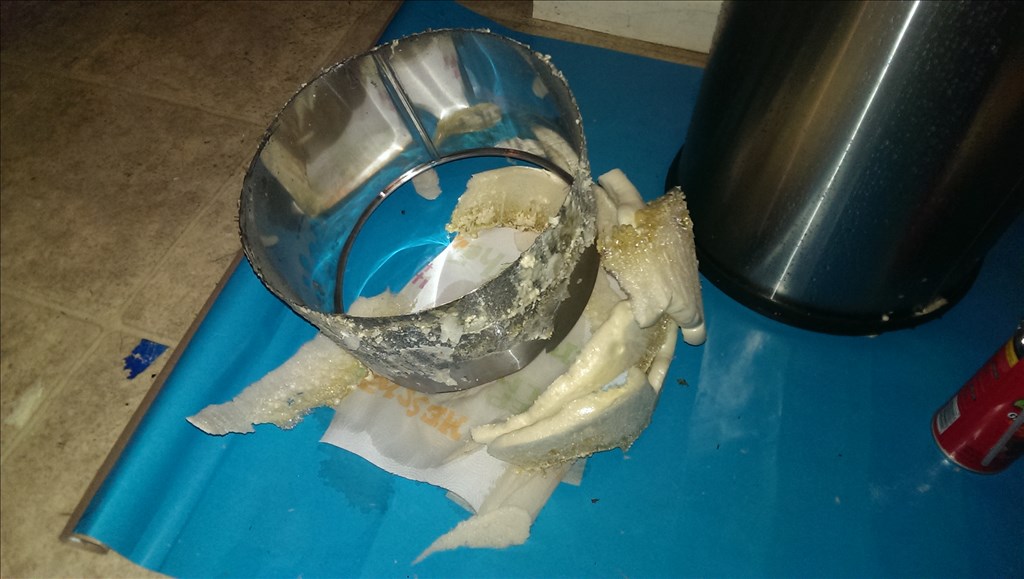


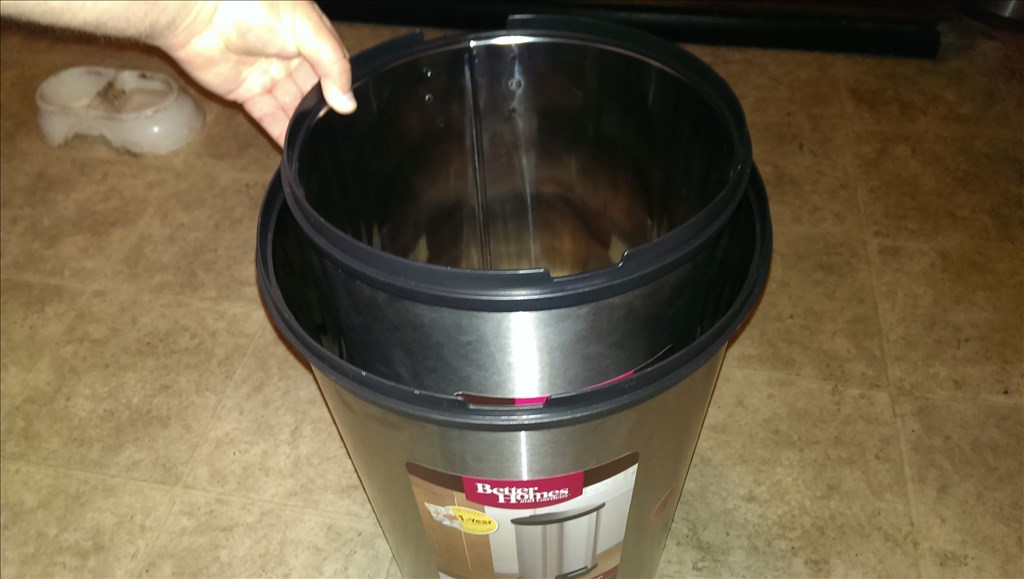


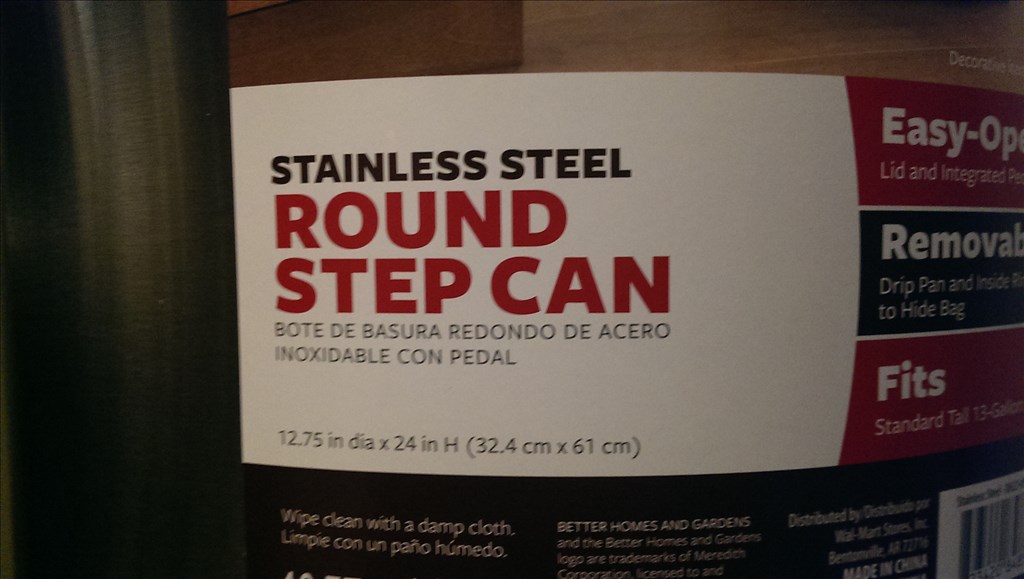
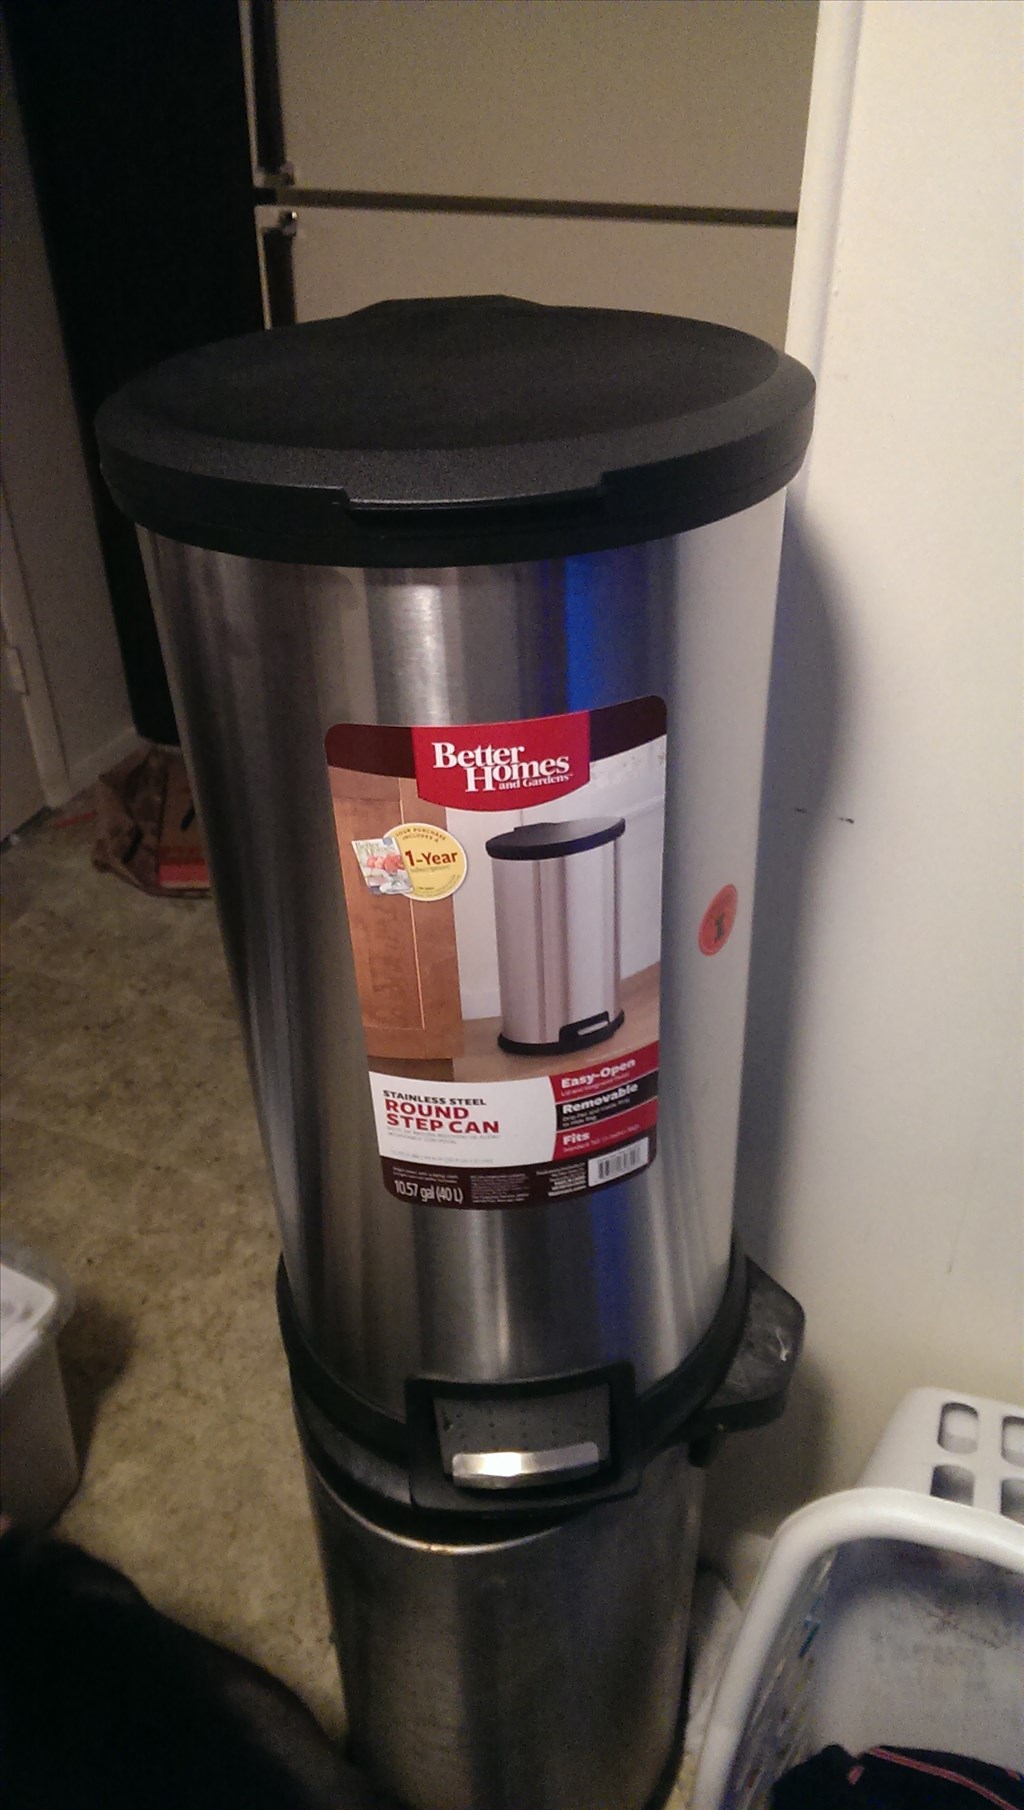


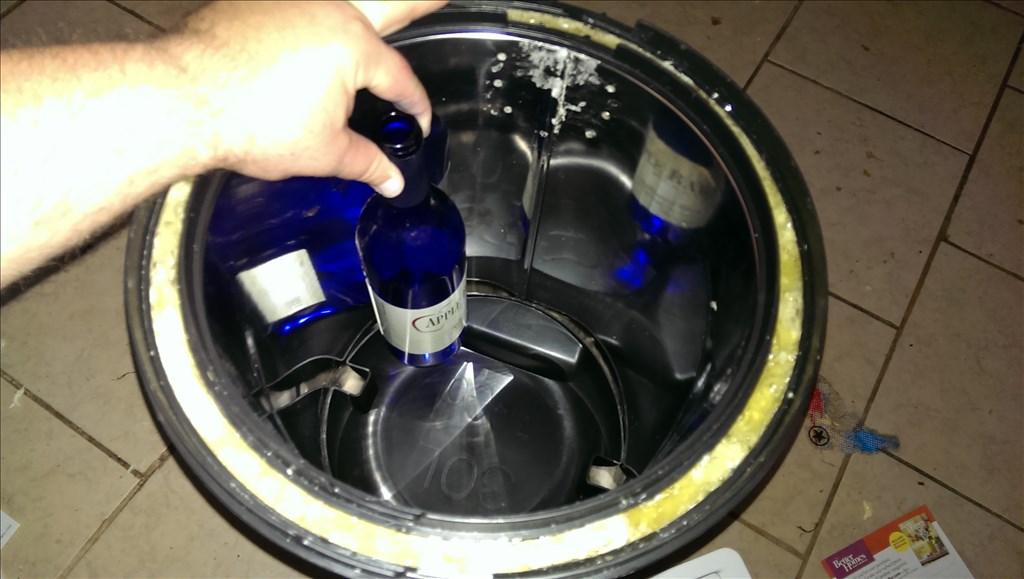

This is a challenge issued by friends and family. The goal here is to make a robot that can bring beverages from another area to wherever the people are , allow the person to get their drink , then leave. It does not need to be fully autonomous , even remote control is acceptable. It does not need to grab them from the fridge, preloaded beverages are acceptable. This is Ez Robot though, I believe we could do better than that! Well anyways to start the project off I am using a roomba base. I picked up a stainless steel trash can last night as a outside casing. I will show you the rest as we go
By jstarne1
— Last update
Discover more robots
Steve's Ez Robot Railroad Observation Car
Control an EZB4-powered camera observation car on a Silverton O Scale Railroad using EZ Robot and servos for live...
Dave's Hello All
Control Johnny 5 replica with EZ-B controller - easy starting point for testing and learning robot control and...
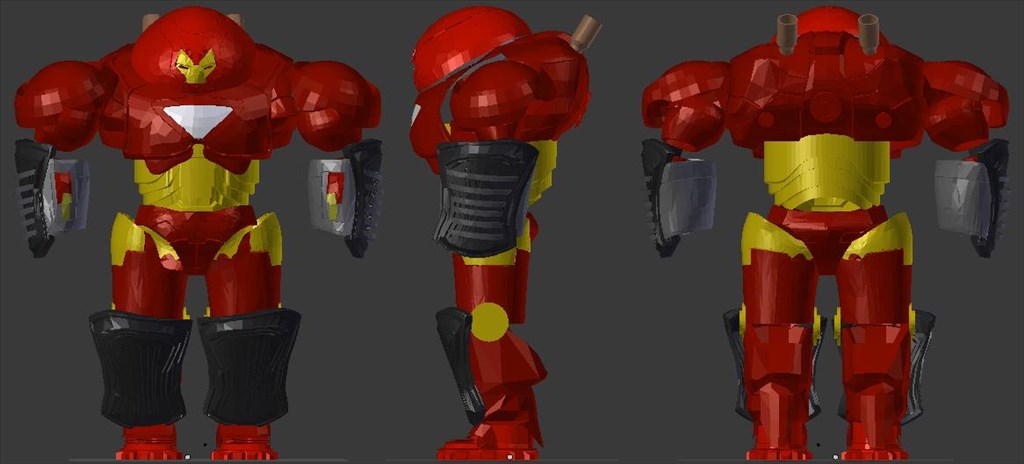
Jstarne1's Hulkbuster Ironman Suite , Lighting, Sound...
Custom Hulkbuster Iron Man suit with servo helmet lift, glowing repulsors, sound effects, 3D fit measurements and...

not off the top of my head but North Carolina where we met does one in that building / school every year
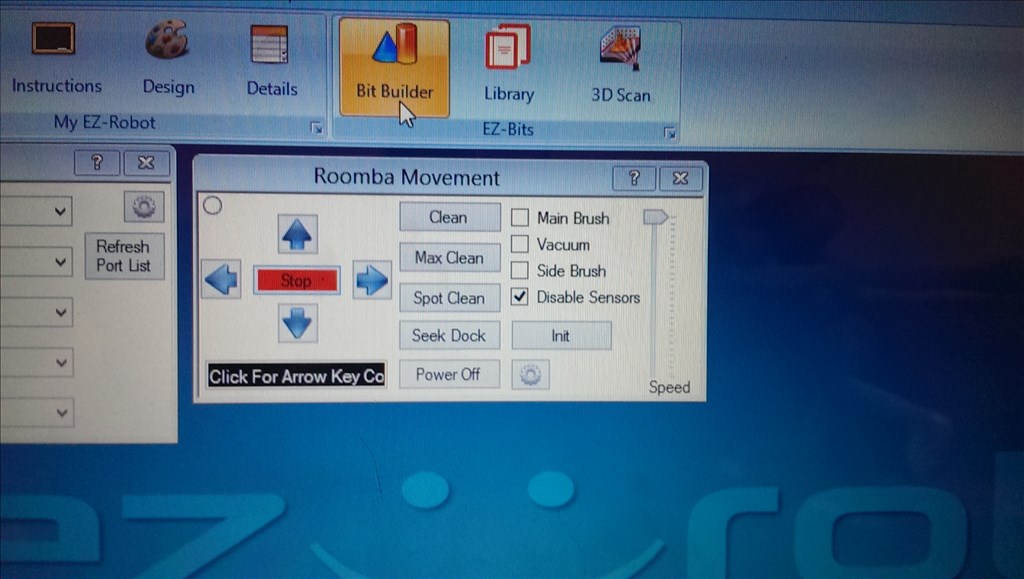
Next I need to create some scripts and I posted a question about how they should be utilized but here are all the terms I could find. I just dont know how to structure them to function.
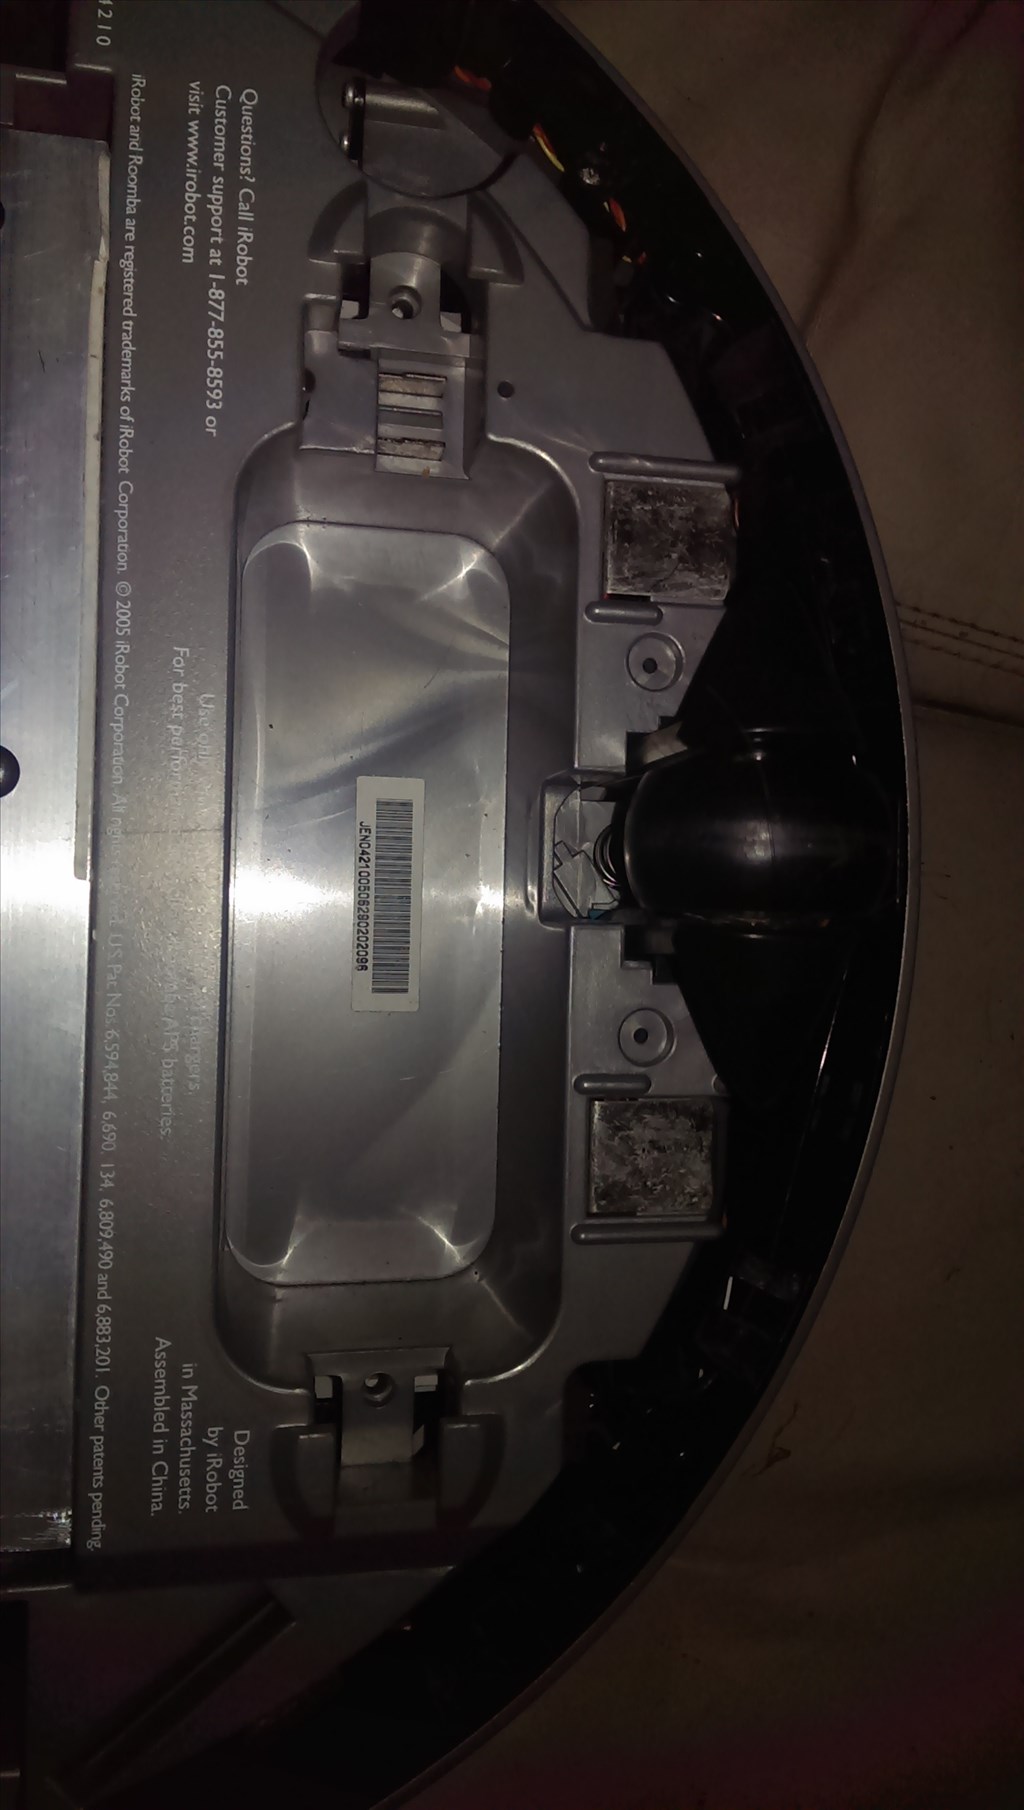
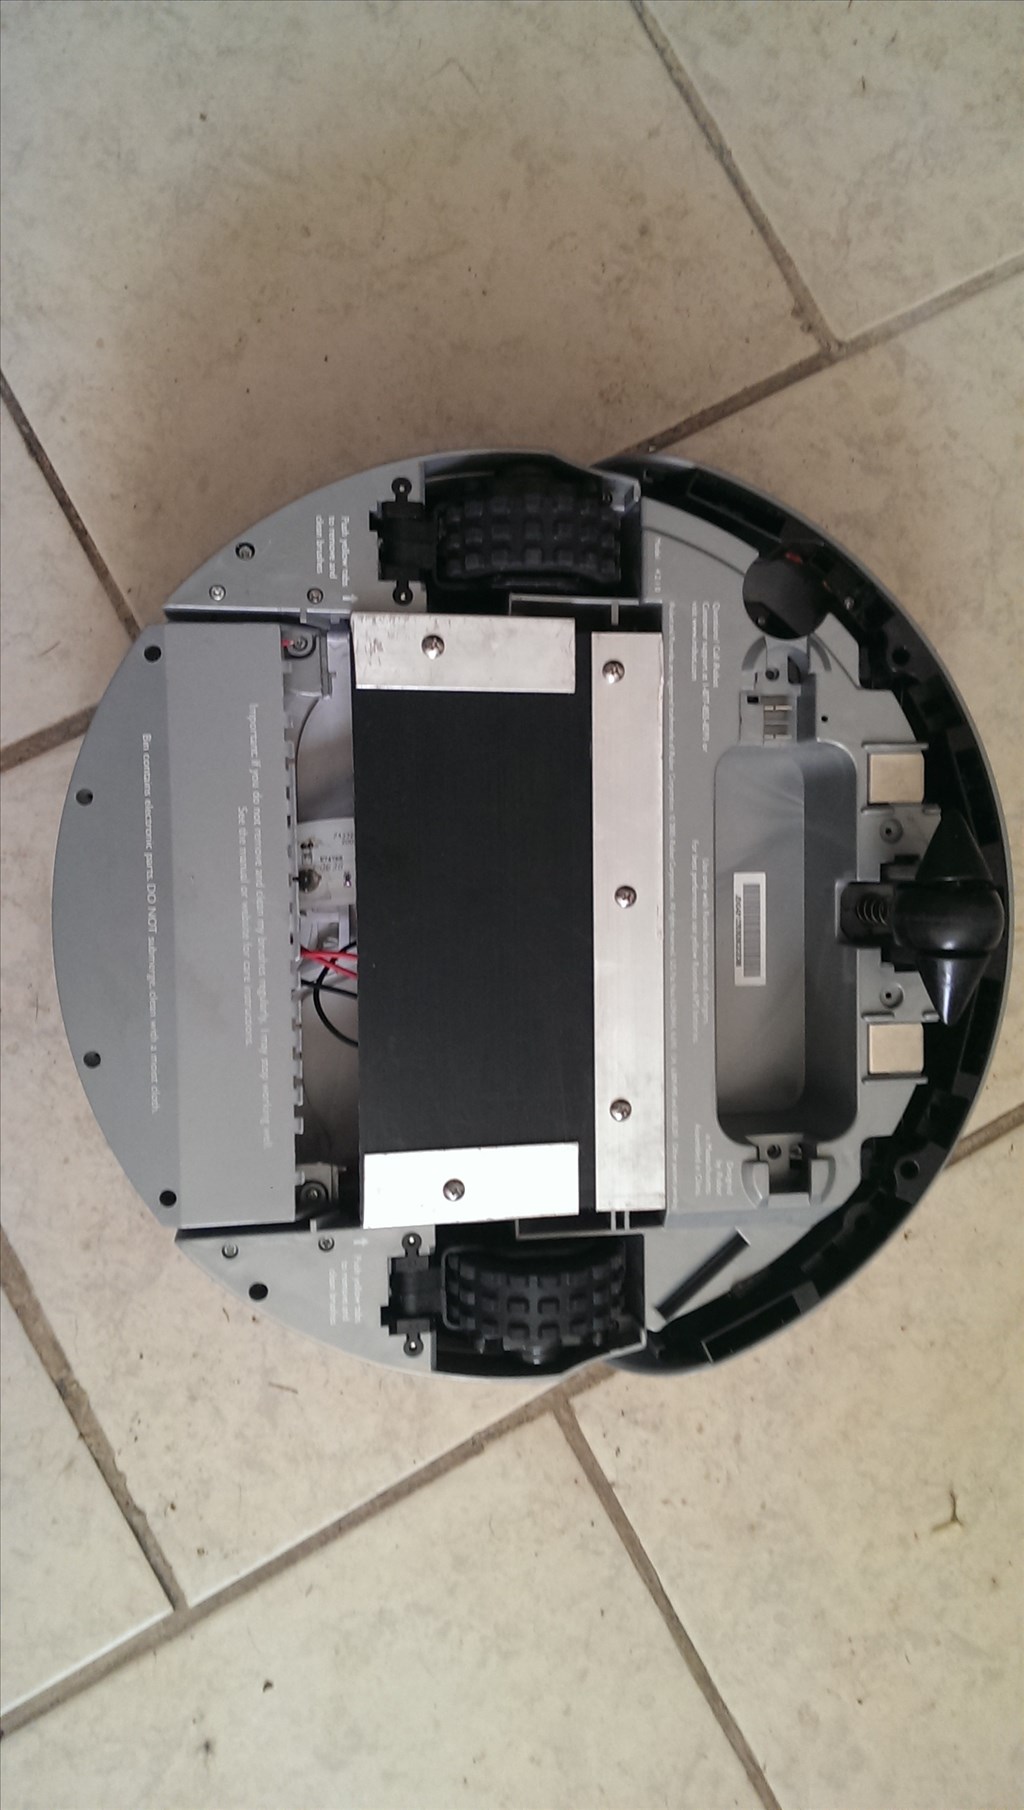
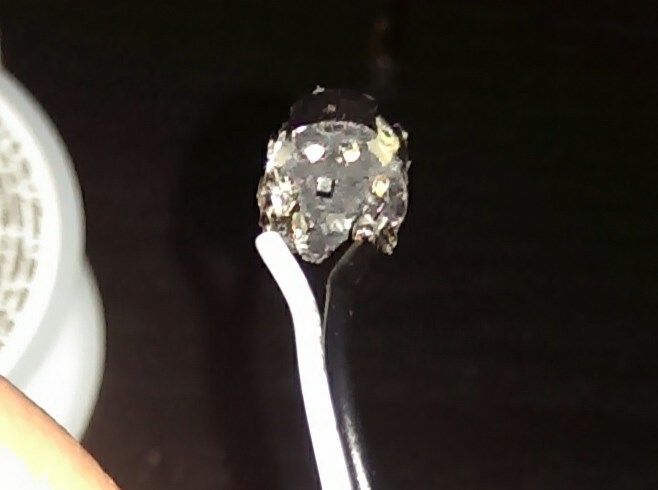
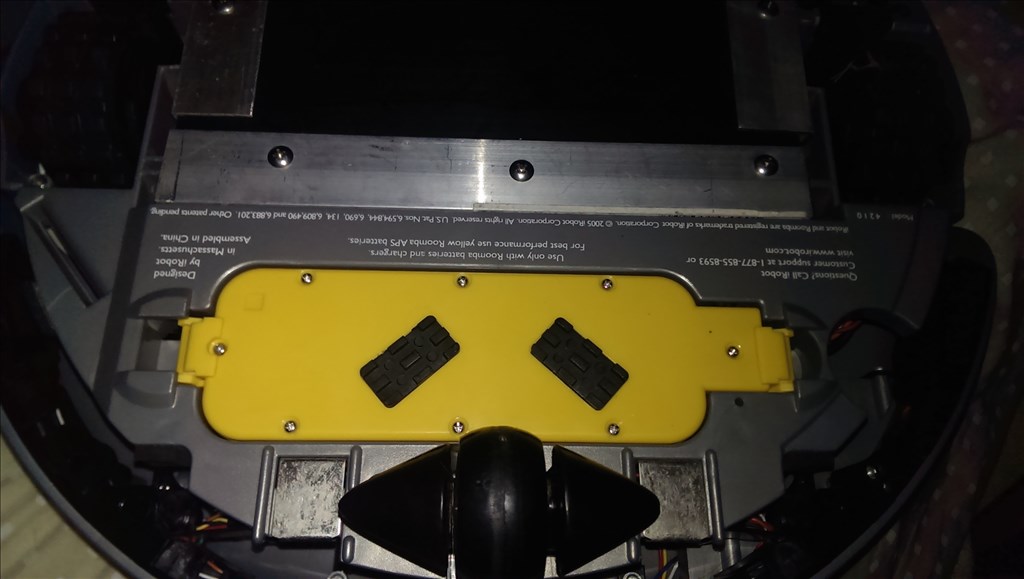
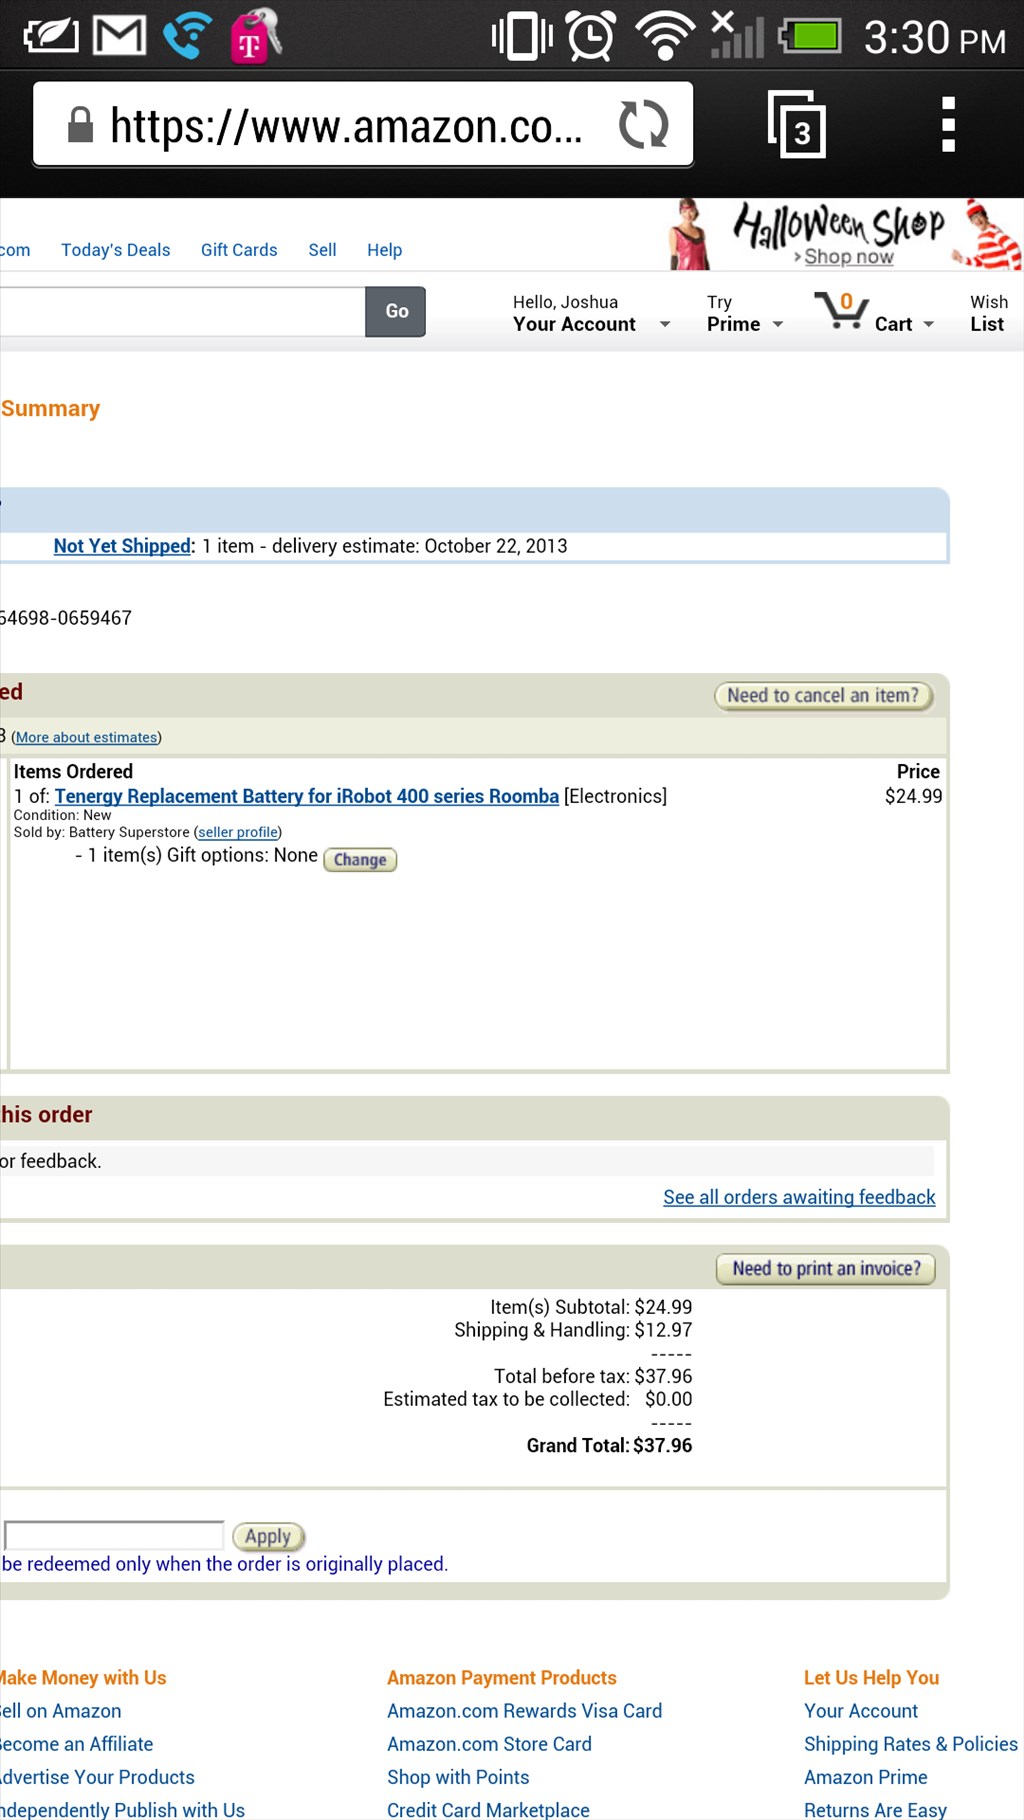
Roomba Commands Init EnableSensors DisableSensors PowerOff SpotClean Clean MaxClean DisableAllBrushes MainBrushOn MainBrushOff SideBrushOn SideBrushOff VacuumOn VacuumOff SeekDockingStation
Important note that i explained in one of the most recent videos for repeated docking success, when undocking I noticed I needed to click the Disable sensors then the INIT agian and then Disable sensors agian to be able to remove it from the charging mode so it can come off the dock. Otherwise if you only press INIT and try to backup it doesn't do anything.
EDIT: This looks useful, looks like I need to start the commands with Roomba
Roomba( cmd ) Execute the specified command on a connected Roomba Vacuum on Port D0 and EZ-B 0. Look for the available Roomba commands further below in this document. You may also add the Roomba Movement Panel for graphical controls. Example: Roomba(init) Example: Roomba(SideBrushOn)
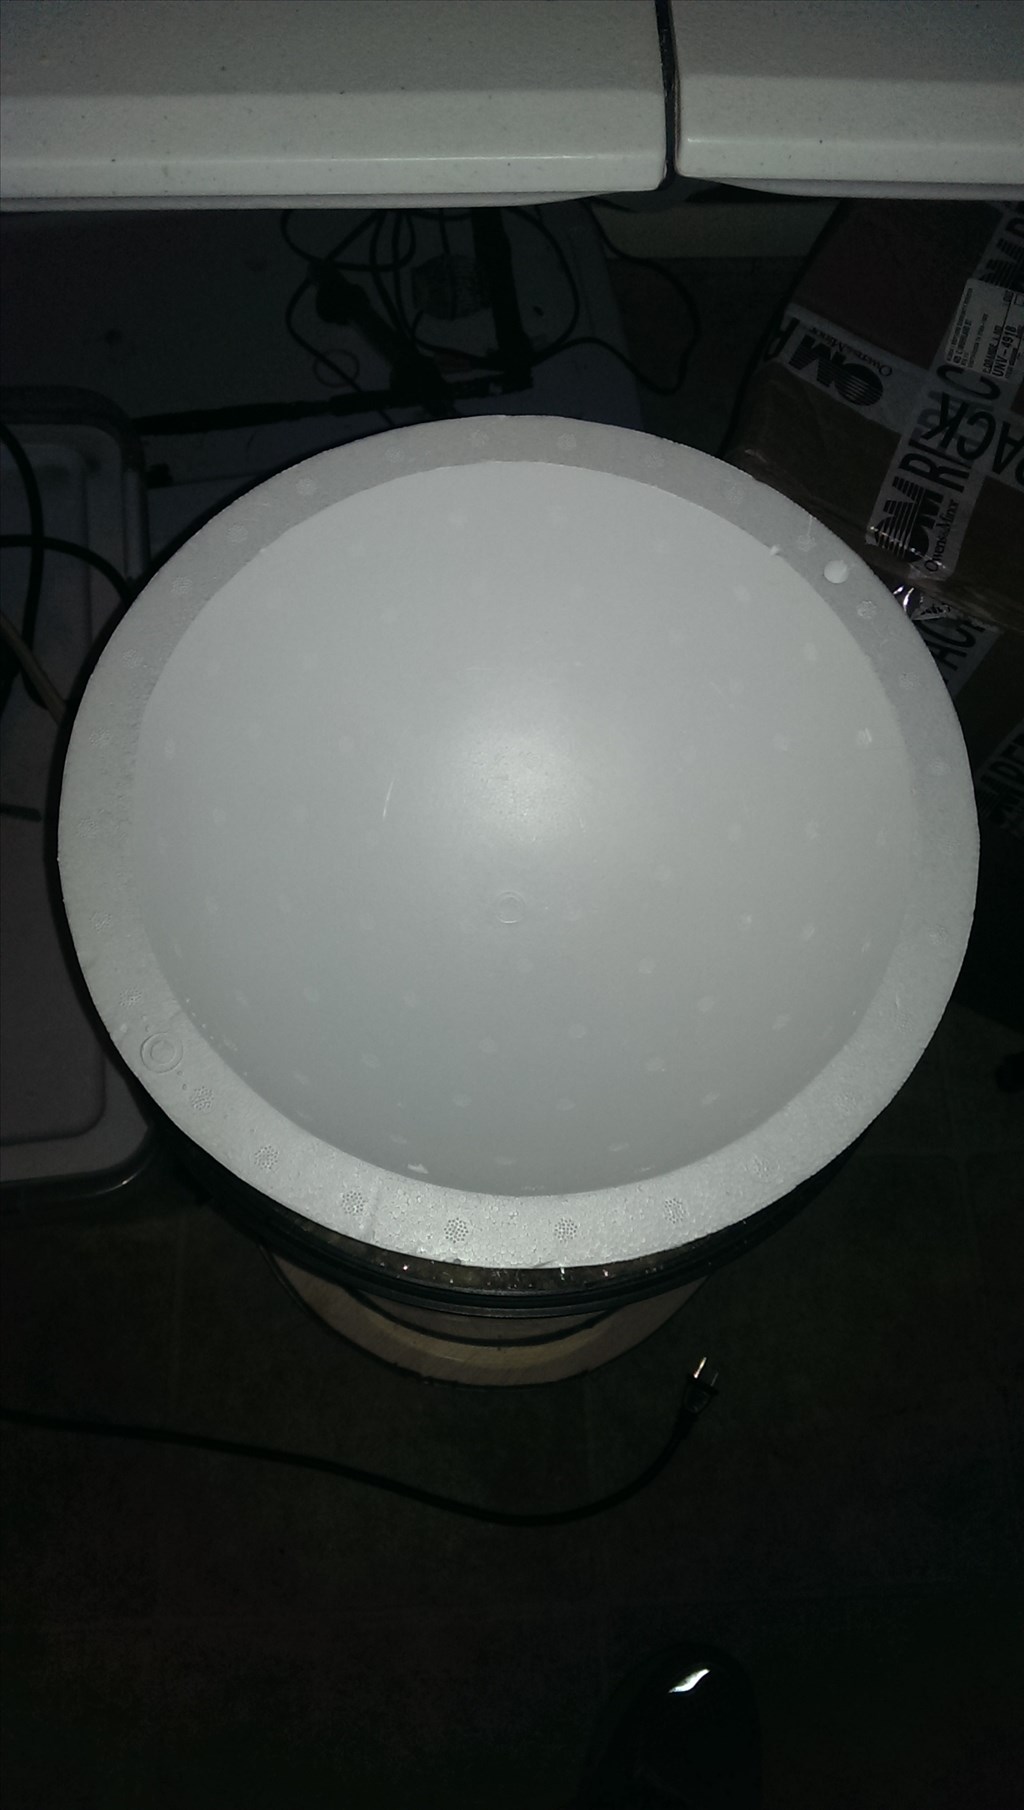
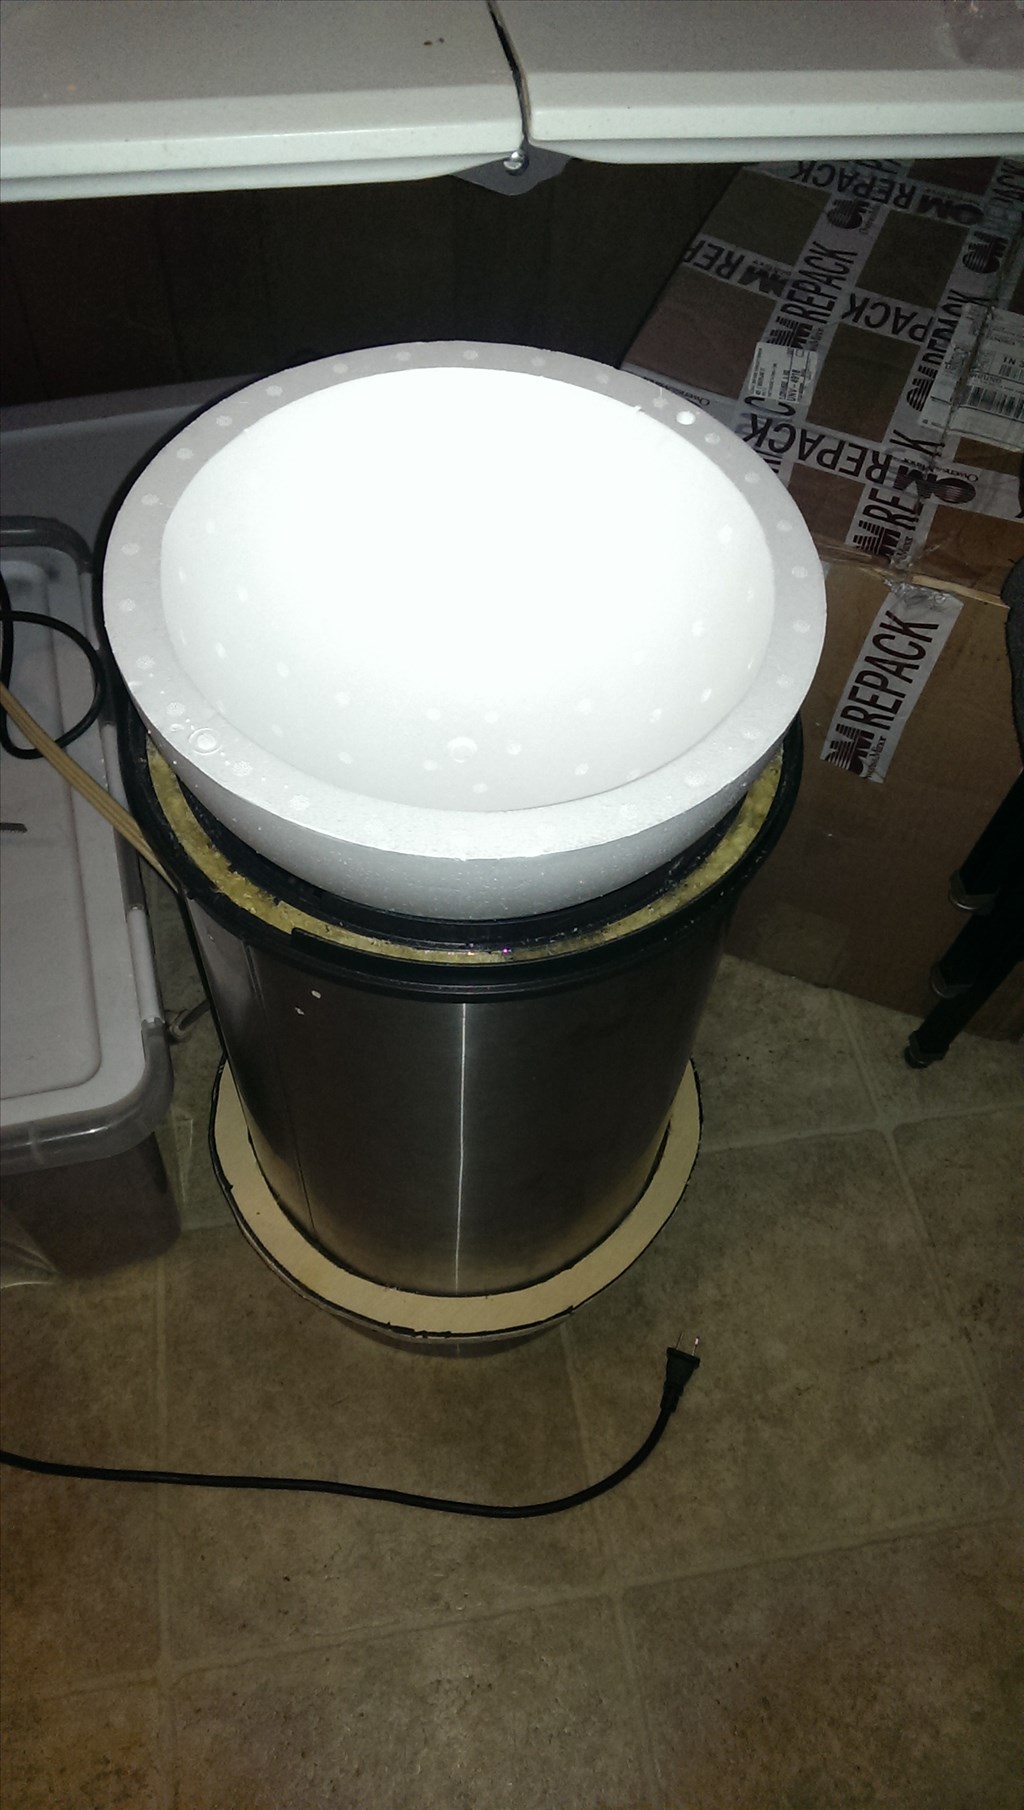
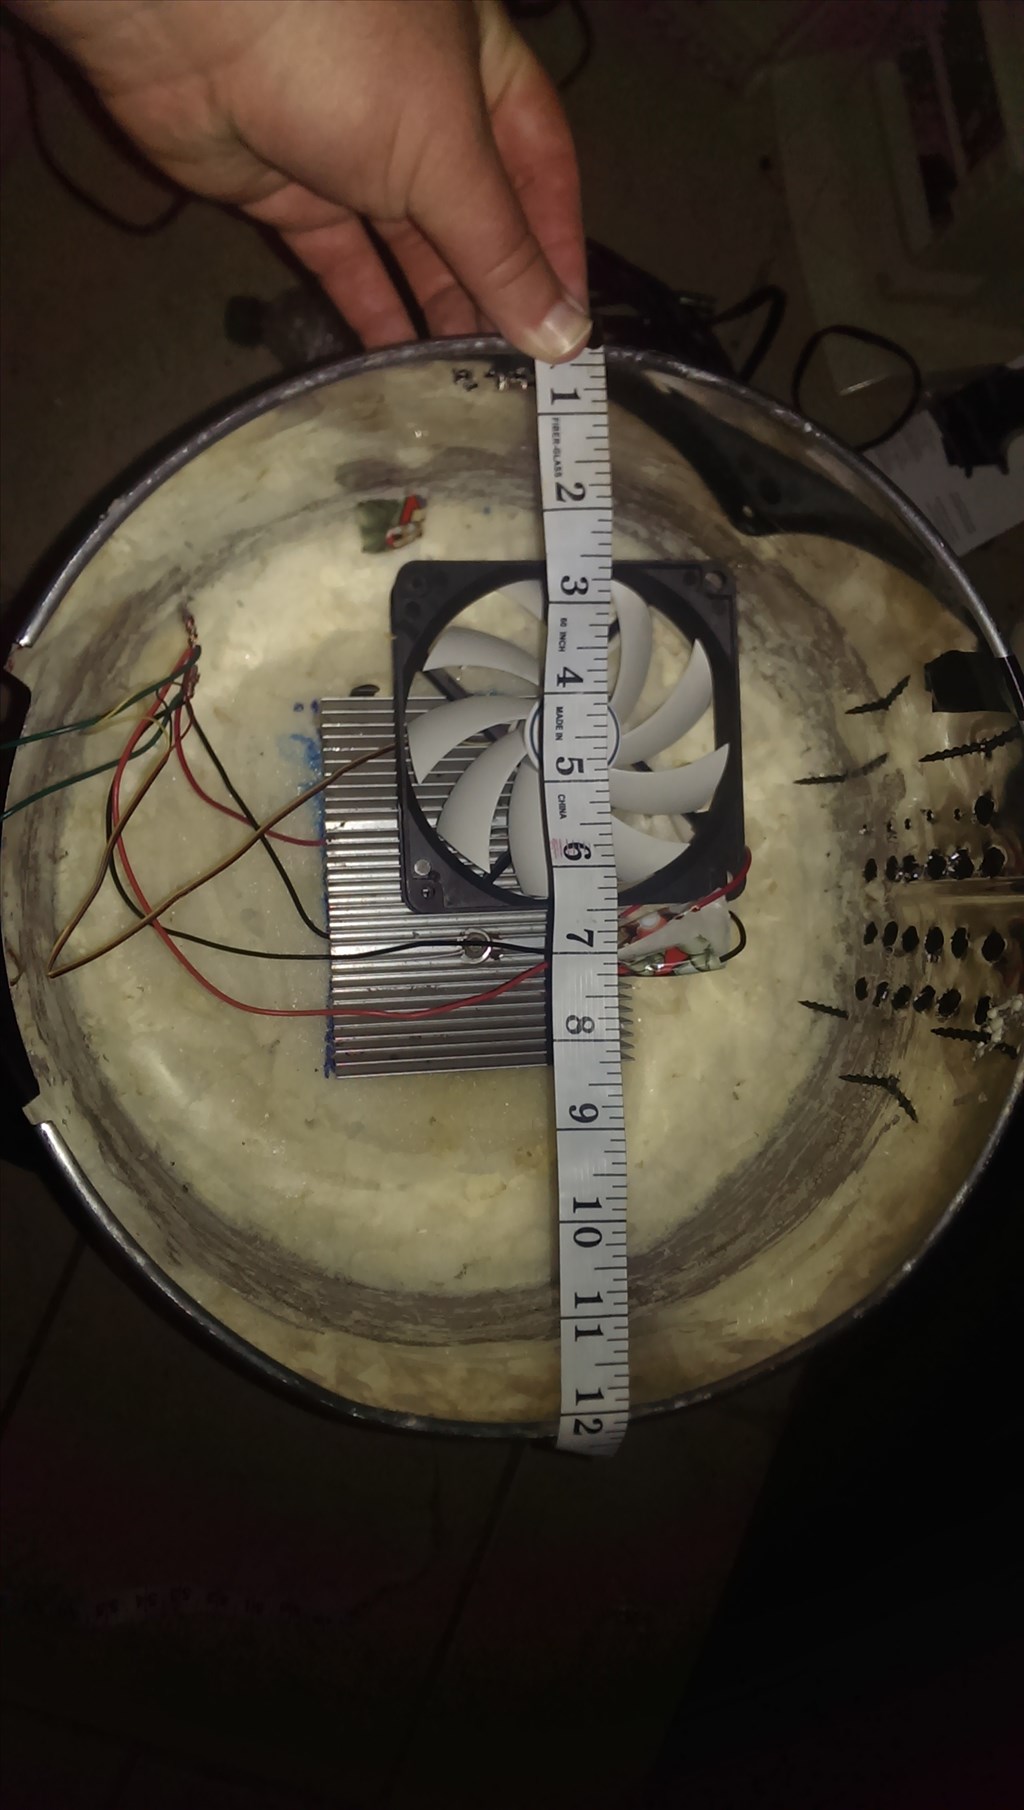
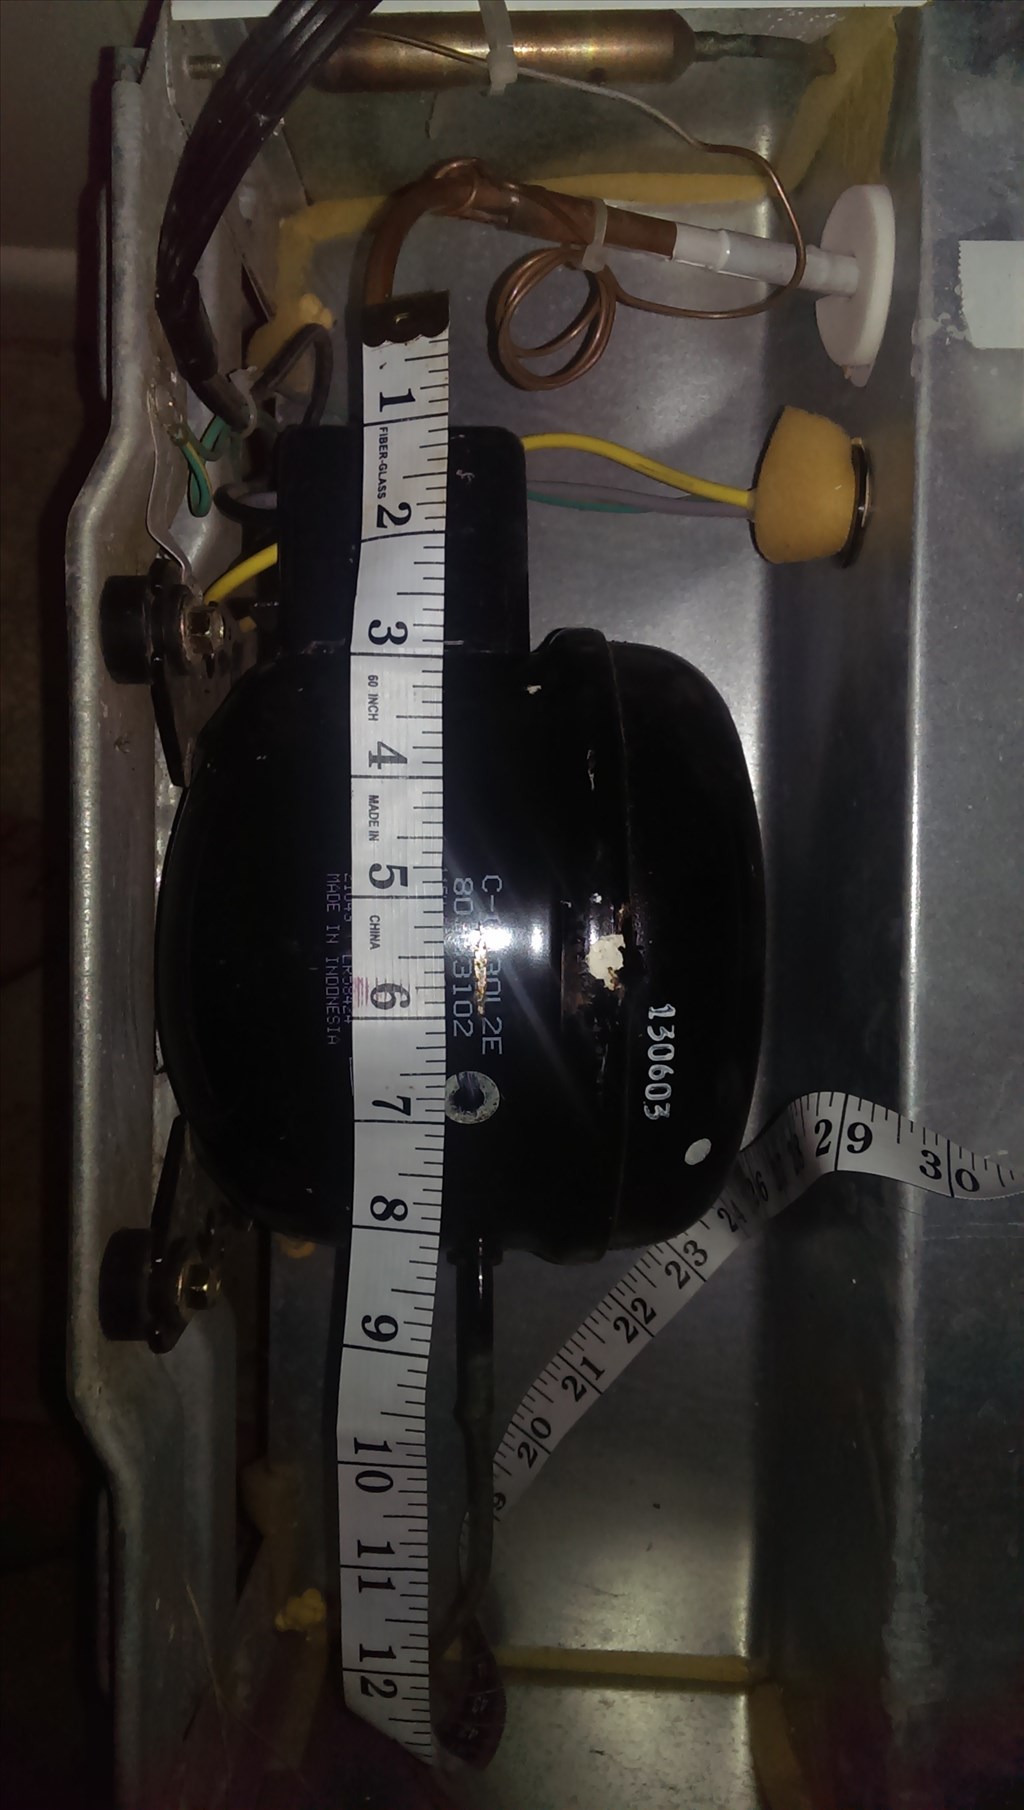
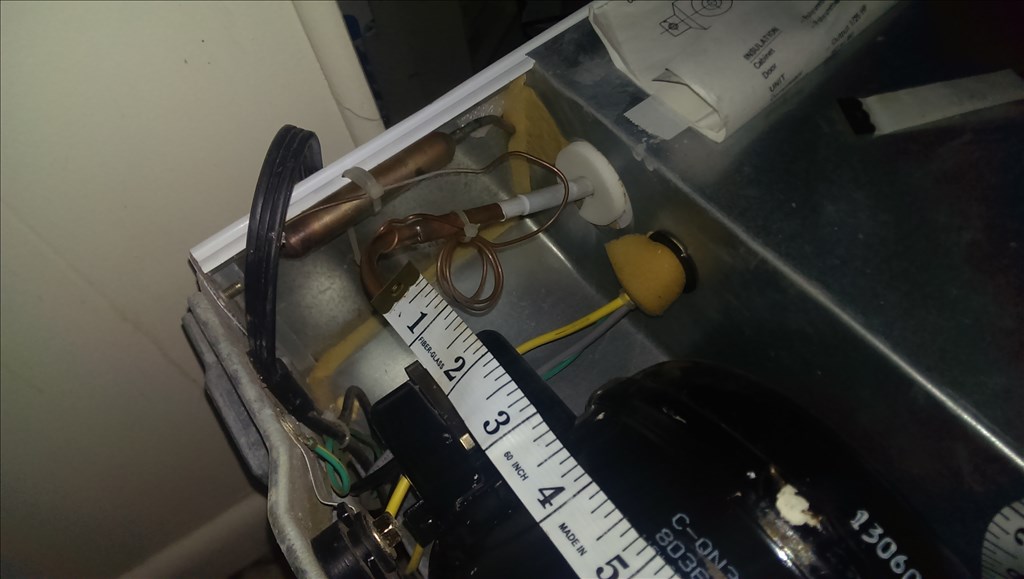
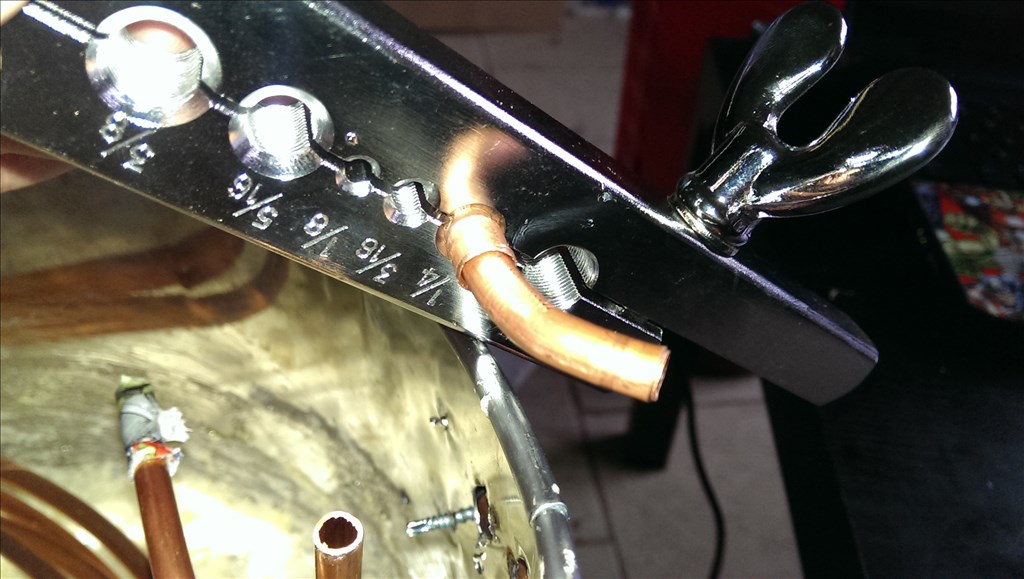
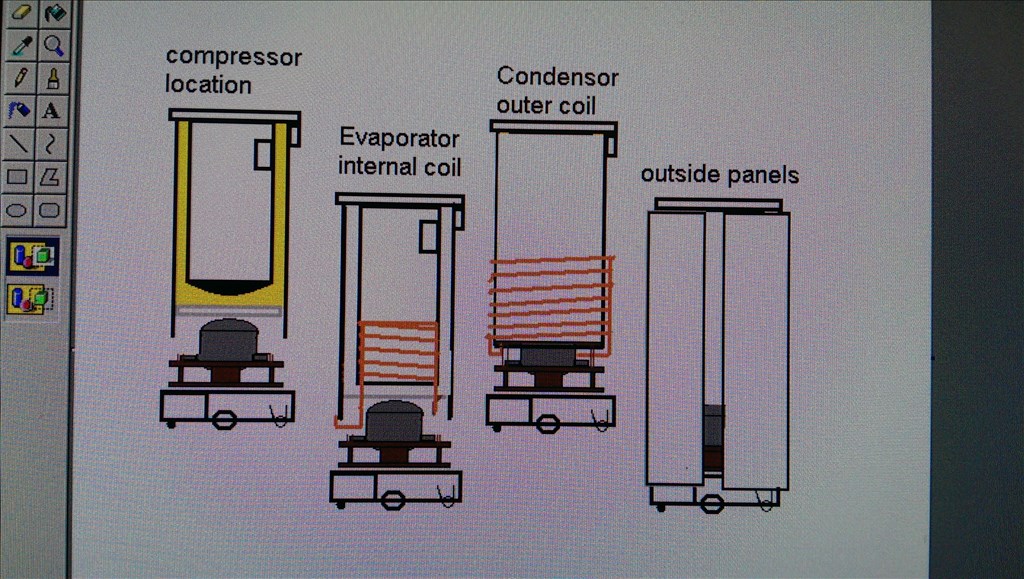
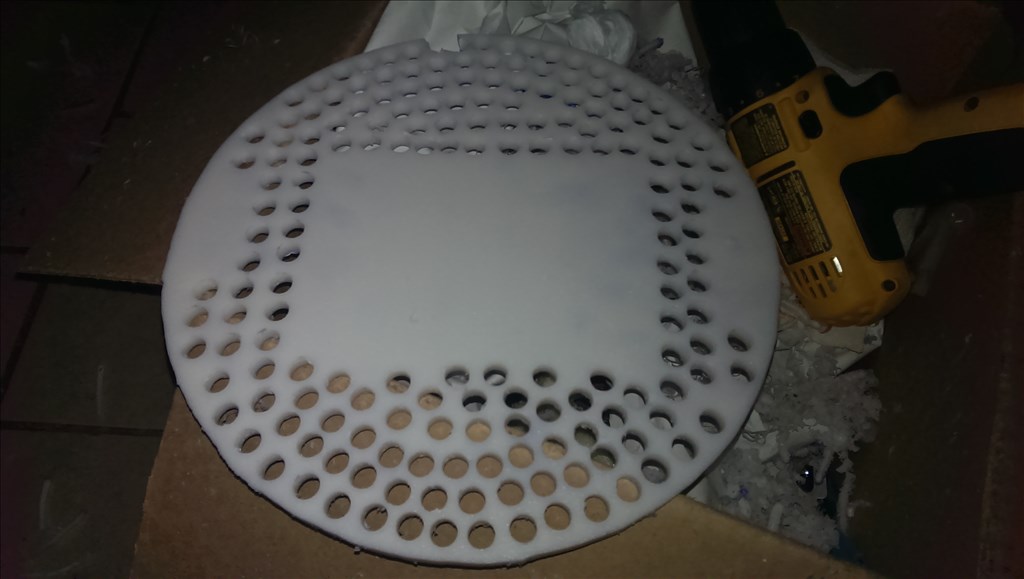
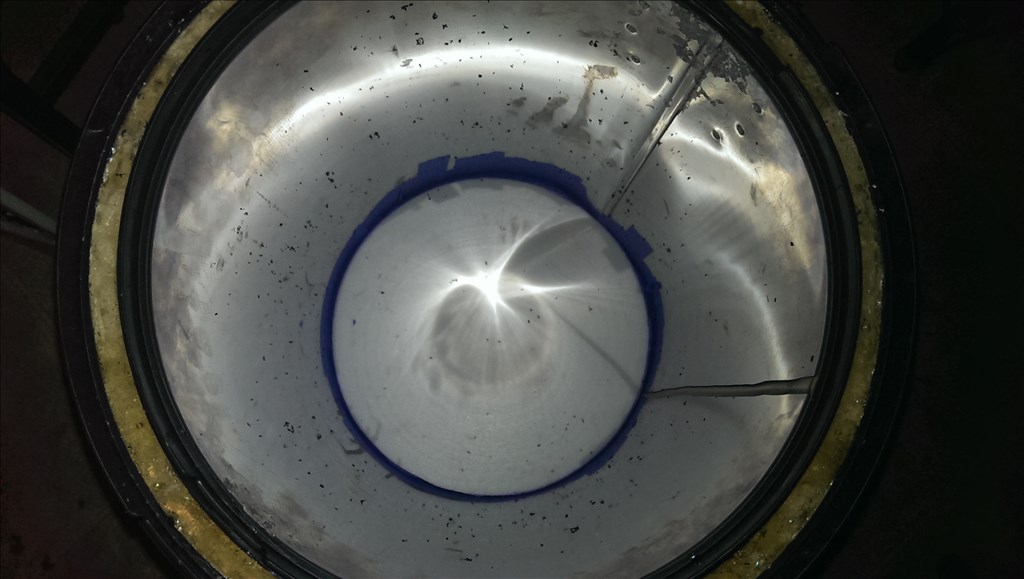
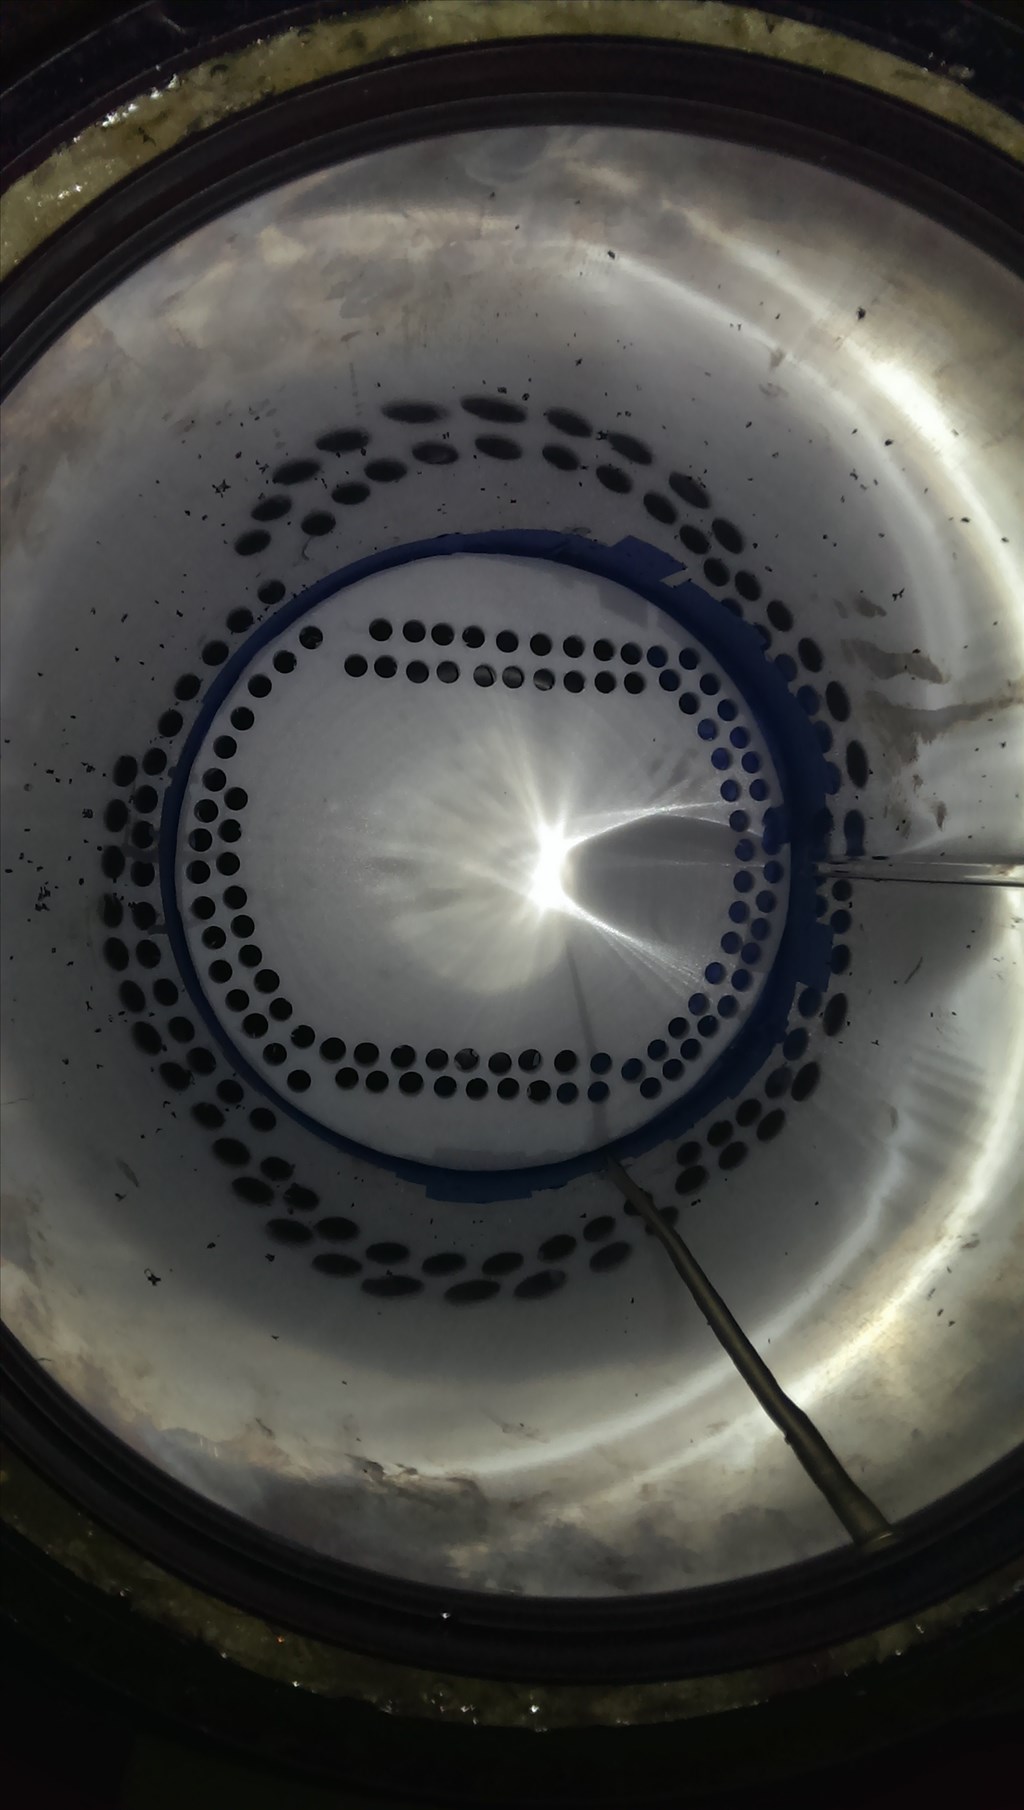
Ok some progress here ,it's time to form up a frame to connect the chiller section to the roomba base. Inbetween there will be a platform for the compressor which I will install once everything else is working correctly. I did a sketch a min ago...
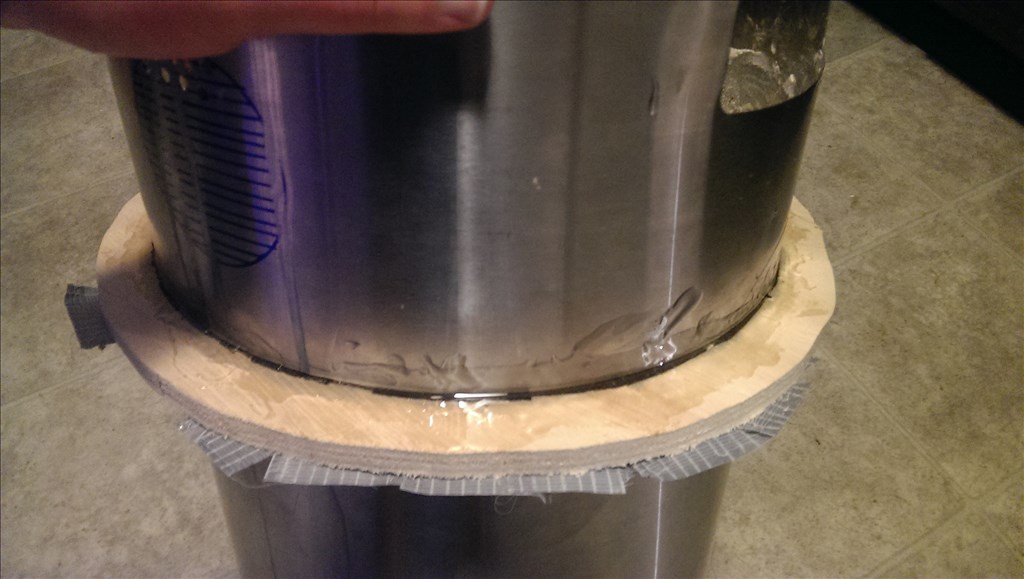
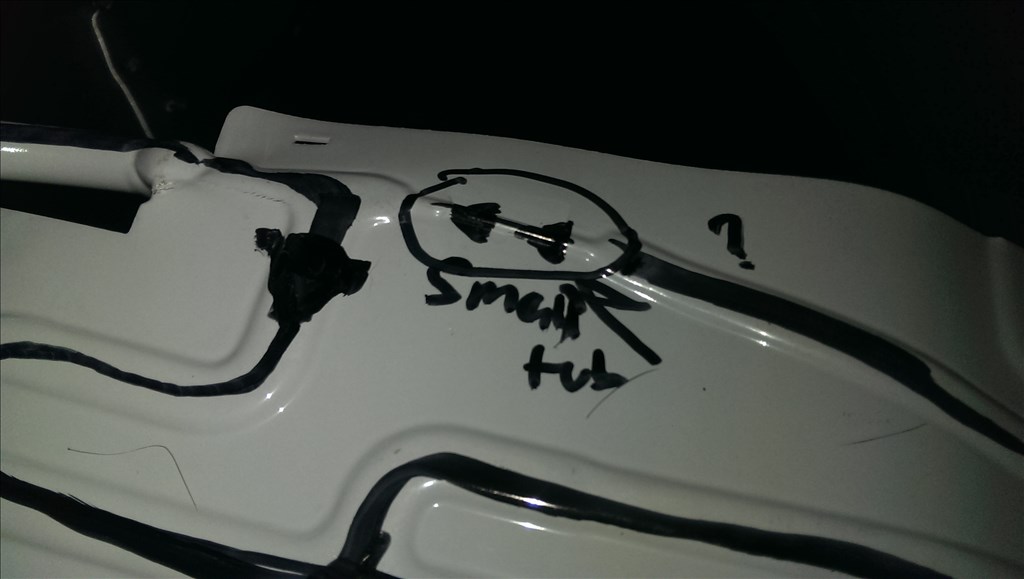
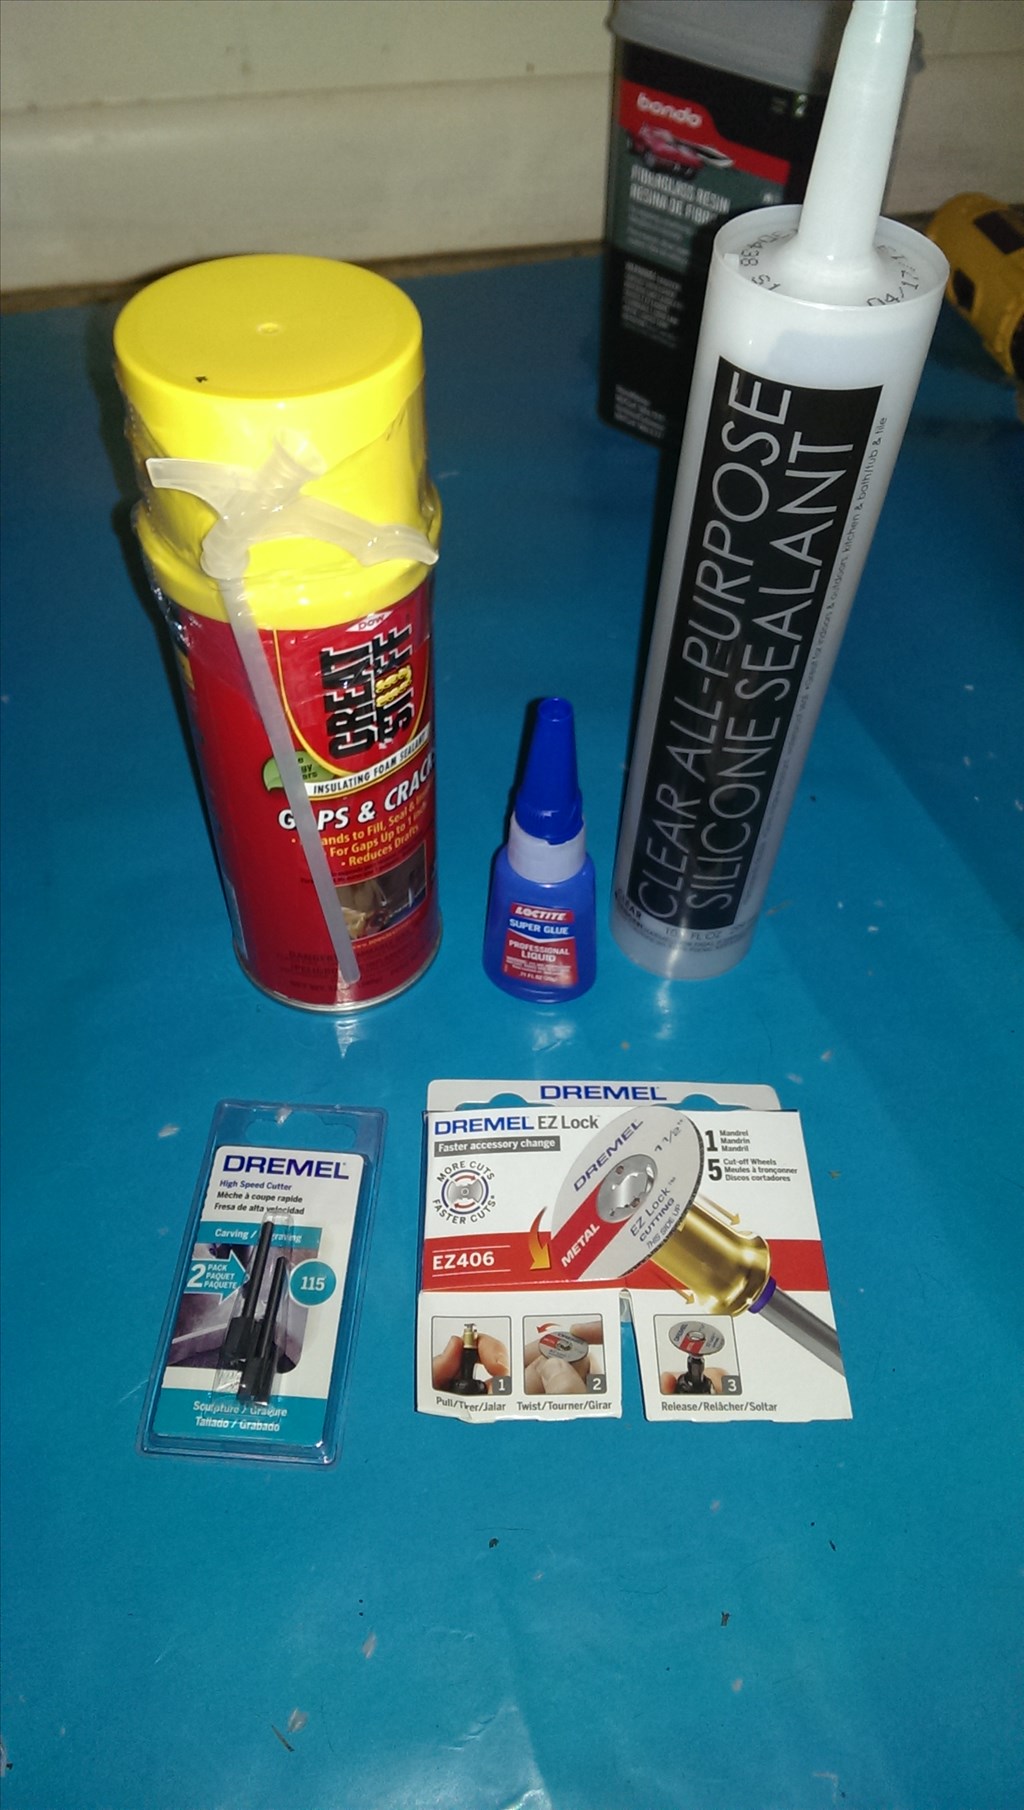
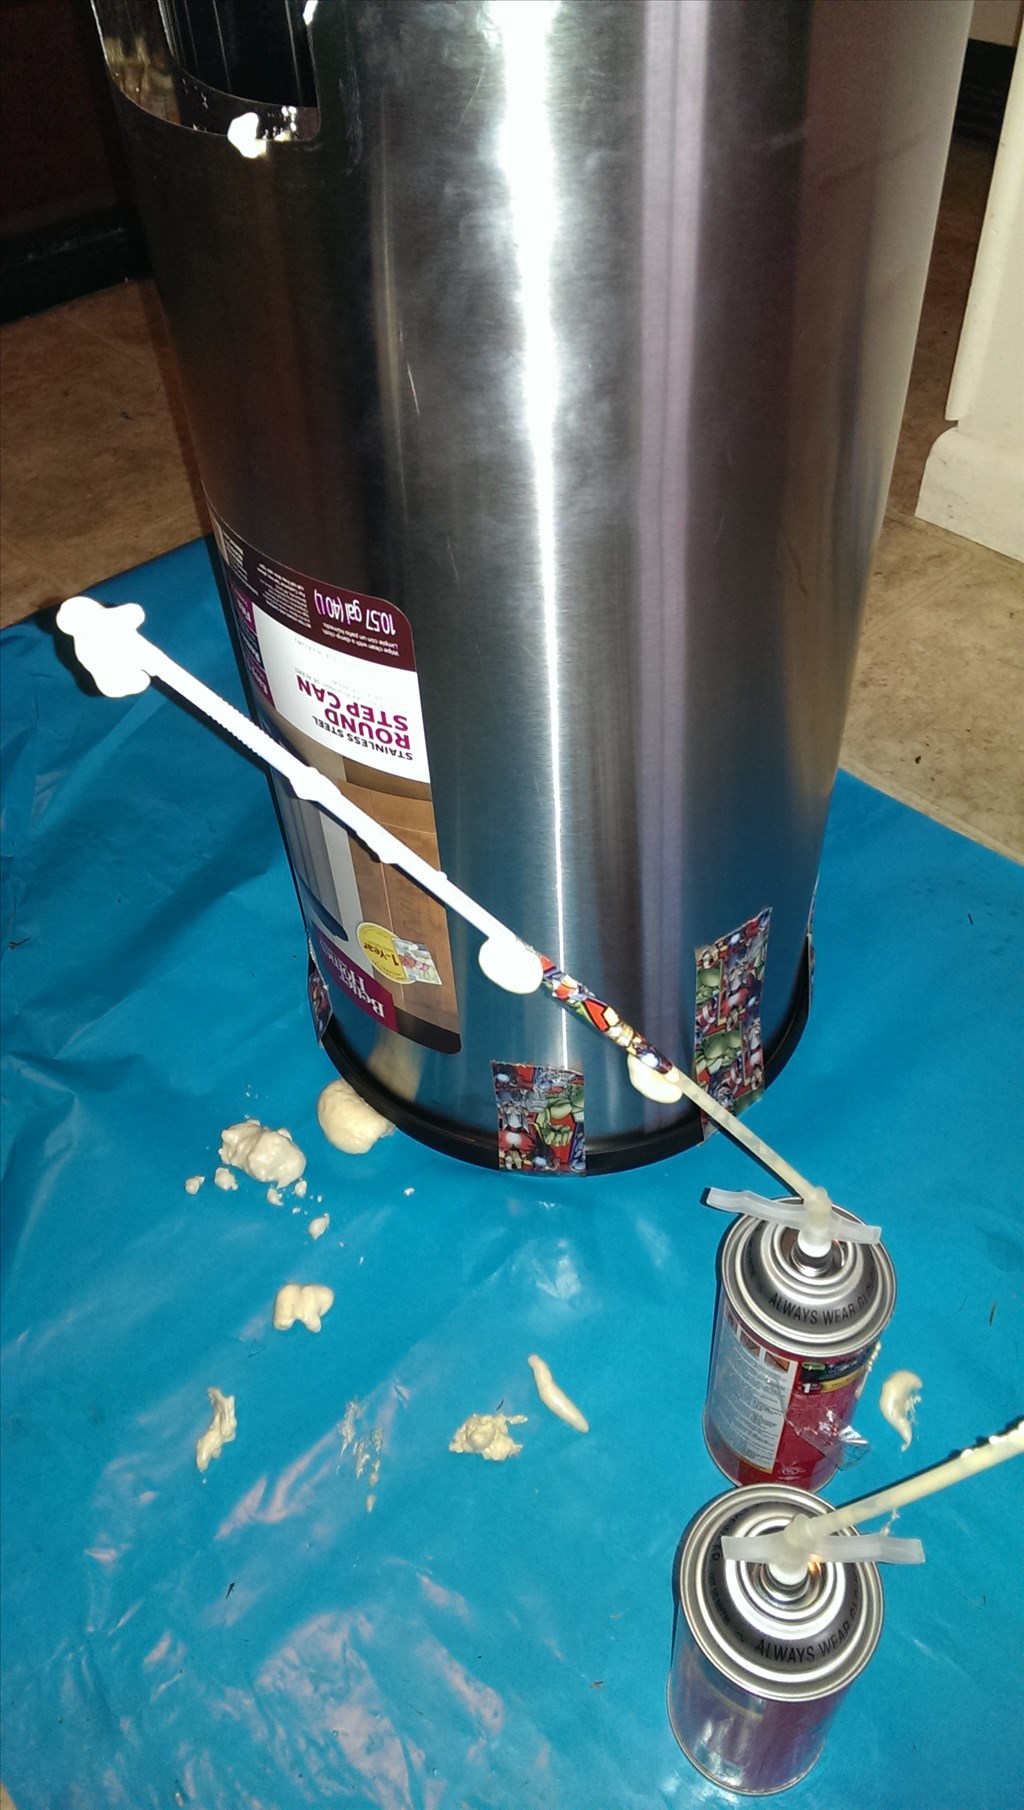
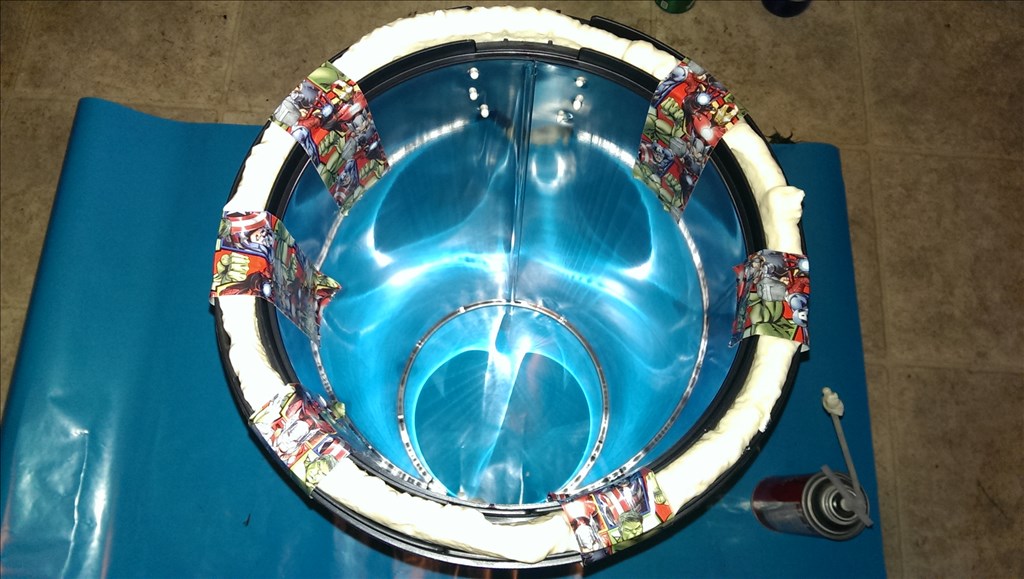
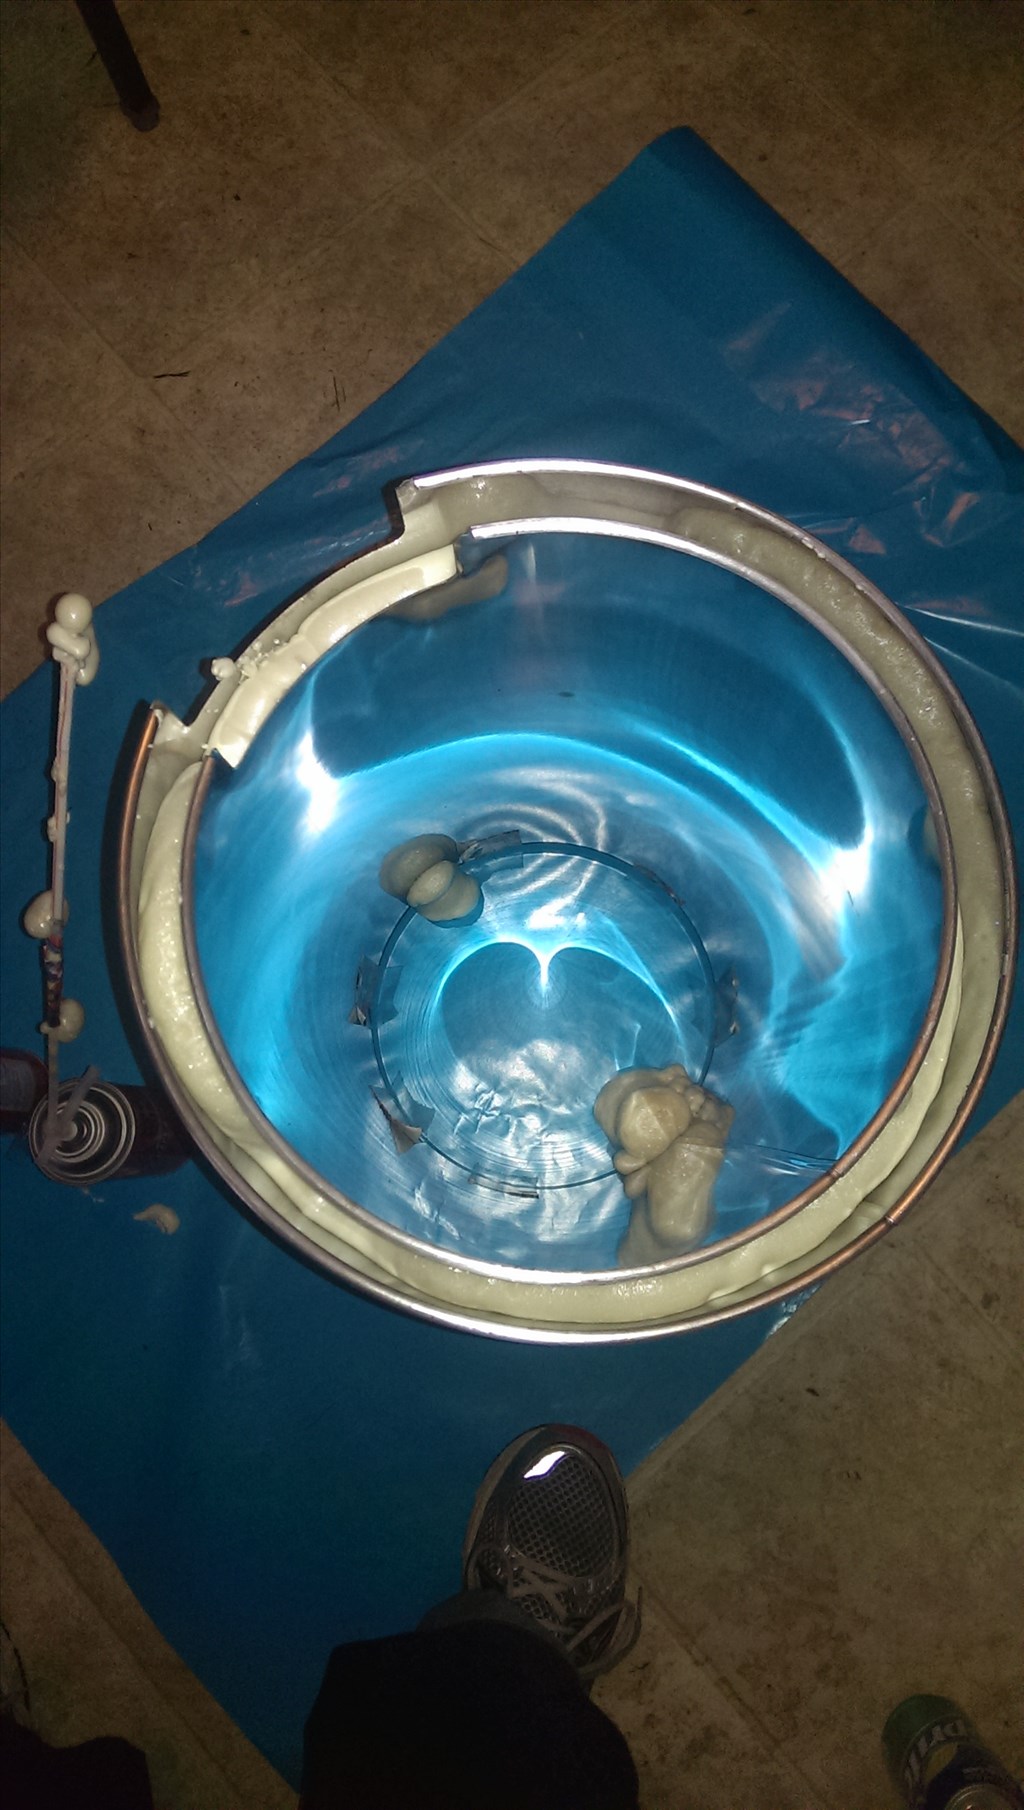
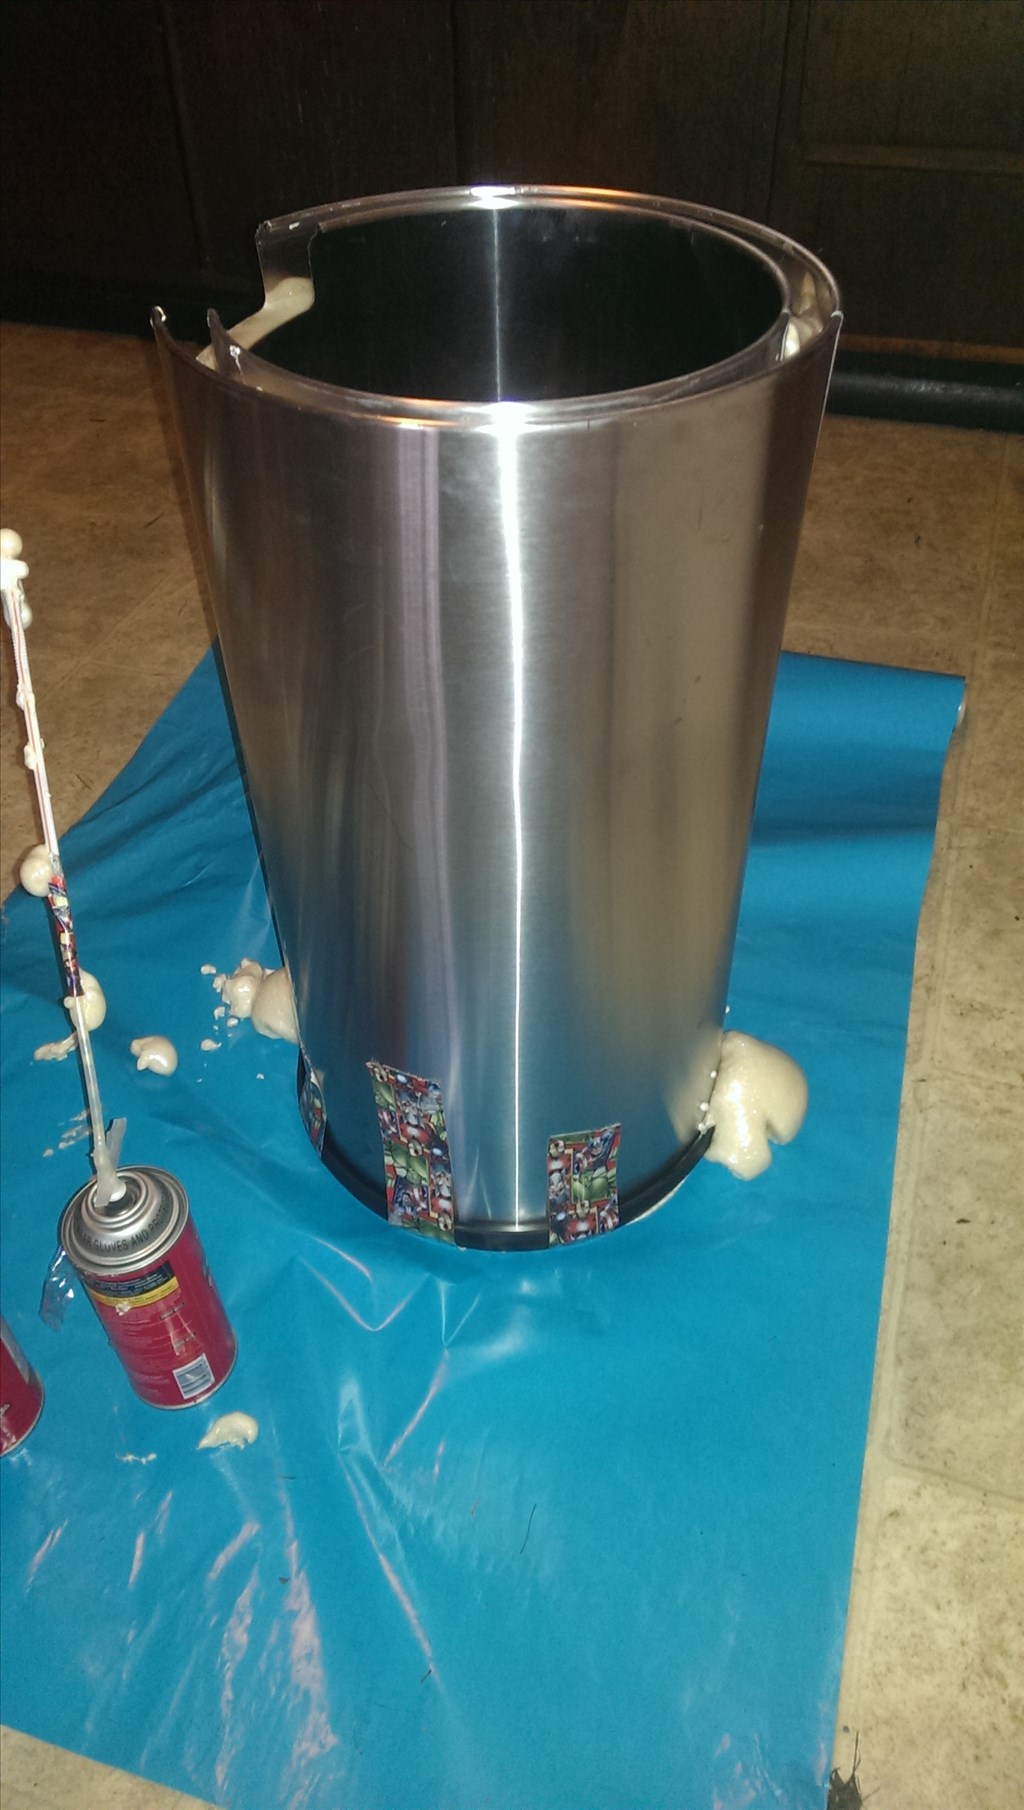
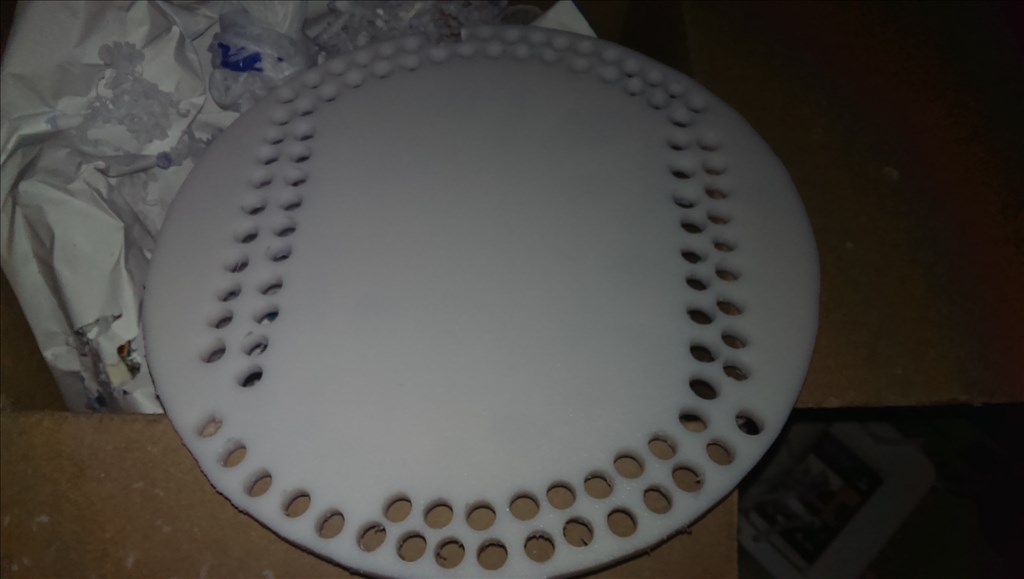
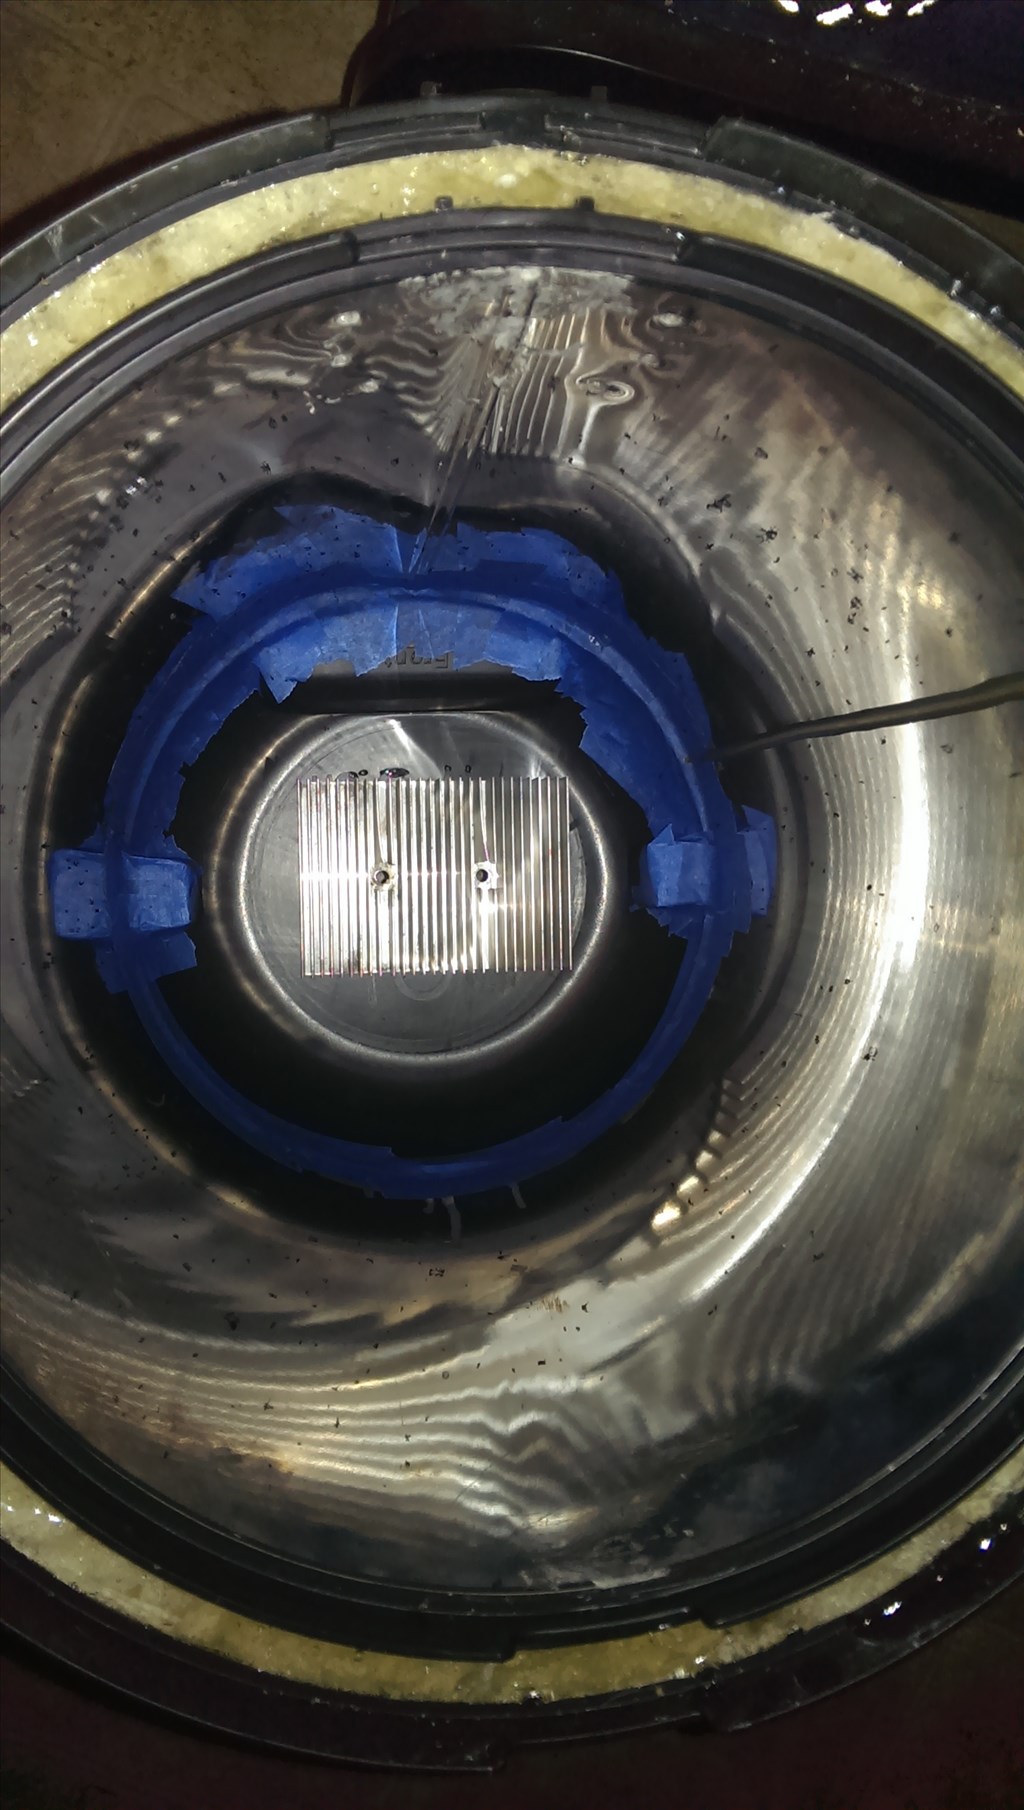
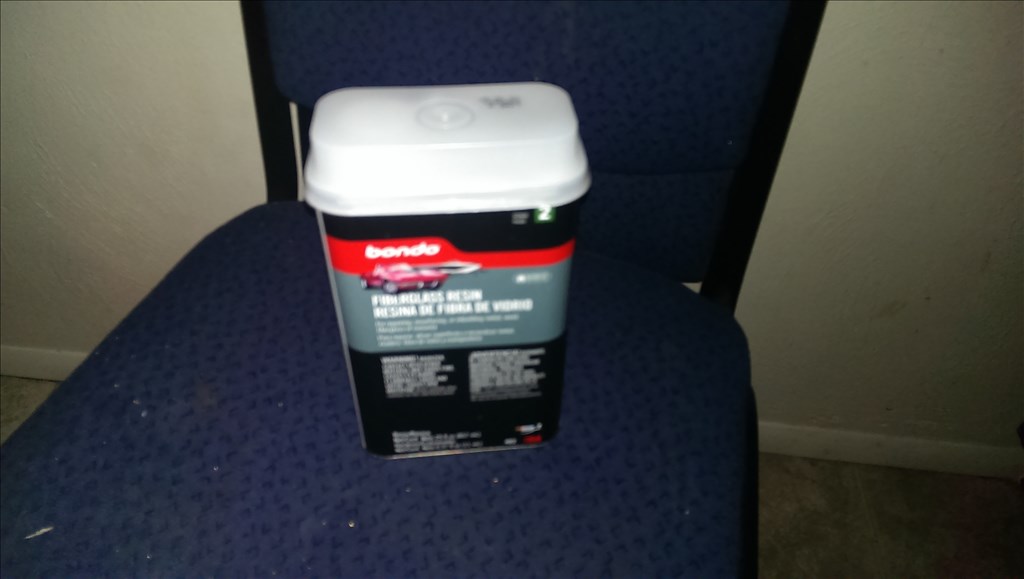
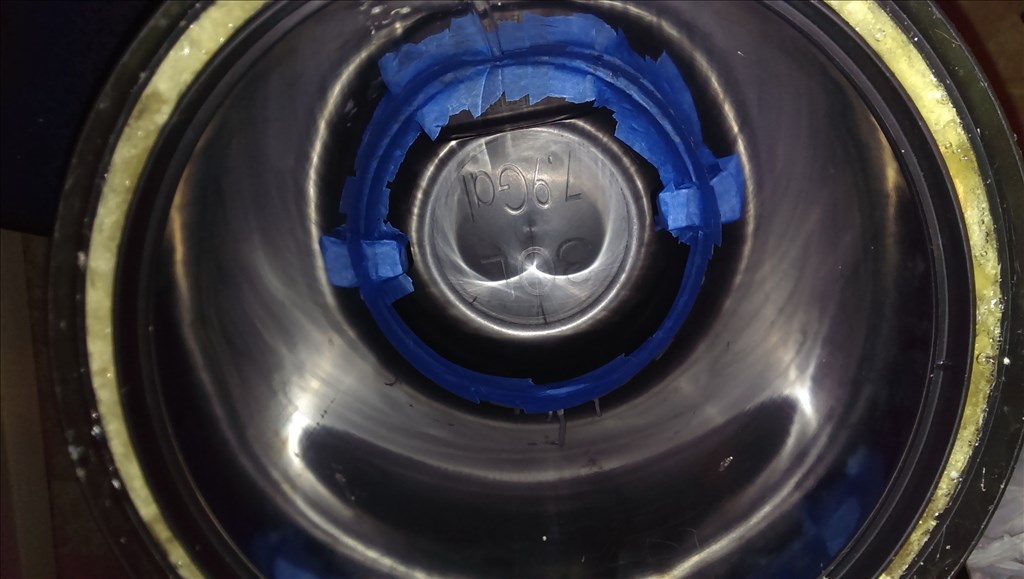
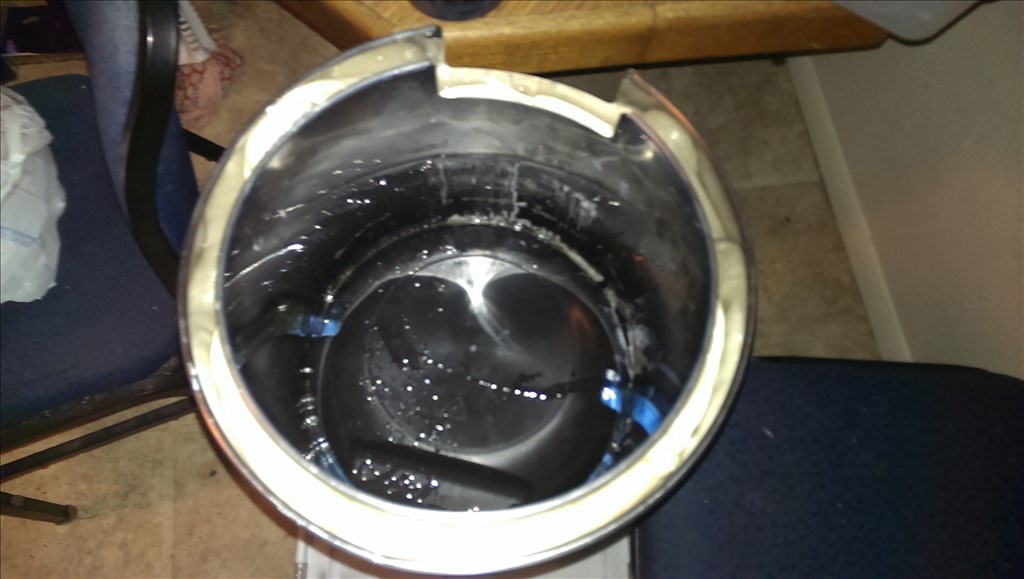
I cut a wooden ring out by hand and used superglue to tack in place. Once that was in place I used tape to back off the seem so that I could fill any small gaps with epoxy resin. This is a filler and also an adhesive to keep the ring in place. I will also add 3 to 4 screws later which will be predrilled.
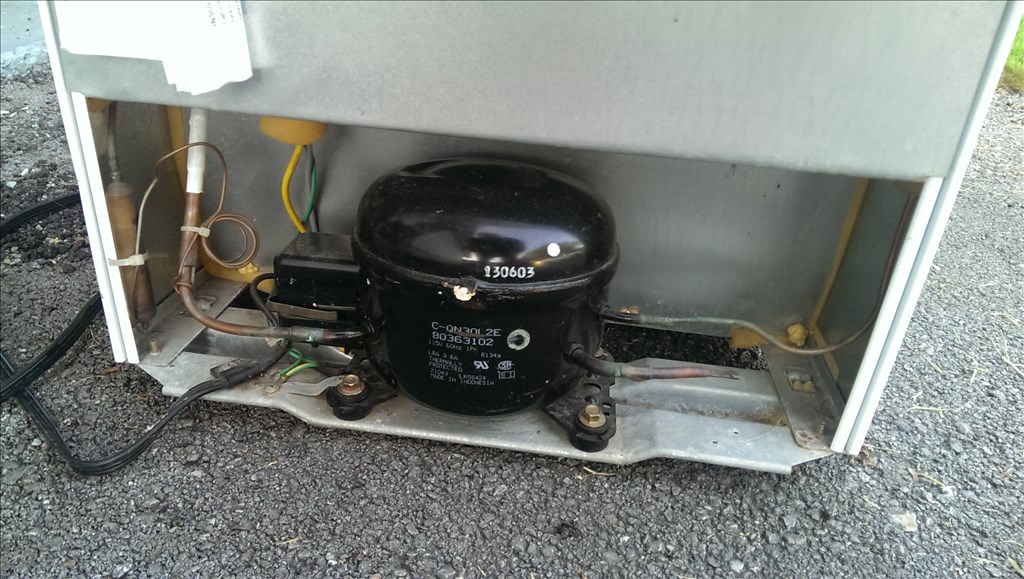
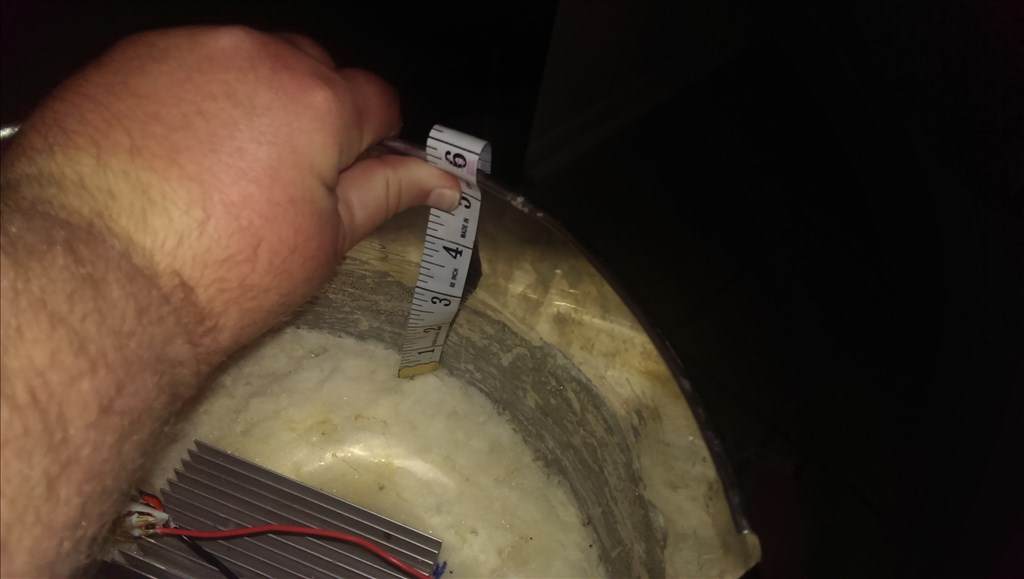
So that I can keep this project a reasonable height I may cut 3 to 5 inches off the bottom of the chiller section. It is basically unused and holds heat in the area where the compressor and dryer are going to be. I will cut this down tonight and then continue the framing.
This is the framing idea I have. Keeping it light as possible for being a wood frame I am thinking of three legs. Then there is a top ring, center ring, the platform for compressor and base.
Three legs
Top ring
Center ring
Compressor platform
Round base.
I may need to get another piece of wood to do it all but this is the simplest I believe it can be and still support the weight of everything. I may get a hole saw and drill large holes into the wood frame in a pattern to reduce the overall weight but we will see about that later.
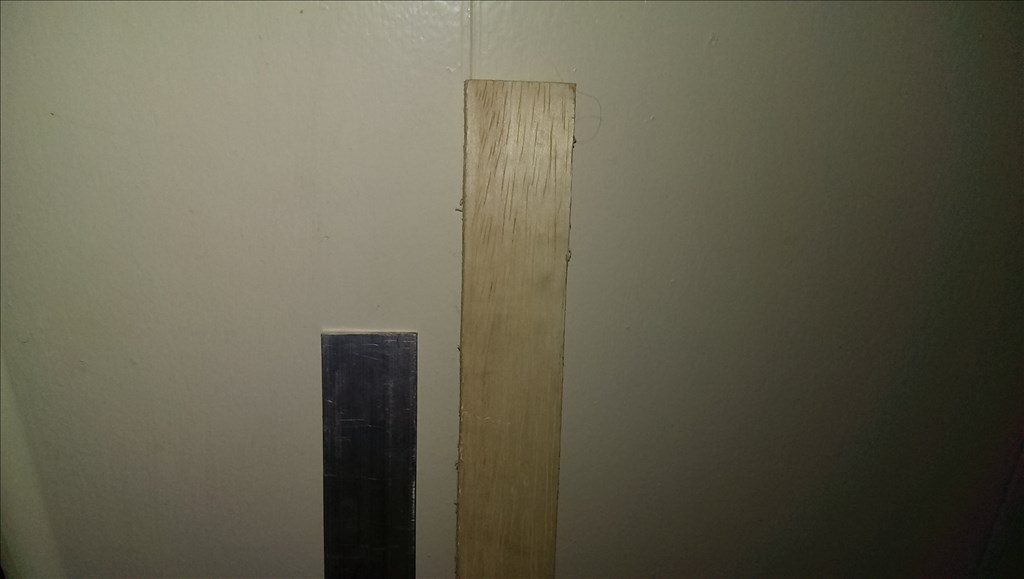
Ok so I pulled out the jigsaw because I don't have a tablesaw. I used a 1 1/2" wide piece of aluminum as a template and traced the first leg out I carefully cut it out biting my tounge the whole way. The leg fits over the rings so the next step is knotching out the leg to fit over the ring I epoxied in place. Hopefully I will have all three legs cut either tonight or tomorrow.