


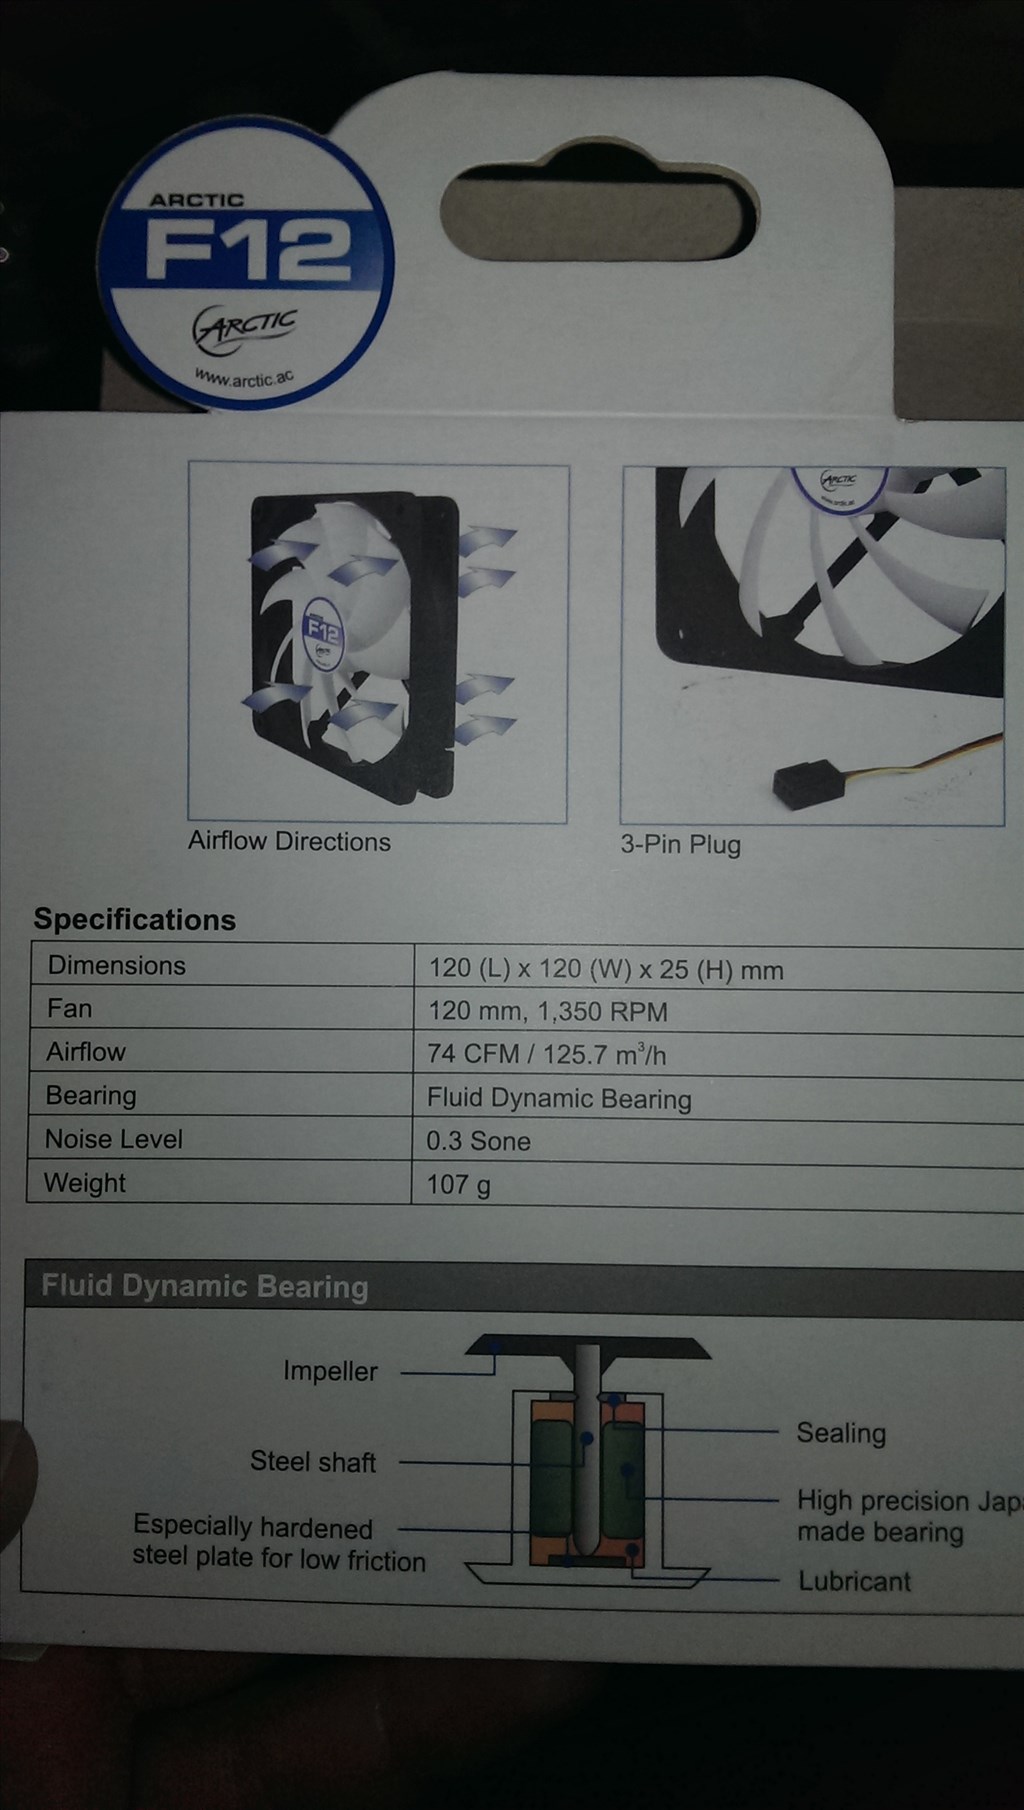
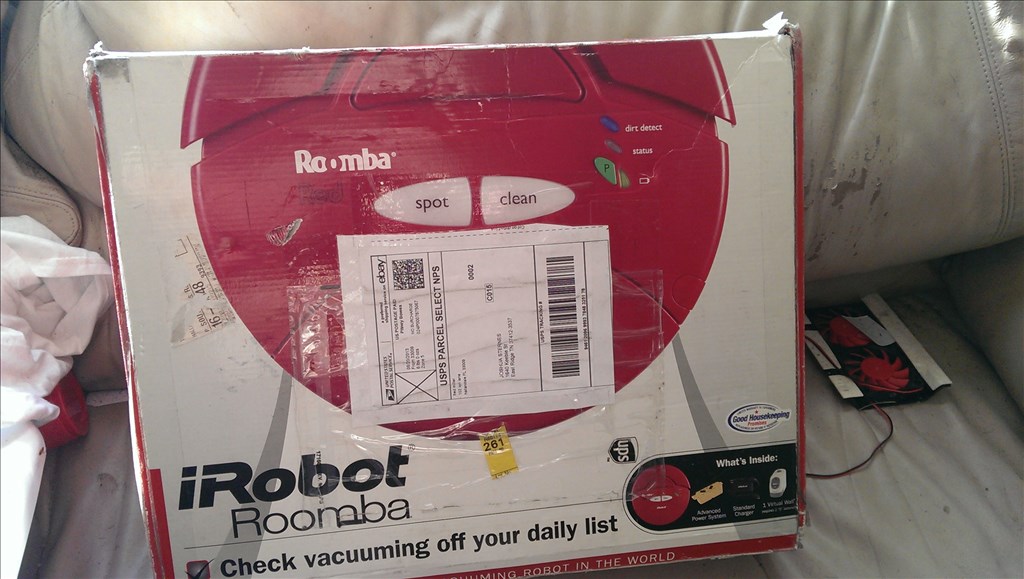
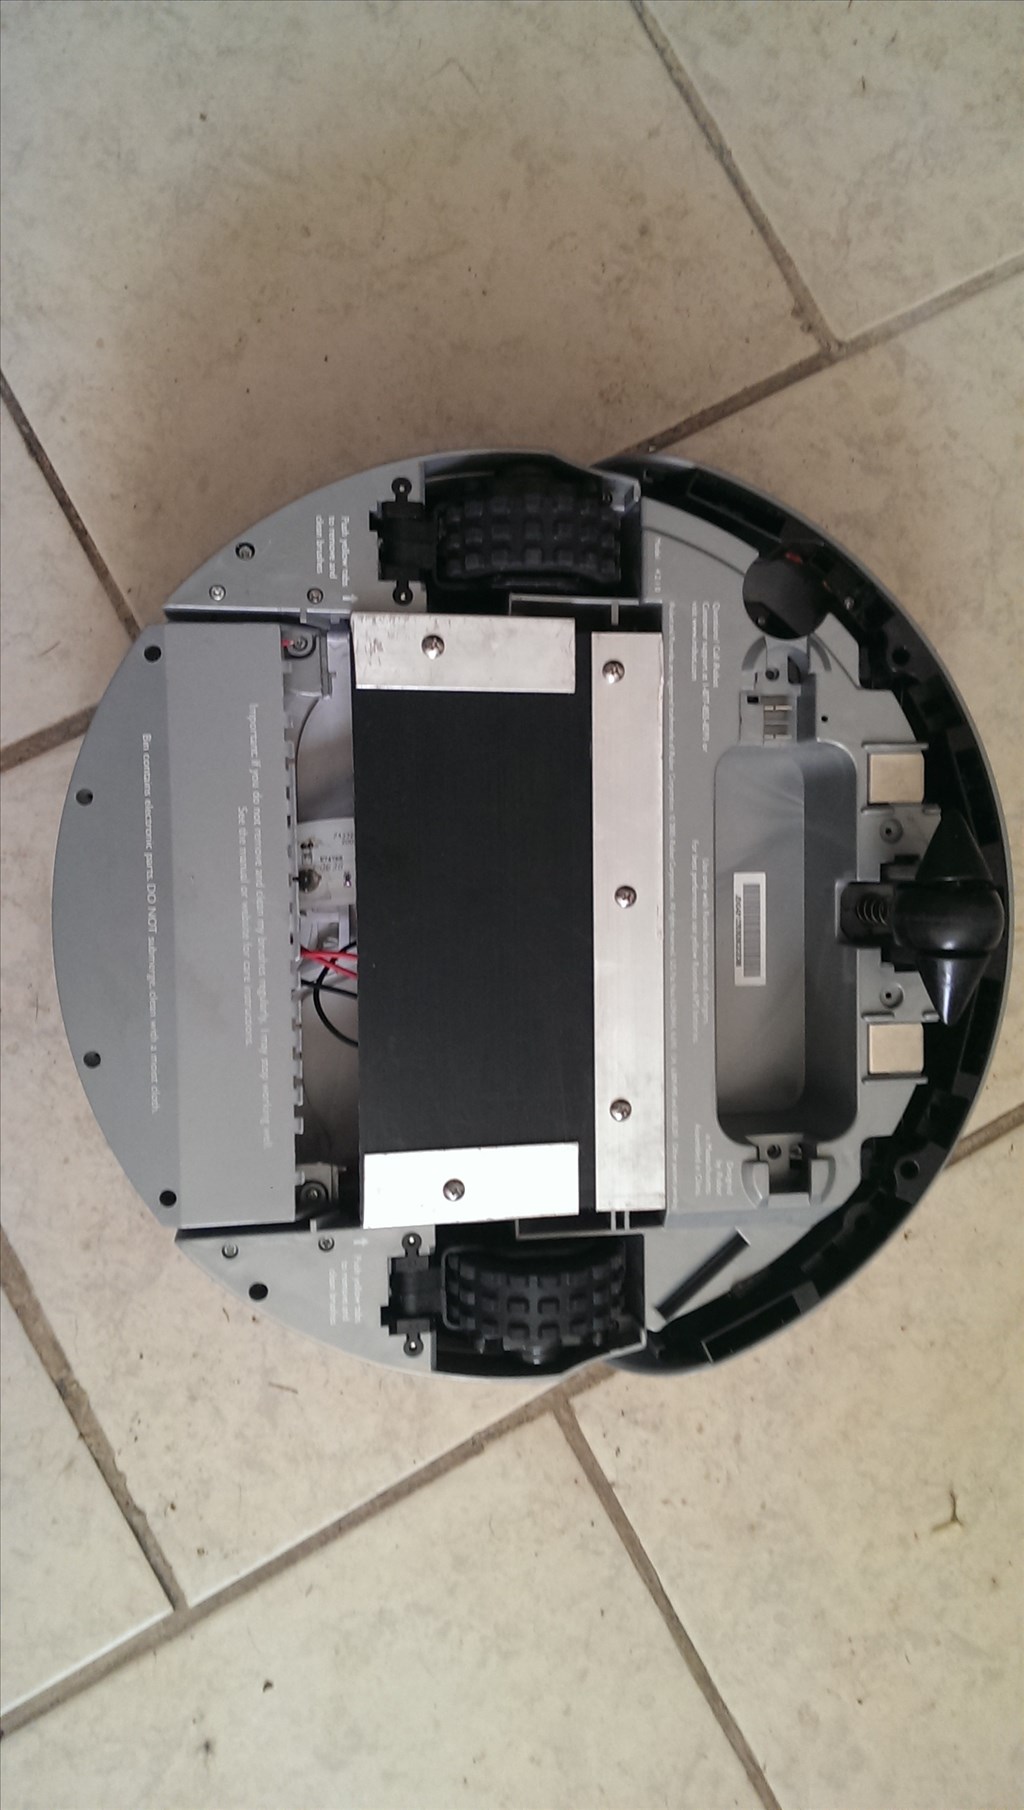
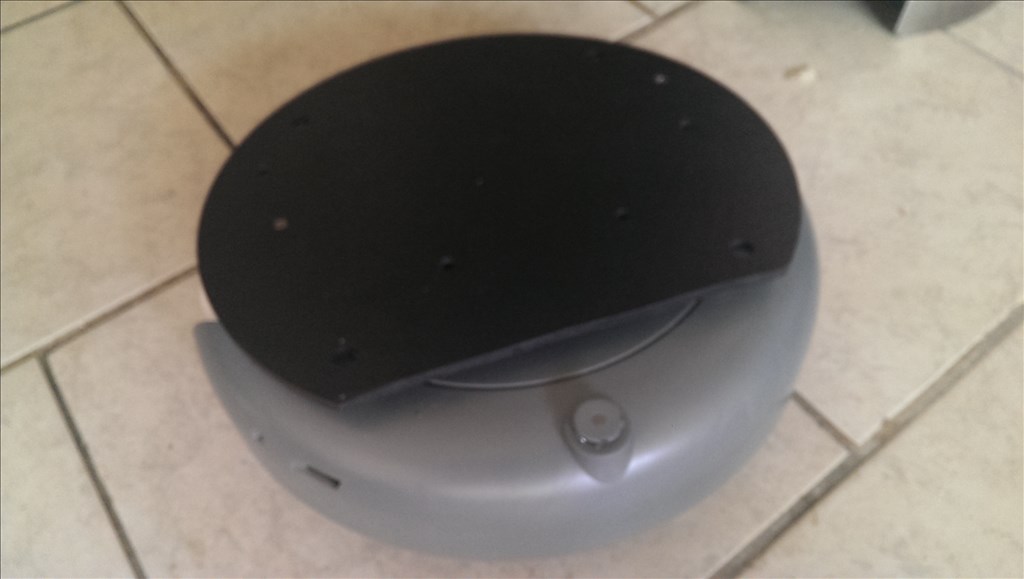
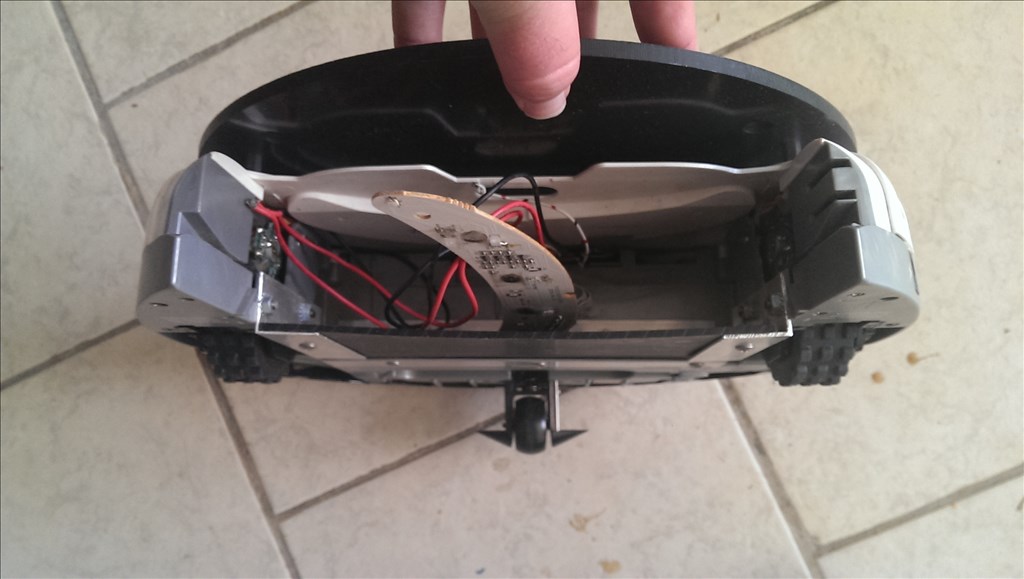
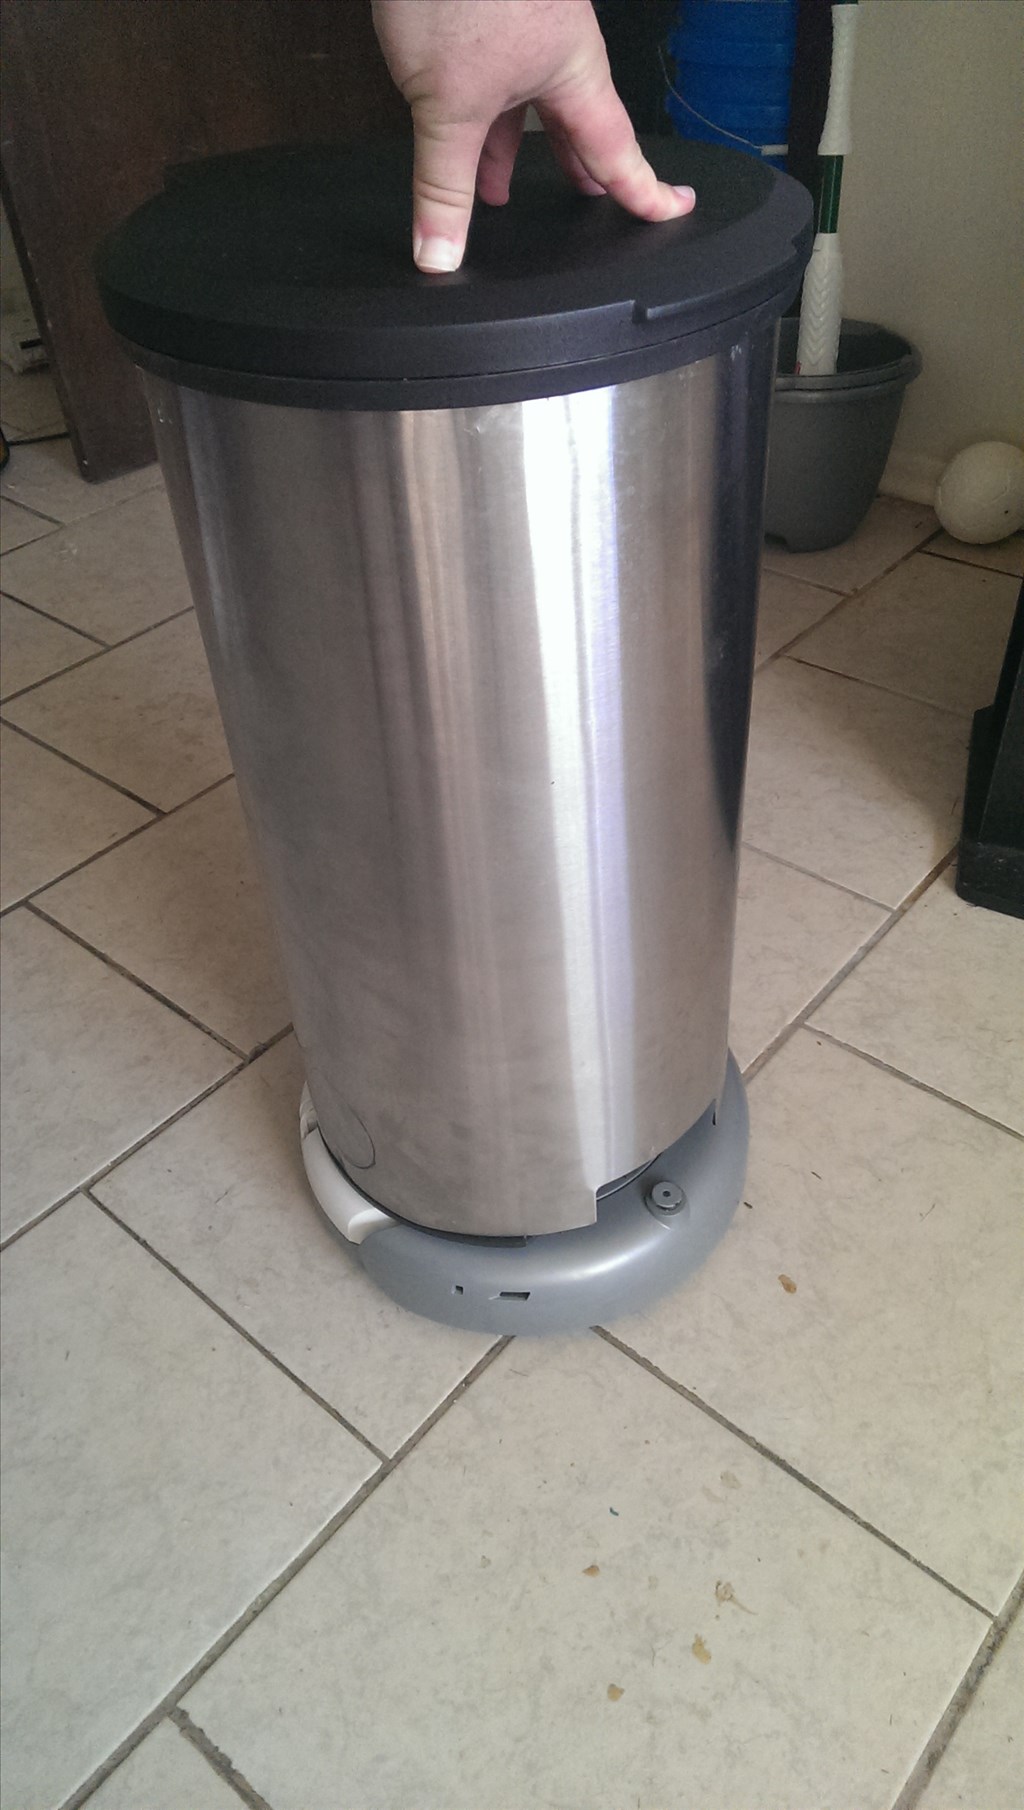


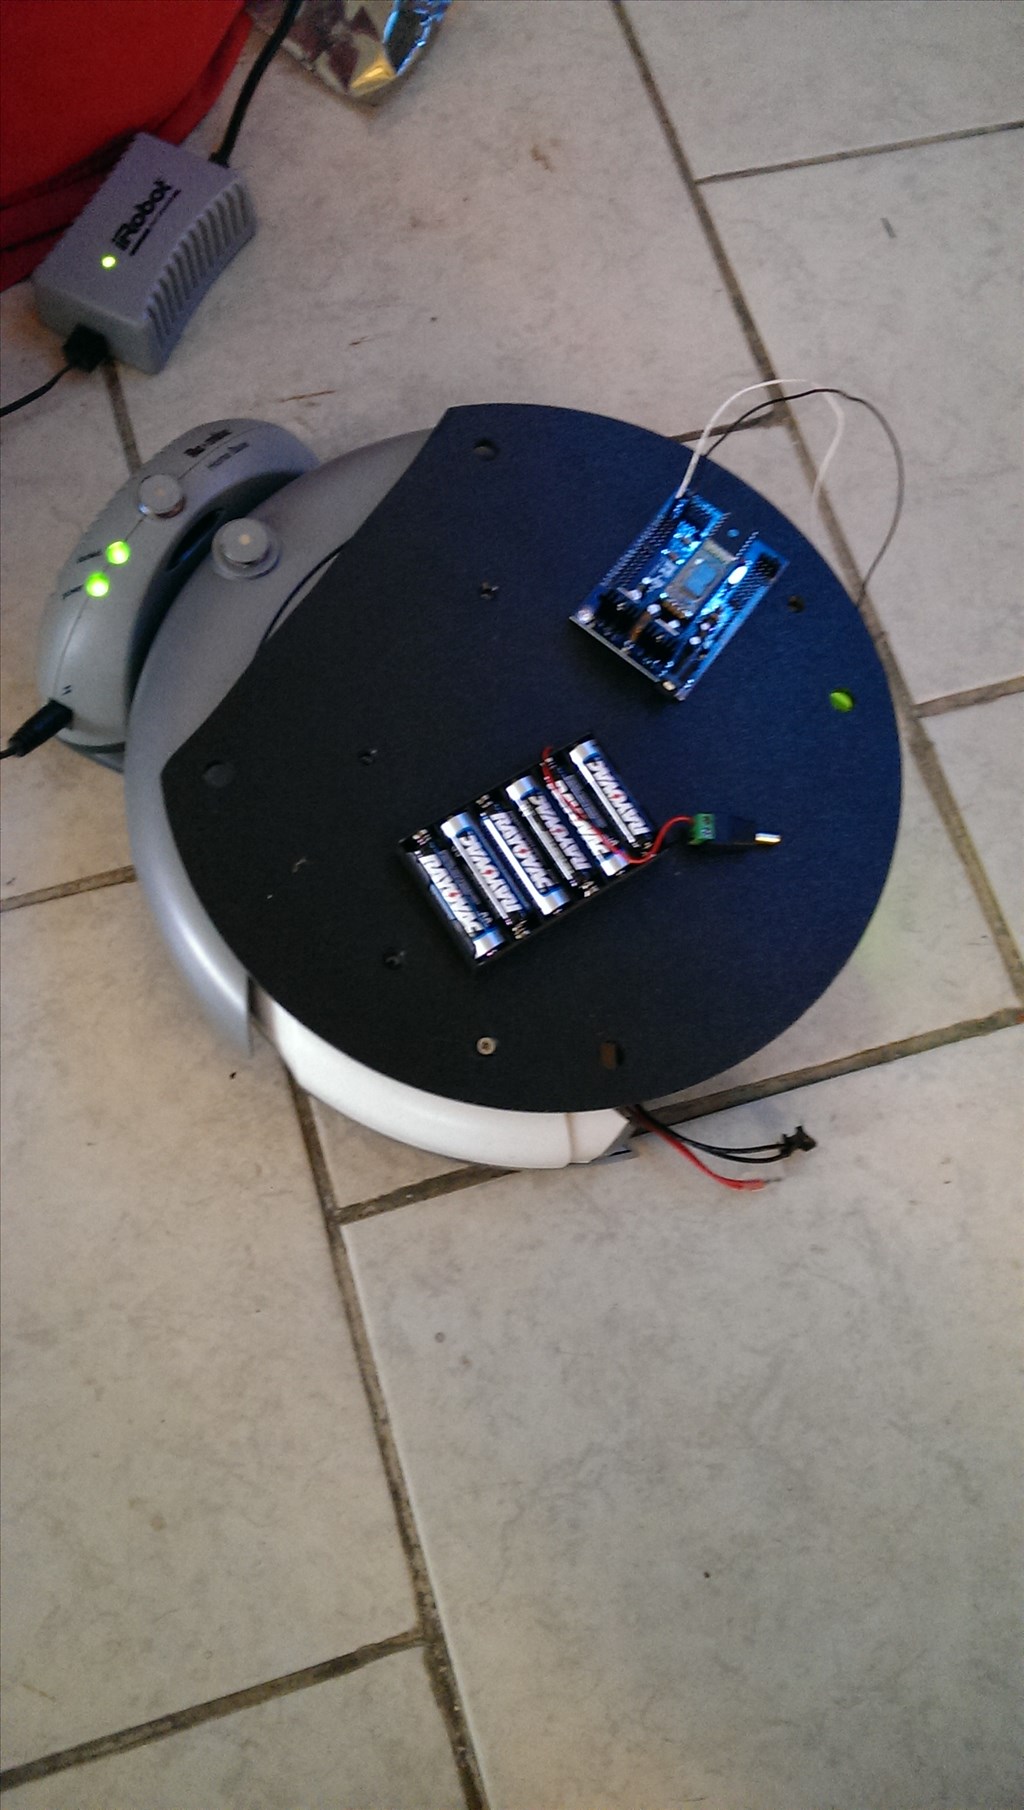
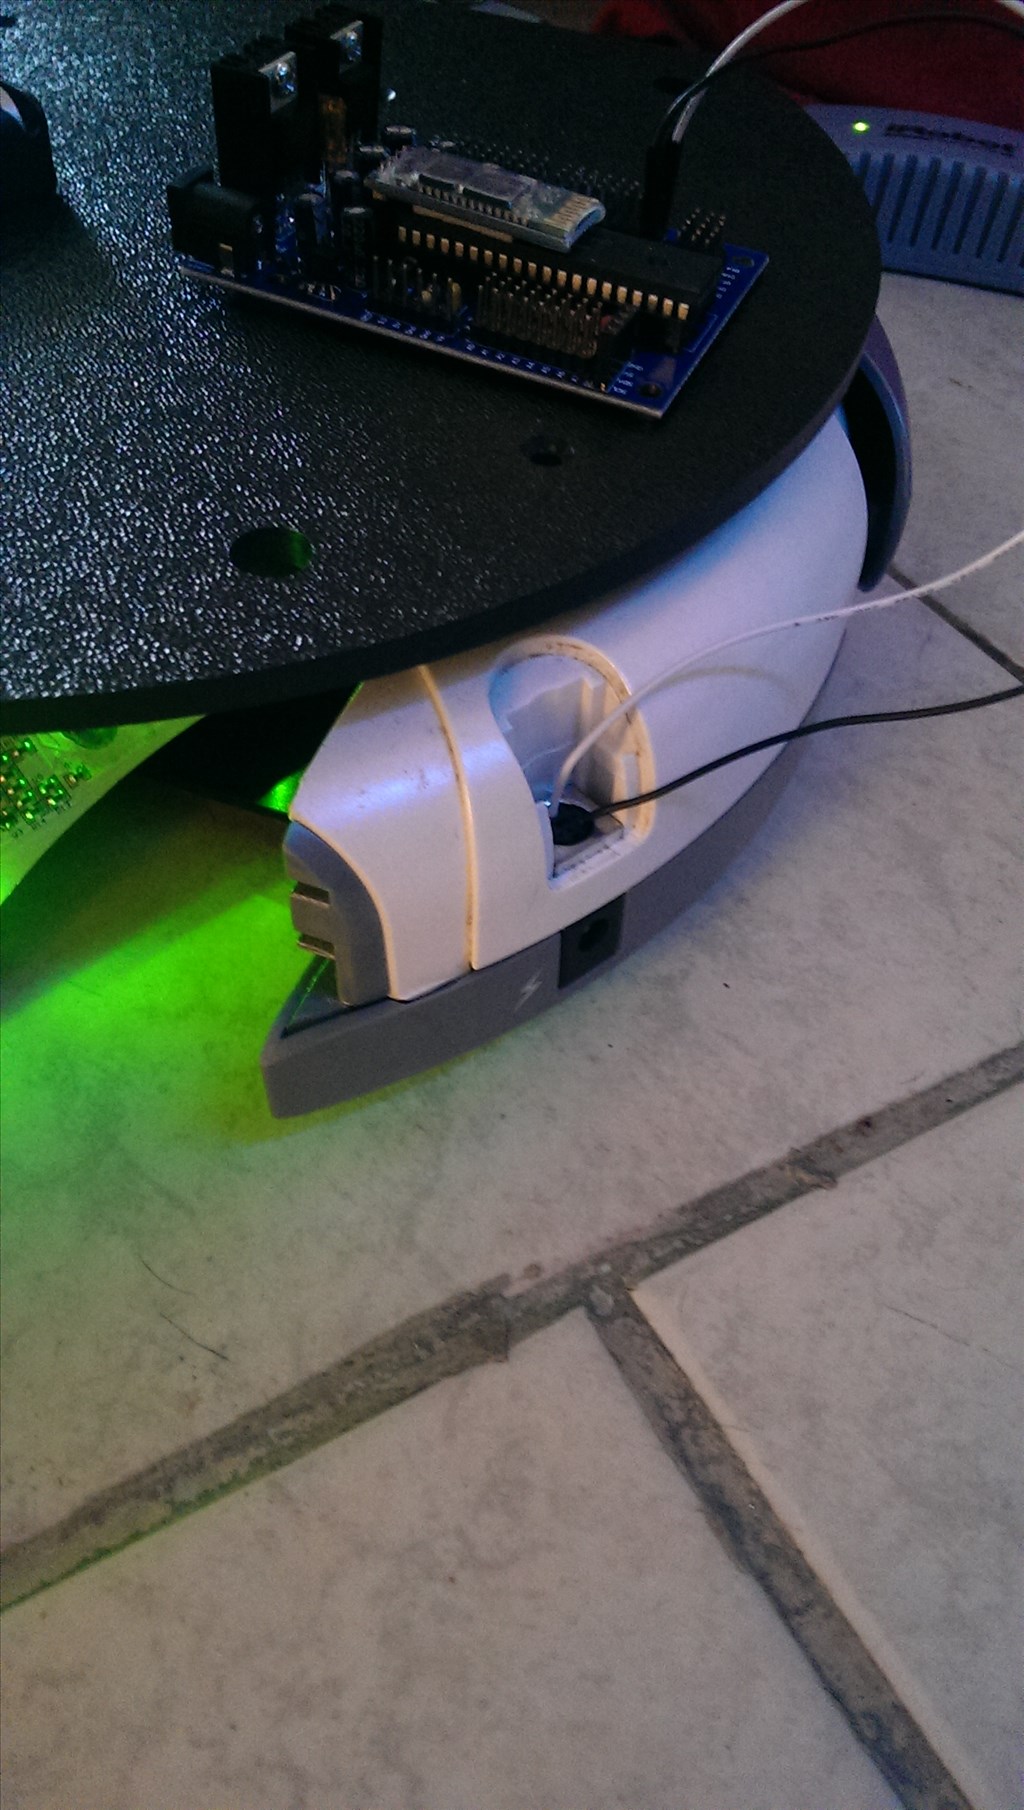
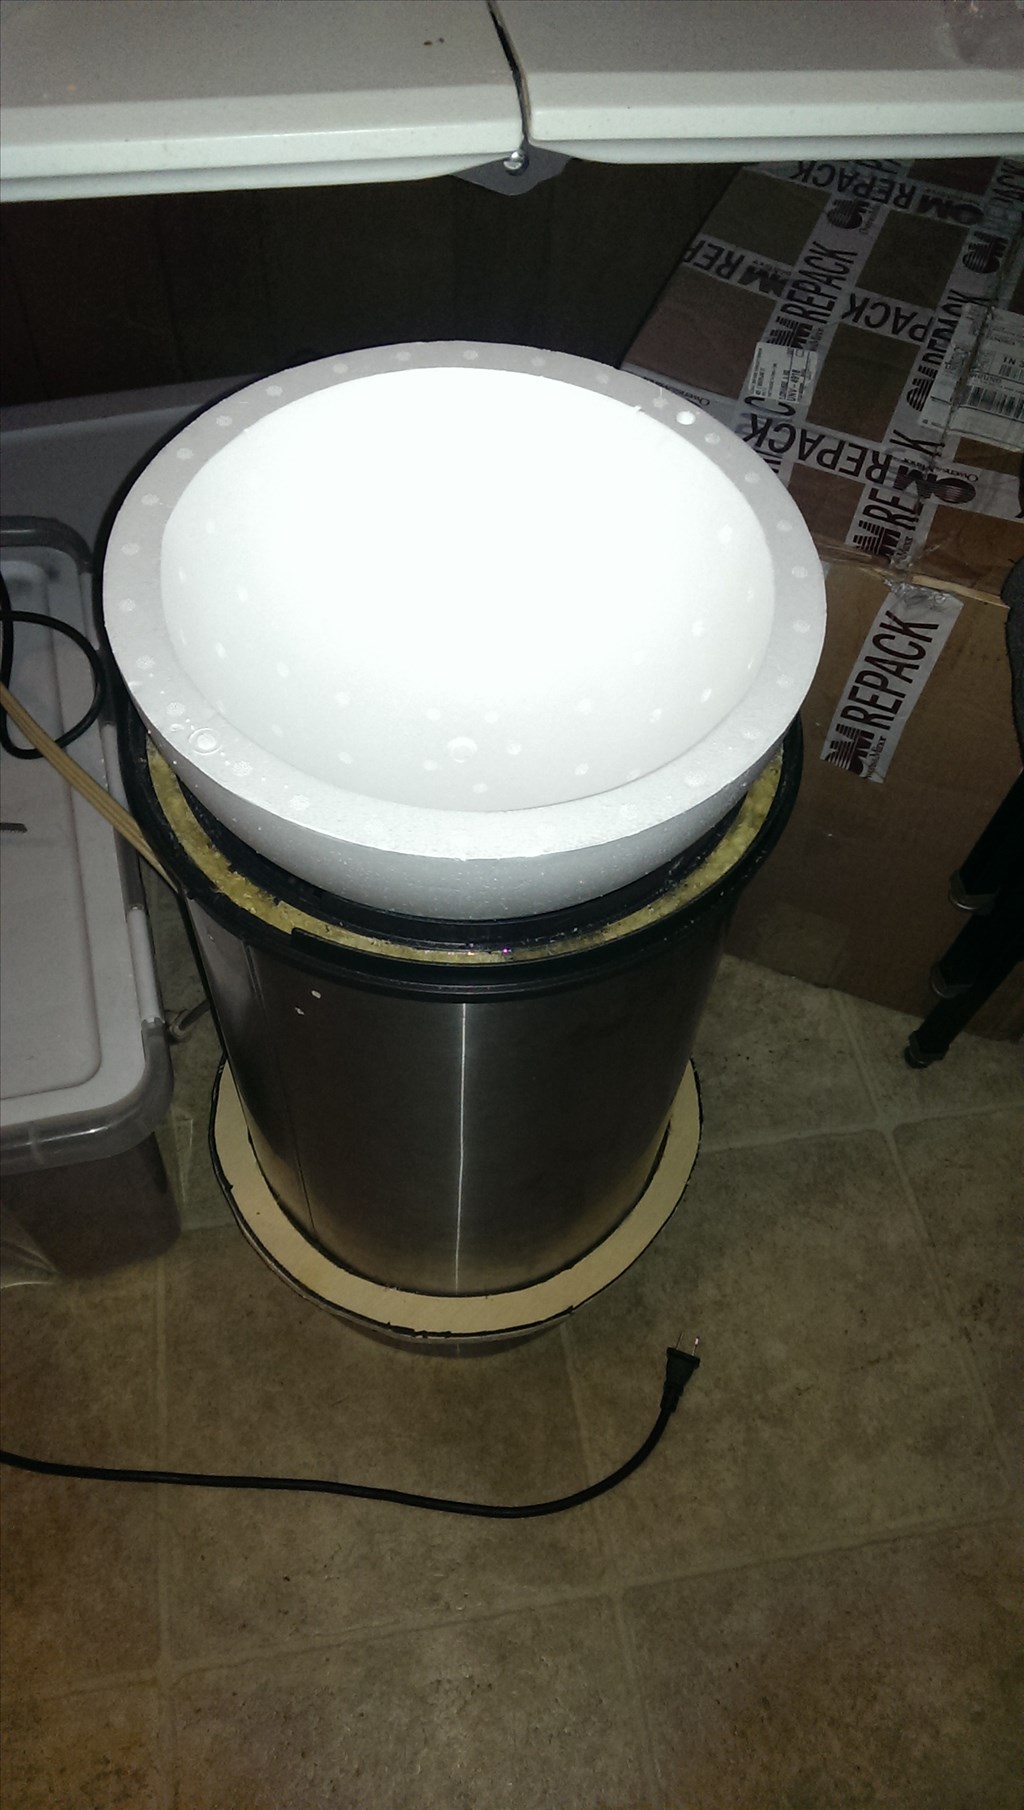
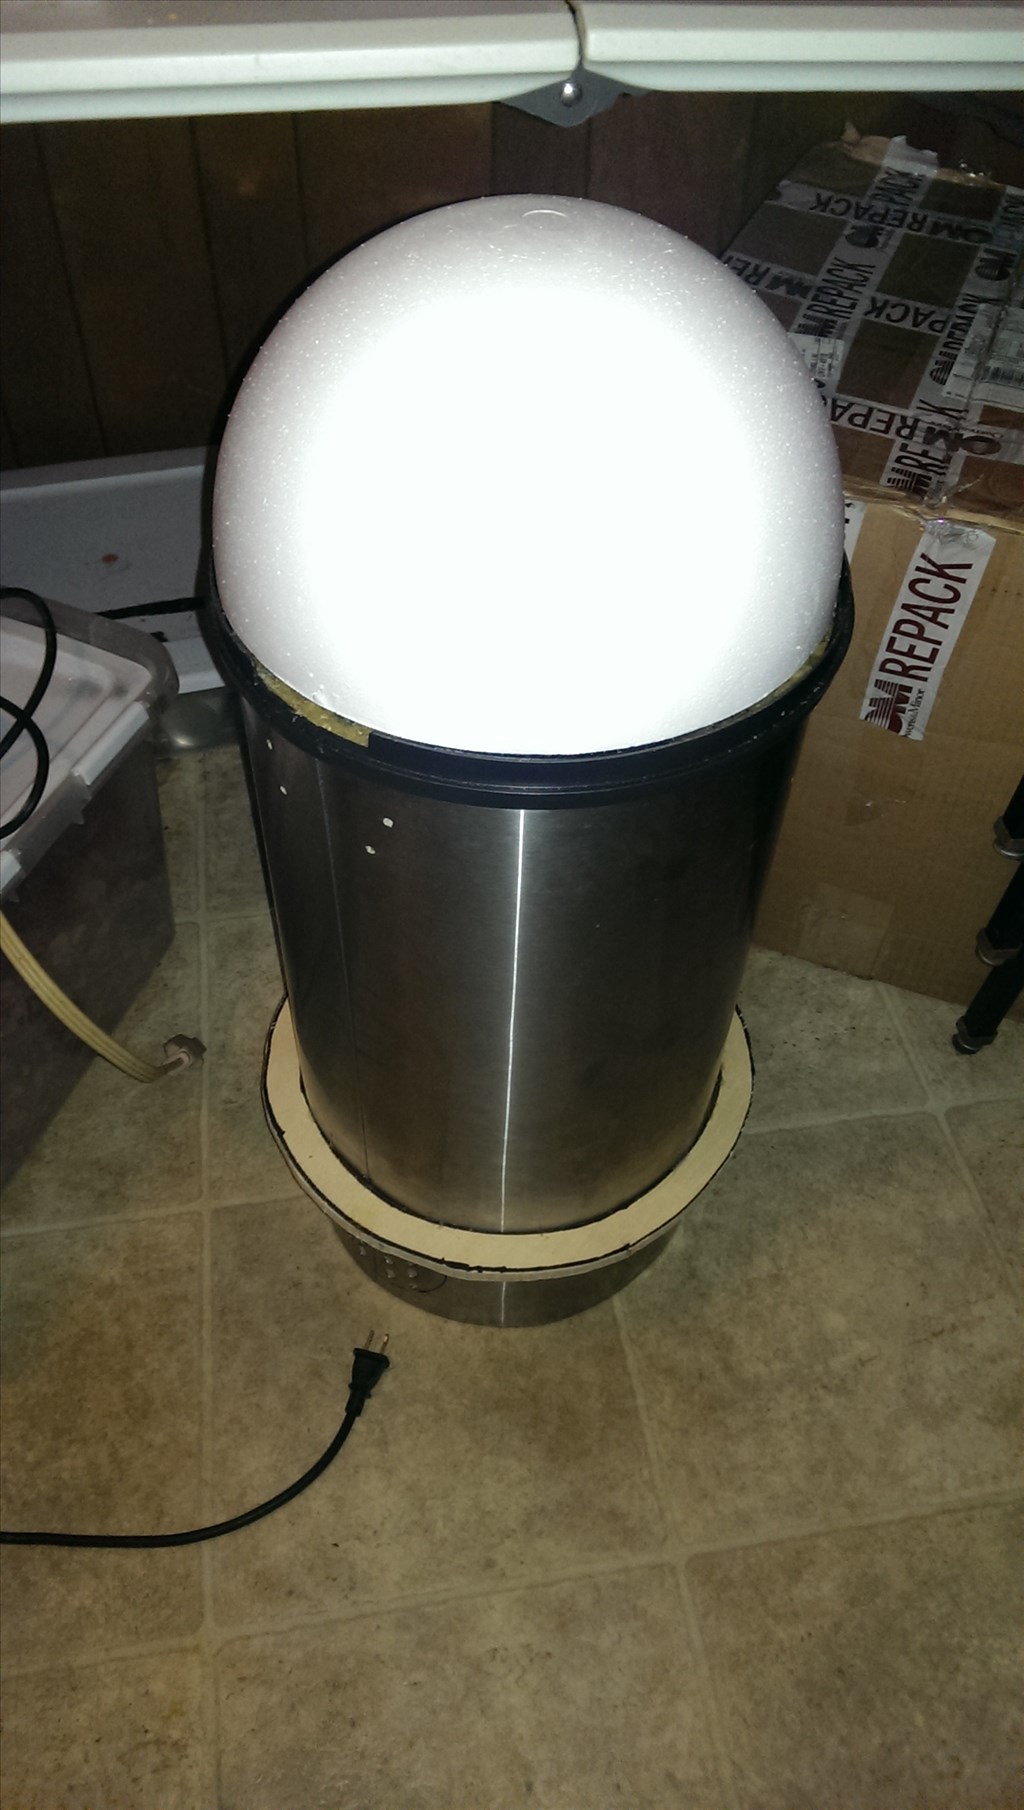

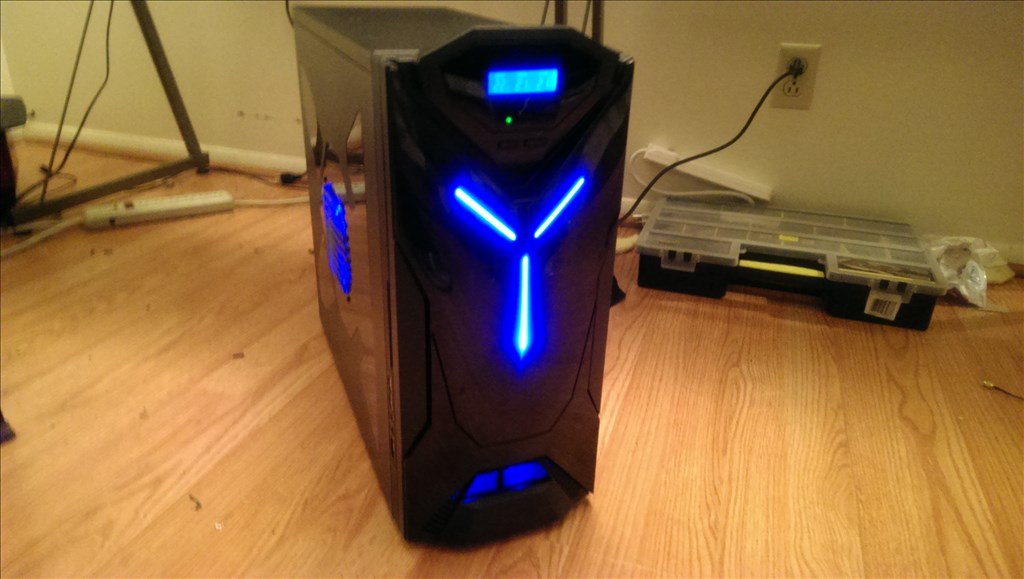
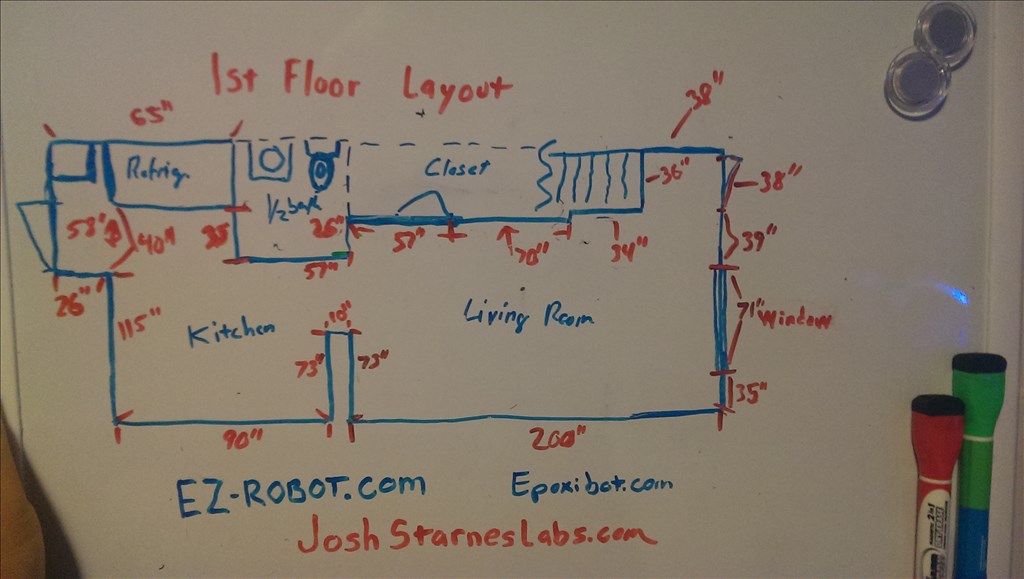


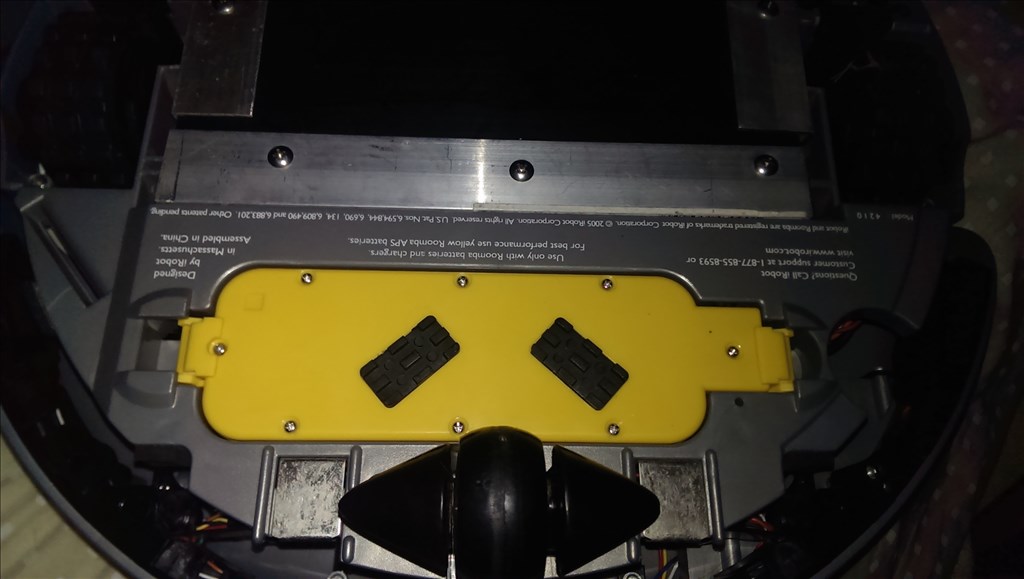


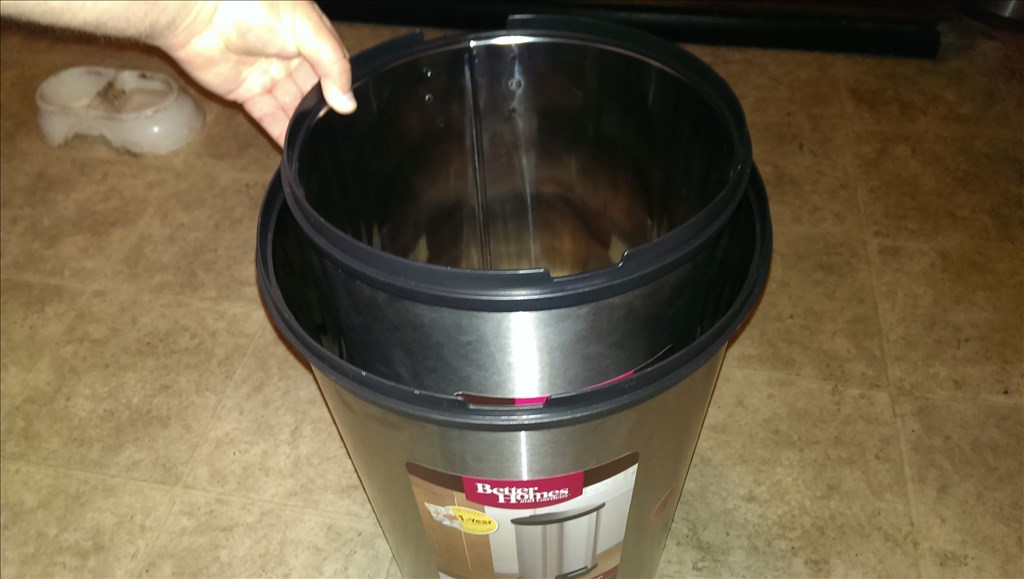


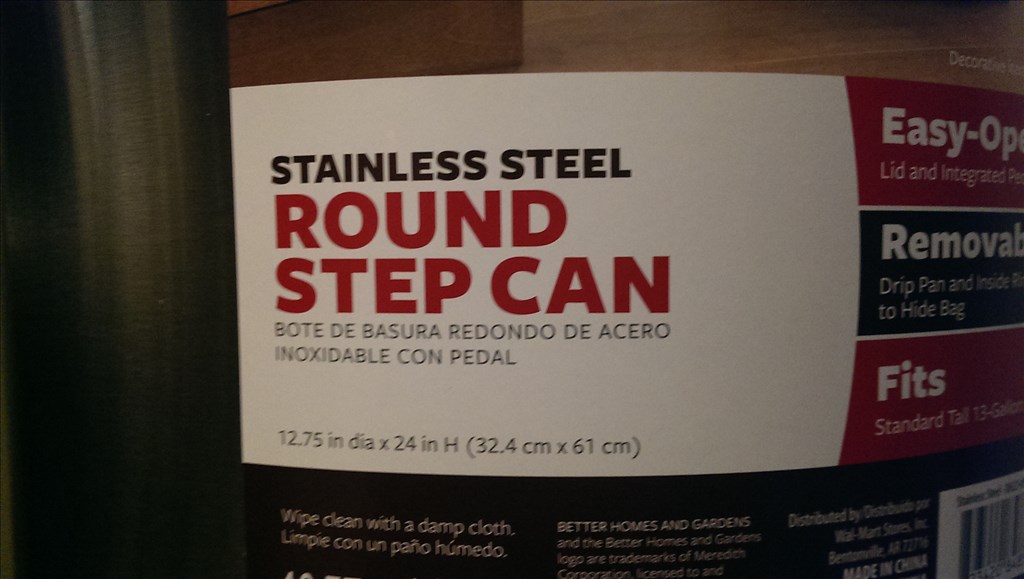
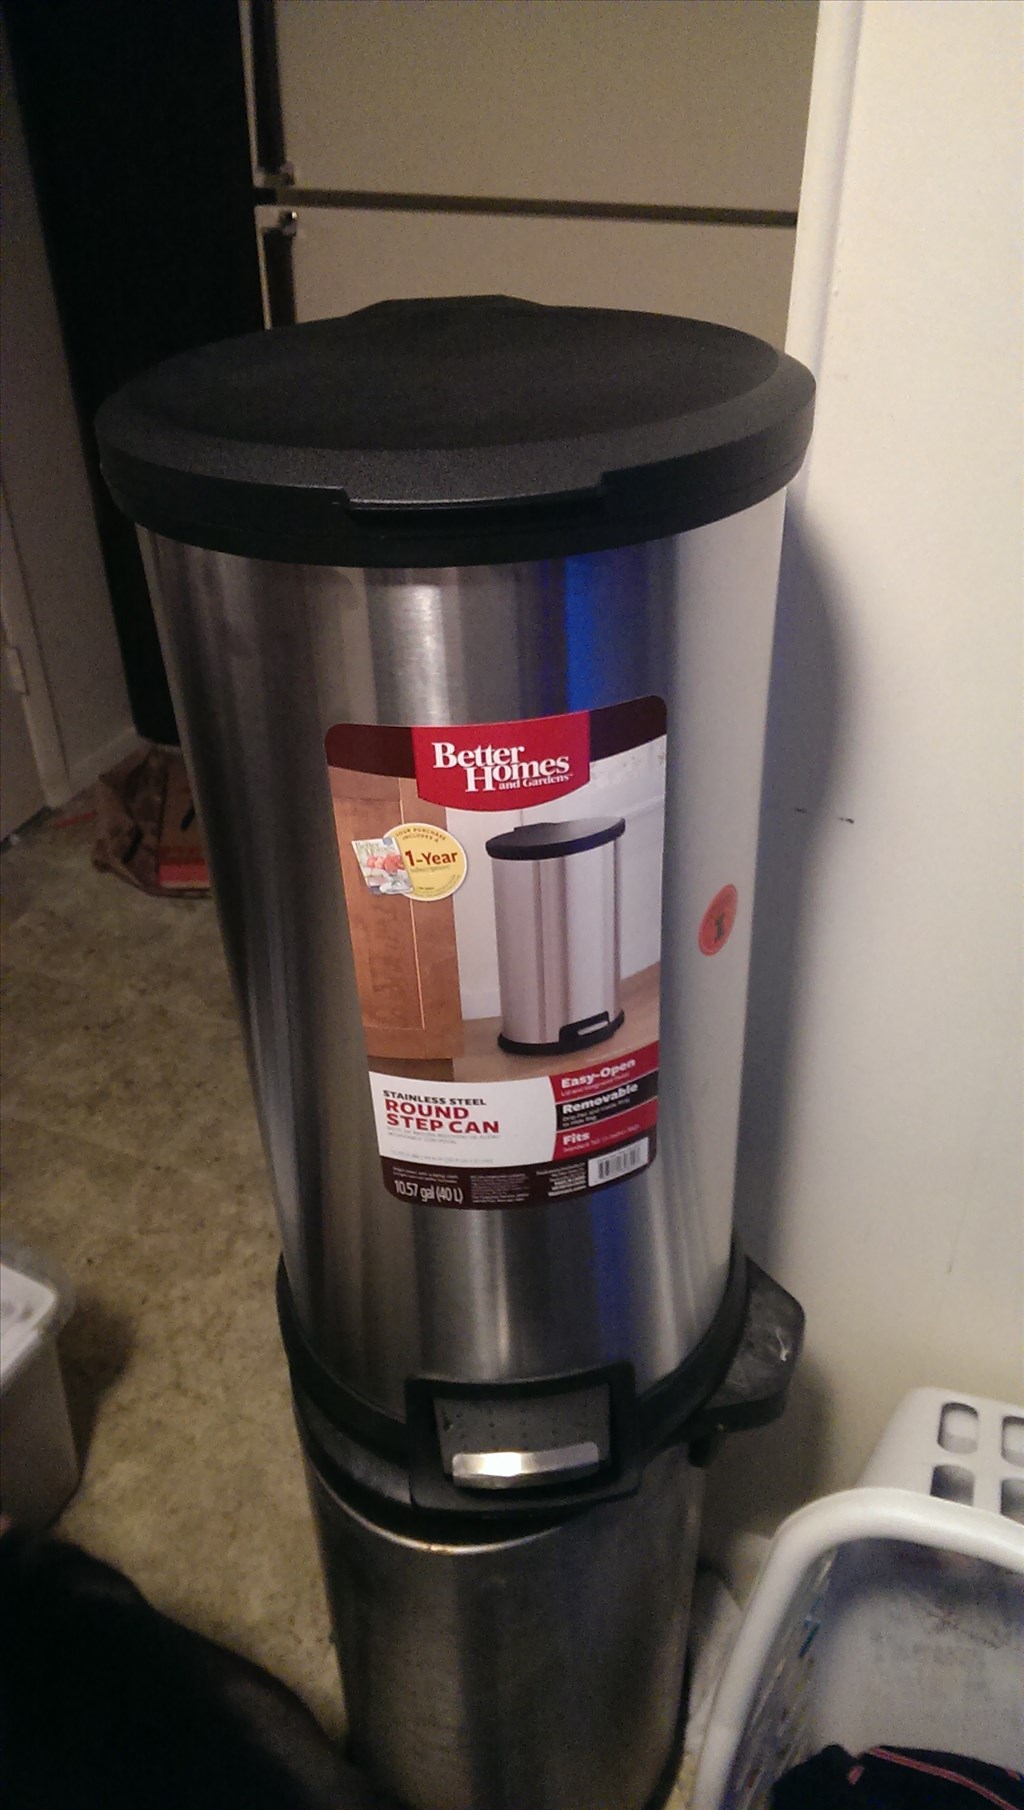


This is a challenge issued by friends and family. The goal here is to make a robot that can bring beverages from another area to wherever the people are , allow the person to get their drink , then leave. It does not need to be fully autonomous , even remote control is acceptable. It does not need to grab them from the fridge, preloaded beverages are acceptable. This is Ez Robot though, I believe we could do better than that! Well anyways to start the project off I am using a roomba base. I picked up a stainless steel trash can last night as a outside casing. I will show you the rest as we go
By jstarne1
— Last update
Discover more robots

Lsradets's EZ-Inmoov Robot Head
EZ-InMoov robot head with Synthiam 3D-printed parts and EZ-Robot electronics, programmable via Synthiam ARC for...
Steve's Ez Robot Railroad Observation Car
Control an EZB4-powered camera observation car on a Silverton O Scale Railroad using EZ Robot and servos for live...
Mitzeljk's Meet Modi
Modi mobile voice-recognition robot controls a computer via EZ-B scripting and H-Bridge, built on an RC car base from...

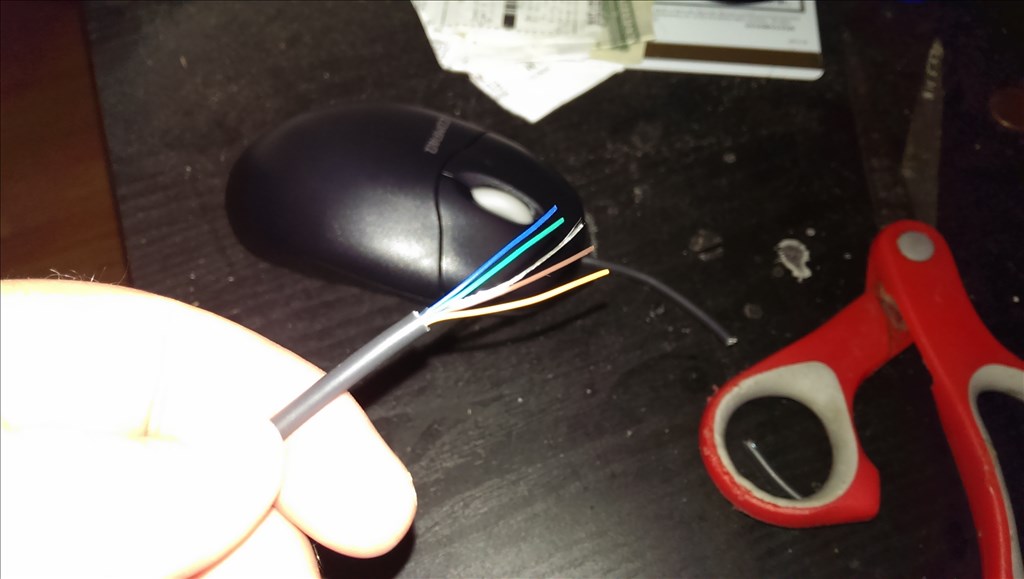
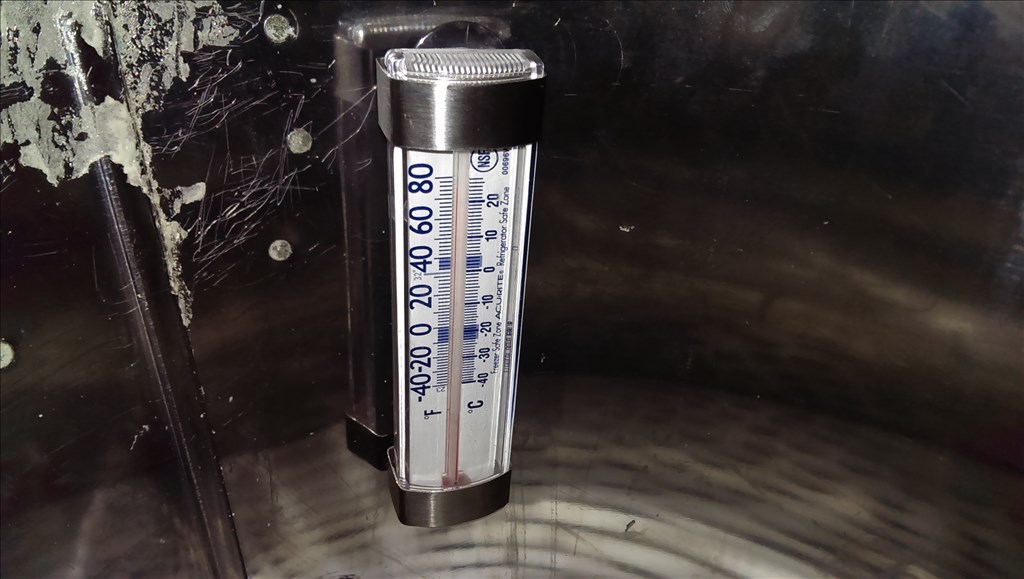
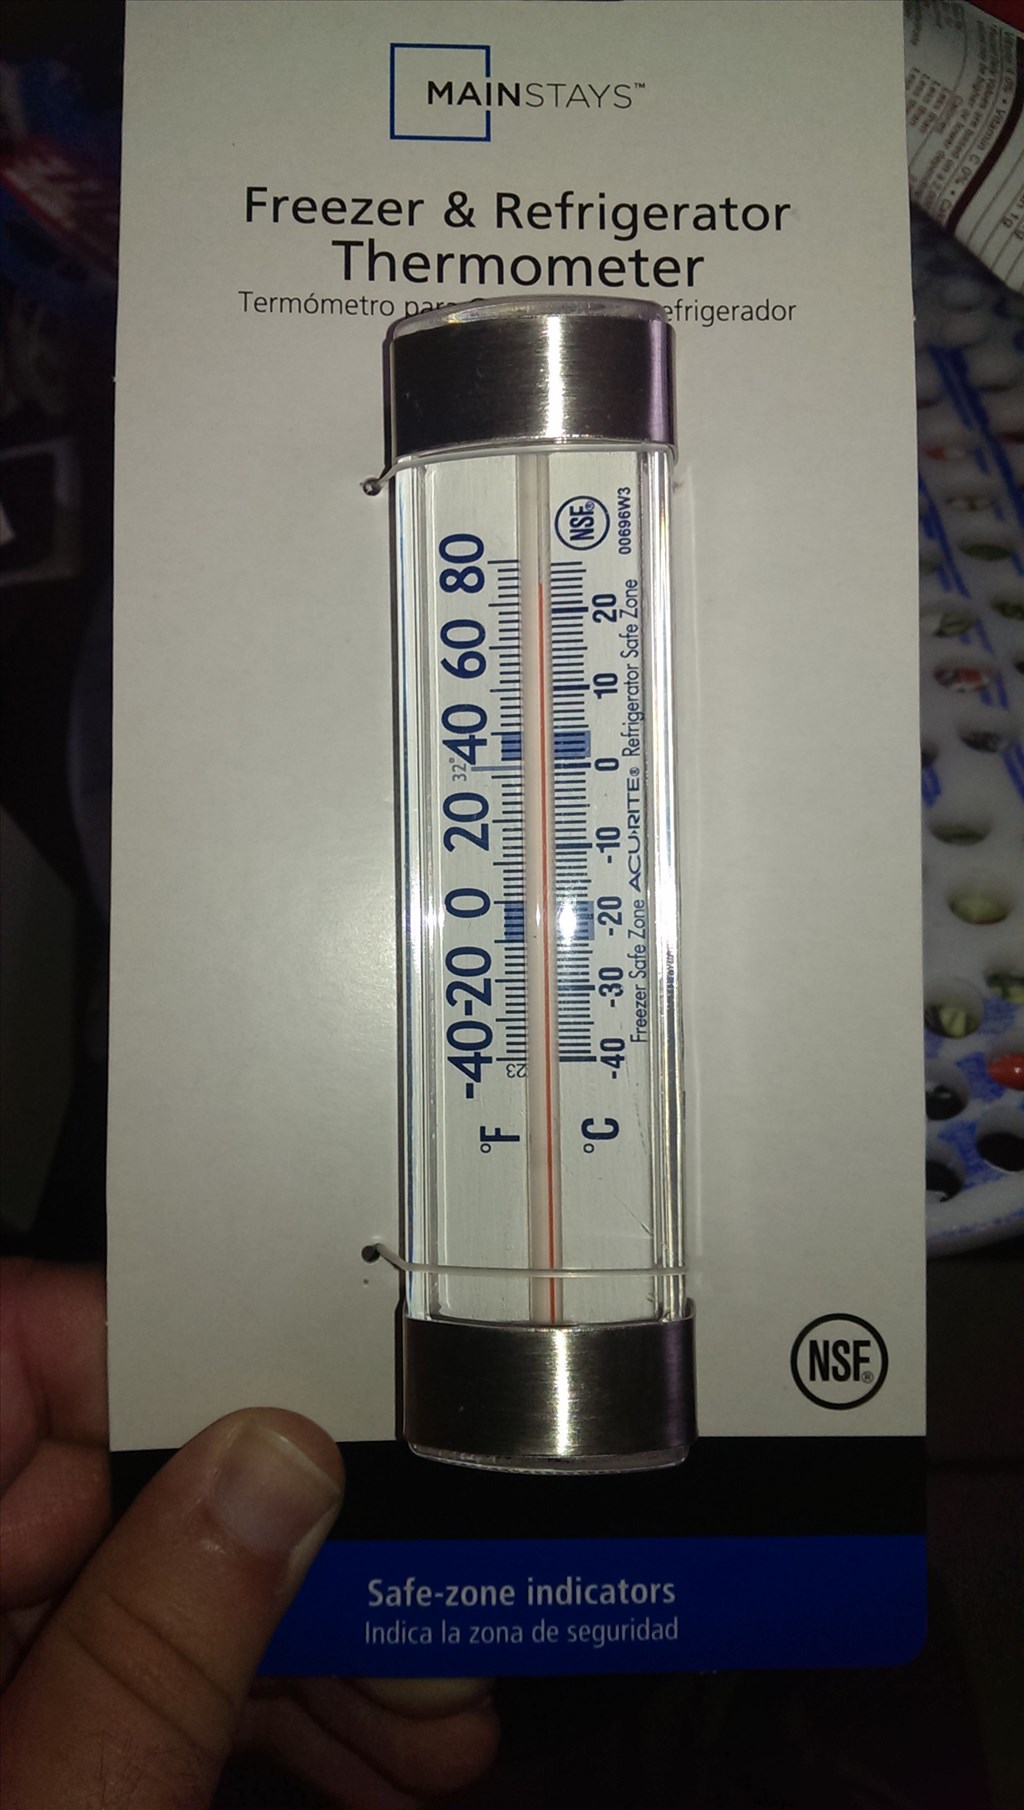
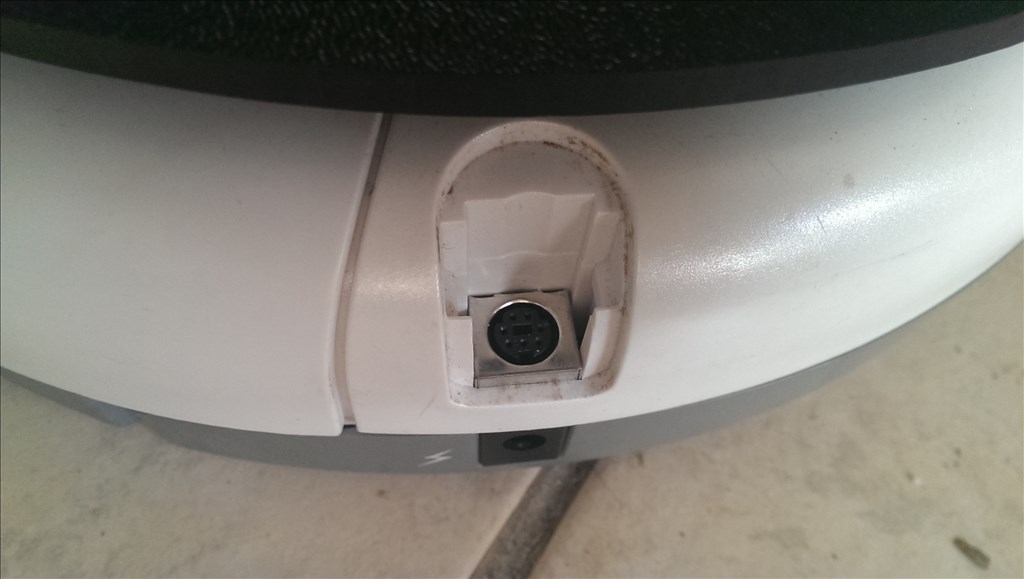
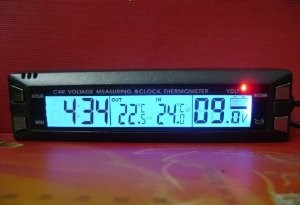
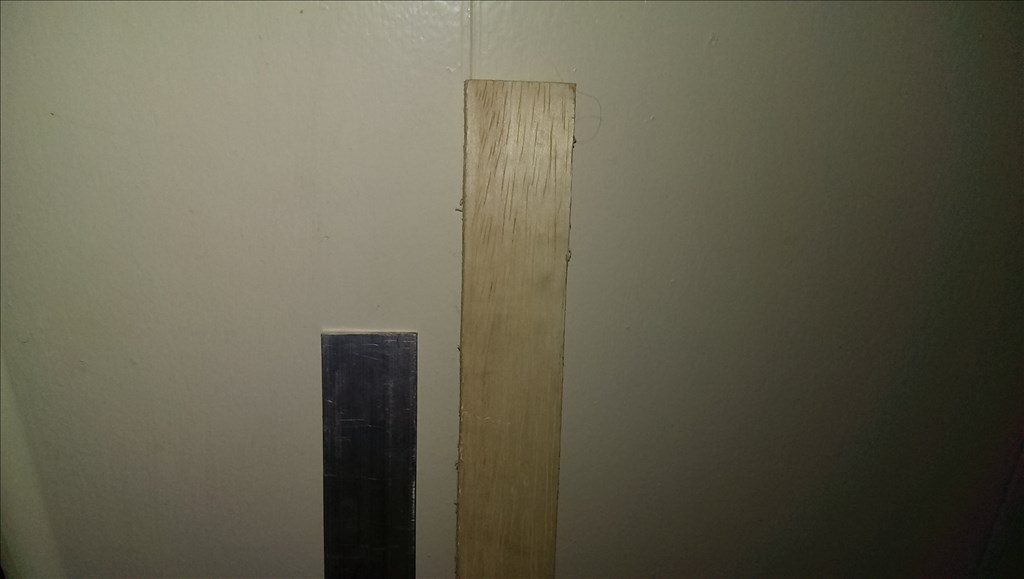
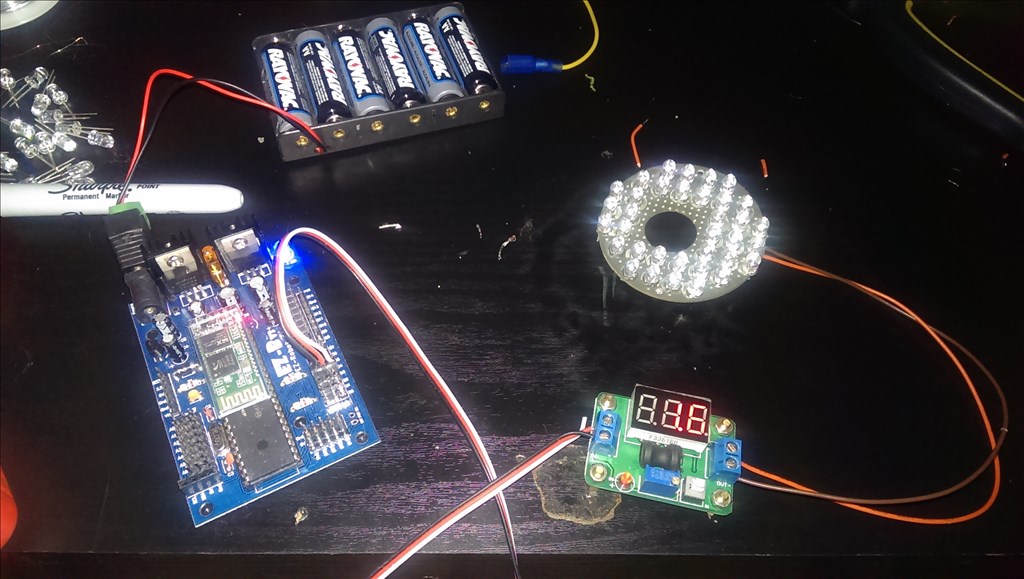
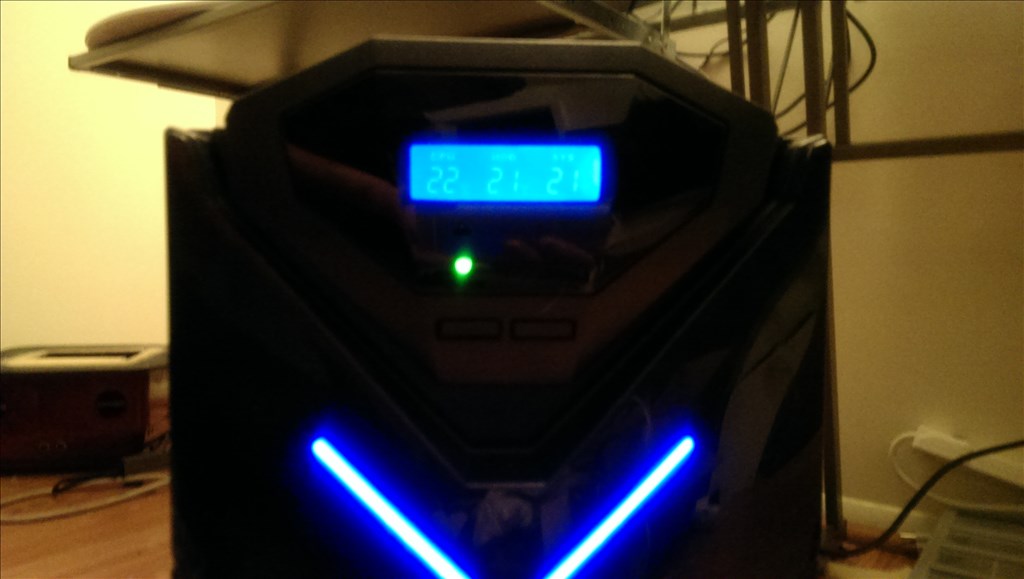
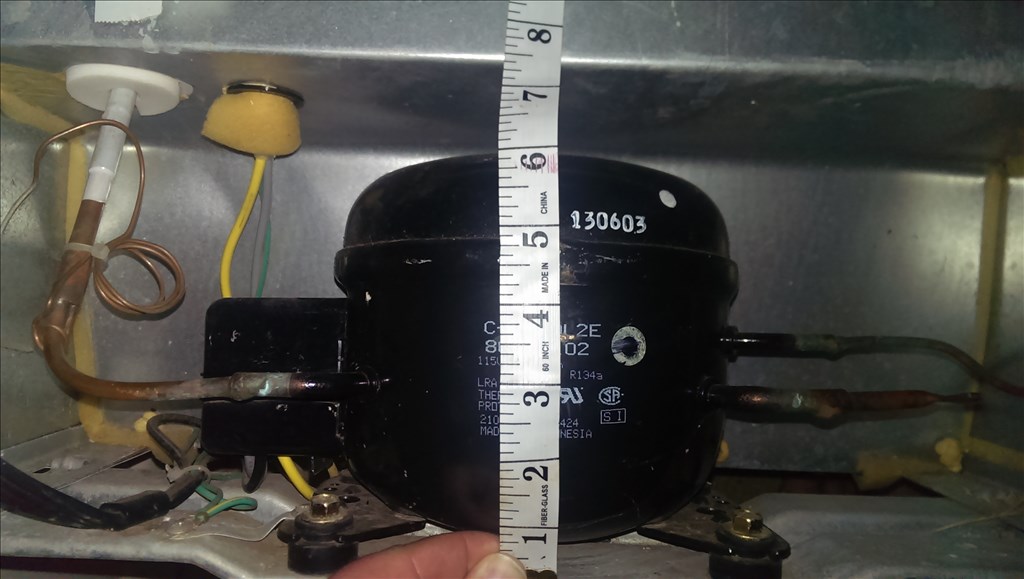
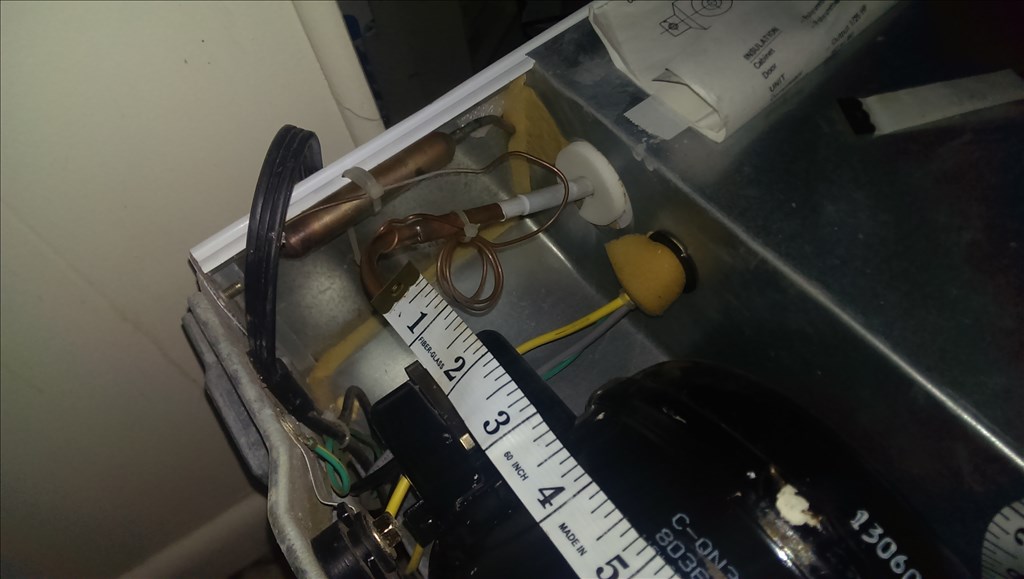
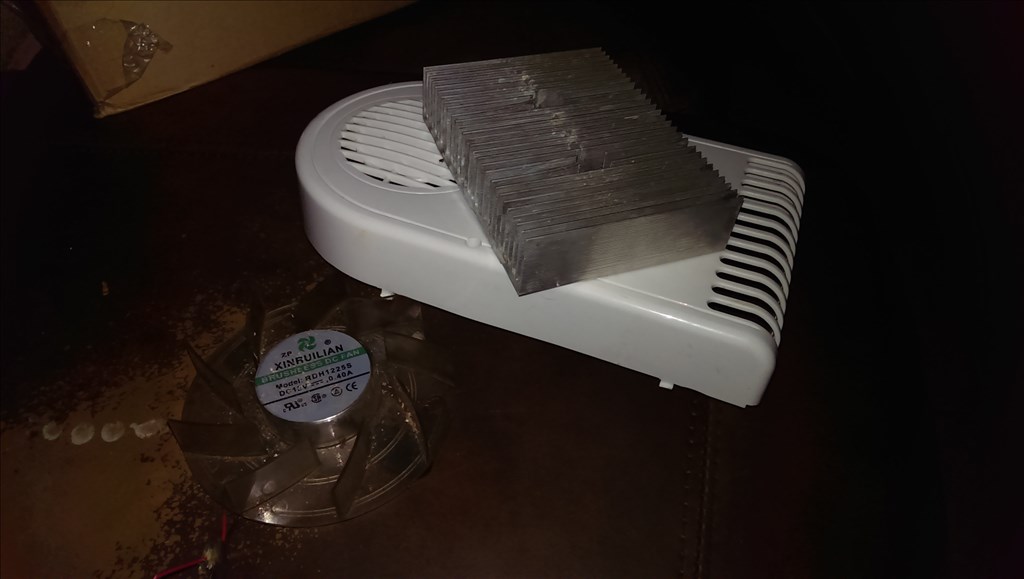
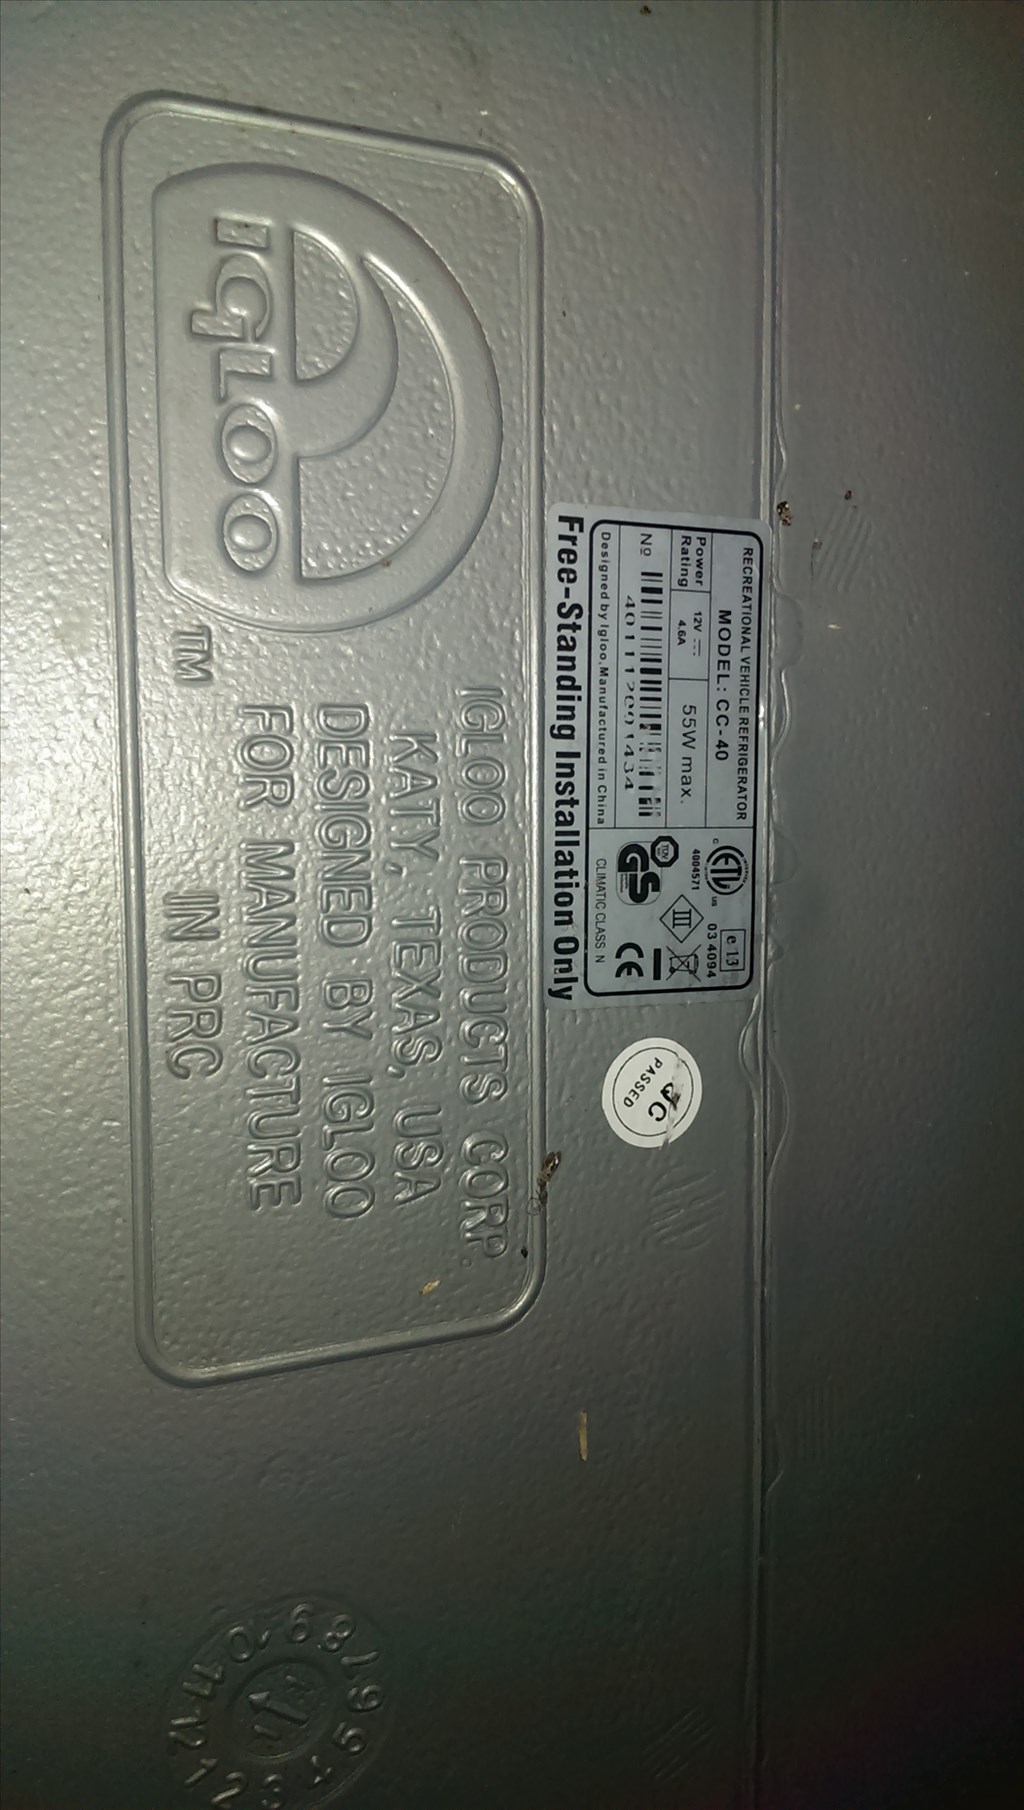
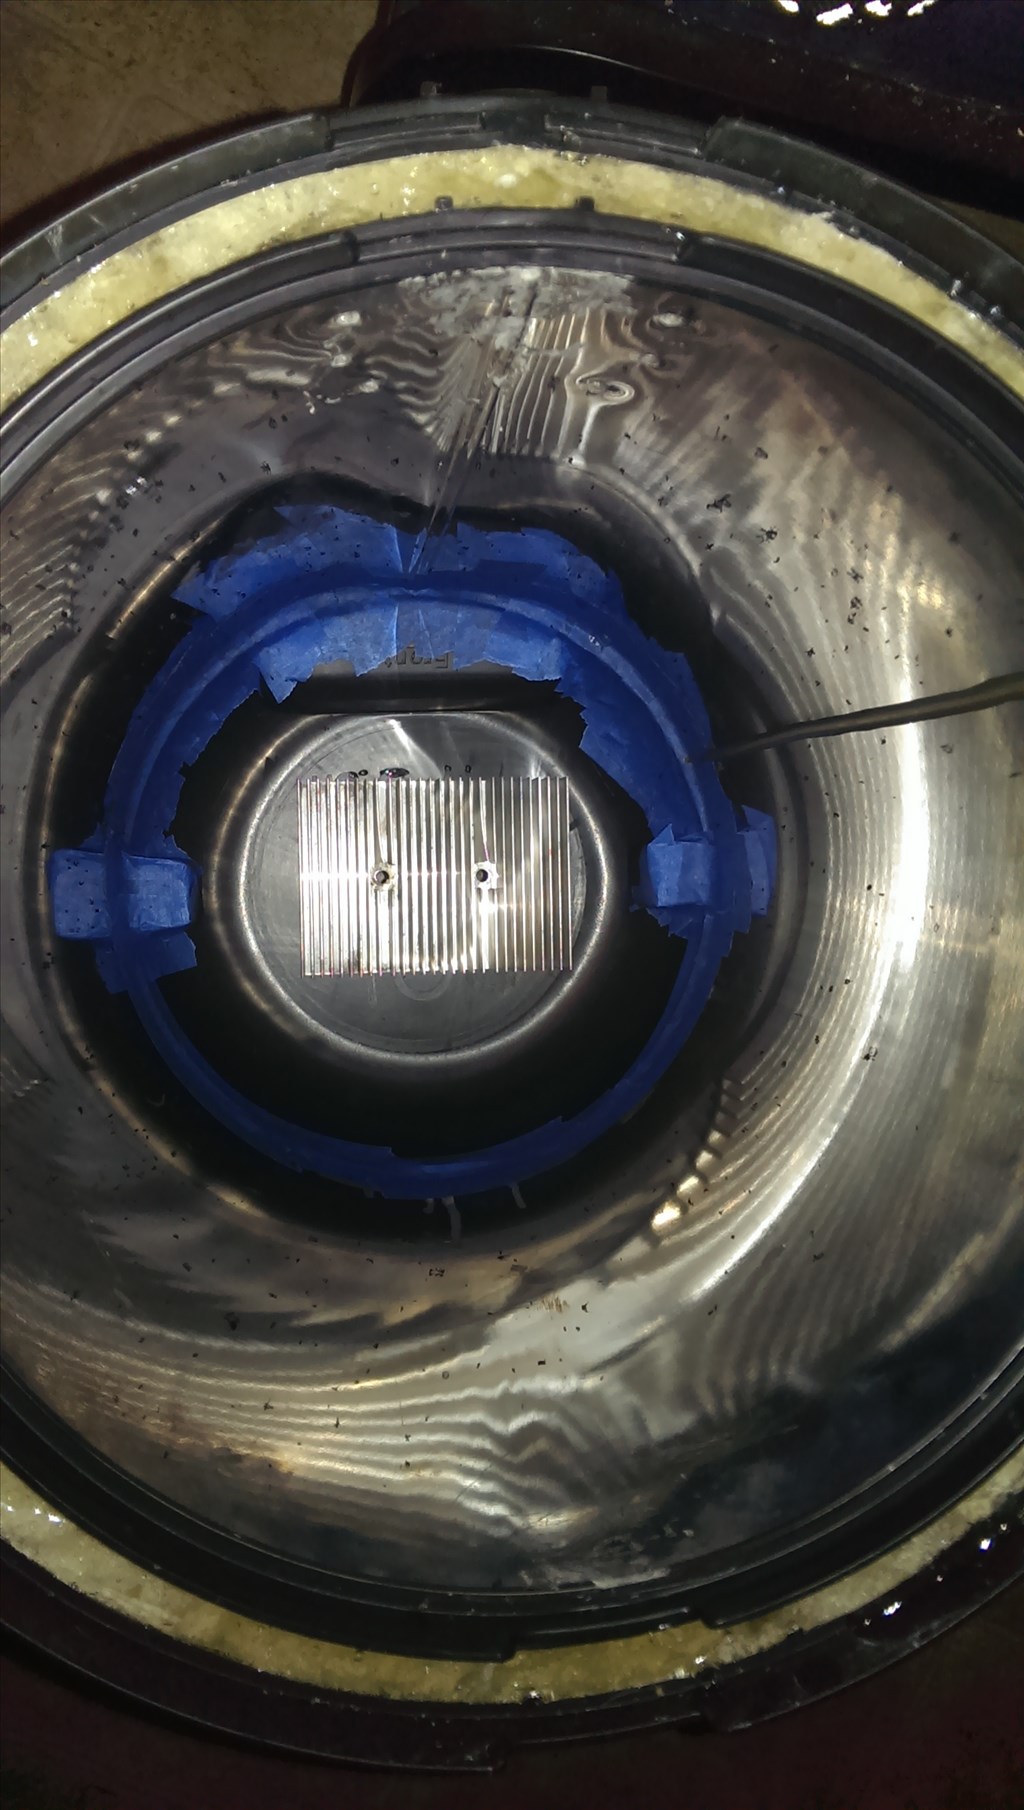
I salvaged the thermostat and housing so I keep a professional look.
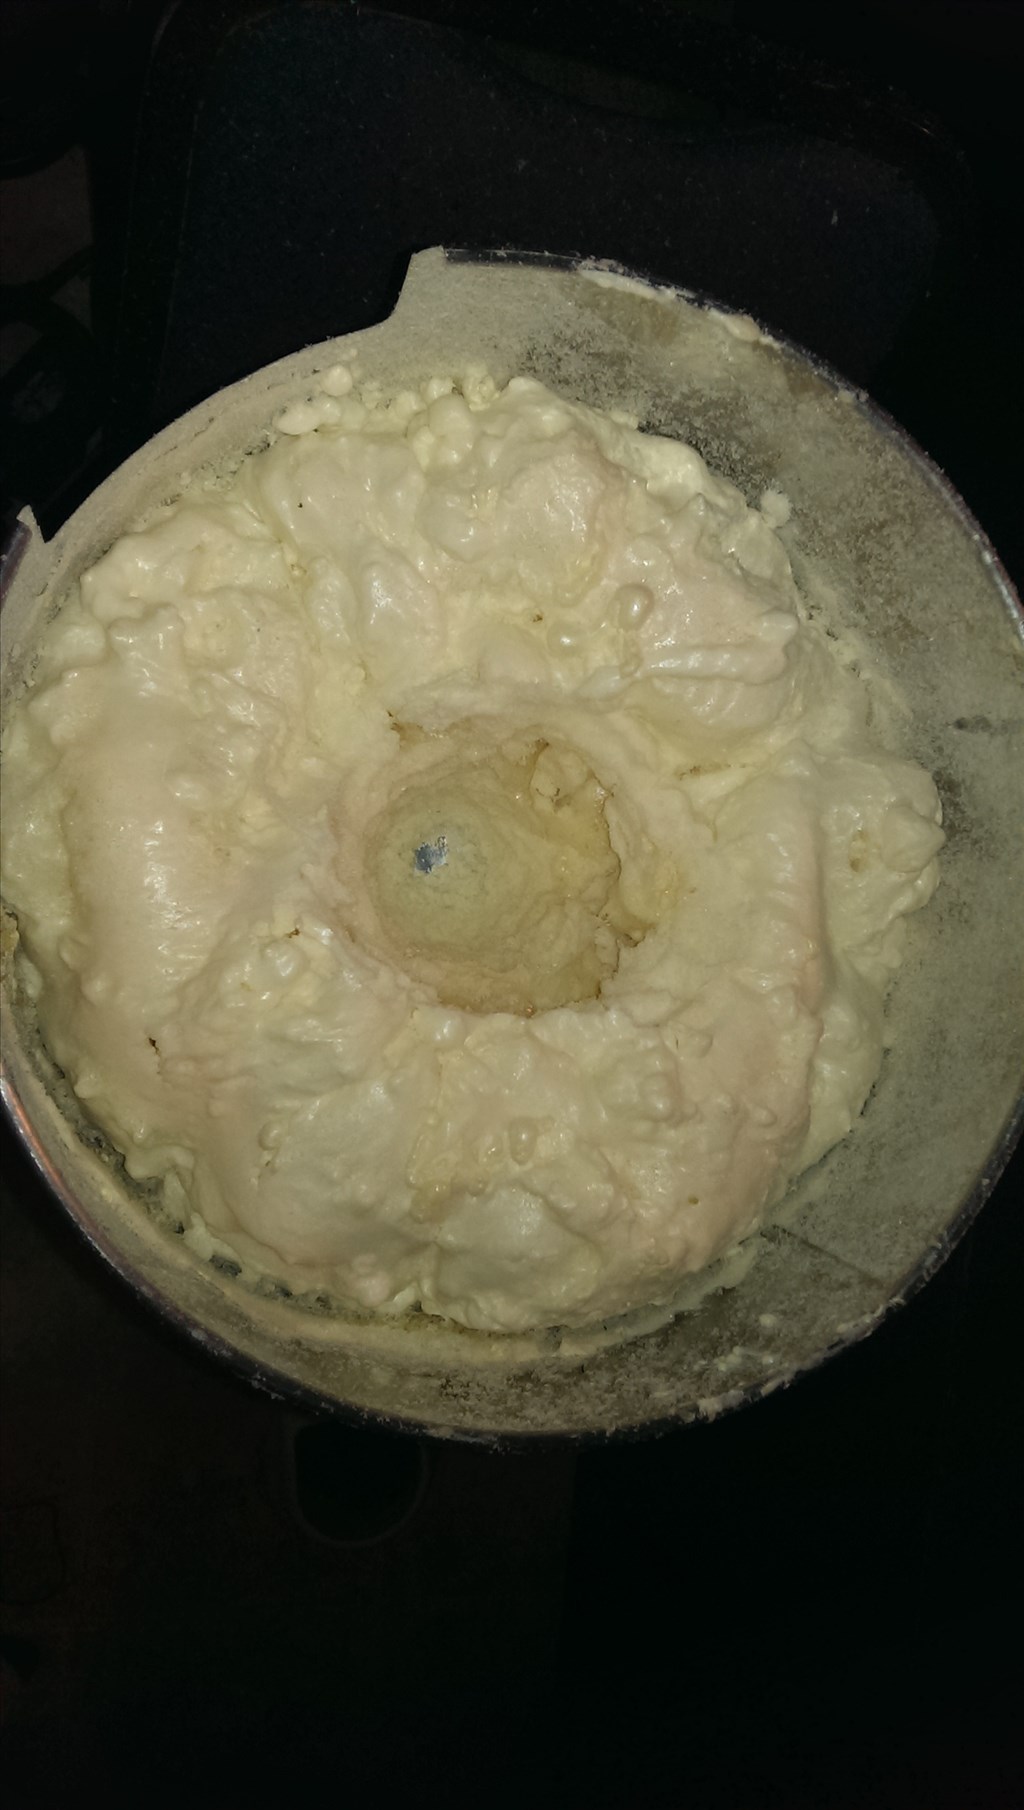
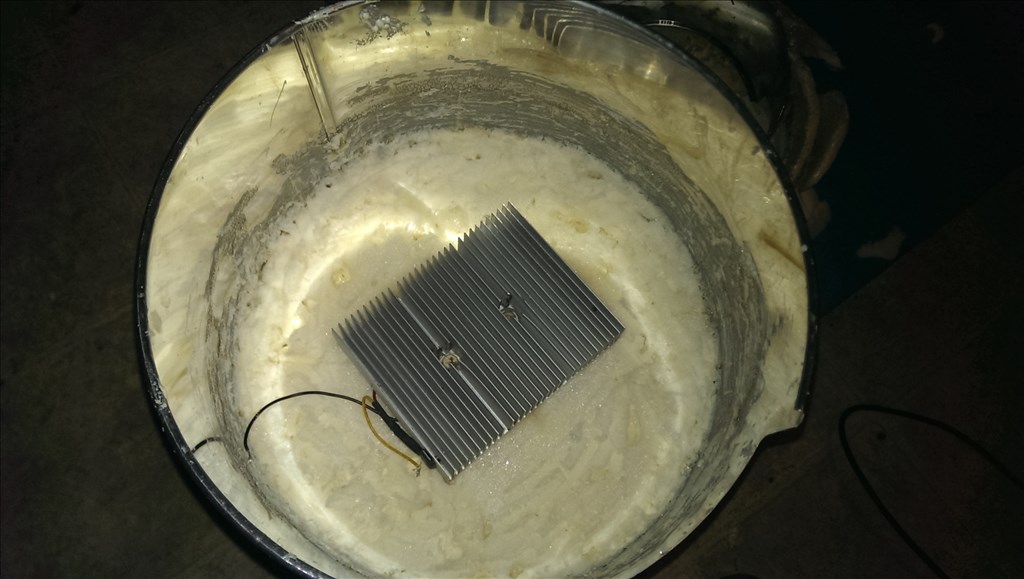
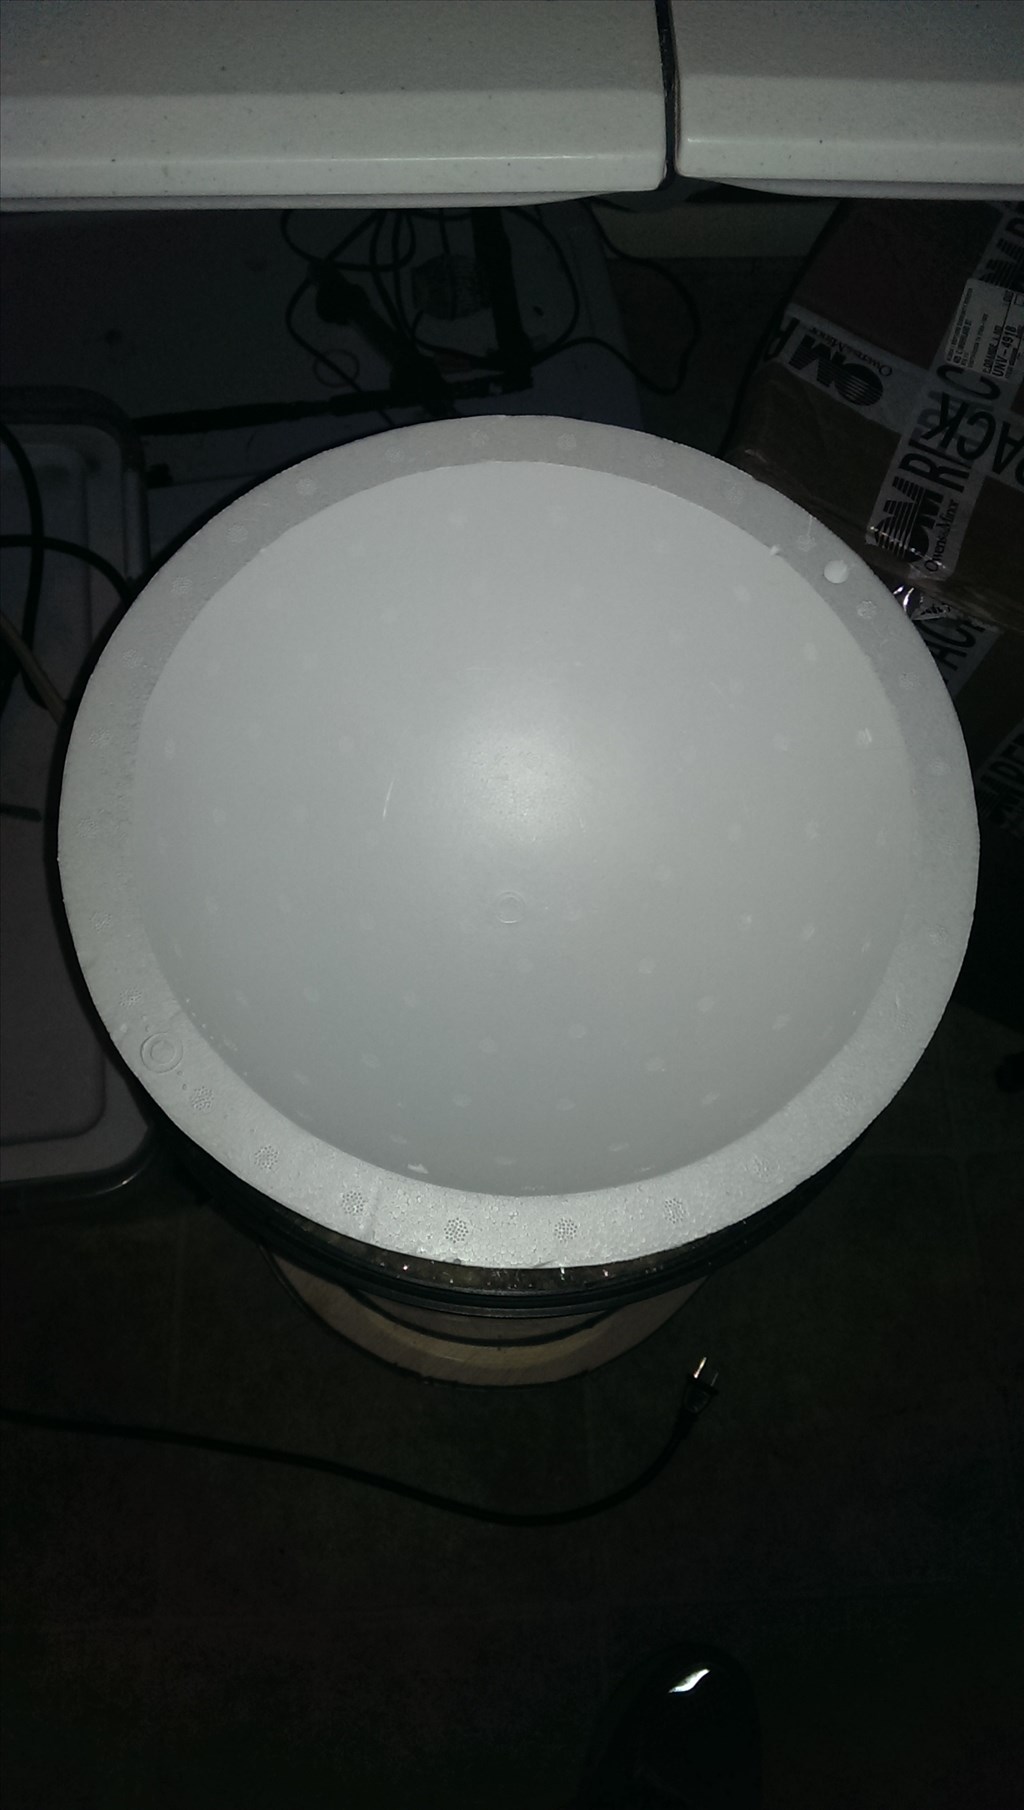
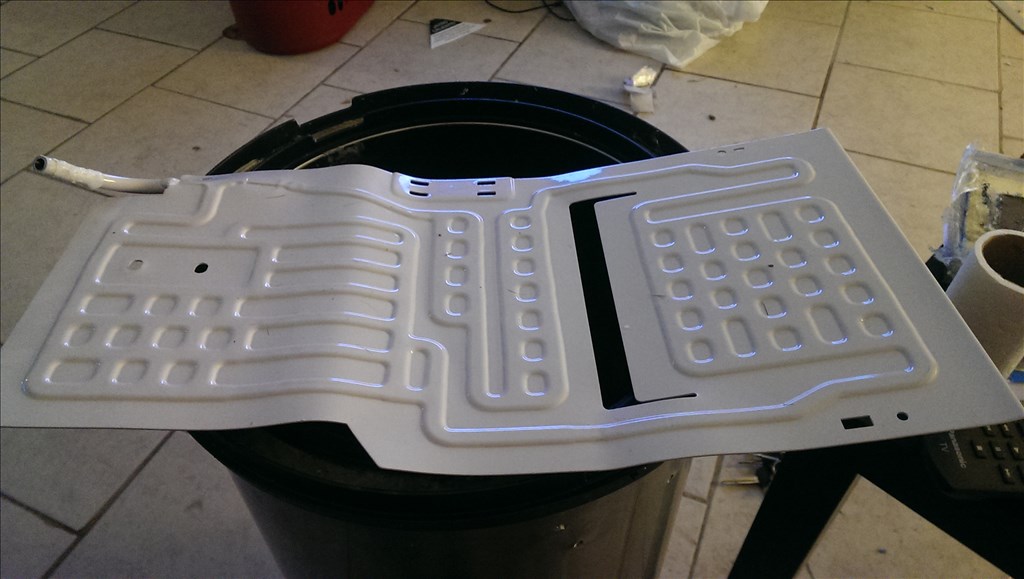
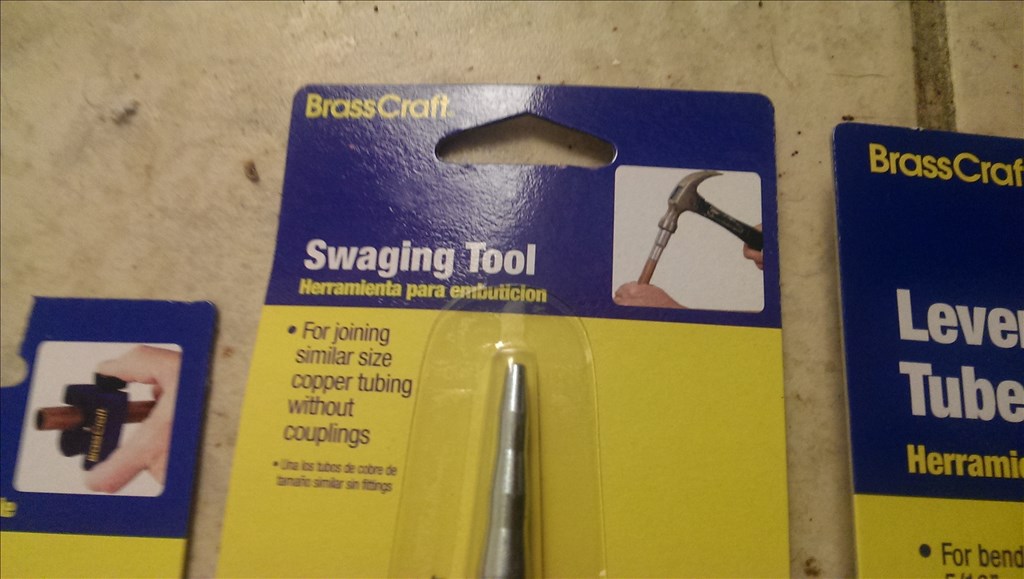
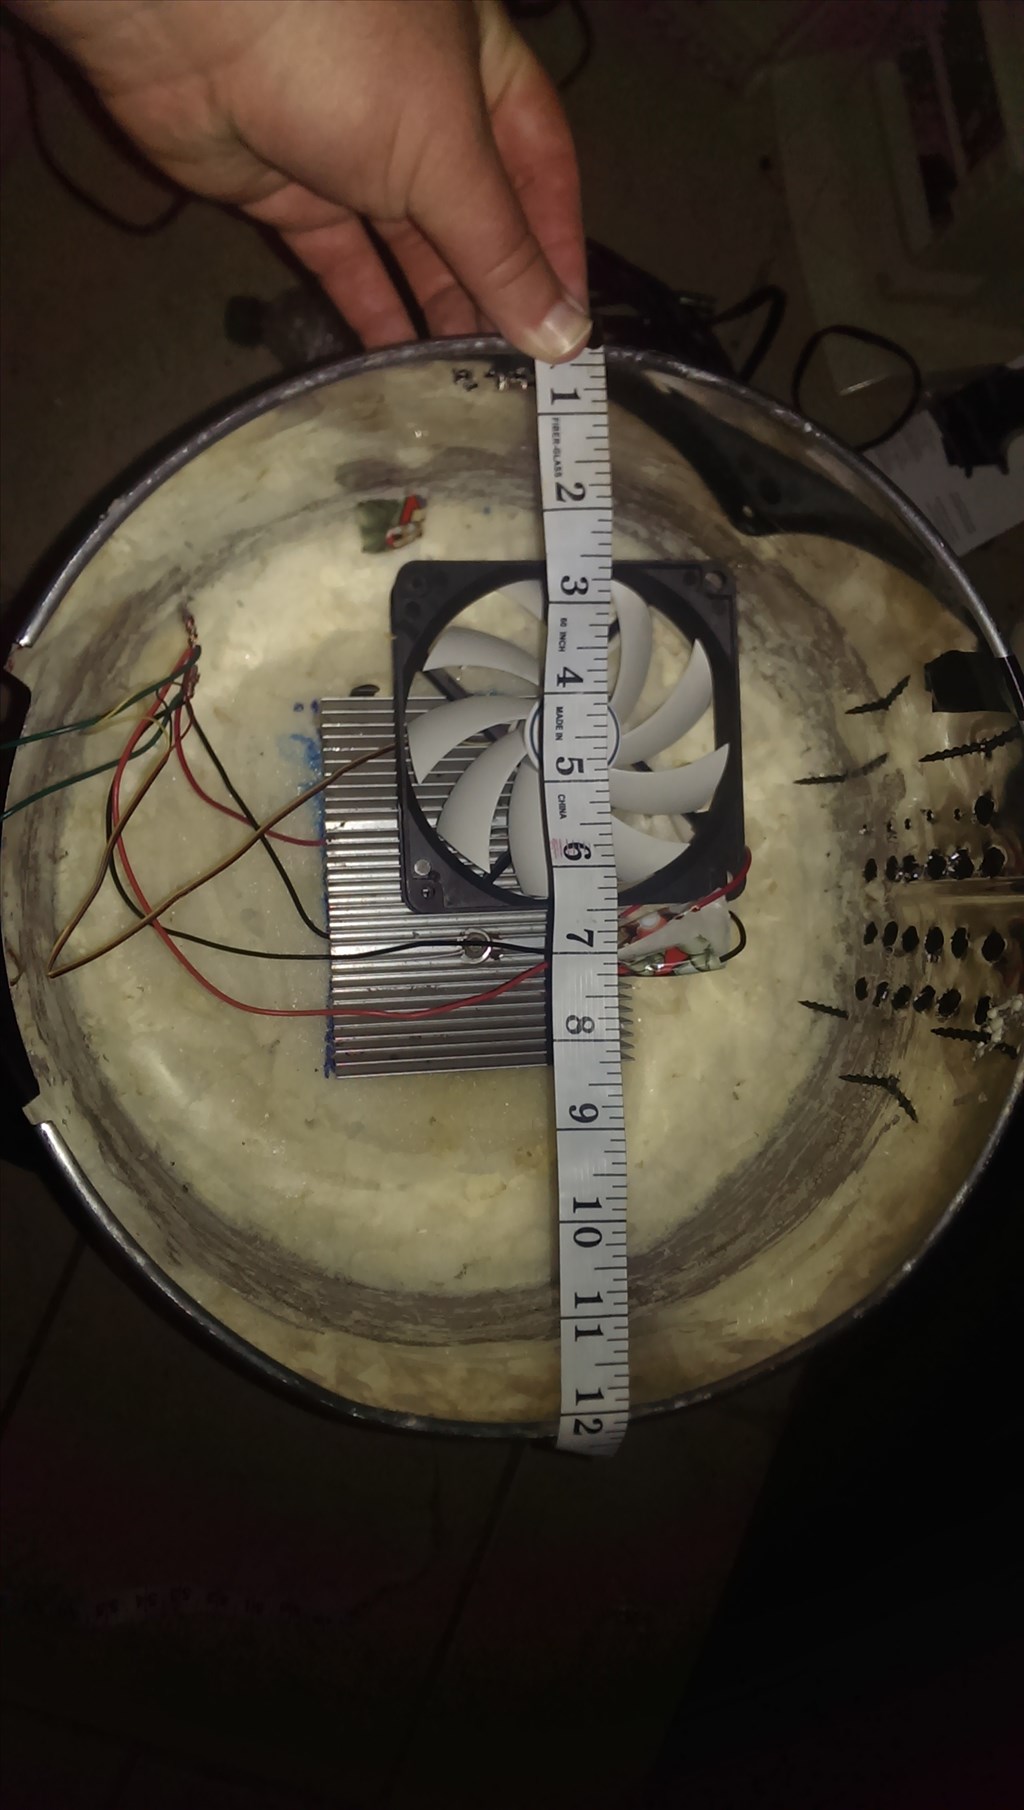
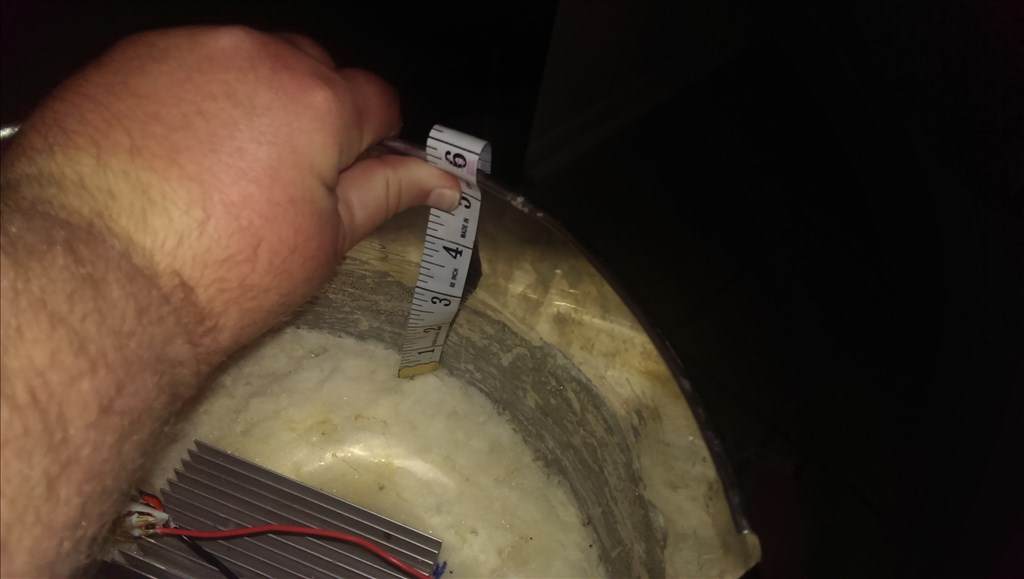
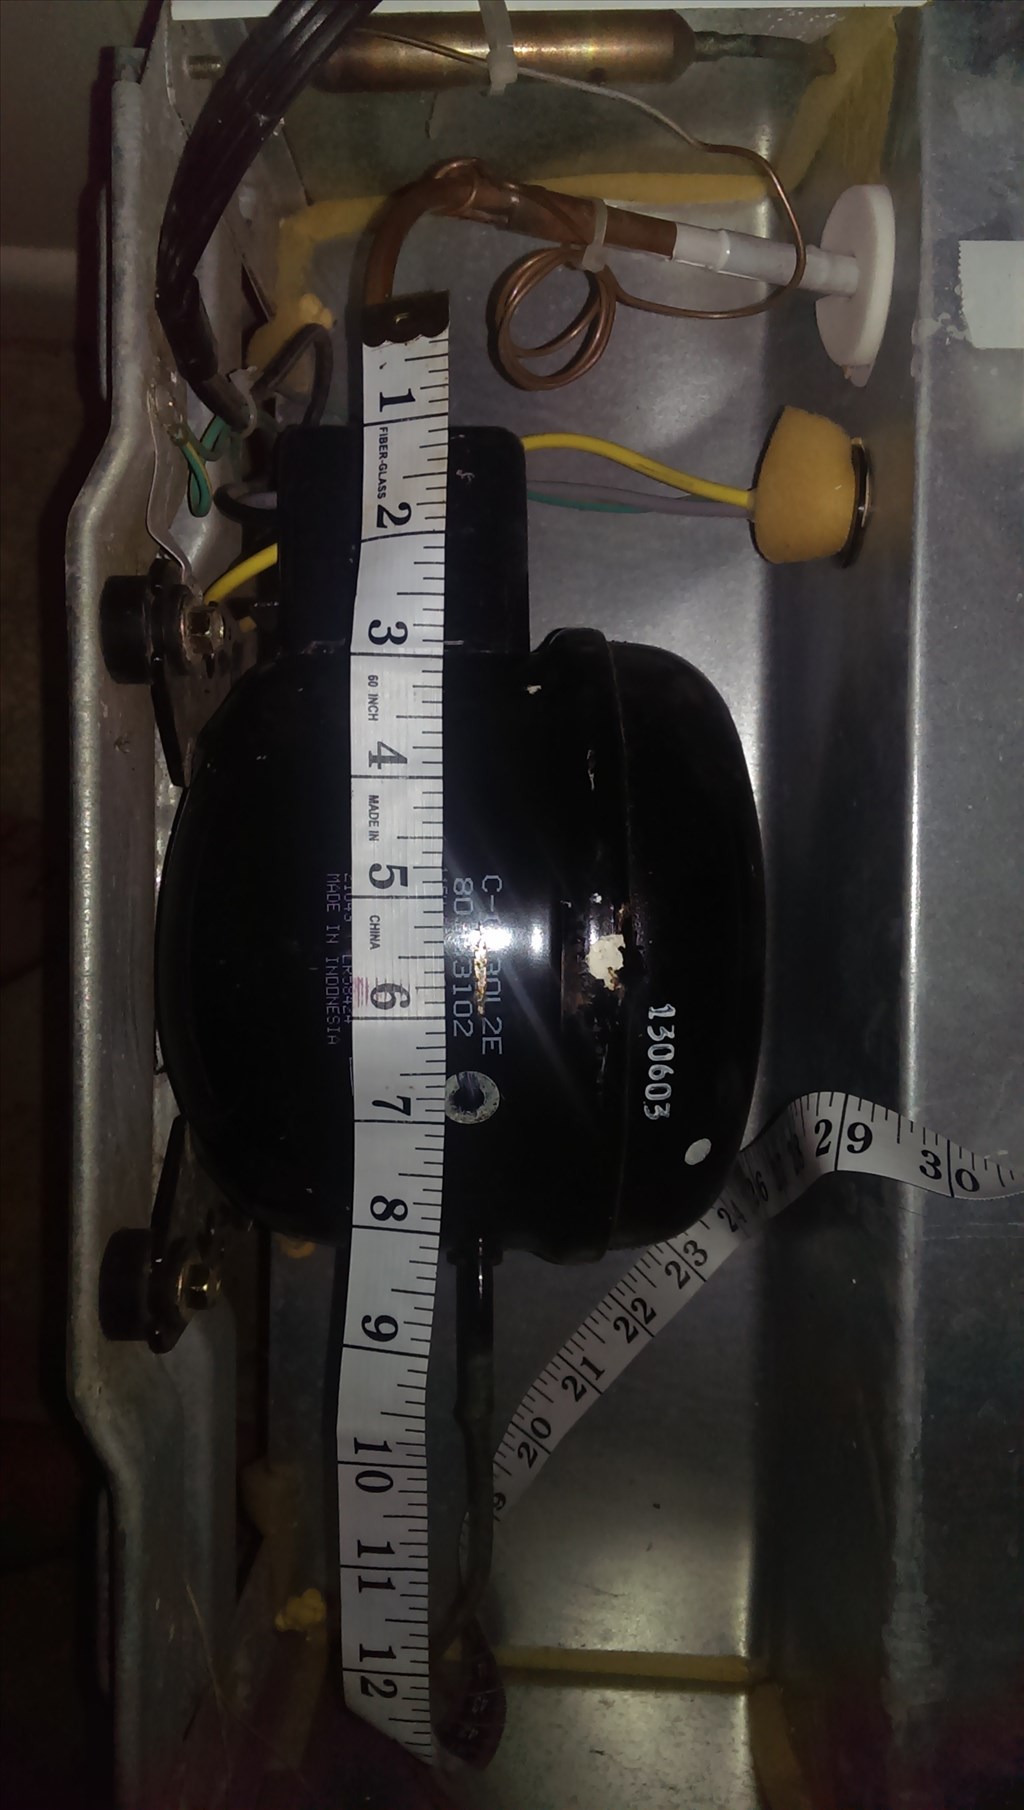
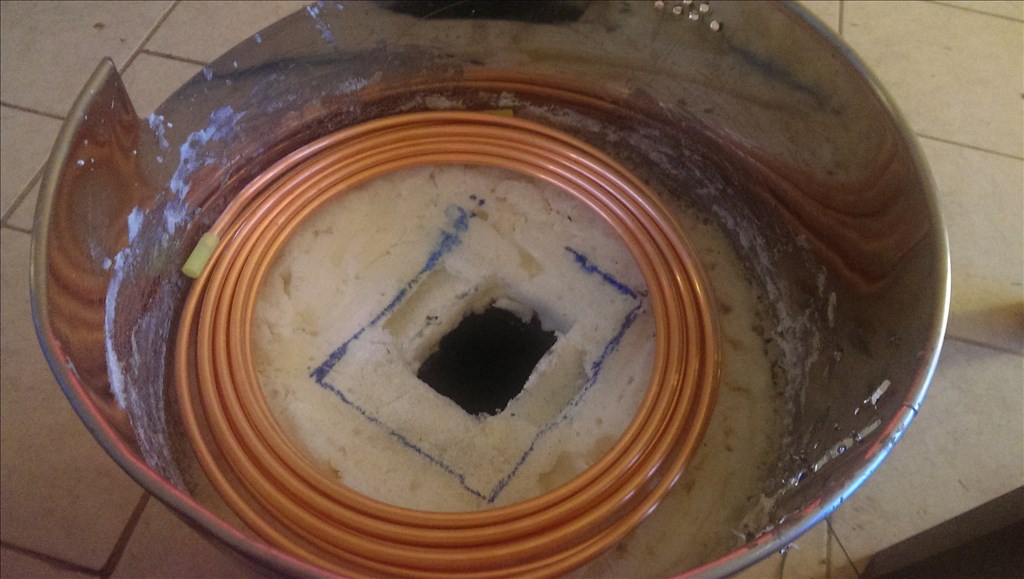
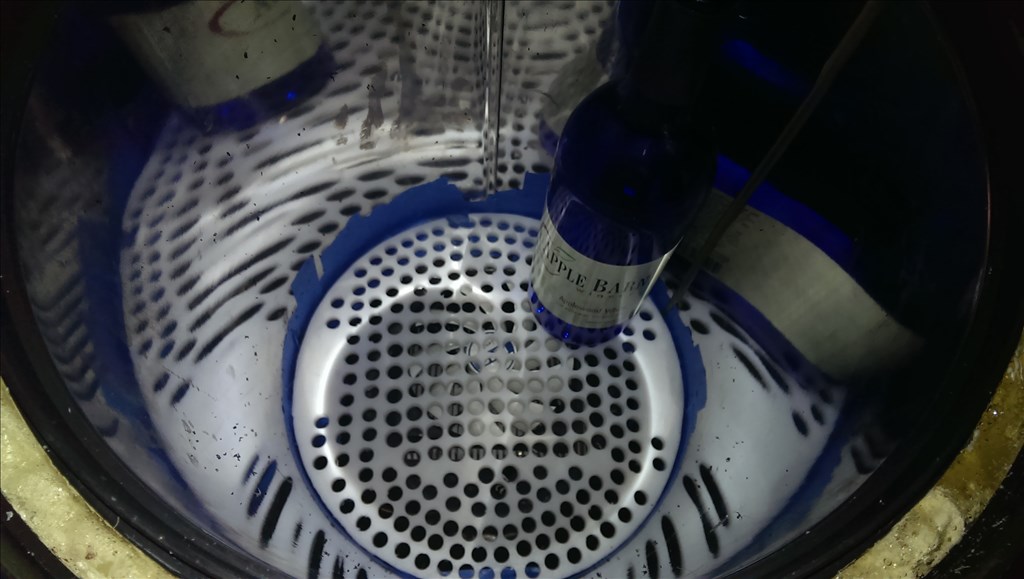
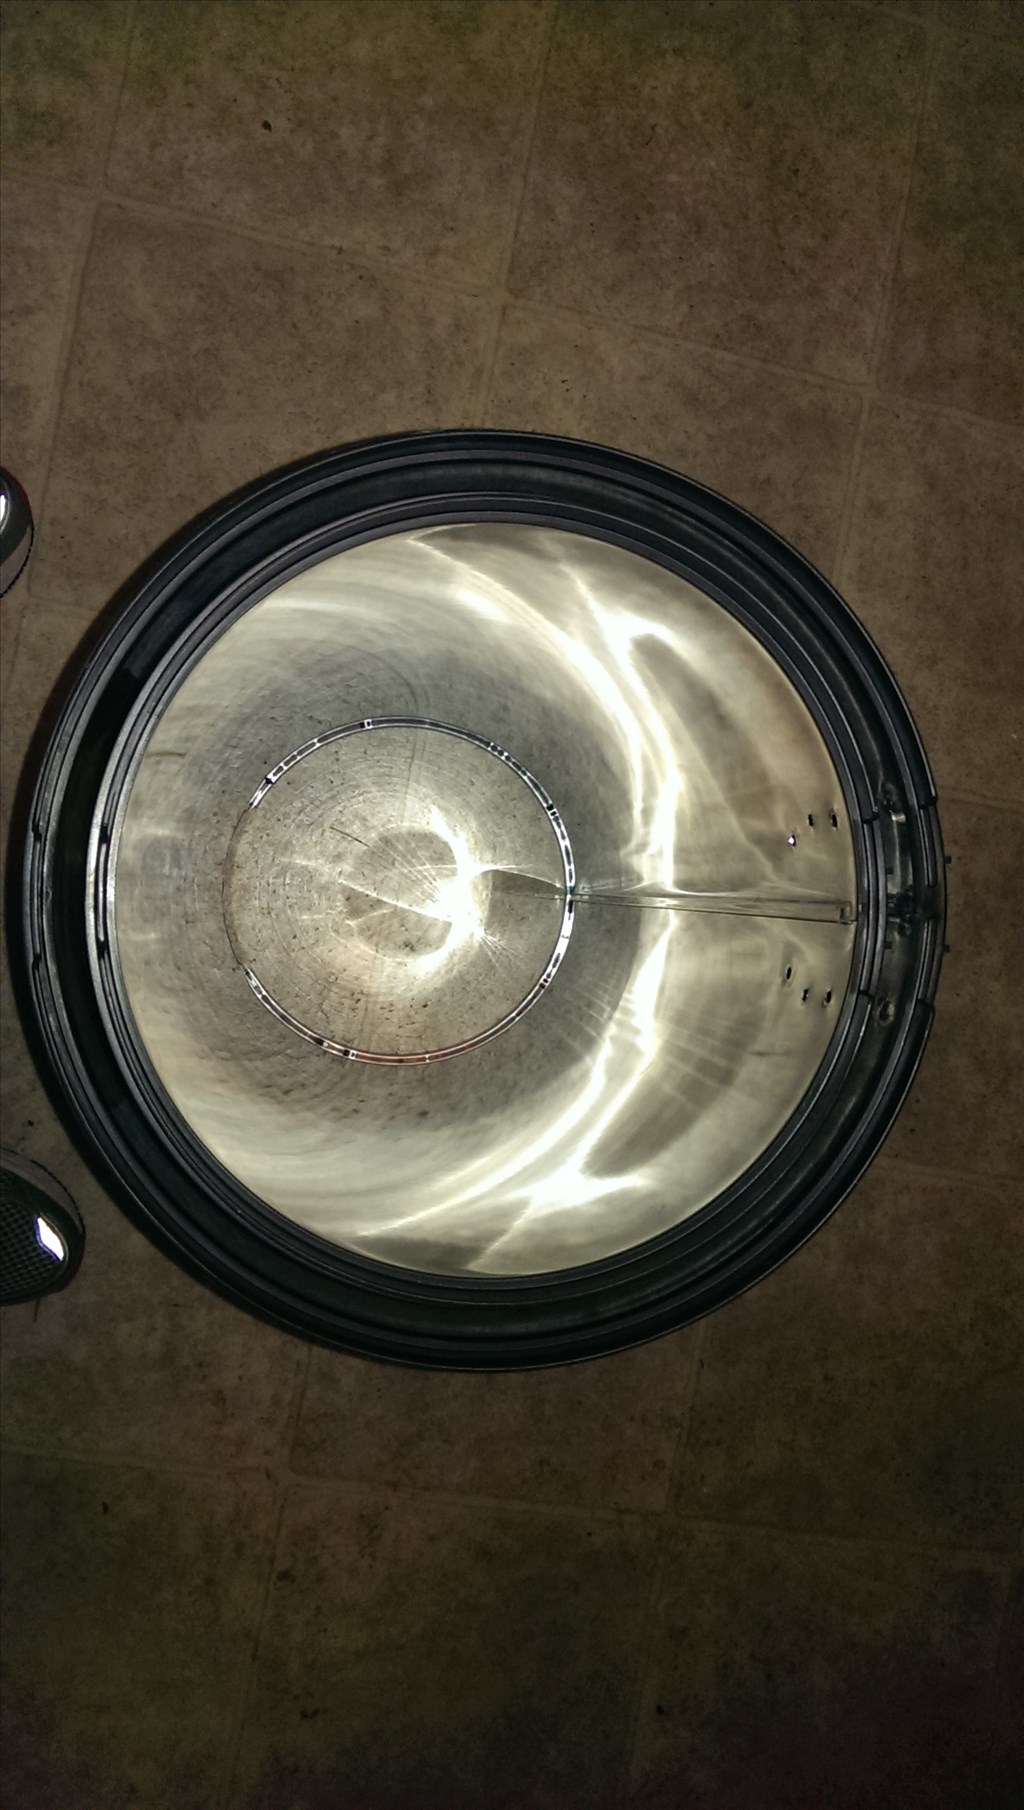
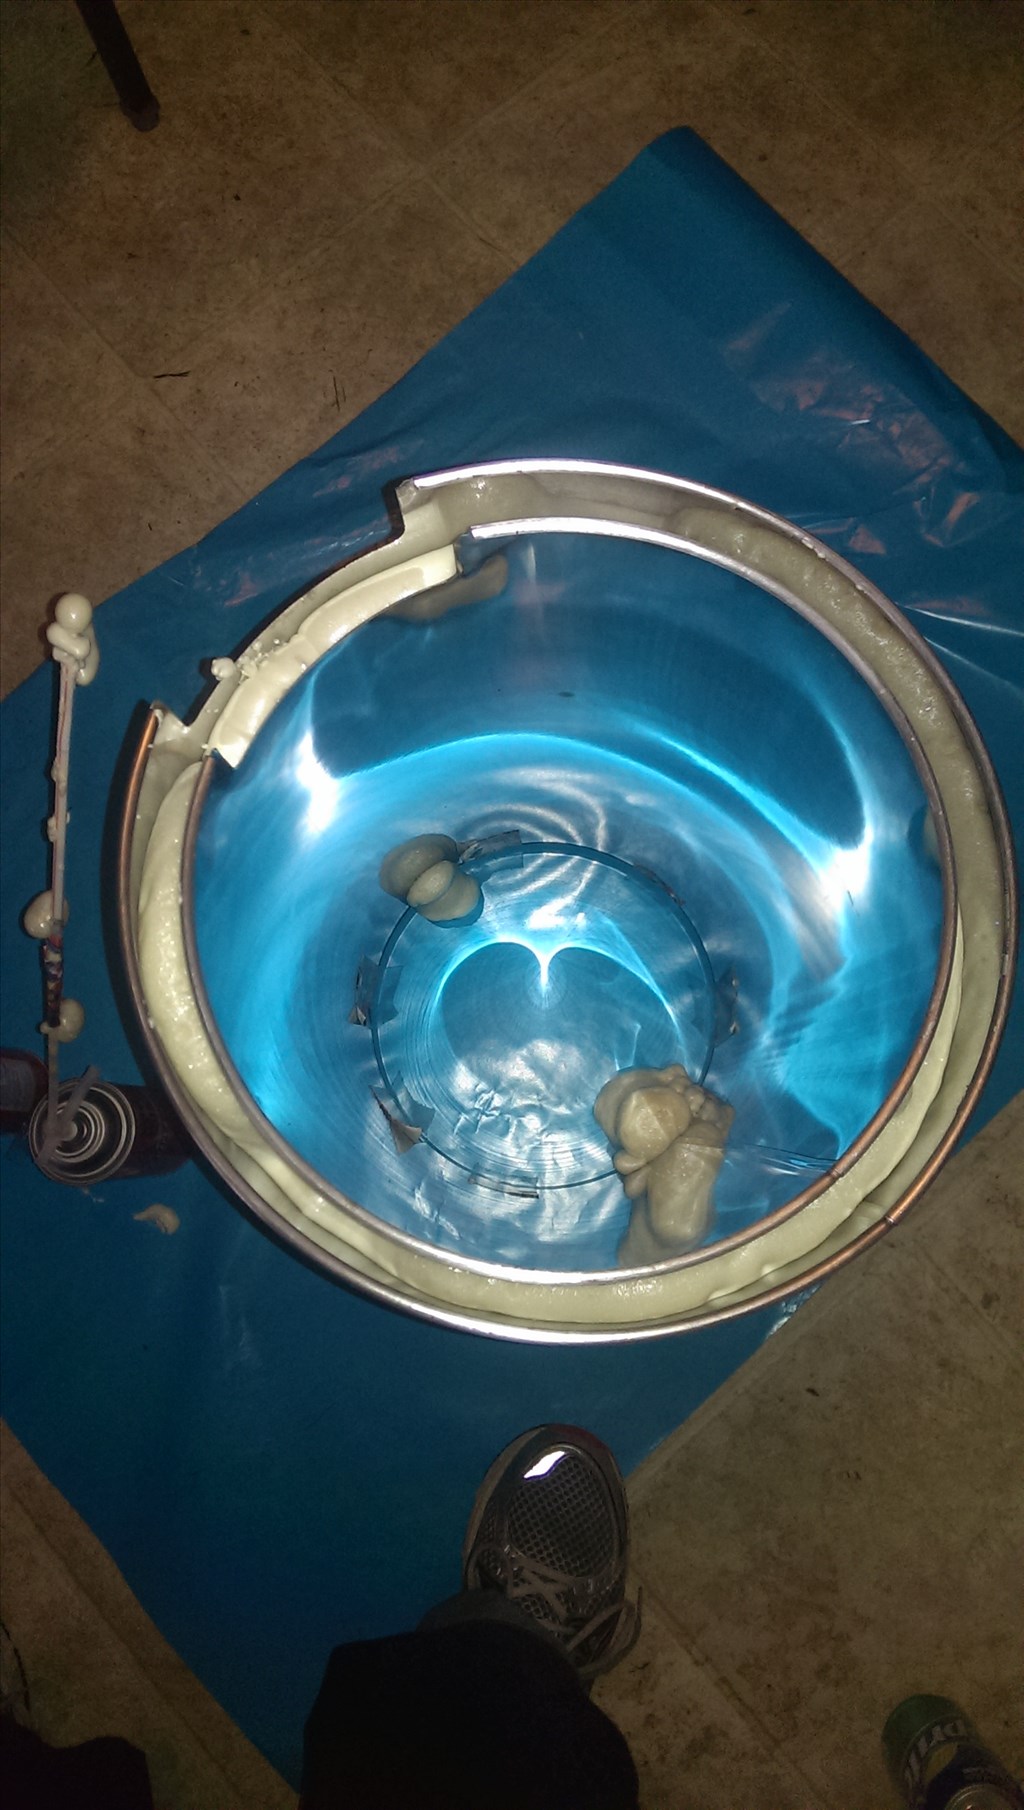
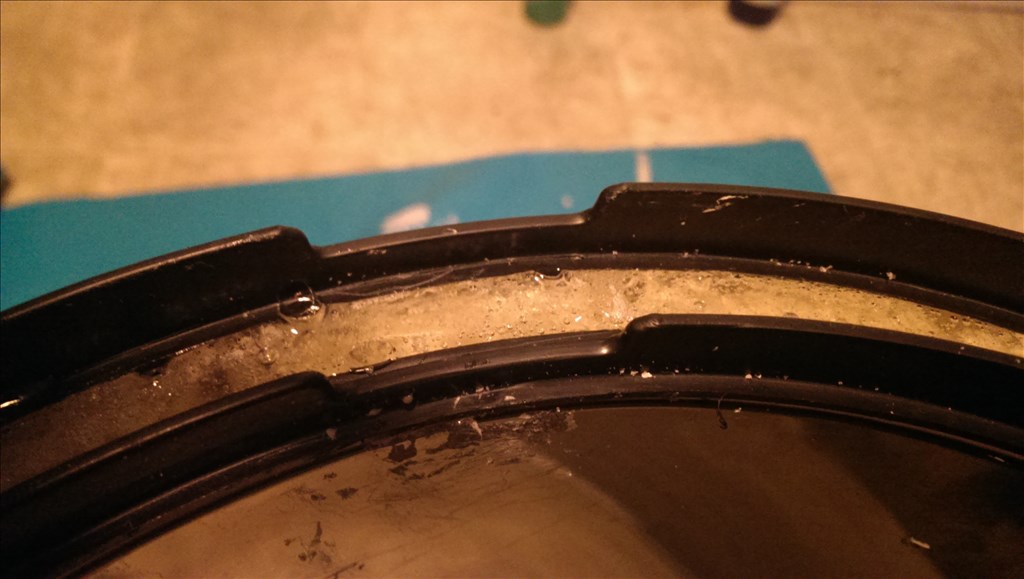
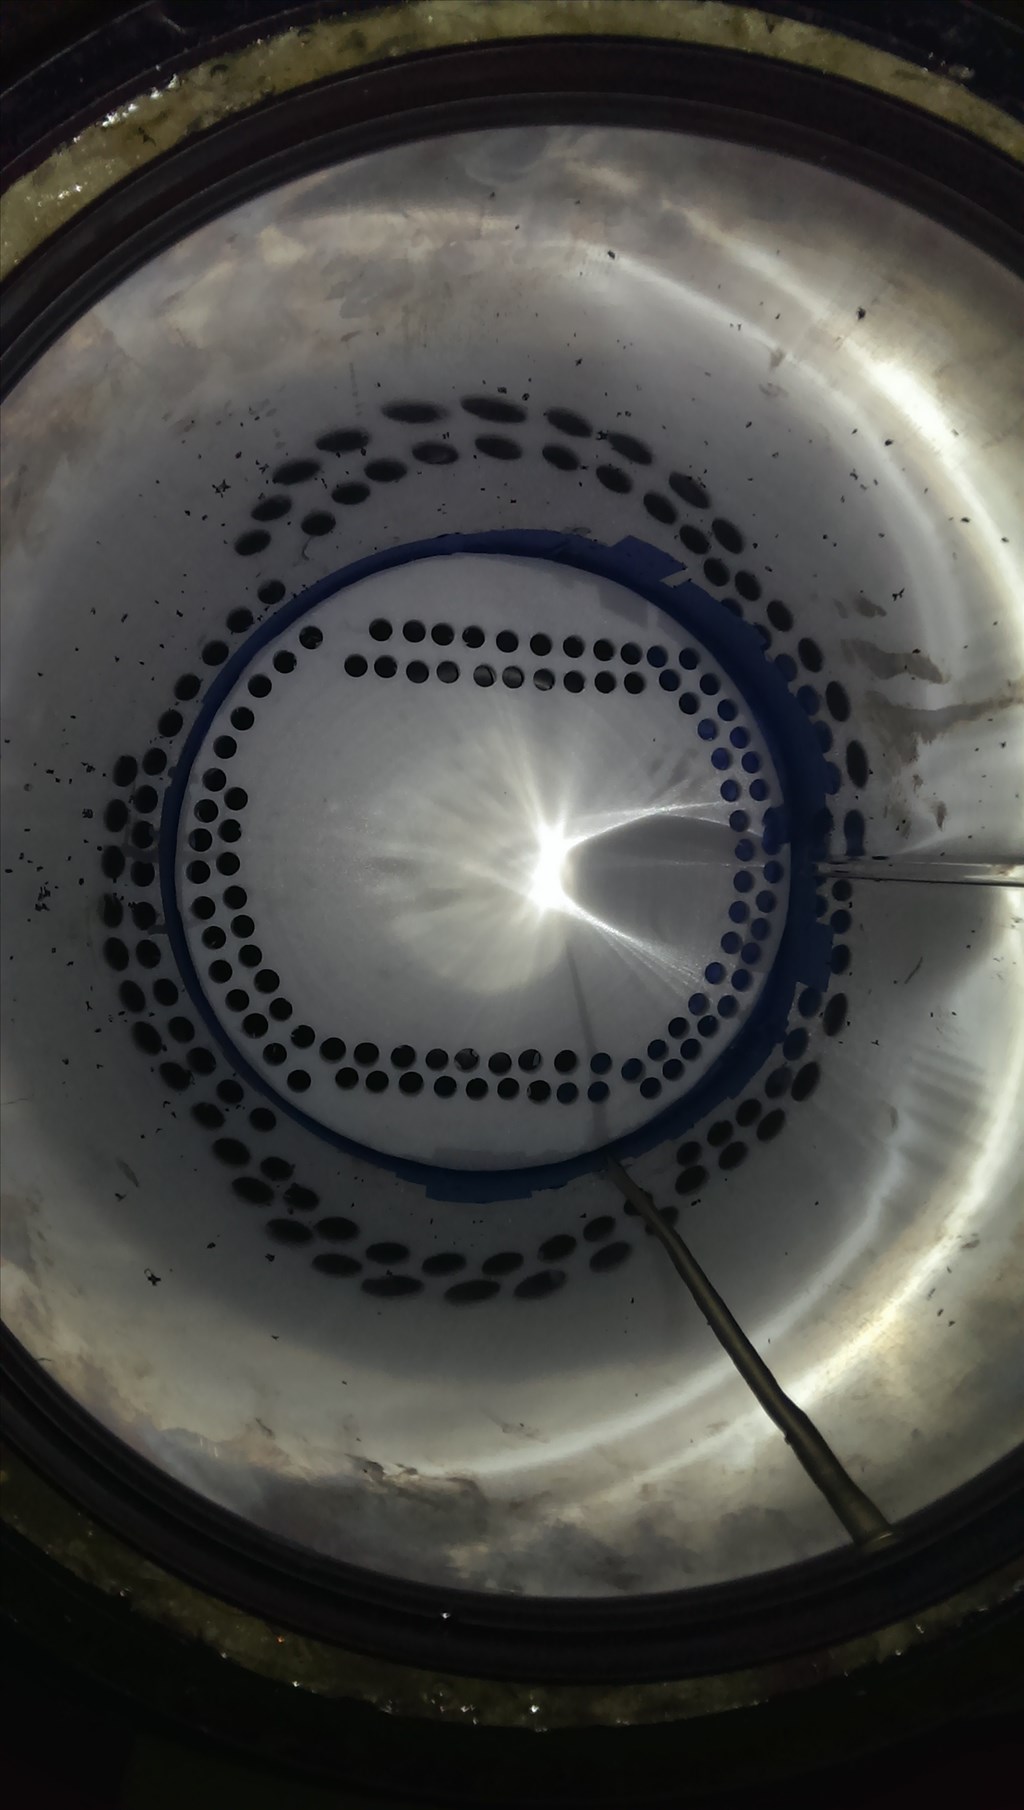
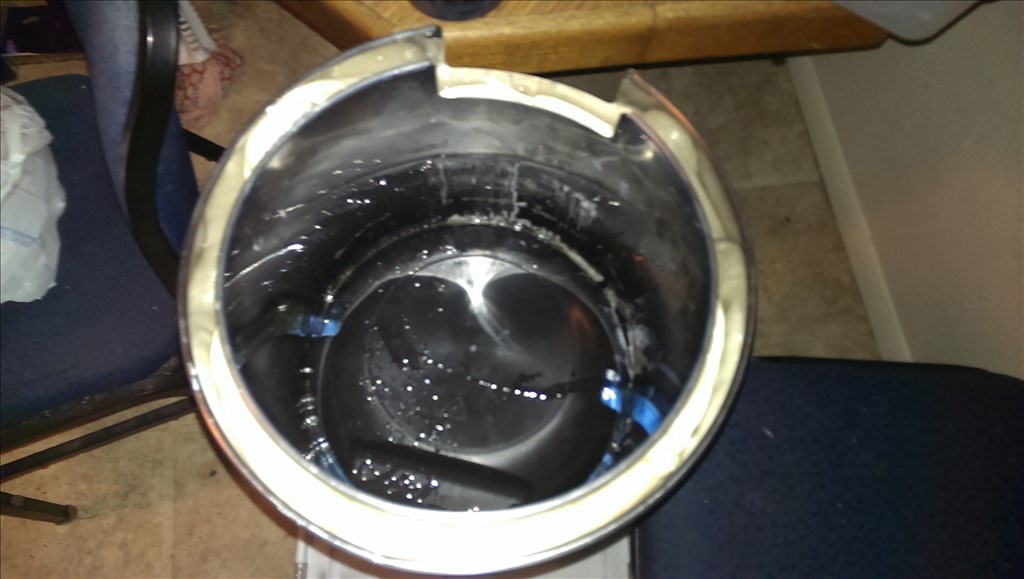
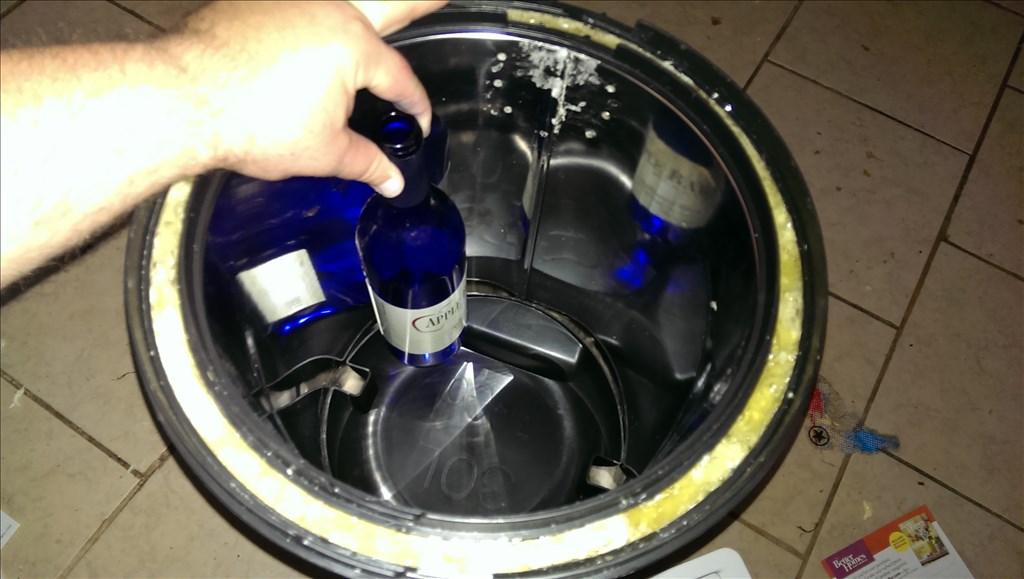
I intend of actually making the evaporator from a continuous 1/4" copper coil in the chiller. It will be coiled against the wall. So measuring I find it's just under 10.25" internal diameter. That is a circumference of 32.2" around the inside walls. To match the original minimum length of the original evaporator we need 168 inches of tubing in the chiller. Dividing the 168 by 32.2 circumference we get 5.21. This means I need the evaporator to wrap around the inside 5 to 6 times before going back out to the condensor.
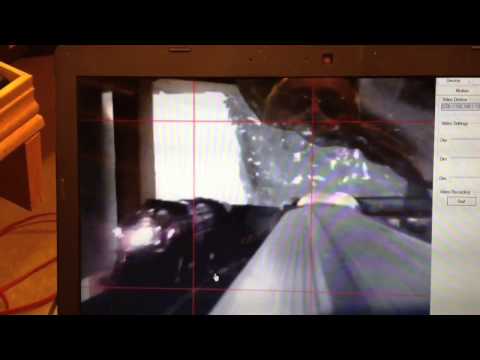
Here is a neat video that visually shows the process
https://www.youtube.com/watch?v=nA-XbfxqgRo&feature=youtube_gdata_player
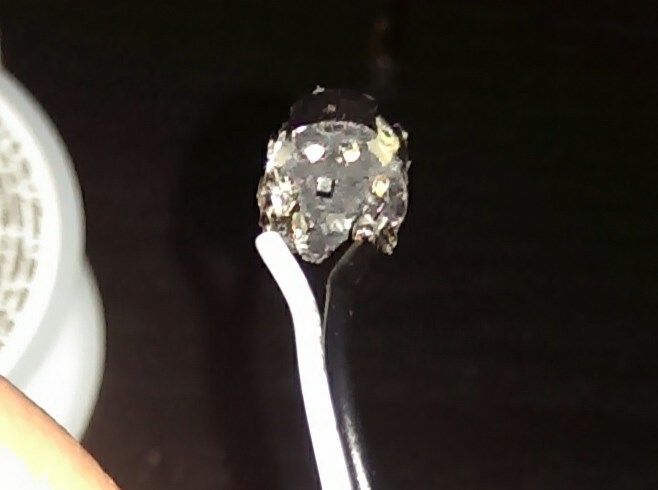
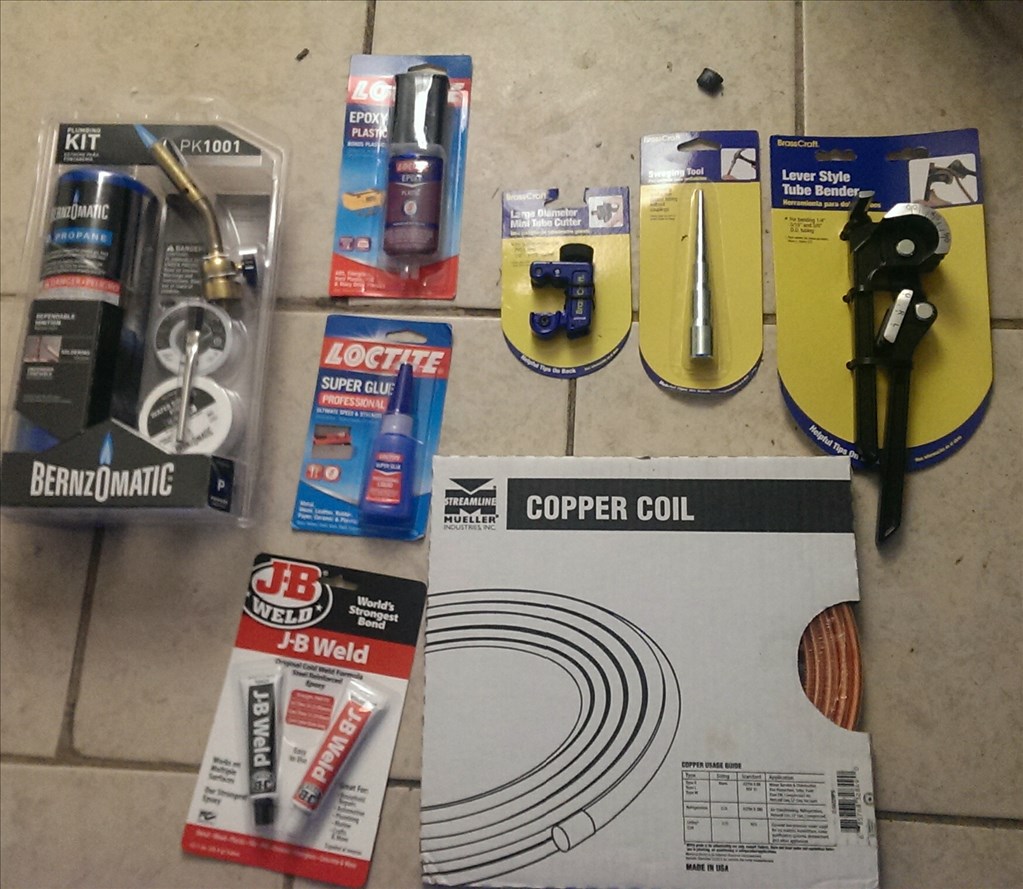
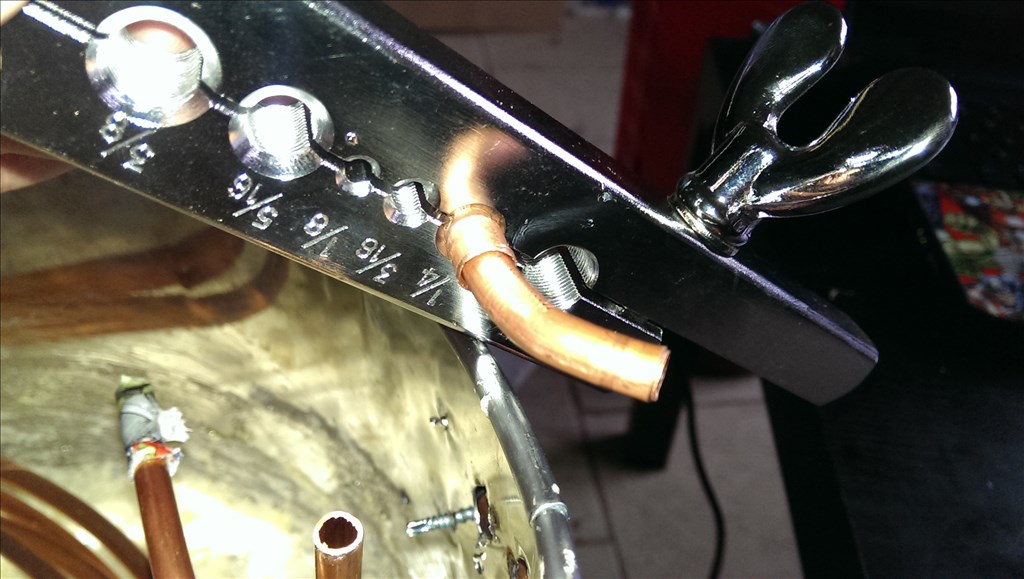
the only part I'm not sure about is the very small tubing but I will continue to salvage the rest of the parts from the fridge tommorow.
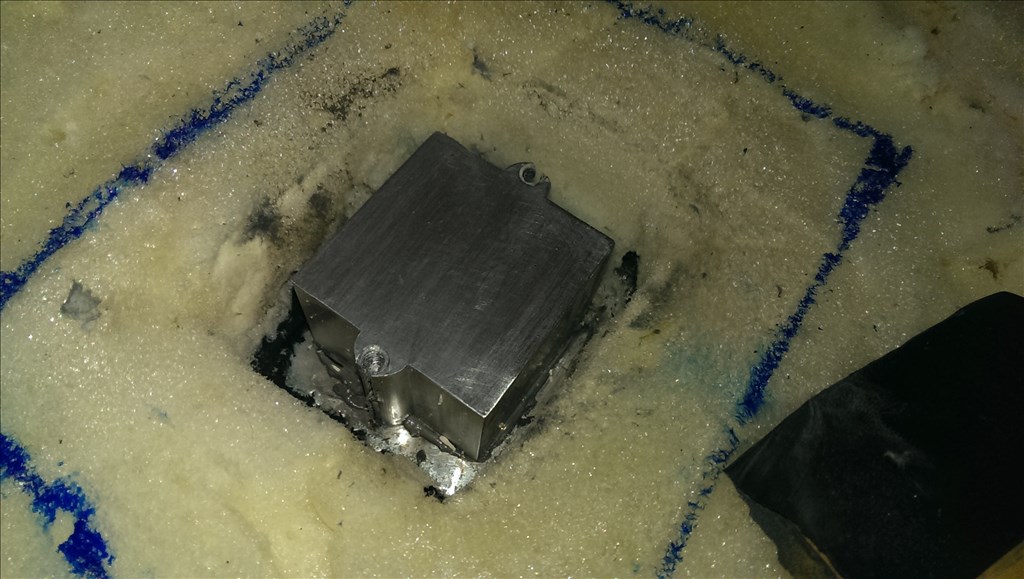
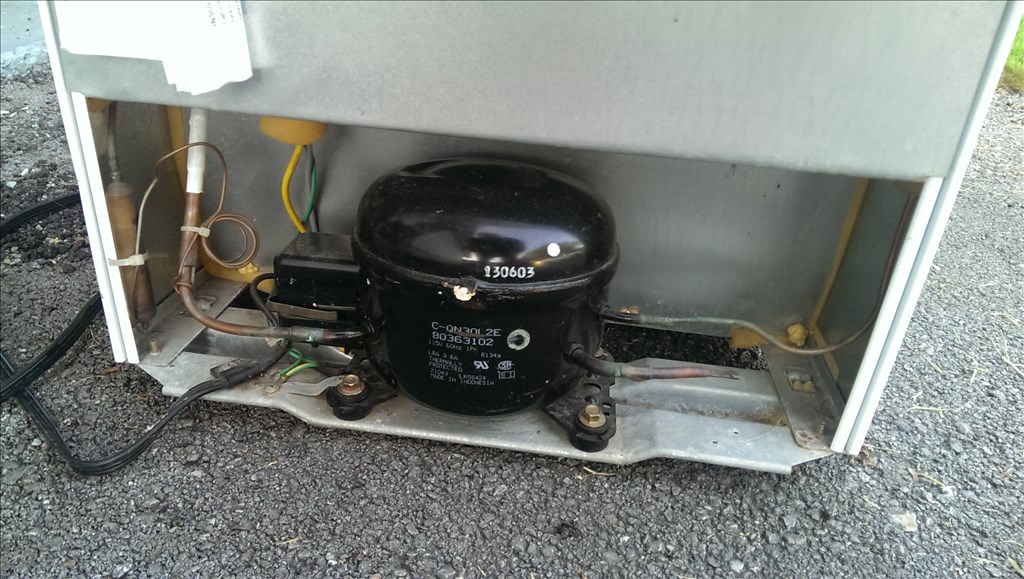
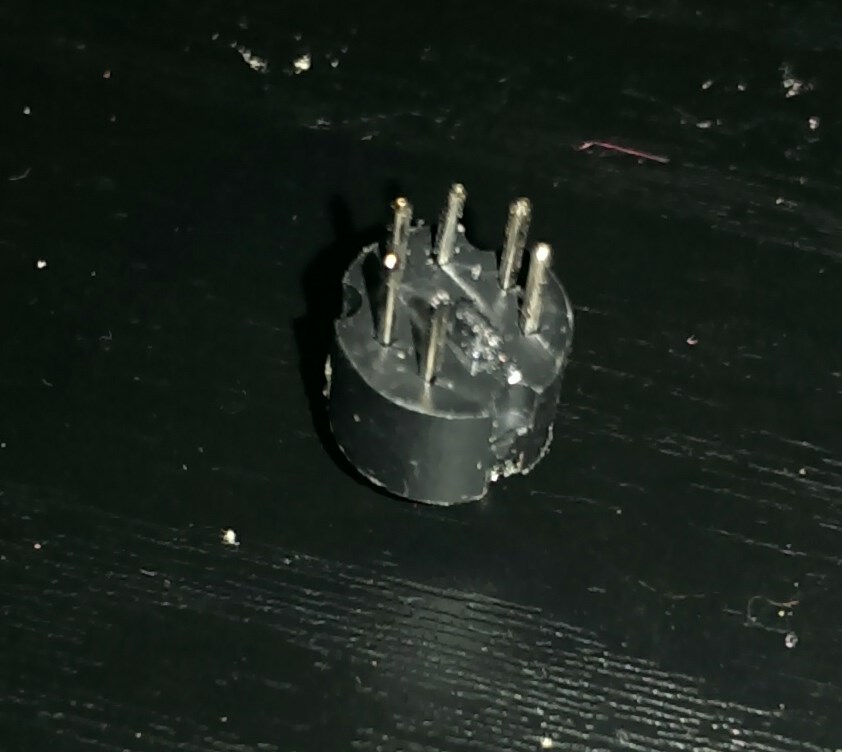
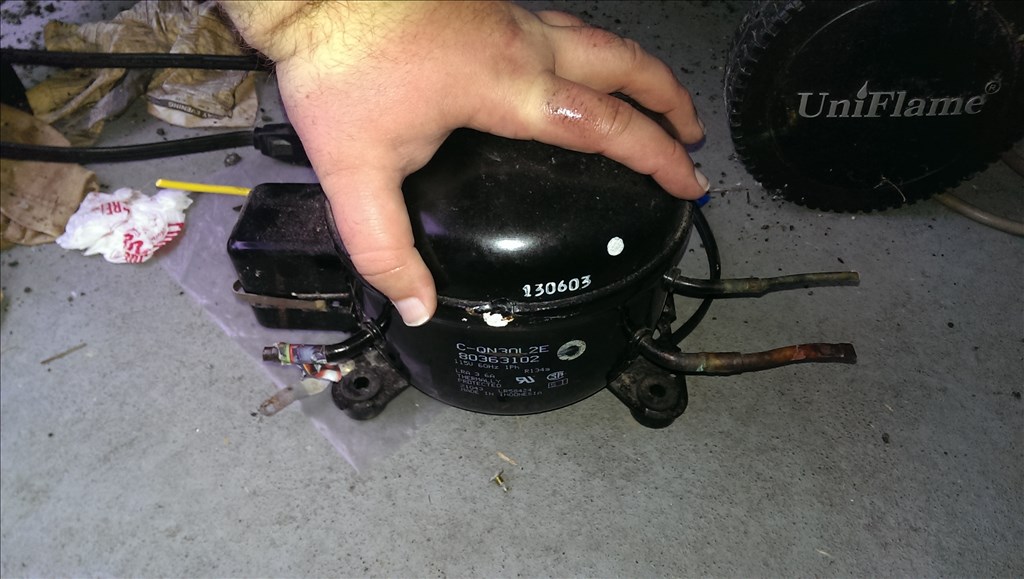
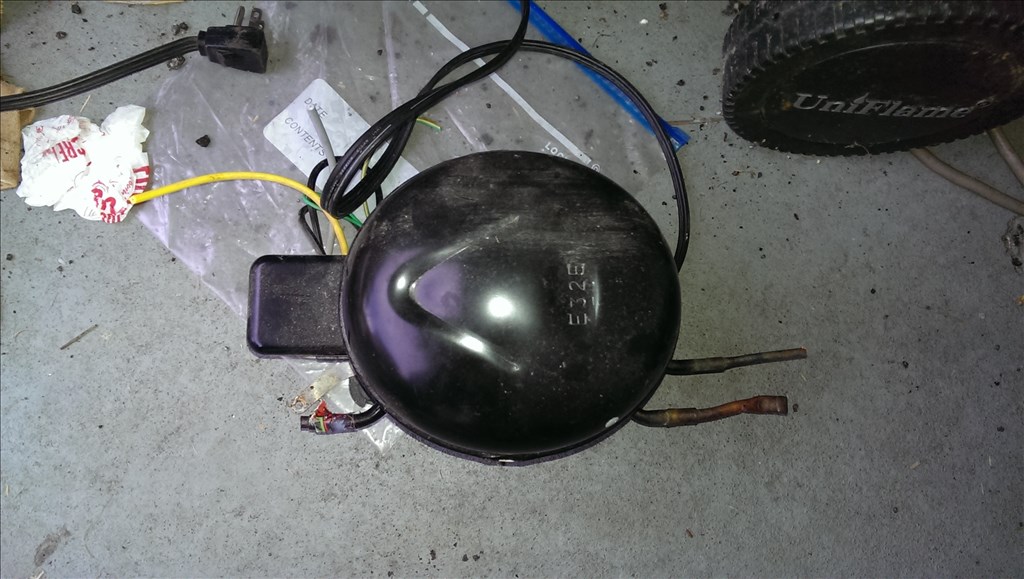
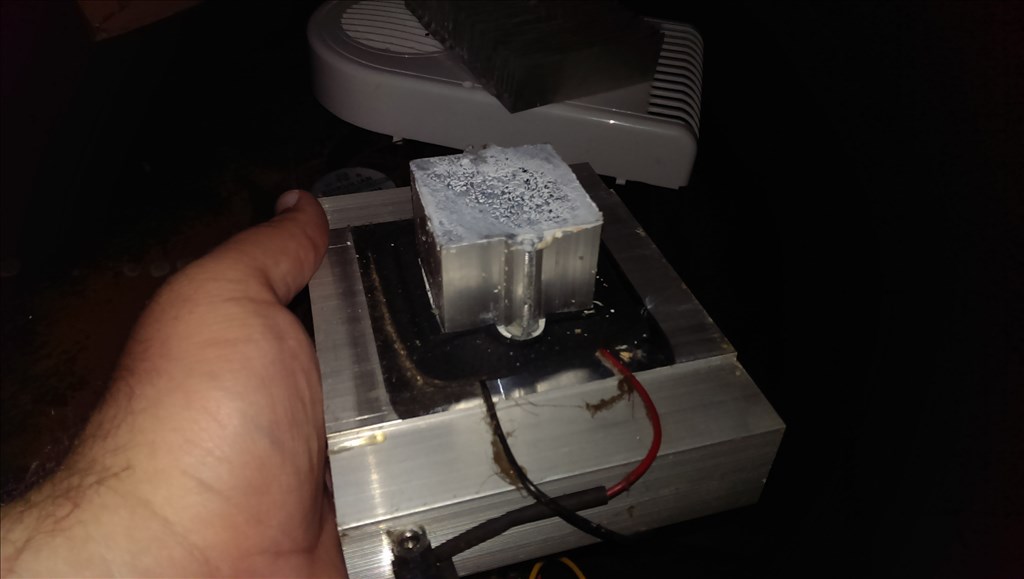
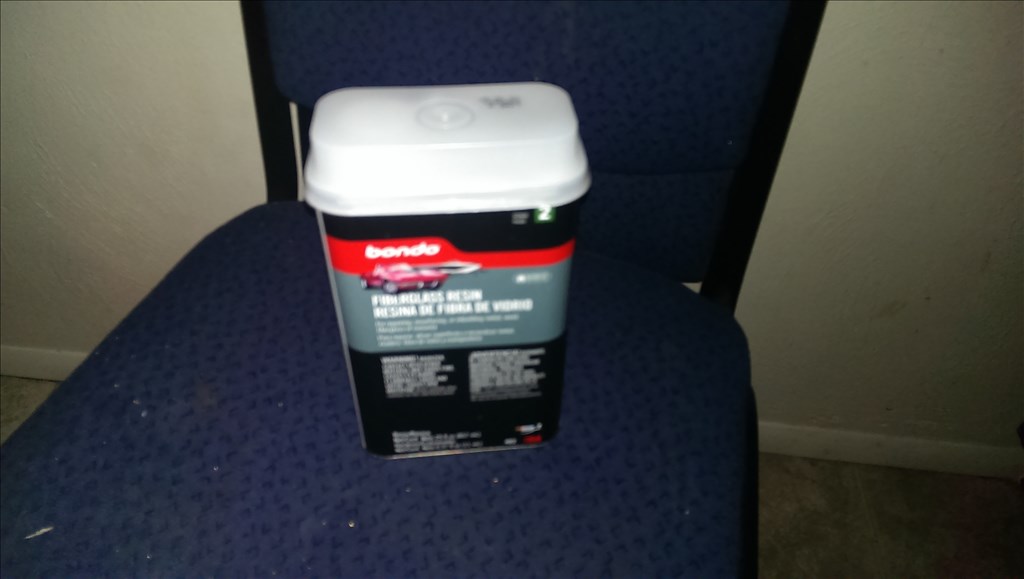
Ok I salvaged the last piece which no doubt is very important.
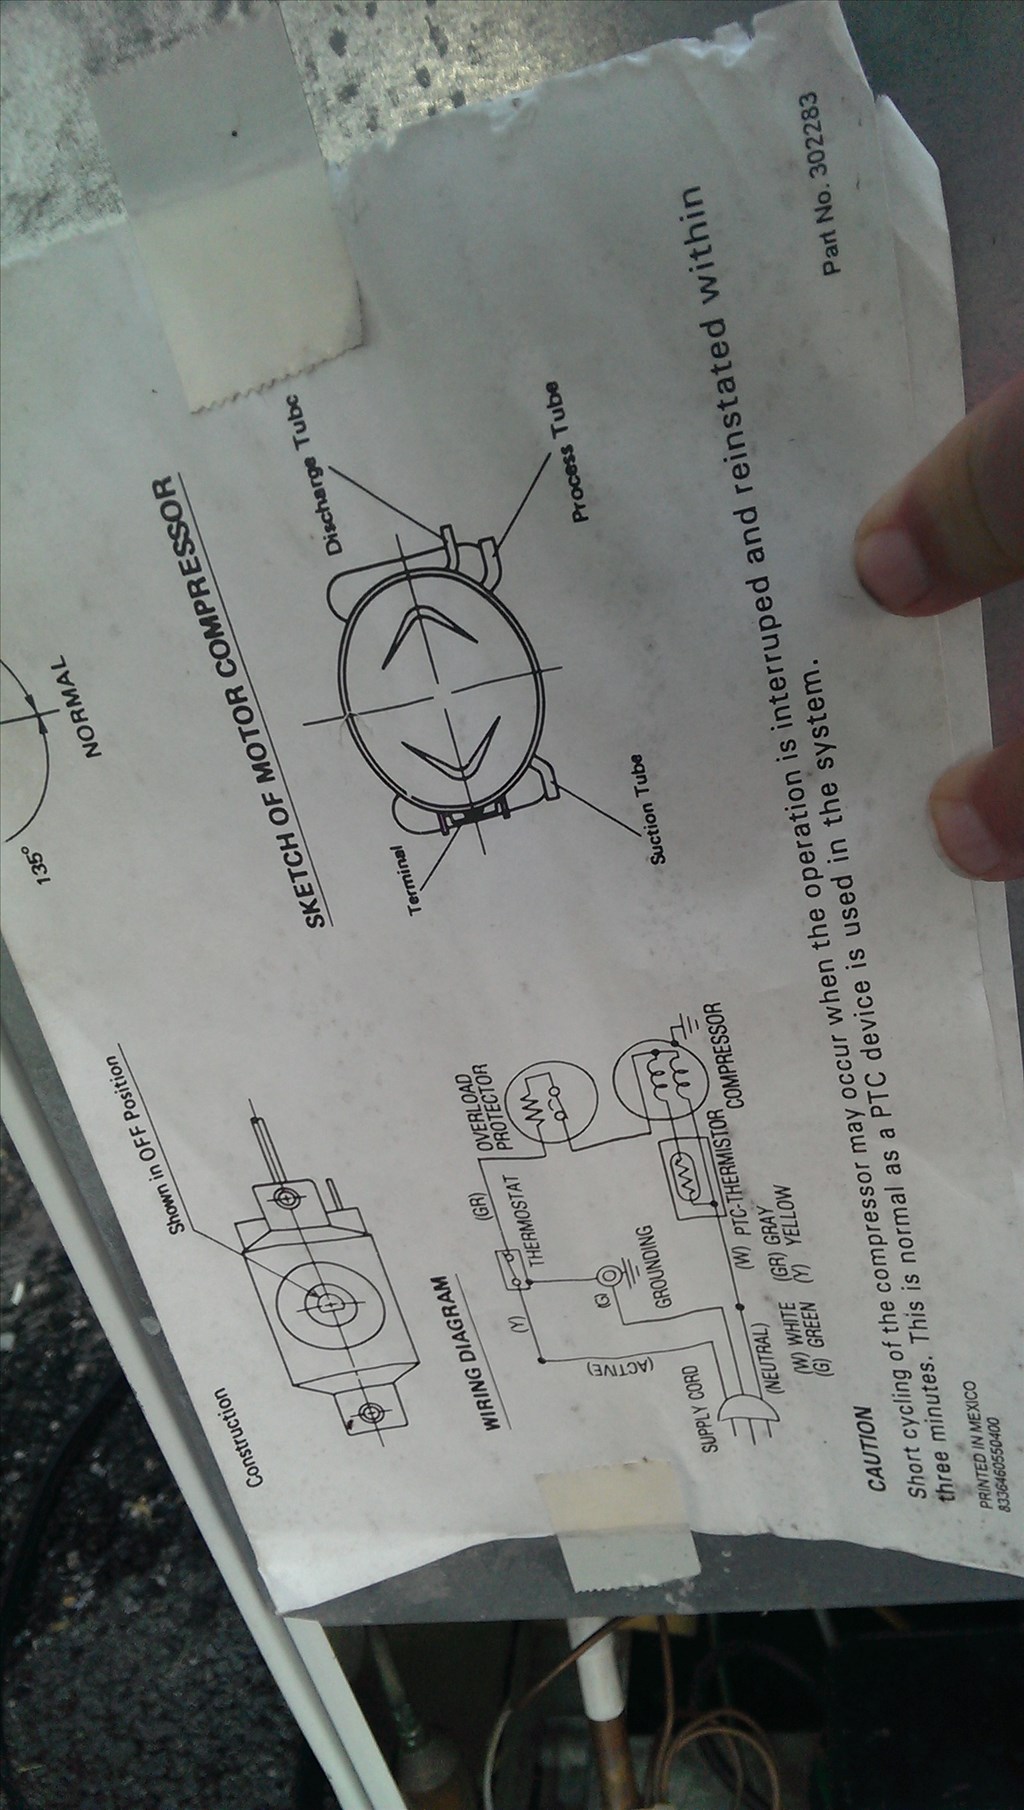
the required stages are as follows
Compress the refrigerant
Leaves the compressor from the discharge tube and raises the temperature to over 100 degrees
Discharge goes to radiator This cools the hot high pressure refrigerant
4.the refrigerant moves from the radiator to the drier or expansion tube.
The refrigerant is pushed through the small tube as a liquid.
The small tube opens up to the evaporator
The liquid expands into a gaseous state rapidly as it passes into the larger space of the evaporator.
After the evaporator the compressor vacuums the refrigerants into the compressor.

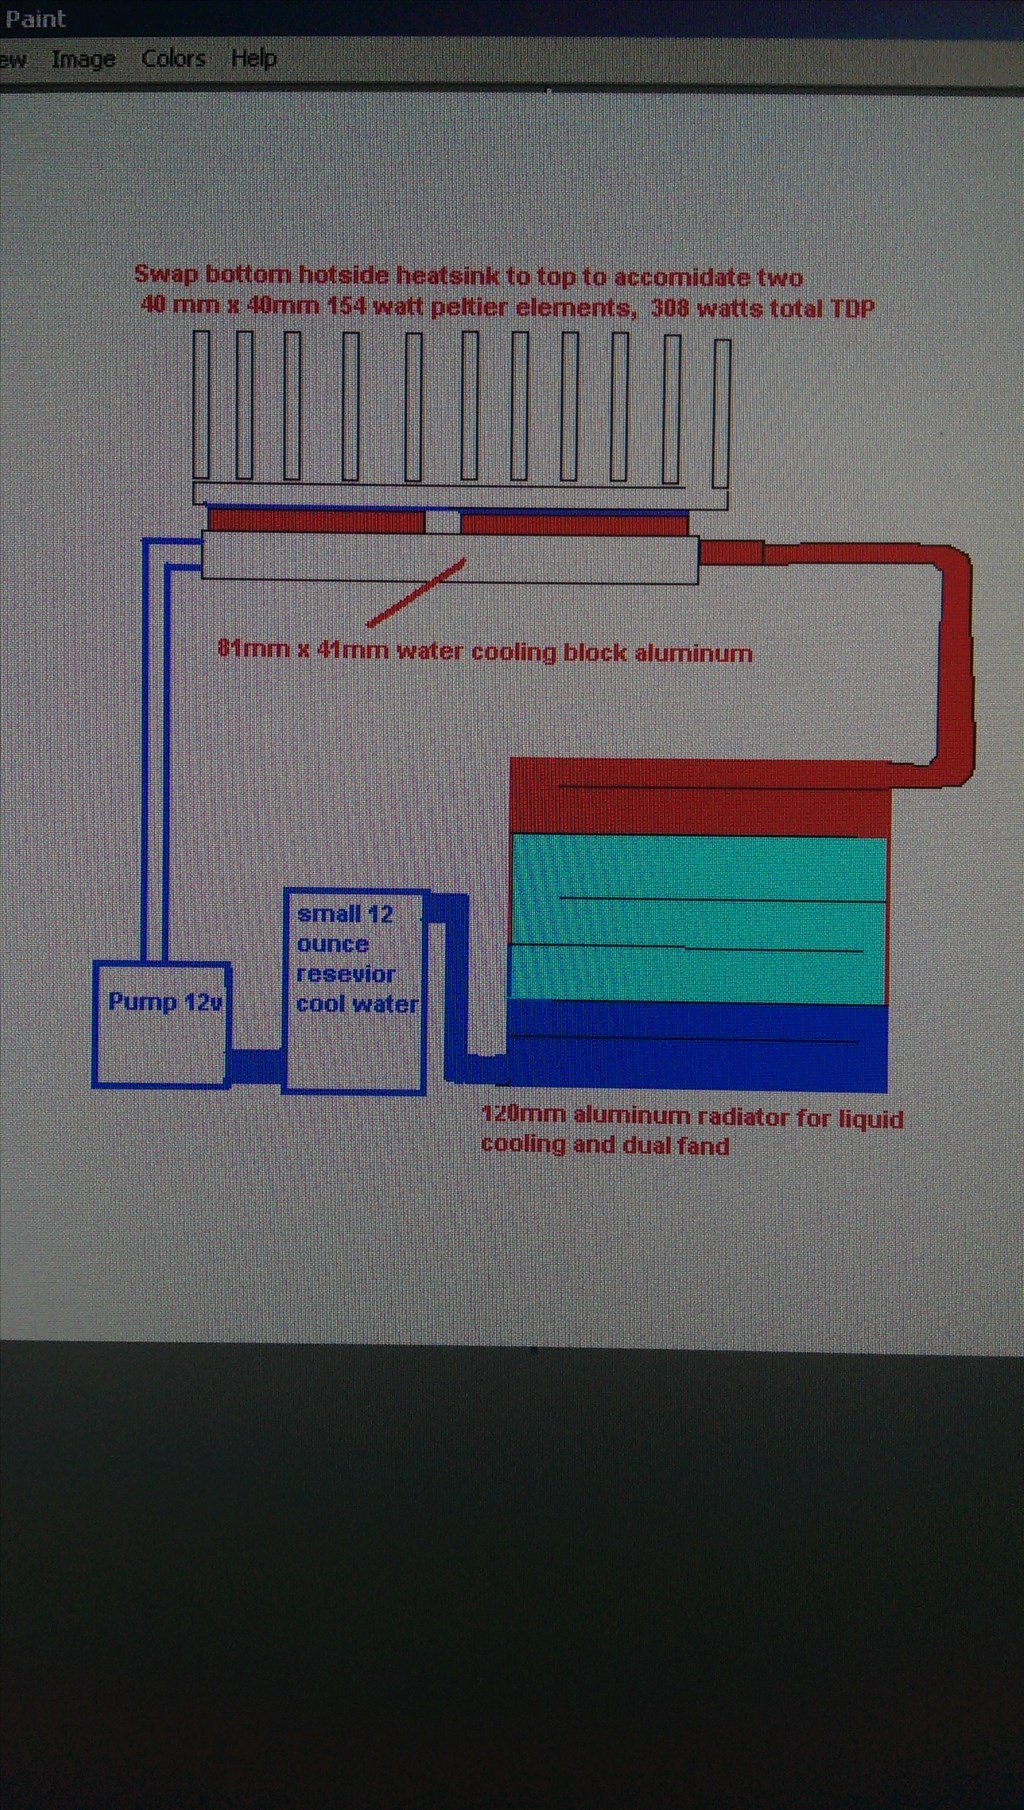
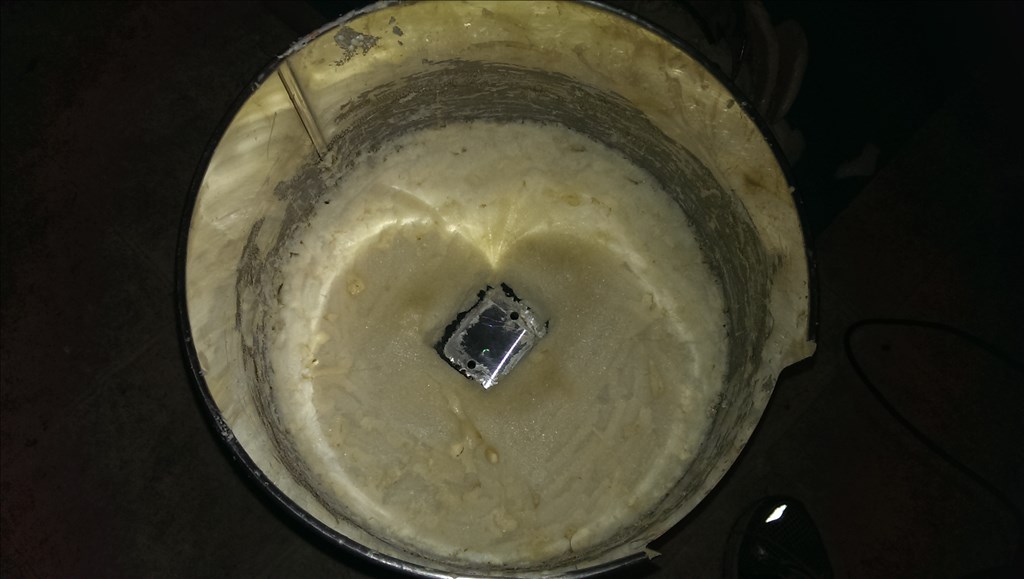
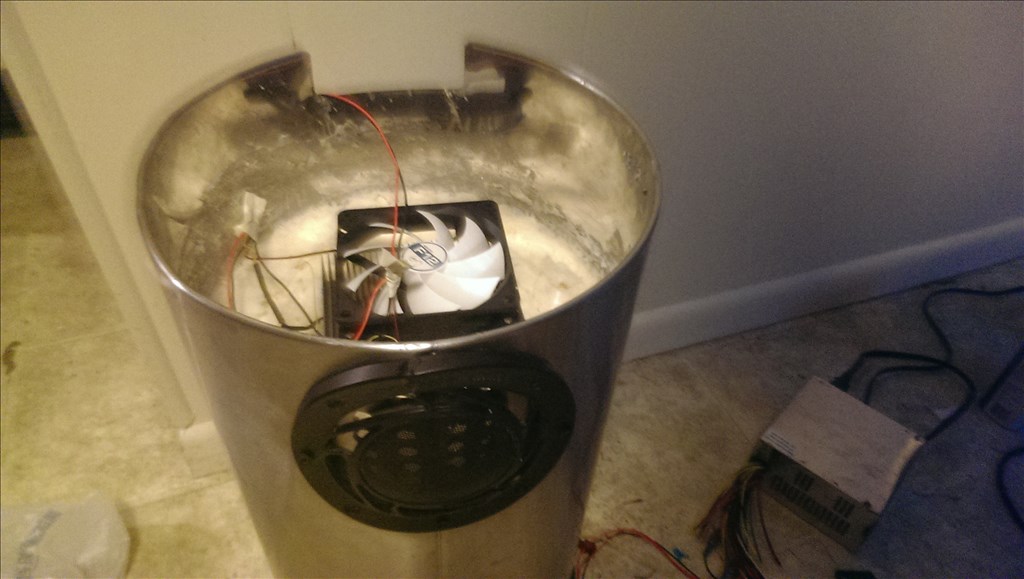
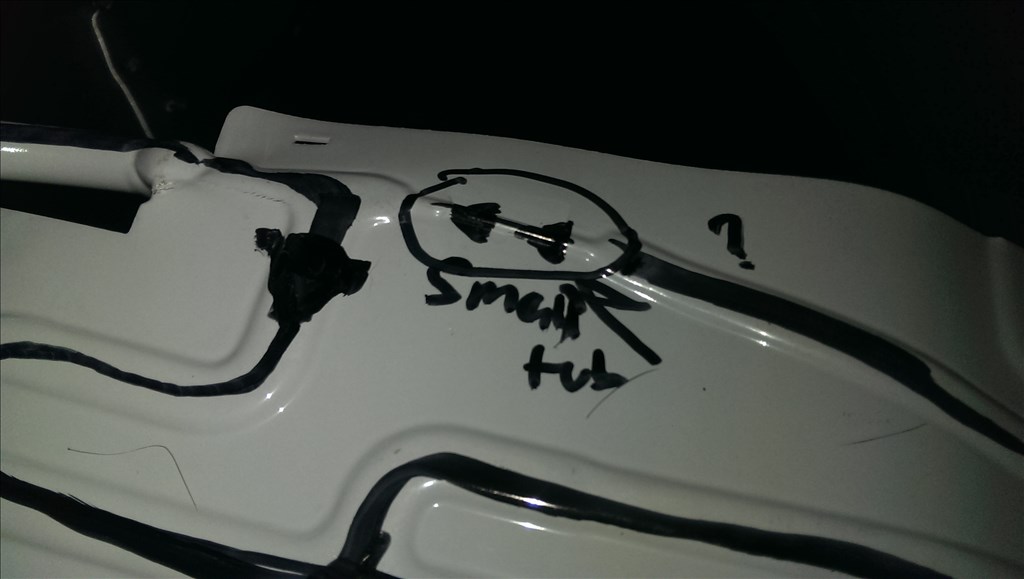
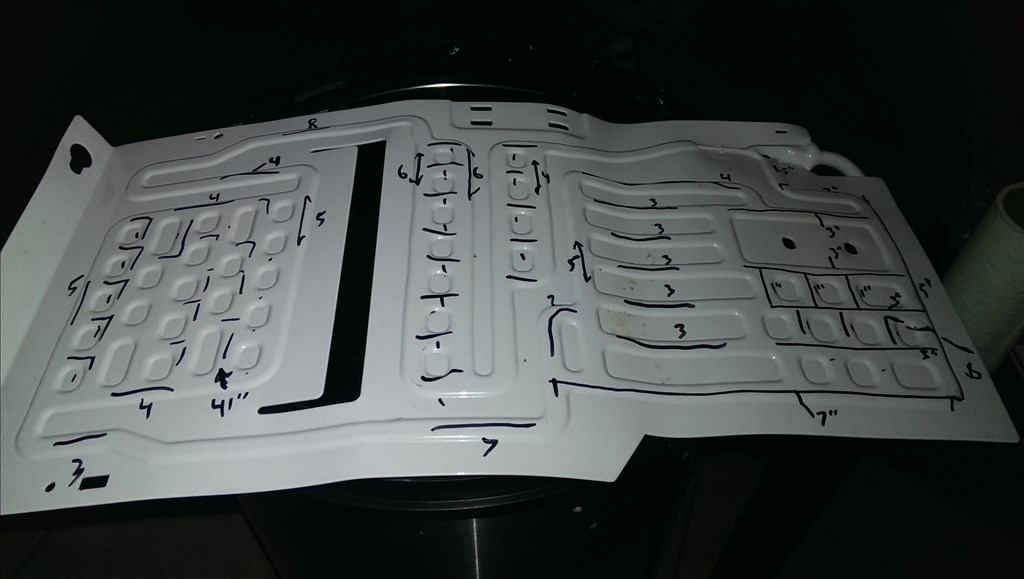
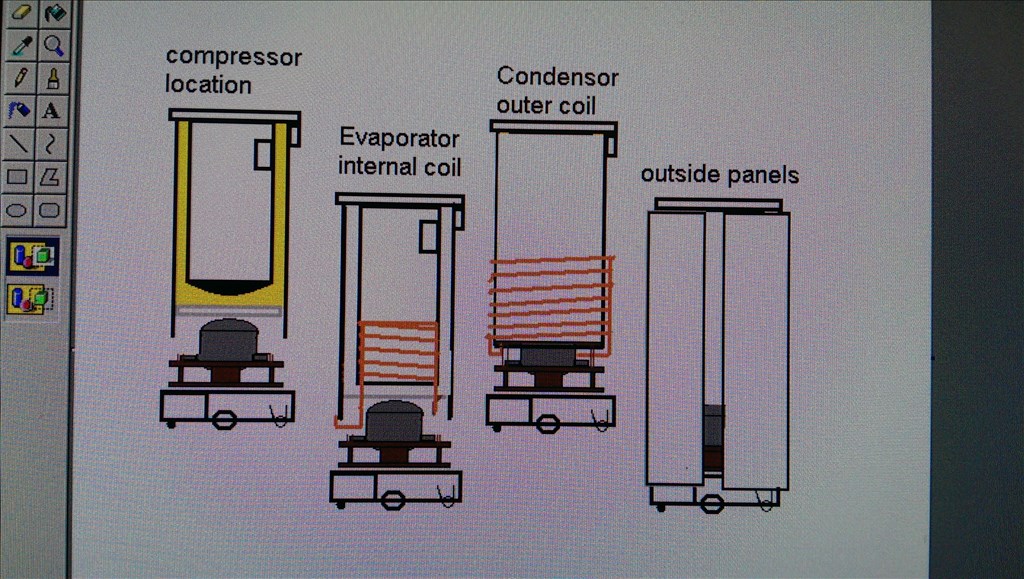
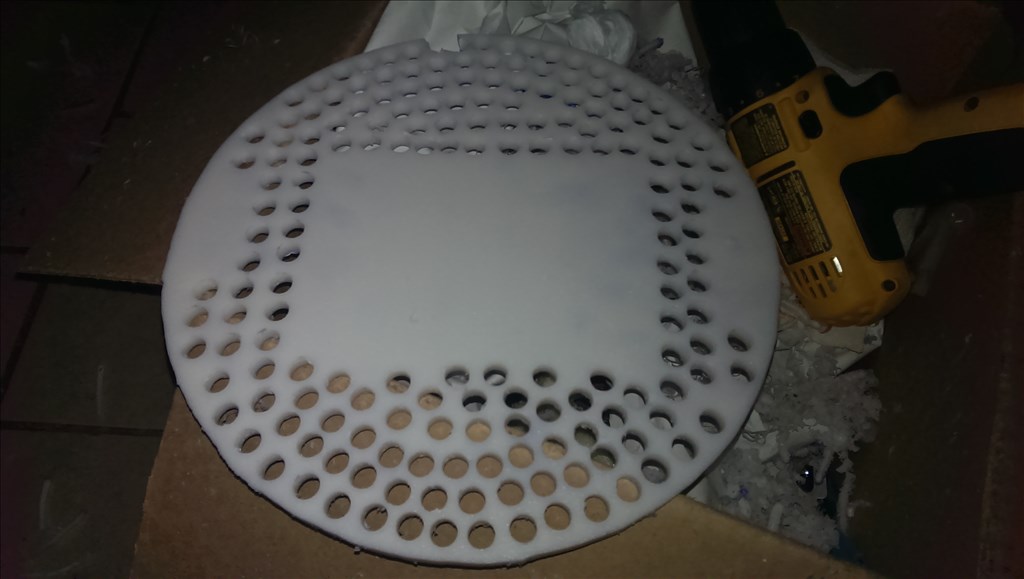
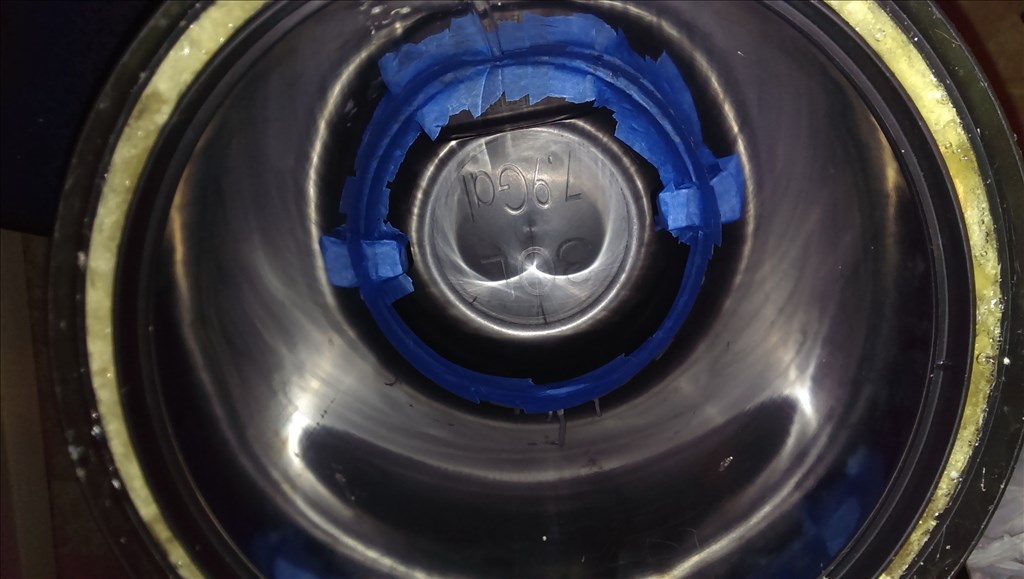
The thermostat looks like I wont have any problem fitting but I am considering mounting in the very bottoms as well. The advantage is the wiring would be compact and hidden under the grate. The disadvantage of being in the bottom is any condensation will run to the bottom as well and I don't want to risk a short or corrosion. For these reasons I'm leaning towards a higher mounting position.Ok so I did a rough doodle of what I am thinking. I researched more and found that the minifridge does not have an external condensor instead the copper line runs behind/under the outer sheet metal skin of the refrigerator and uses the actual case like a heatsink. since I don't have a large casing like that on the robot my best substitution would be wrapping it around the outside of the stainless steel body. Then the condensor forces the fluid through the capillary tube into the evaporator which is INSIDE the robot to cool the beverages.
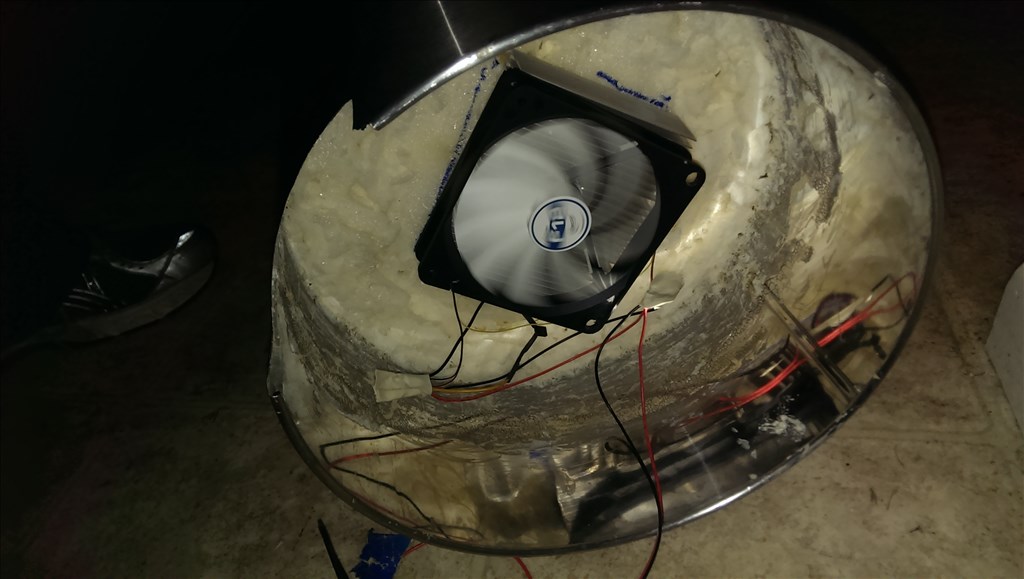
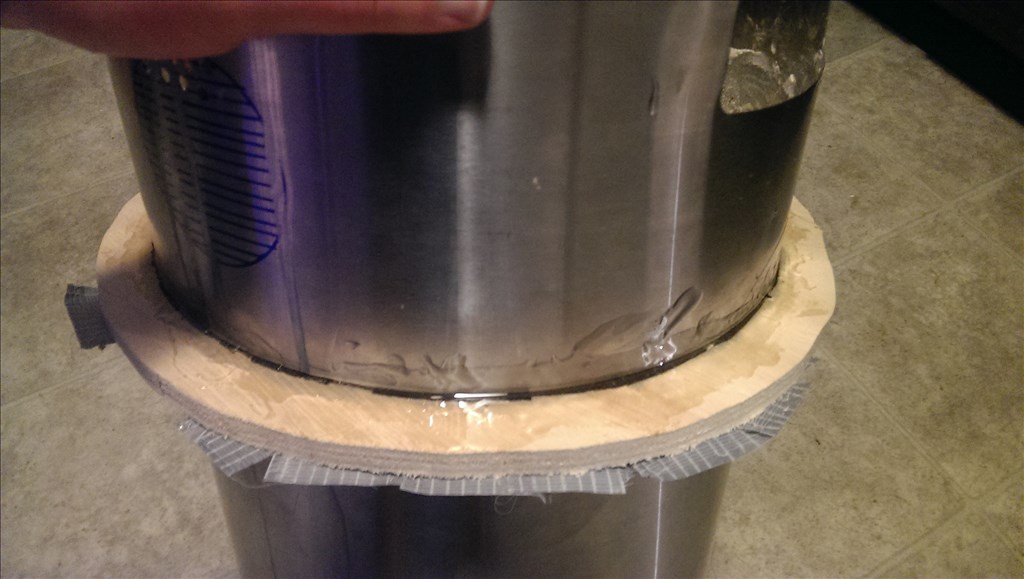
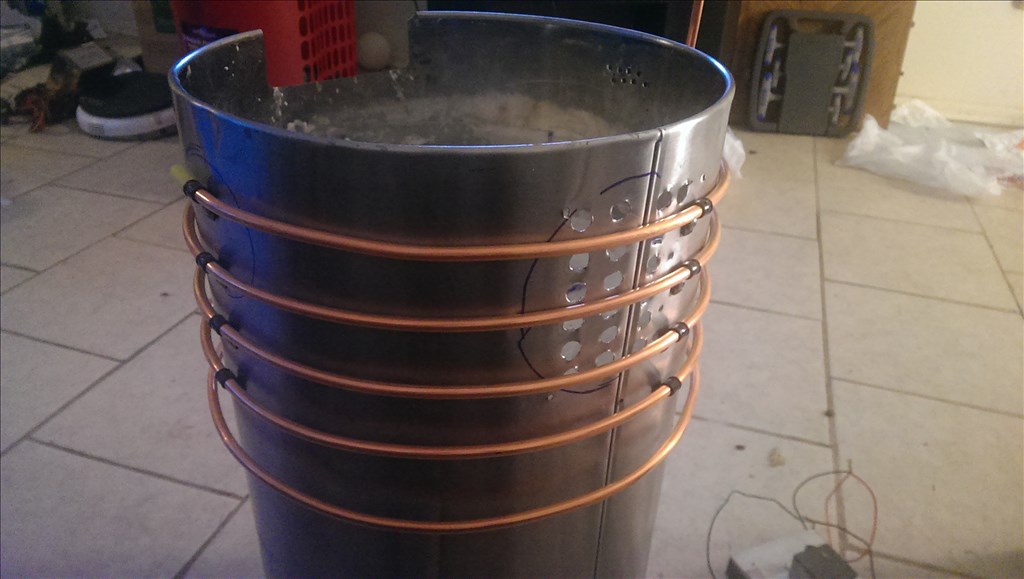
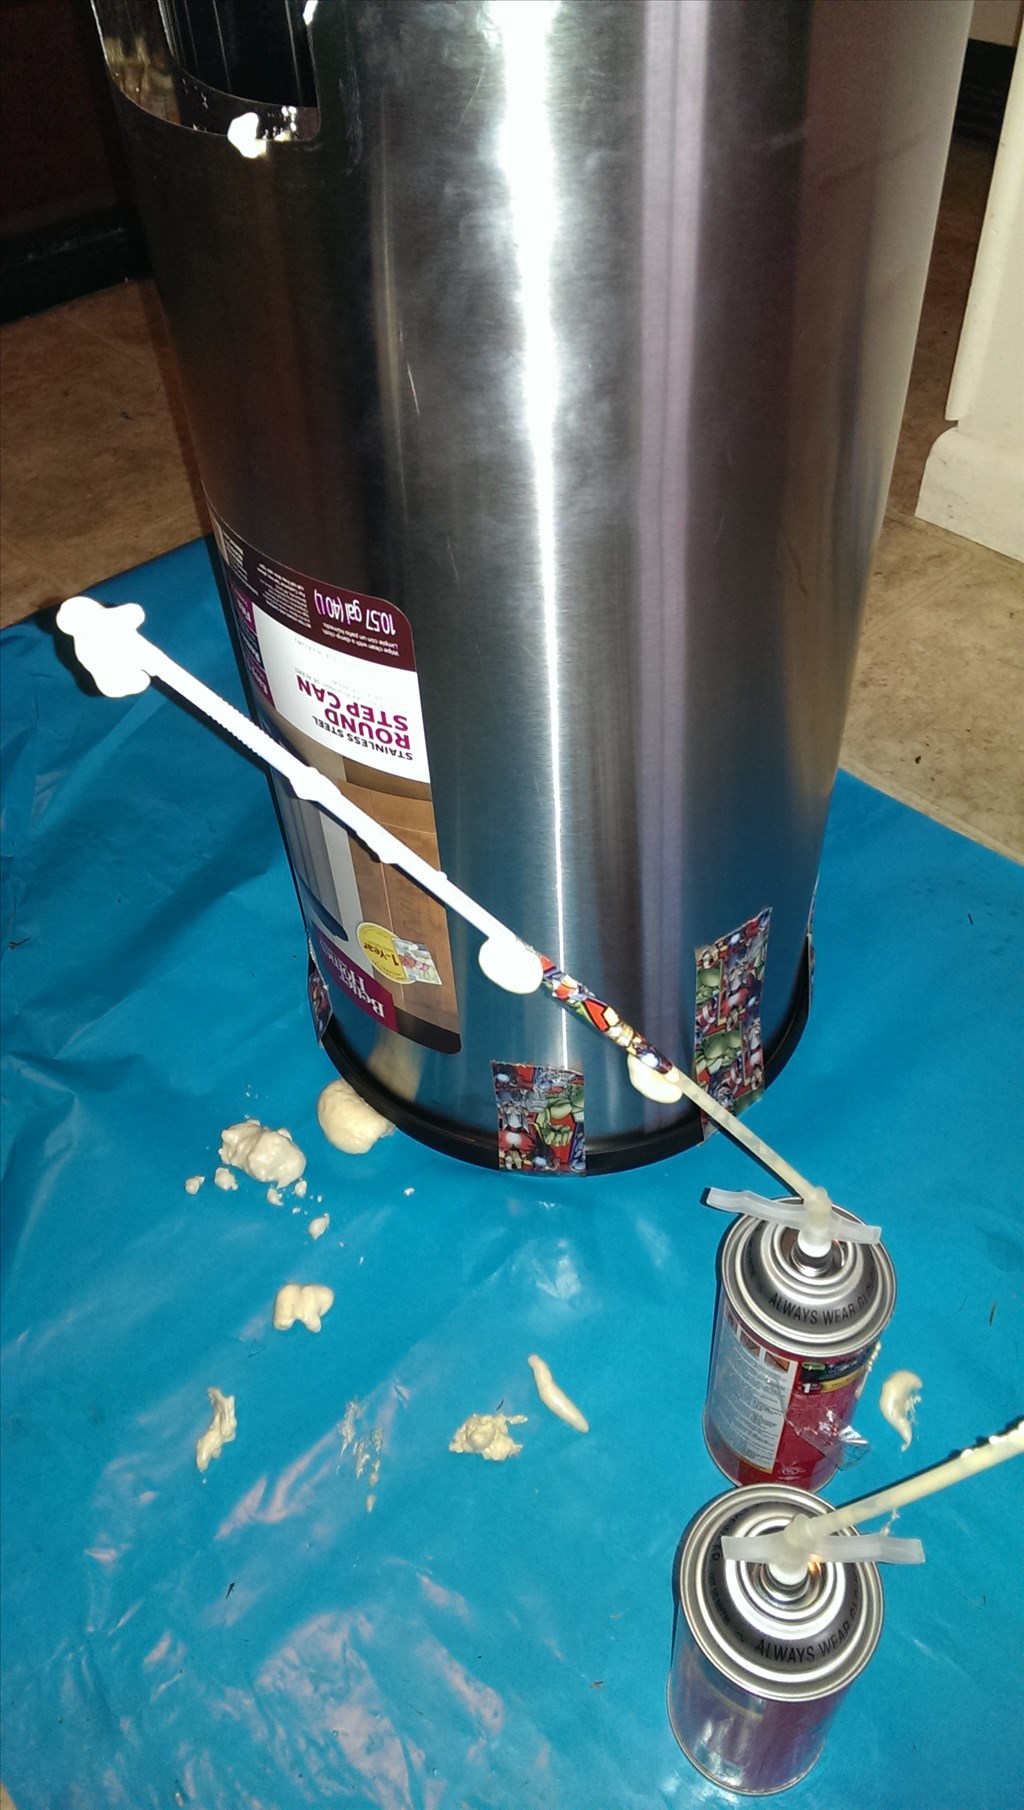
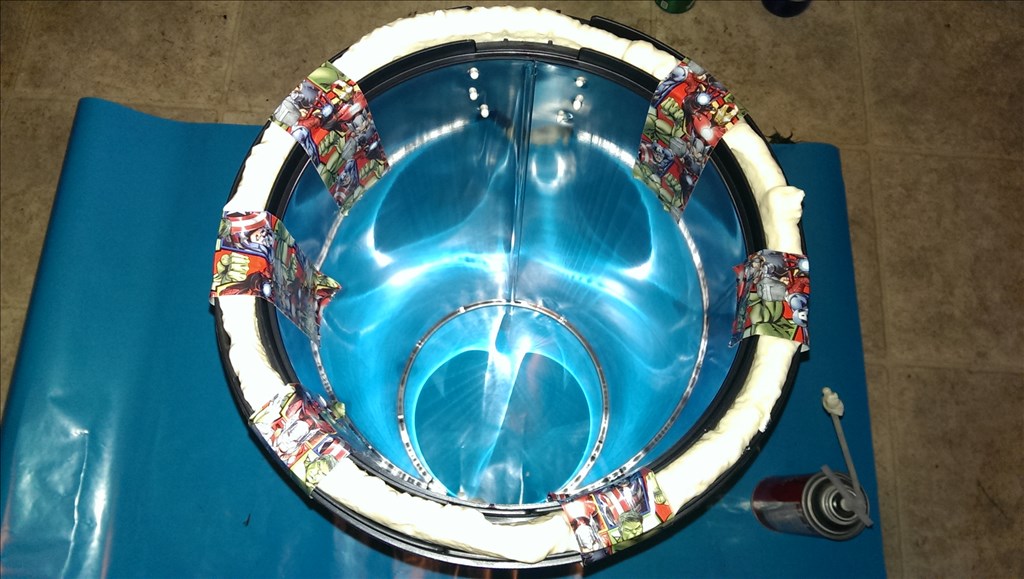
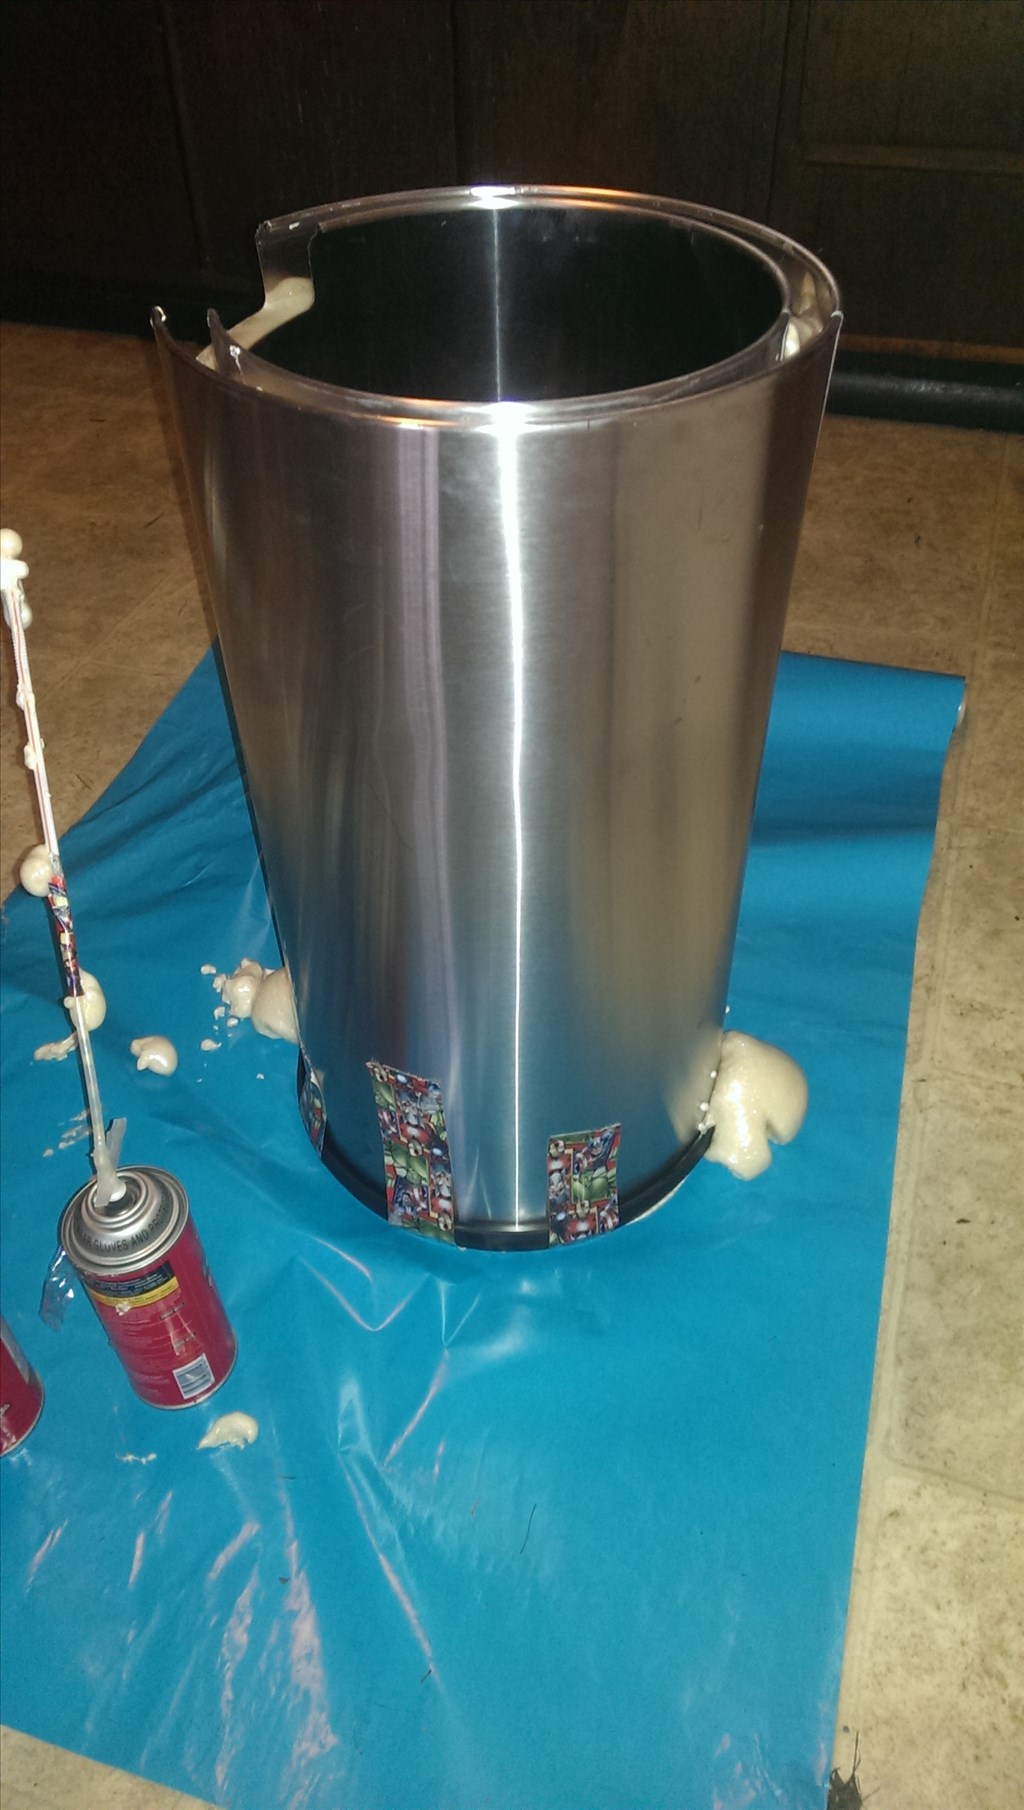
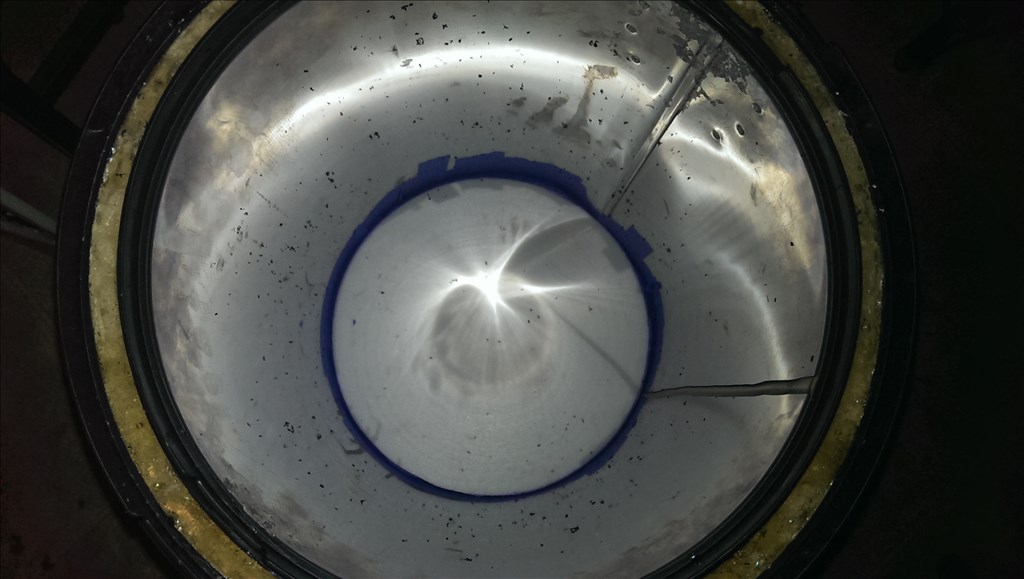
Ok I decided to do the outside condenser first. The original fridge didn't really have one so this should be more than enough as far as surface area goes. The last coil is not afffixed because I need extra tubing to play with later to get everything connected.

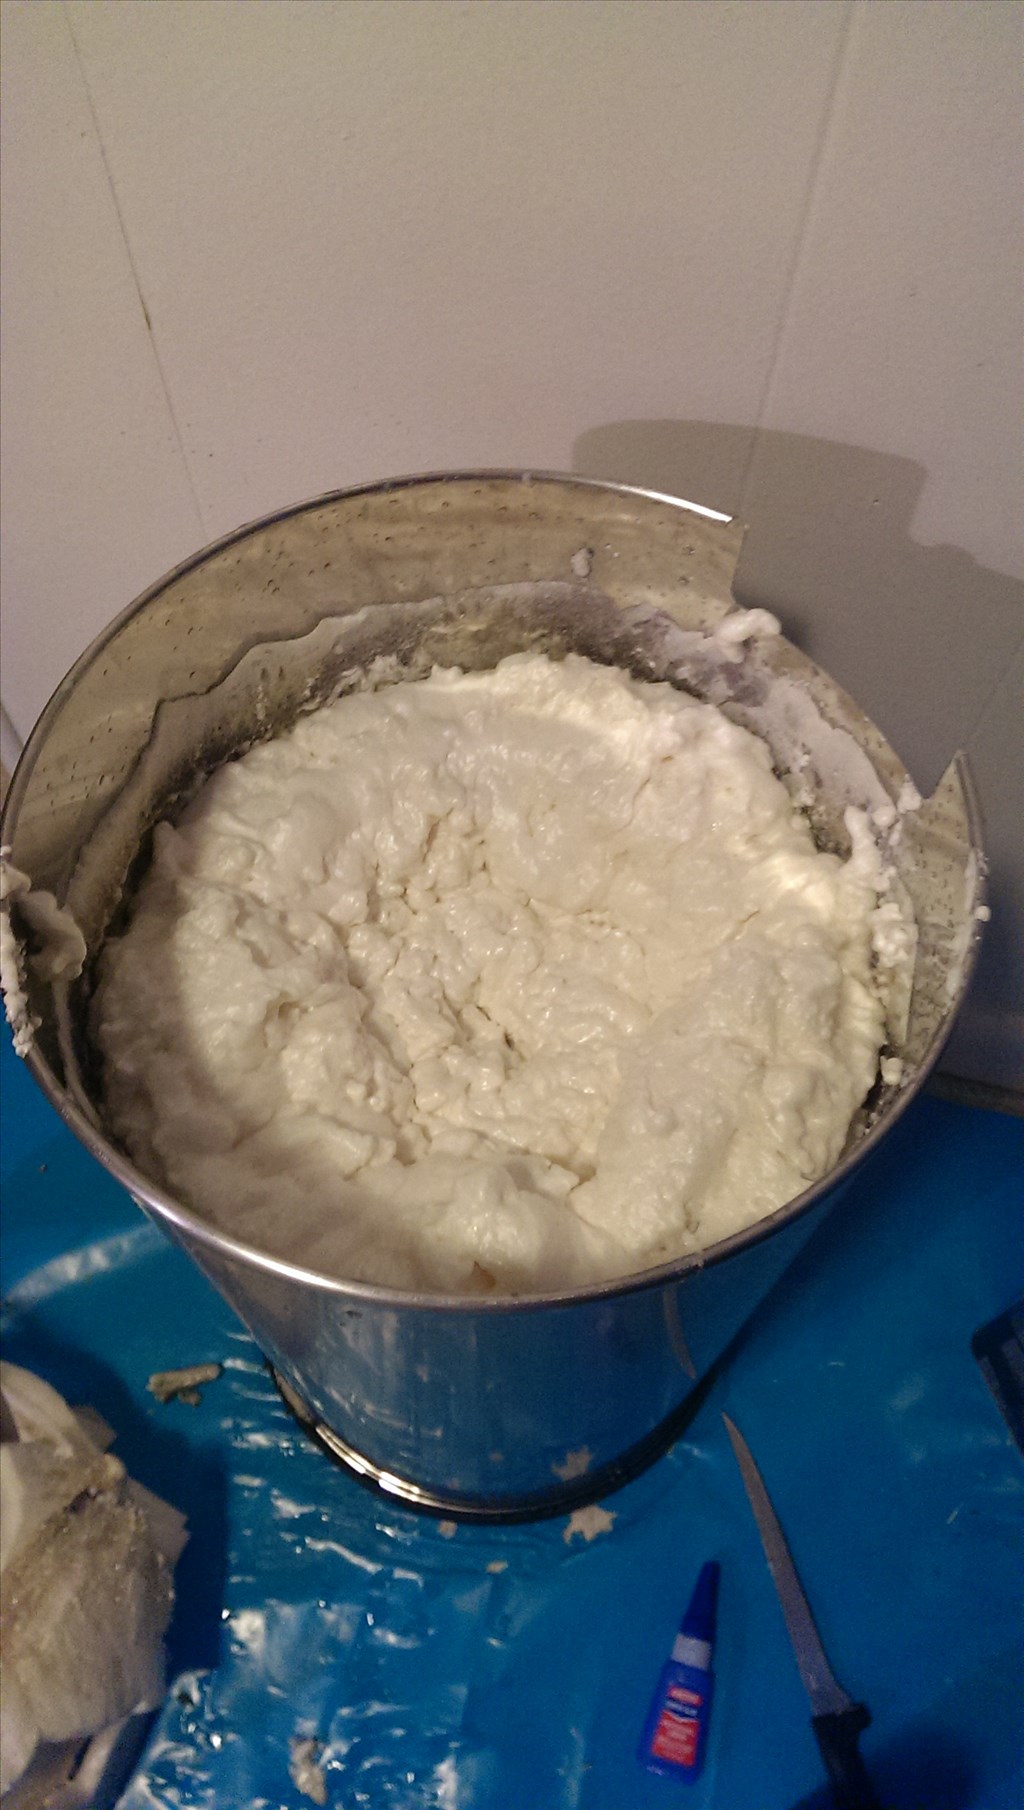
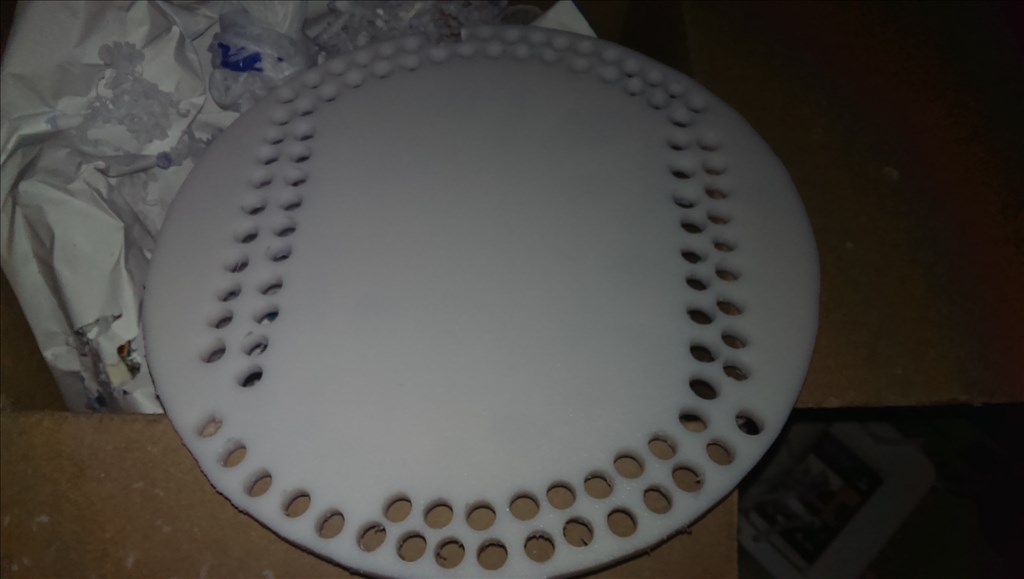
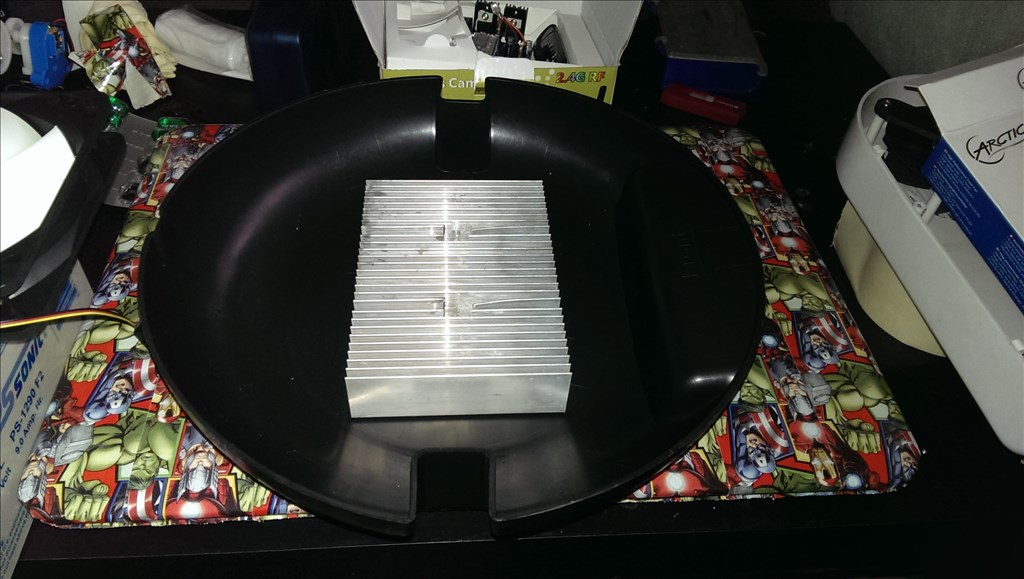
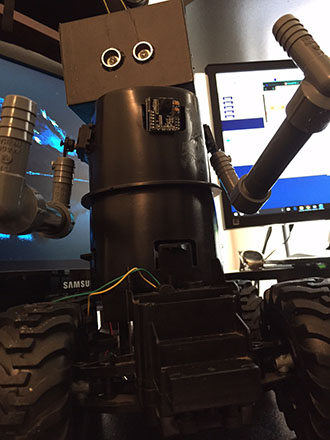
Look I'm done! Ok not really.
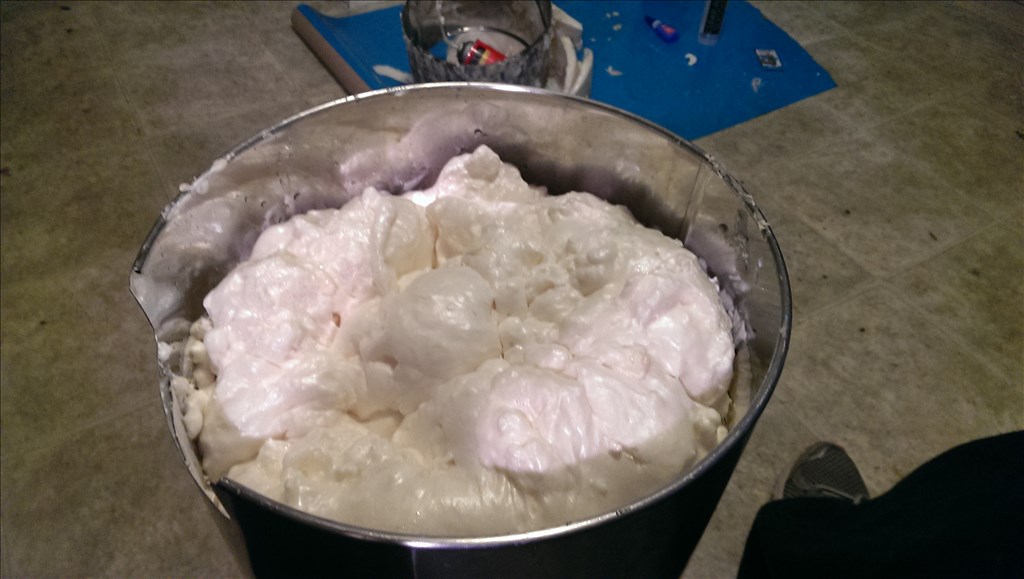
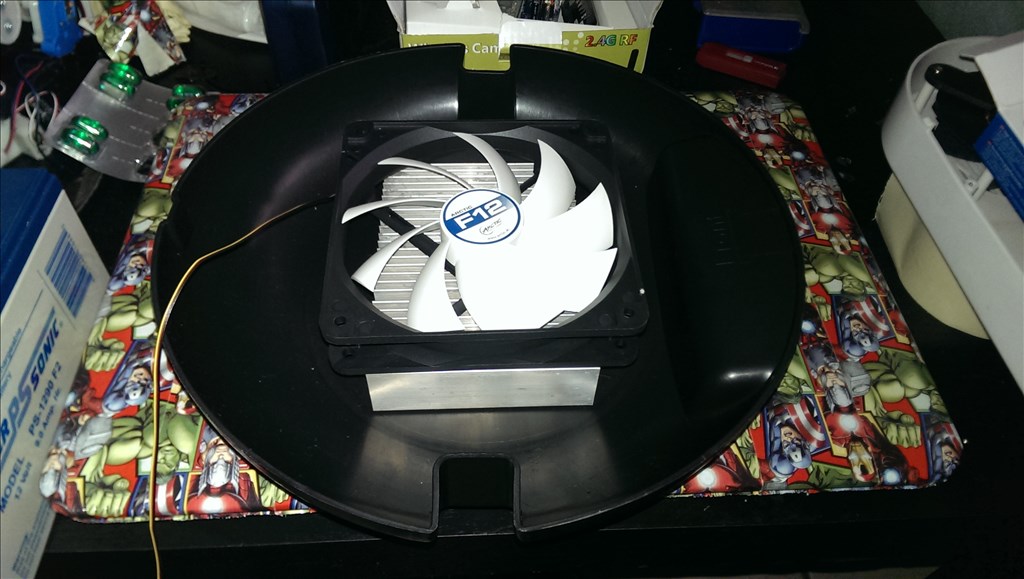
Ok that's more like it!Nice engineering progress !