


-634573920099789594.jpg)
-634573920281217913.jpg)
-634573755260852070.jpg)
-634573755662396775.jpg)
-634585171539166191.jpg)
-634585171867390768.jpg)
-634585172220731389.jpg)
-634585172420099739.jpg)
-634606770905091632.jpg)
-634606771616792628.jpg)
-634606773126994743.jpg)
-634675810767343750.jpg)
-634675810959375000.jpg)
-634675811311718750.jpg)
-Copy-634664675753281250.jpg)
-634664676513437500.jpg)
-634664676971718750.jpg)
-634664677222343750.jpg)
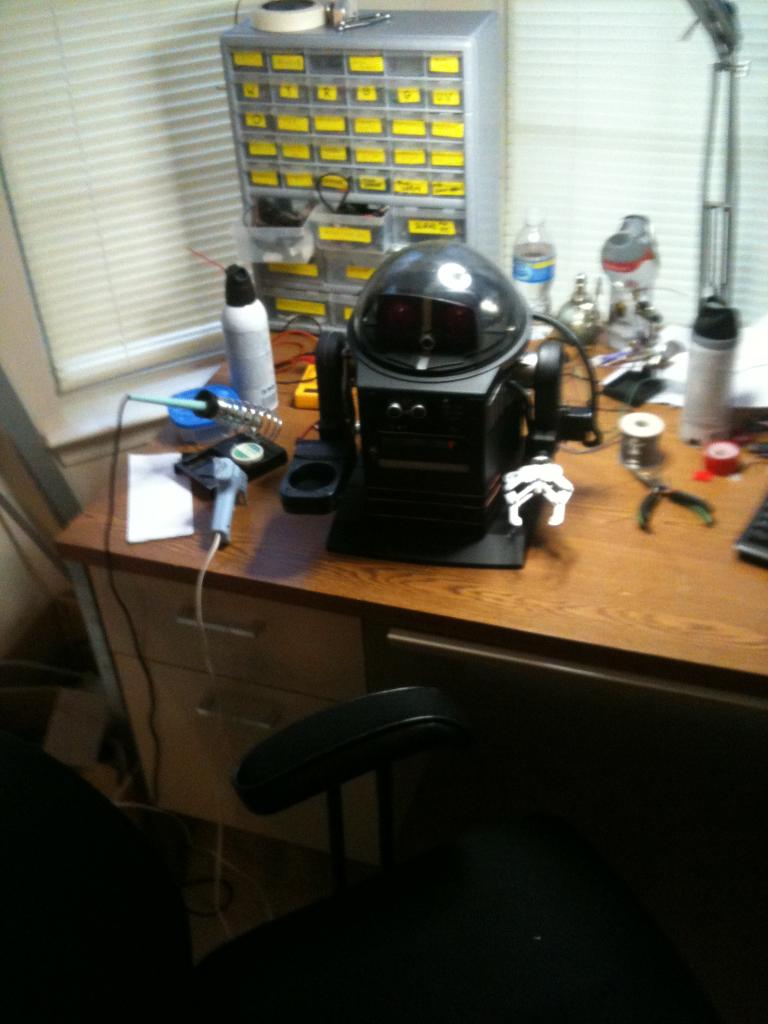
So I am finally to a point to report some progress on my omnibot hack. I call him BOB. I decided to change his color as there are so many white ones out there. I used a flat black with silver accents.
By bret.tallent
— Last update
Discover more robots

Sfoy's My First Robot Minion
Create a one-eyed Minion-style robot with a 5 inch round chassis, Quaker Oats can head, rigid-wrap shell, latex skin,...

Jp15sil24's 3Wheelbot
Synthiam ARC-controlled 3-wheel AdventureBot: remote and internet control, camera tilt, ultrasonic wall-avoidance,...
Louis's Quadrupedal Robot Xr4
Budget quadruped with 1.5mm carbon fiber/aluminum frame, 12 MG995 servos and EZ-B controller for omni-directional...

Looks great, bret! I hope mine turns out half as nice. I'm loving the silver accents.
Thanks! I'm sure yours will. Be sure and post pics as you go.
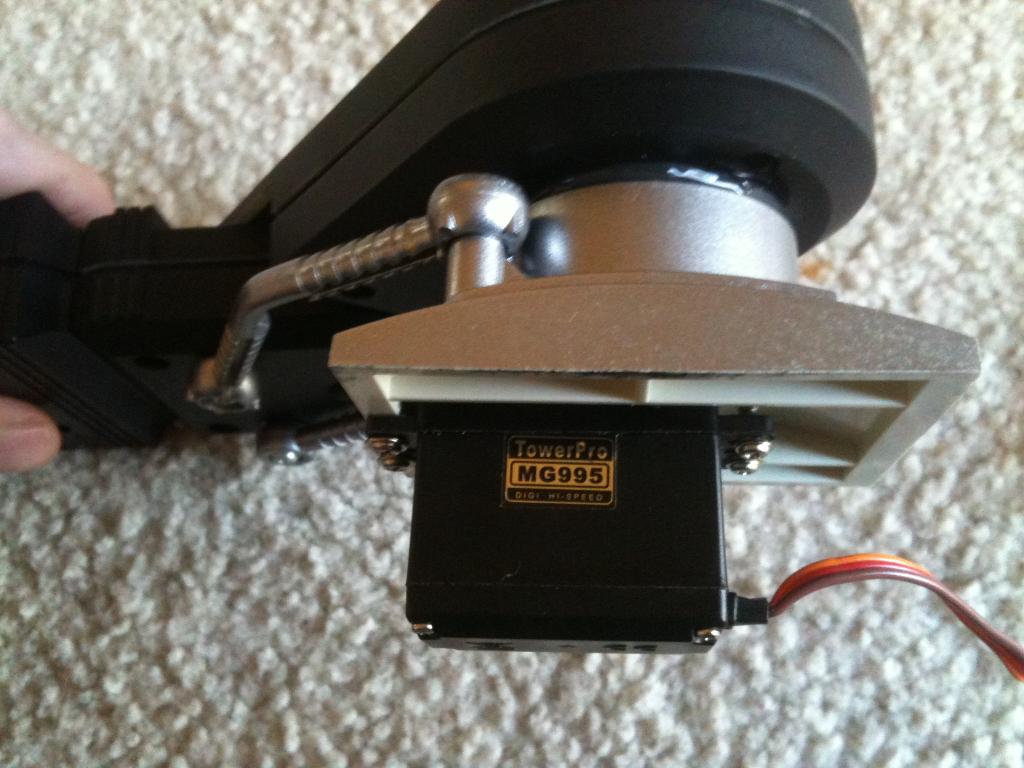
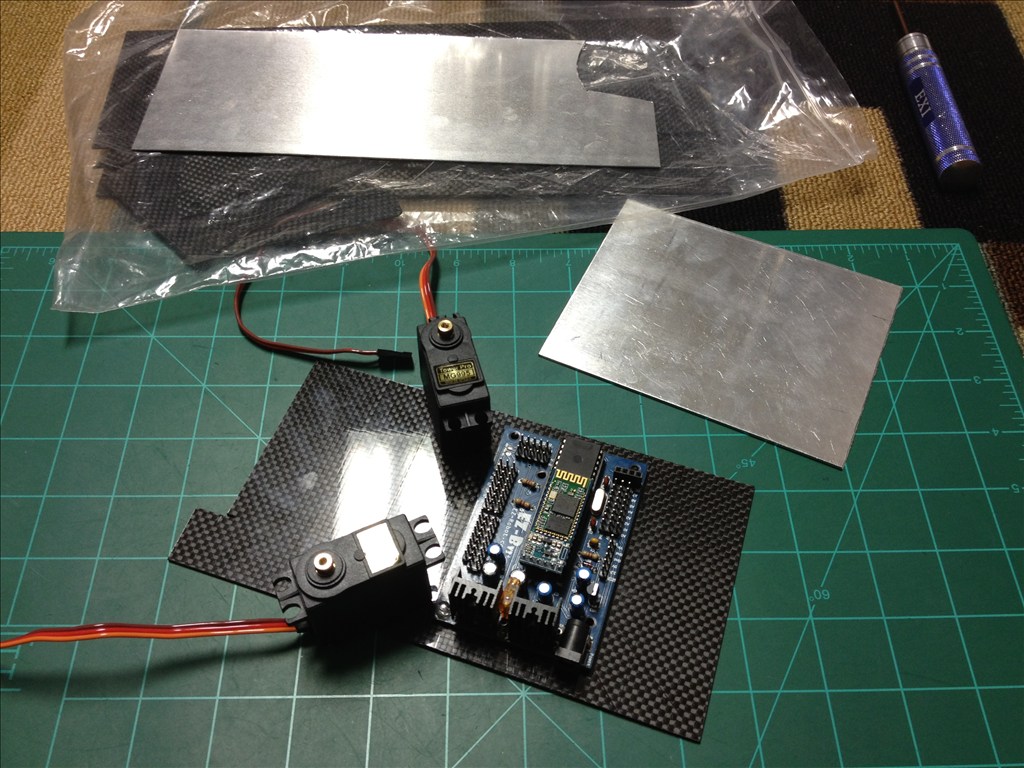
Here is one complete arm with the shoulder only motorized.
-634573755260852070.jpg)
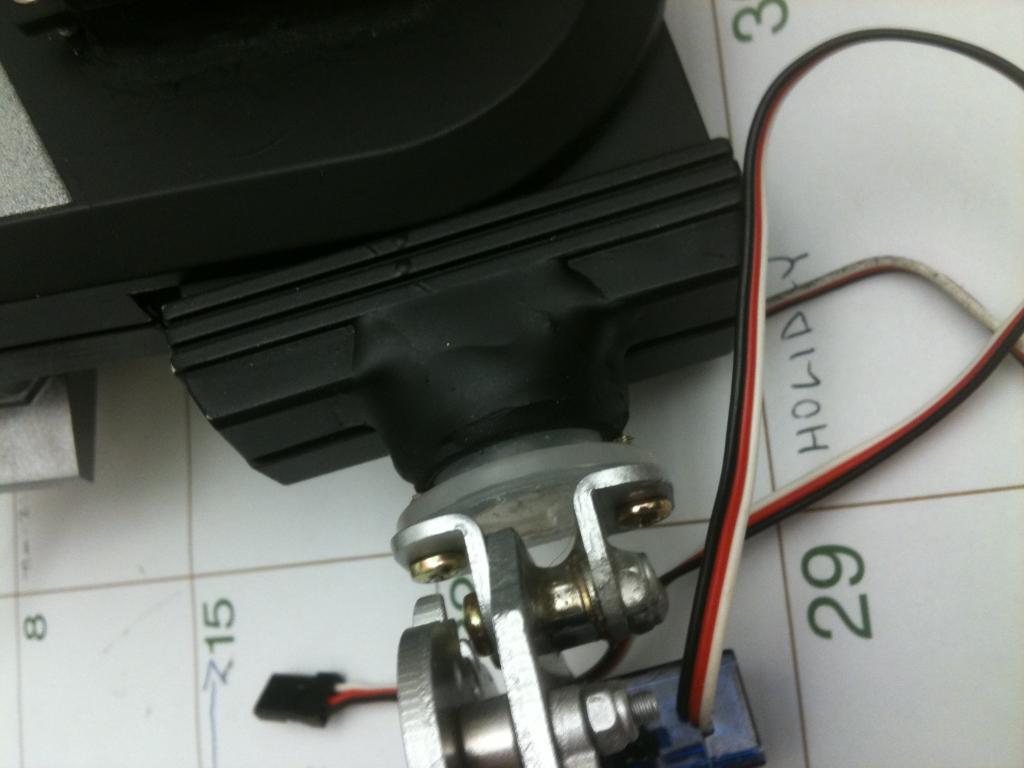
Note how the servo is attached.-634573755662396775.jpg)
Close up of the servo. 208oz/in torque at 6 volts. I used a plastic epoxy and screws.Is the servo mounted directly or are there more gears for further gear reduction? Im just curious of what the final weight capacity the arms will have.
The servo is mounted directly. Not sure of the final weight capacity, I never really calculated that.
It should be easy to calculate. Just measure the number of inches from the pivot point to the "hand". Divide the number of inches into 208 which is your servos rating. For example an 8 inch arm will stall at 26 ounces. At least thats how i think that works. :/ and oh yeah I believe that is when arm is horizontal to ground.
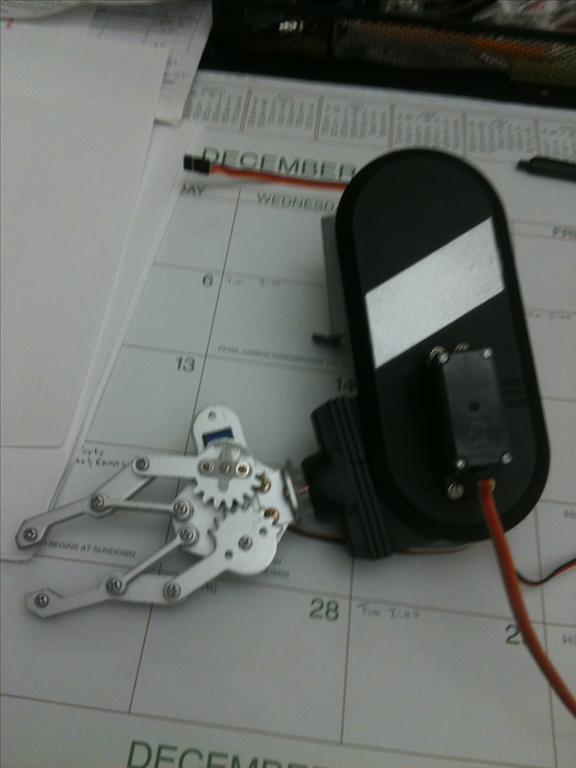
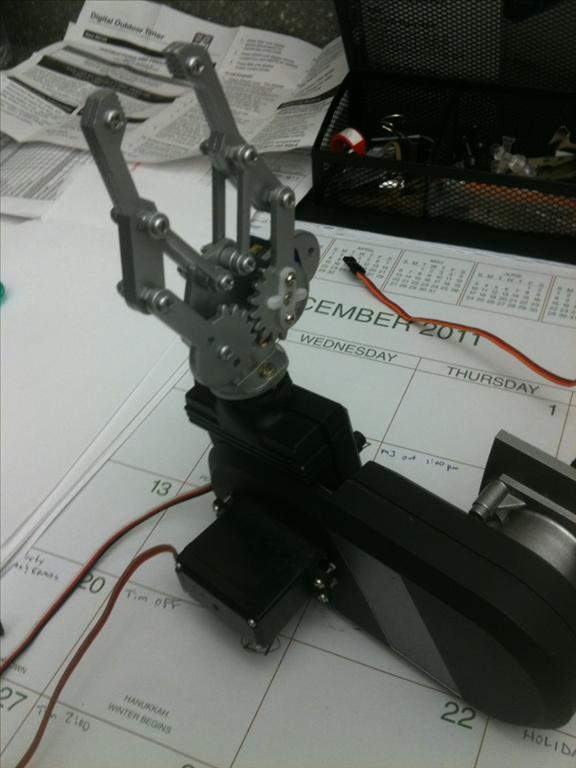
That is my understanding as well. But thanks for doing the math for me lol. Still not bad for a little omnibot. The other arm also has the same servo at the elbow, as well as a 9g mini at the wrist and on the aluminum claw. This will be a considerably larger load so I will have to see if this servo will work for the shoulder or I will need to invest a stronger one.
Nice looking work on the shoulder servo. So what is the servo horn mounted to on the arm? I thought there was a big screw holding the arms onto that side body panel.