
Holz
USA
Asked
— Edited
Step One Of Assembly Instructions For Jd Robot
I have finished assembling my jd robot, but still am not sure where the two shoulder servos listed in instruction number one are to be located or if they are even needed. All pictures of jd that I have seen do not seem to show them.

I think you need to update your ARC software.
There is a long thread mentioning these two ports. let me see if I can dig it up.
Start reading on page 9 of this thread
Nomad's DJ
Holz, download the latest ARC
There will be a JD assembly video released soon - that will assist with the building instructions
In the meantime, when you connect the two shoulder servos, the wires come out of the body. Turn on the EZ-B when you connect the servos to see which servo moves - that way you know what is LEFT or RIGHT.
Remember, it's his LEFT and his RIGHT when you see references to those directions.
Thanks to DJ Sures for resolving my problem. After I made the post I re-read instruction number one and it did state that this box not only housed the battery and microprocessor, etc. but also two INTERNAL SERVOS. Then this all made sense.
Thanks also to D. Cochran for sending me a reply.
glad you got your help.
There is now place that show the inside of the body, how everything is put together inside body. Please update site with pictures.
There are no pictures of the inside of the body. Please do not take the body apart.
When you connect a servo to the ezb, it will move briefly. That is how you can tell what servo the shoulder is.
If you need me to make a quick video, let me know.
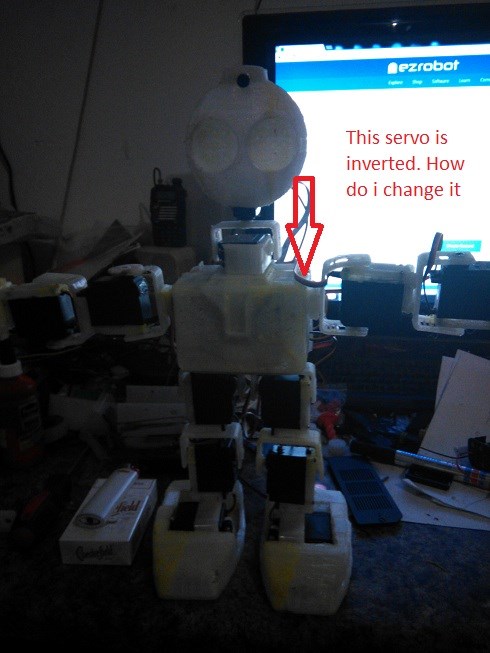
Maybe you don't understand i did not take body appart. I 3d print it from thingiverse. and i bought your EZ-Robot developer kit and pay a lot of money for it in South Africa. So i must put it together. So how do i built it with no inside instrucktion. Must i cut servo hinge one side off to fit inside.
Ok i Got it working thank you. And "O" did you see my clone head on thingiverse for JD. https://www.thingiverse.com/thing:798541.
Video attached for my Poppy Robot mix and EZ - Controller.