itsmeintorre
Spain
Asked
— Edited
HDD Servos
 Servo Speed
— Adjust servo/PWM speed (0-20) between two positions to quickly experiment and tune motion; select board/port; settings aren't saved.
Try it →
Servo Speed
— Adjust servo/PWM speed (0-20) between two positions to quickly experiment and tune motion; select board/port; settings aren't saved.
Try it →

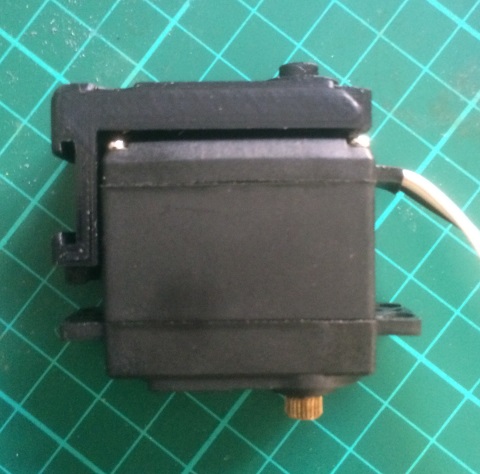
LOL.... You need to remove the back of the servo... The 3d part replaces it...
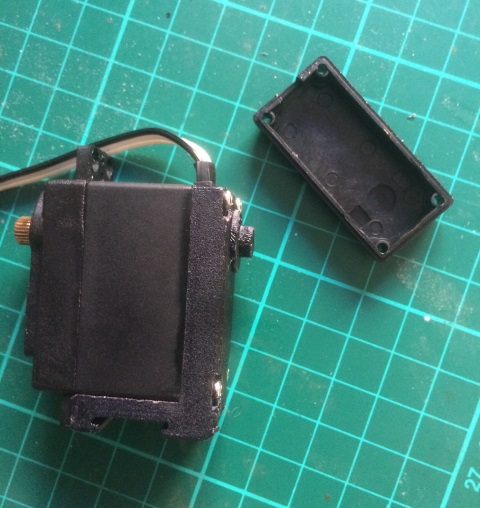
I did try that before I posted, honest, but thought the motor and PCB were connected to it! All done now though and thanks for the answer.Hey - something i thought of, you'll want to calibrate the servos before putting the U brackets on. Because the servos should be in 90 degree position. There's a good tutorial on EZ-Robot's website here: https://synthiam.com/Community/Tutorials/25
The idea is you want the servos to be in their 90 degree position before adding the U bracket. That way, that will be the 90 degree position so the robot can walk and move correctly. If you simply put the U brackets on without knowing what position the servos are in, you'll end up with the servos being in all sorts of wonky positions... and most likely burn out a servo because it'll try to move too far and bump into something.
Thanks for the info! Just have to wait for the servos to arrive from your supplier here in Spain.