
jstarne1
USA
Asked
— Edited
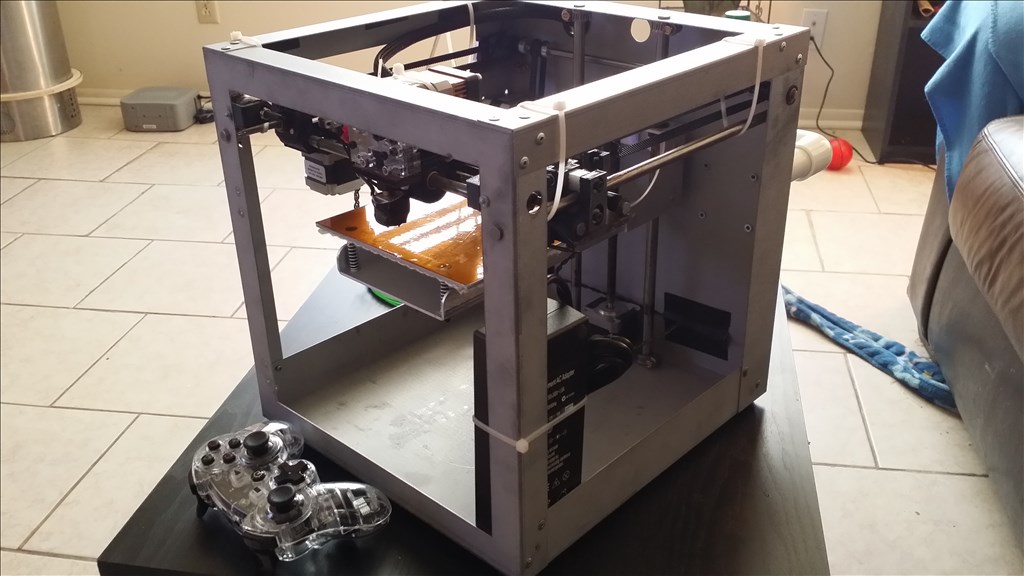
I ordered a Solidoodle 2 Pro which arrived today. I also ordered with that 2 rolls of filament. It should be 4 total pounds of material to start with.
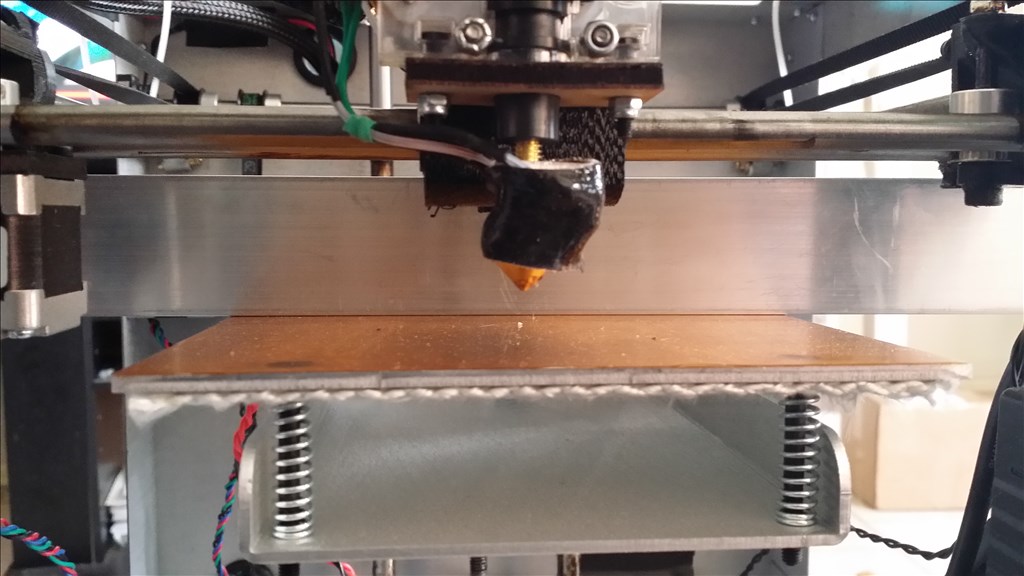

Great news , the 12v 40mm fan arrived. At full speed it pushes 7 cfm of air around the nozzle.
Josh,
I know you did several mods and have some more to go. Once all is said and done, how much do you think you will have spent above the original cost to have it really working the way you want? If you had just gone Makerbot from the start, does it have all the things you are adding/changing, or would you be starting with a higher price and still adding to it before it is the quality you need?
I am no where near being in a position to buy one and by the time I do there will probably be improvements and lower prices all around, but I think this kind of info might help those getting ready to pull the trigger now.
Alan
The Z backlash mod was less than 5 dollars and this fan mod , wiring and all is about 20 dollars. The plexiglass case I made was about 80 with all the magnets and stuff. The mods have been minimal as far as cost. Take in mind even buying a used makerbot is 1500 to 2000 on average in which you could have 3 or 4 of these. The makerbot is more user friendly and much easier learning curve but most people can't afford it. I imagine I will get one eventually and sell this one. The little improvements ar re things that the makerbot already has. Makerbot has a dc blower for example which makes bridging and printing this easier.
Josh, you might consider checking out the FlashForge 3D printer. It uses firmware similar to Makerware and is about half the cost at $1199. There is a new website now in the USA so support and parts are now much easier to obtain, you can check it out here:
Flashforge-USA
Ok so I've been lazy I guess and have not touched the printer a few days. I recieved the fan and magents. By the way neodium magnets are ridiculous strong for their size. Anyways I pulled out a 9 volt AC adapter I had in the tool box and tested it. 12.7 volts. I hooked up the fan and the voltage dropped to 11.97 volts. Given this is a 12 volt fan this is a spot on adapter for the fan. There are pins coming off the solidoodle specifically for this purpose but I don't know which pin is which voltage or ground so there no use popping a 170 dollar controller when i have a external option. Plus this doesn't actually modify the machine , it's just held on by two magnets.
because the shape is square and there is a screw that sticks out in the back. Also I used the soldering iron to widen the holes and fit in the magnets.
i soldered the 9 volt adapter to the leads of the fan and covered them with white heatshrink.
I kinda want to spray this black so that it blends in better. The brown burned marks are from the soldering iron where I heated the plastic up some to widen she shape around the square heat element. I covered the inside and outside of the fan duct with epoxy to help give it some heat resistance but it should be fine.
Out of curiosity, do you know what board you have? The Sanguinololu (aka Sanguino) or the newer Prntrboard? I'm expecting a Prntrboard though everything I've read so far seems to prefer the Sanguino. It seems they've been shipping with those for at least a few weeks now and I was just wondering if yours got made before the changeover. I don't think the Sanguino has pins for the fan by default. I could be wrong about that but I seem to remember someone pointing out somewhere that the Prnterboard did. So, it made it sound like the Sanguino didn't. I guess it makes no difference to me as I have no experience to compare it to. I was marked shipped yesterday so I hope to have it by next weekend.