Asked
— Edited
Basic 123D Design Setup, Need Help!
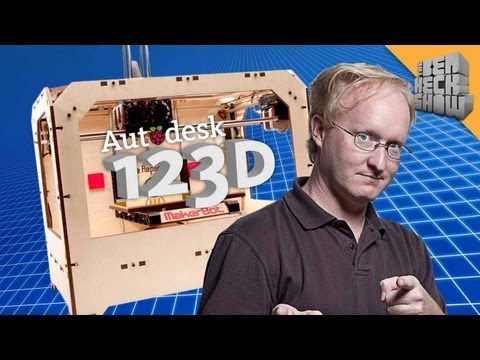
Ok. So. I started to make my trek towards a 3D printer today by attempting to make a simple notepad holder in 123D design. I followed the technique that Ben used in this video and I discovered something different.
When I try to extrude the outer walls of the shape it simply makes one big box that swallows the bottom of the box. I can post my project file if nessesary. Will post video with problem.

Found a work around, but I had to put polylines around the inner rectangle. Also just figured out how to cut shapes. Sorry about the spam guys!
It's not spam dude , you needed help and this forum unlike others is multipurpose RC, electrical, electronics, 3d design, 3d printing , fabrication bla bla bla
Im with Josh. That aint spam. and now I know who to ask if I ever end up with the same issue.
Ok. Well I guess I'll close the thread. Josh responded first, but I'm gonna switch it up, and go with the last response.
Thanks, My first officially answered question
@Techno, the best way to learn how to use 123d is by just playing around with it. Make some weird and wonderful shapes by trying out all of the tools to see what they do. Add flat geometry on to 3d parts and extrude them, chamfer edges etc. It doesn't take too long to realise what each thing does and what the best way to tackle a design is. Everyone works differently (something 15 years of professional CAD work has taught me, and something that has also caused me 15 years of stress, confusion and very often a lot of cursing around the office), just find what works best for you and stick with it, you'll get there.
Also, last I checked the online version of 123d was better than the downloadable one, there are more tools available.
For further guidance, my ARC reactor was drawn up in 123D, the methods I used were...
Each section was drawn individually, i.e. the base of it (the thick part with the fins), the centre part (circle with 3mm holes for LEDs and 3 spokes to attach to the base) and the top part of it (the rings with the blocks with the copper wire around them). I tackled each part on it's own, grouped it then moved on to the next and put all parts together as one.
Most of it I start off with flat shapes such as circles and squares, draw it out, delete the cut out parts and then pull it up to make it a 3d solid. For other cut outs (like the 3mm holes for LEDs) I draw flat circles on top of the 3d parts and pull them down through the solid.
This is what works best for me, see how if works for you. Like I said, we all do things differently and there isn't really a correct way, there are several correct ways.
Hope that's of some help to you.
Cool info about more tools on the web version. I figured it would be the other way around. I'll have to take another peek at that. Thanks Rich.
It was a while ago I last checked mind you but back then text wasn't available in the downloadable version but was on the online one.
I figured it would be the other way around too but for a change I guess AutoDesk wanted to mix it up a little