jstarne1
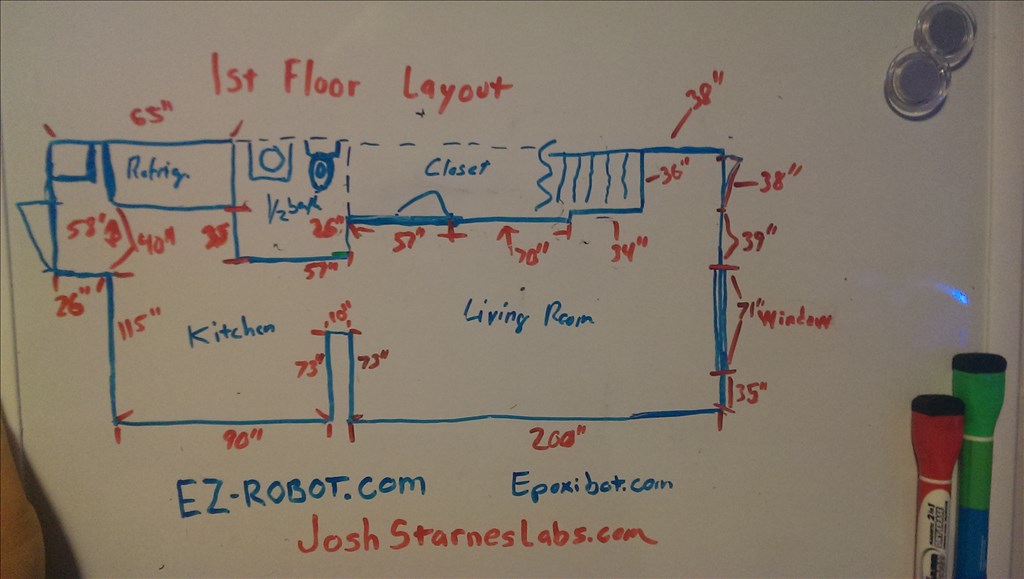
Since QR codes can be read from a distance I'm going to expirement with QR code grid based location. I searched often for this on Google and found different theories some used only one or two Qr codes and then a complex algorithm calculated position based on the angle the camera views the Qr code. The testing may eventually use this but I want to follow the KISS rule since I'm so famous for over complicating things. I measured out my first floor already in inches and I will do so to the bedroom as well. I'm marking this as a tutorial since I will outline "how to" do this and we will expiriment to find what works best.
The floor layout marks the edges of the area the robot could access if there was no furniture. These are permenant factors for scripting. Next I will mark the semi permanent furniture like fishtank , couch , lamps , tv stand , end tables and fridge.
Bottom floor outer wall layouts.


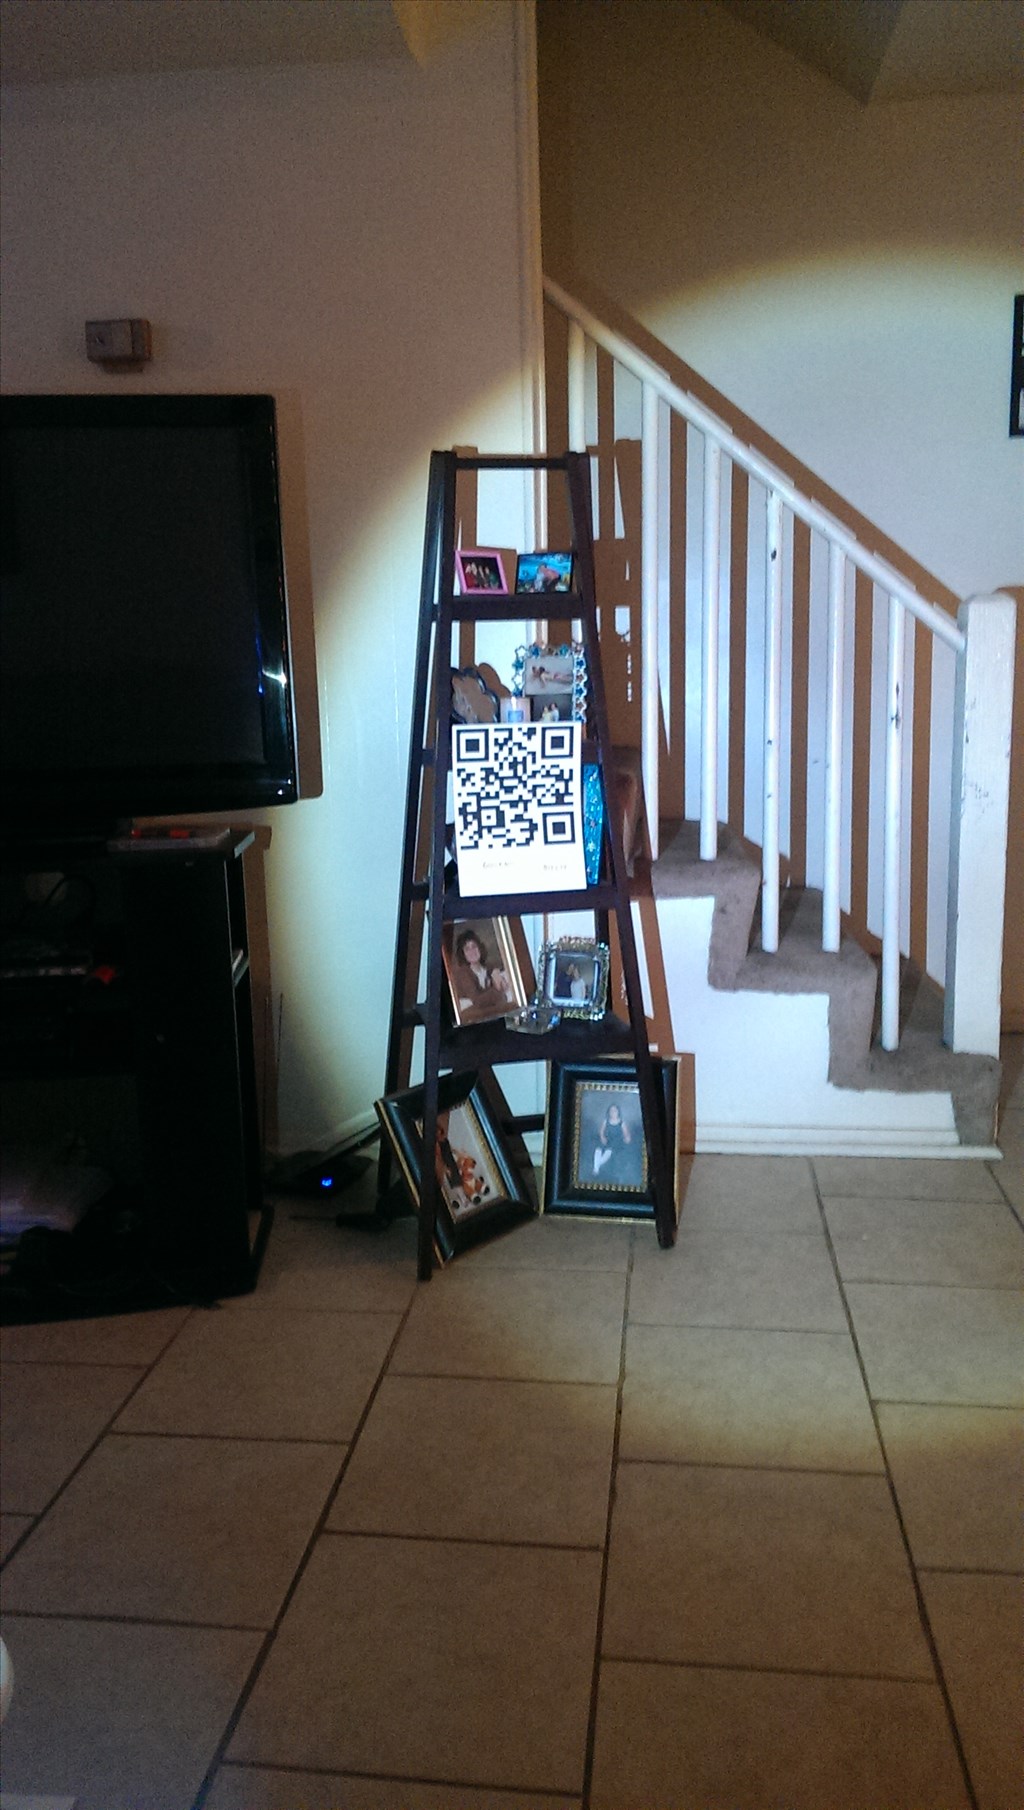
QR code tests. I used a more real world test template. A title with x and y coordinates to identify the approx position in the home. I test different sizes , focal points , lighting ect. I did a short video demonstrating the best results so far.

Here is the second largest QR code at 6ft with illumination with a medium sized QR code. I tested the standard QR code in ARC and I could only get it to reliably read at 2 -2.5ft with optimal illumination. The largest code seems large in the.picture but once it is on the ceiling it doesn't look that big. Adjusting gridlines I found I could narrow the box to just above the size of the QR code and it wouldn't read a QR code nearby that was not in the gridlines. However if more that half of a QR code is in the box it will try to read it so QR codes should be spaced 50 percent of their physical width apart to keep from having confusion.https://www.youtube.com/watch?v=SfzHZibYt0Q&feature=youtube_gdata_player
Here I tested the 400 line wide QR code I stretched by hand and the 600 line QR code I custom made. The distance tested here was 7 ft 6 inches exactly with a 1 watt led illuminator 6400k color. This flavor of light favors blue. I used this because I am considering IR illuminator to ensure the QR codes are well lit at this distance.
After work today I will measure the upstairs for a basic map and then the fixtures that are semi permanent downstairs. My goals here are to make a complex environment more simple so the robot does not completely rely on sensors to determine position and environment. Some things are static in the environment and by making those "hard boundaries" I can simplify a space. I did see an idea to outline permenant objects with magnetic tape but that requires a custom sensors to see so I will stick that in my back pocket behind the northstar beacon methods.
As for the camera I believe I may need to wait until the EZB v4 cam is available because I'm very fond of the built in connection. Otherwise I can use the dongle until then for testing and development. I will need to solder up a IR illuminator and hopefully I have enough leds to make a prototype.
Great ideas Josh. thanks for doing write ups on it.
Alright I'm totally stoked! The IR illuminator (or technically radiator) worked great. I used 38 1.5 volt 850nm less and surrounded the camera lense with them. I had to unscrew the lense and pop out the red colored filter using an exacto knife blade then screwed the filter back on. I used a step down converter from ezb 5 volt supply and dropped it to 1.5 volts. So when ezb is on so is the illuminator. I made two videos I will post.
This last pic shows the inside of the lense where I popped the filter out. Honestly the camera is much more sensitive in low light without the filter and doesn't significantly effect the picture quality as far as color. But clarity in low light , wow! I popped it out with the tio of a exacto knife and if you kept it could easily be popped back in at any time.
https://www.youtube.com/watch?v=tCAIFuTOQI8&feature=youtube_gdata_player
Here is the setup I threw together with 850nm leds I already had and how it works...
https://www.youtube.com/watch?v=c7CzLF8z7uY&feature=youtube_gdata_player
Here you see the IR first test on a ceiling QR code at 7ft 4 inches away and the code way crooked , wrinkled and my dog tore a edge off and it consistently read it. The IR light us invisible to the naked eye and mostly invisible to modern cameras due to IR filters. After popping my EZ cam filter out the QR code is now read even better than when I illuminated it with a 1 watt led. It was even able to read the smaller Qr code at that distance so I see that IR illumination is much more effective than white light. I was pretty geeked out when I saw it literally worked better that using visible lighting. The camera also did not need to constantly adjust to the white balance like when I was using the superbright white led. Now I just need to figure out how to read the orientation of the QR code when read and that will always tell the robot which direction it is facing.
Nudge: DJ if you coul allow access to read the angle of the QR code when read then ceiling QR codes could be even more useful.
Great Josh. I was hoping that the IR LED's would help.