


By jstarne1
— Last update
Other robots from Synthiam community

Jstarne1's Ryobi 40V Robot Mower With 40V Trimmer Whiskers...
Hello all, I am getting back in the saddle making robots now that I am moved into my new home and settled into my new...
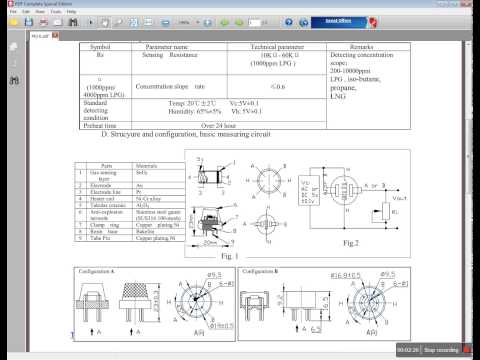
Luis's Using A Mq-? Sensor With The Ezb4 And ARC
Hello everyone.. Again I placed the demo into a video. Hope you enjoy. I will be happy to answer any questions you may...
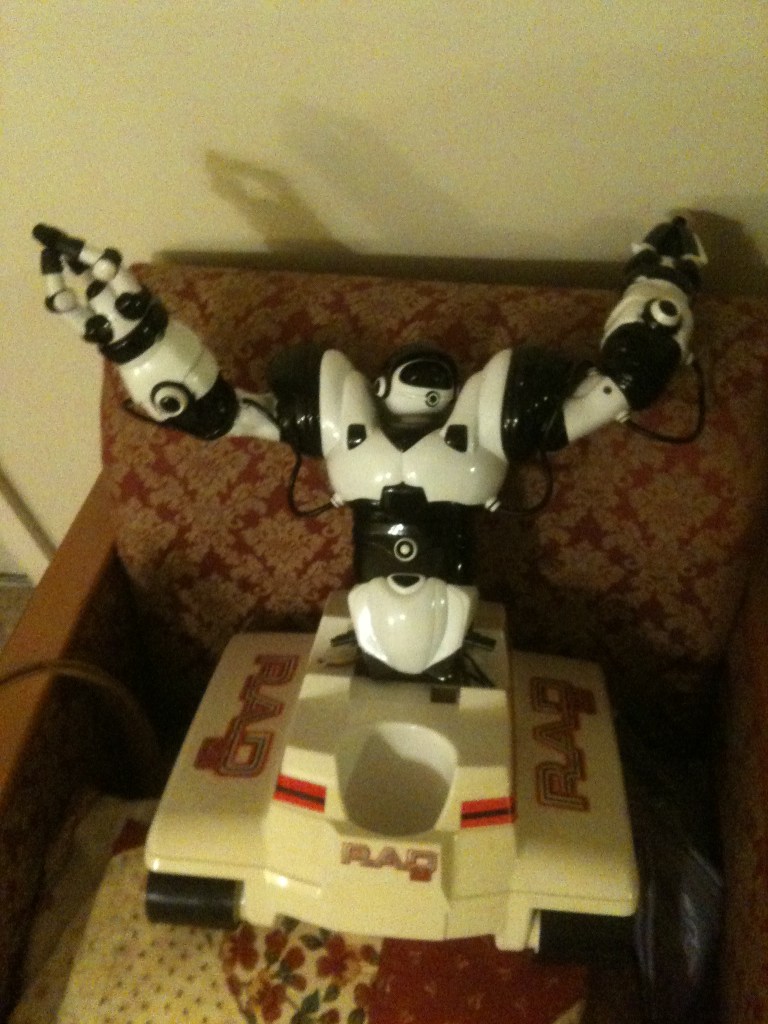
Bret's Roborad
I posted this in the wrong section I guess, but here is a link to my newest bot - RoboRAD. I am combining a RAD 2.0 base...

shameless update to the thumbnail
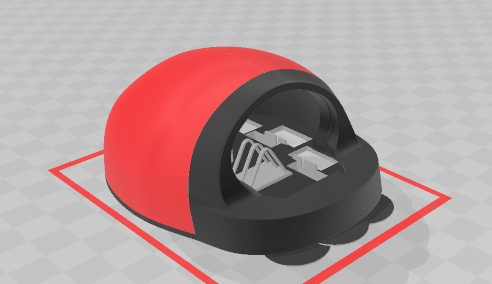
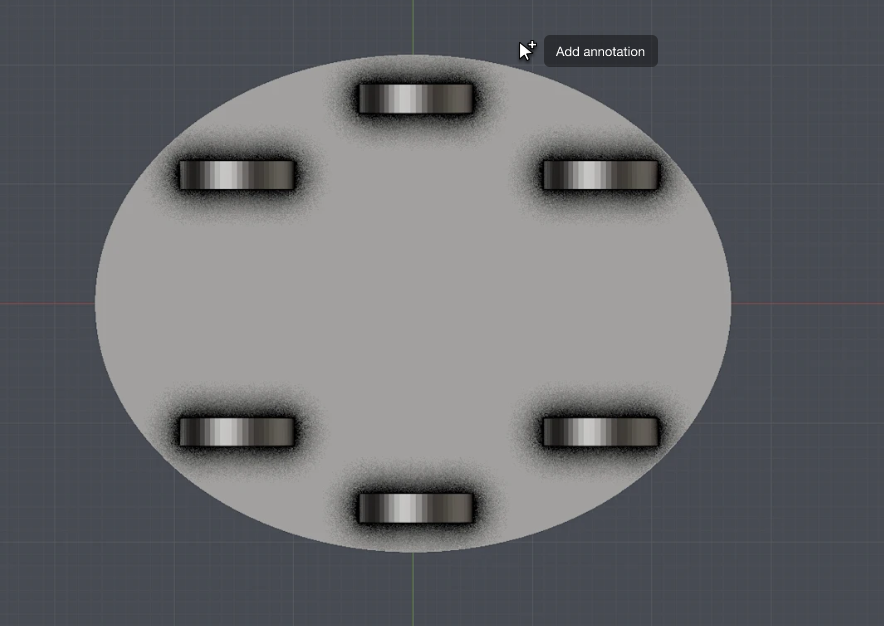
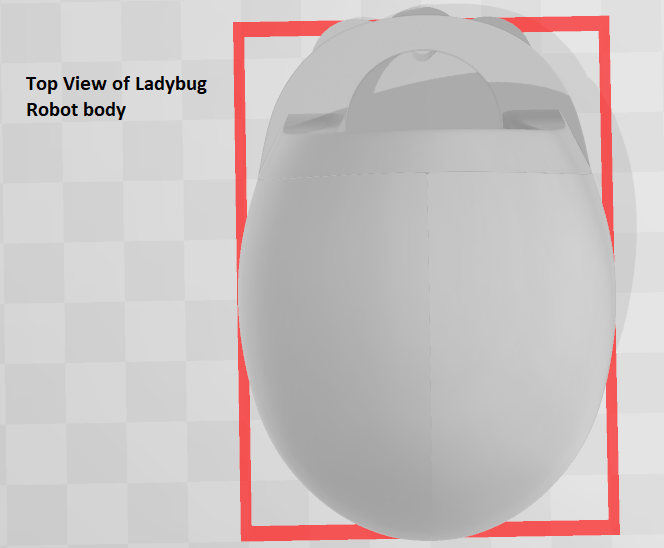
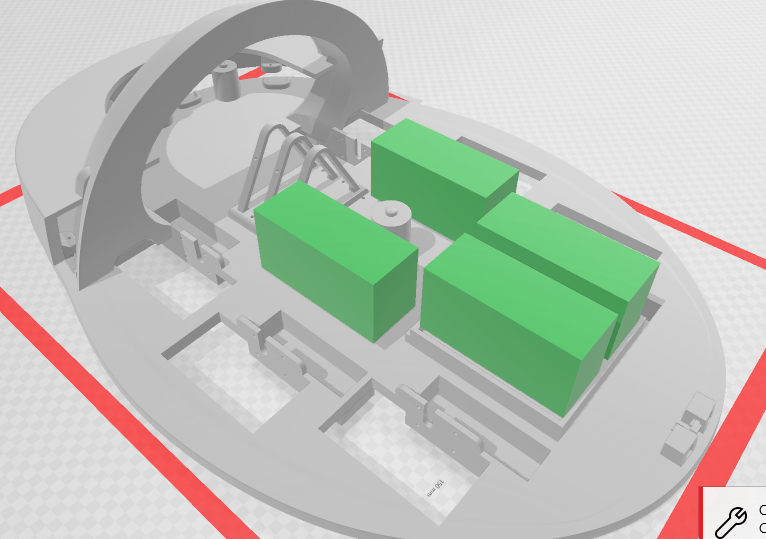
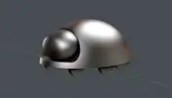
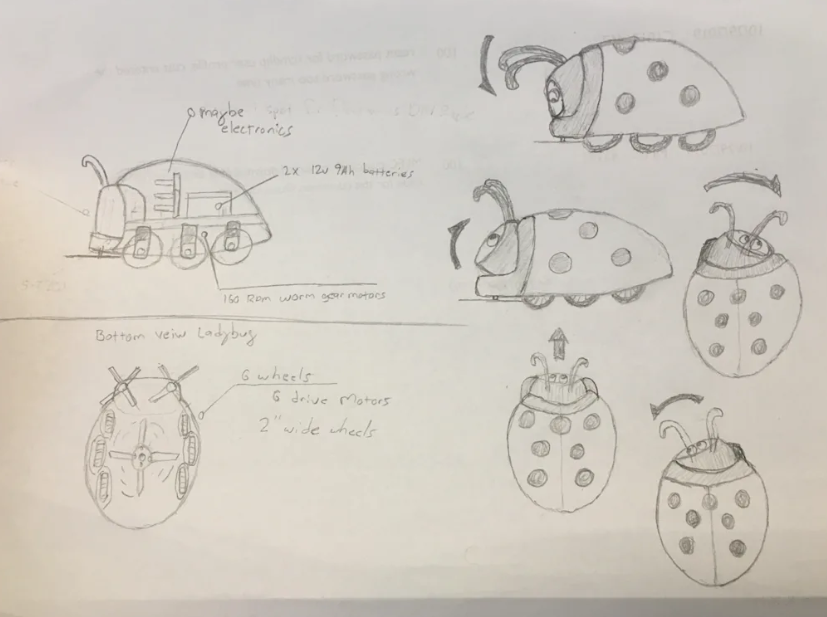
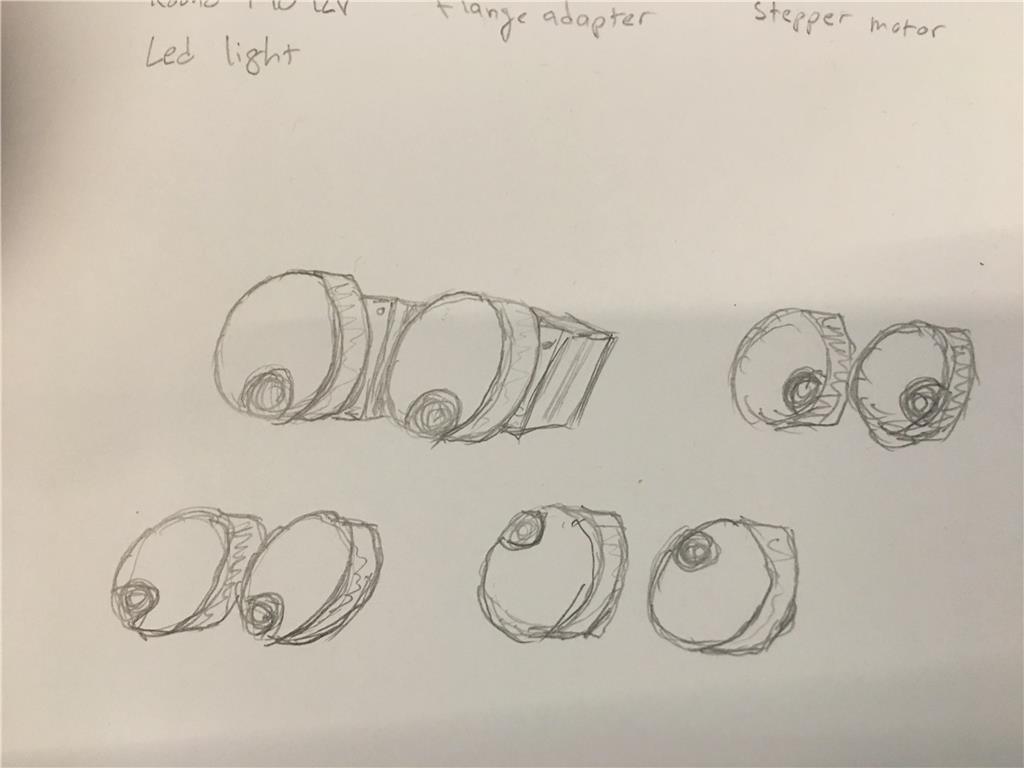
Here is the first draft of the ladybug lawn mower/ grass trimmer robot. Staggered wheels give a unique look. Also I plan to give the wheels about a 20 degree camber as well. I will post some other views shortly.
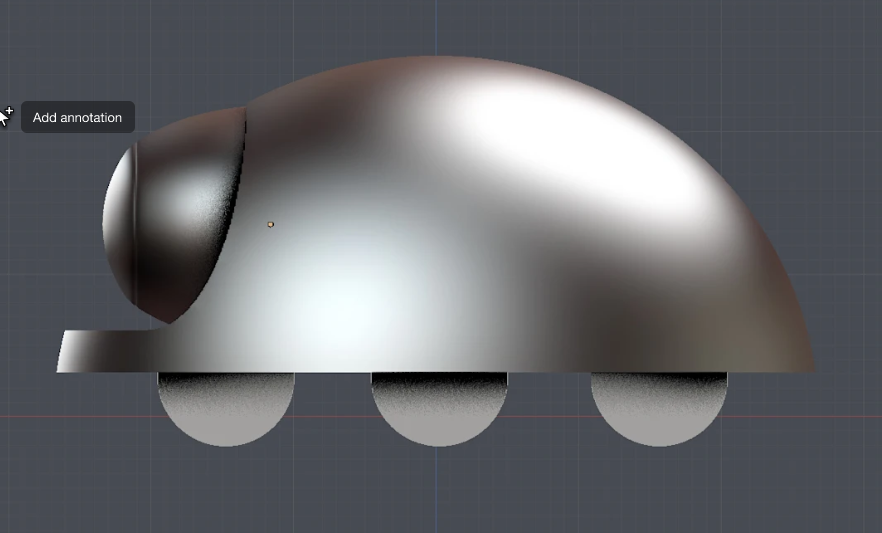
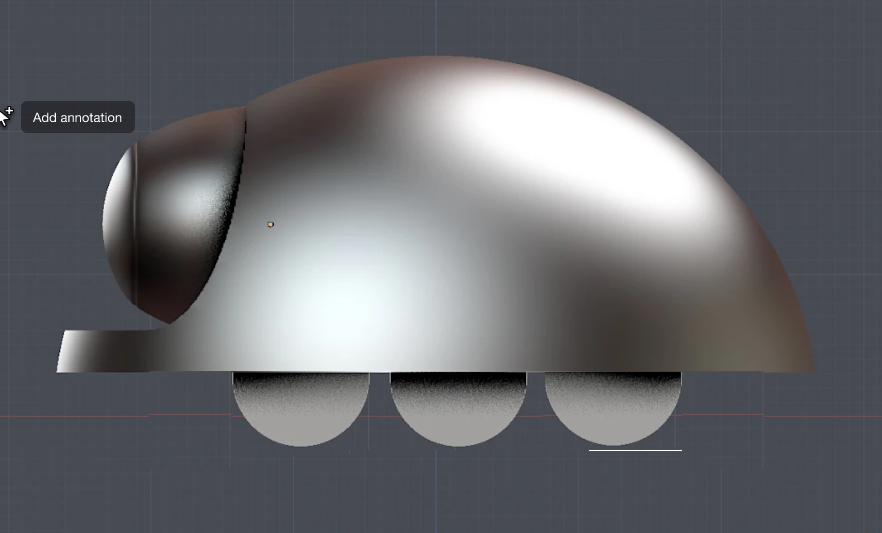
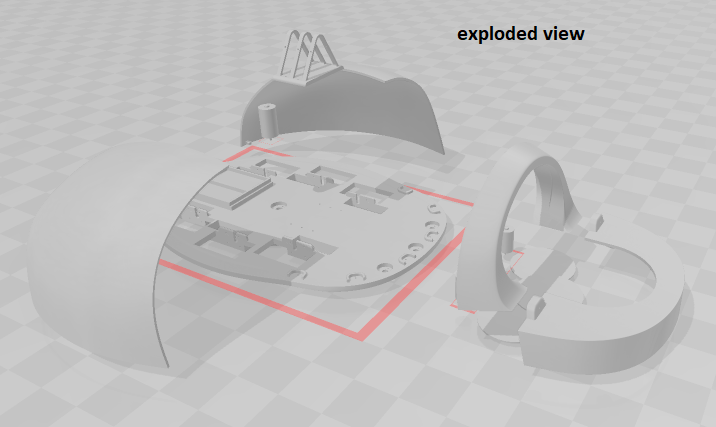
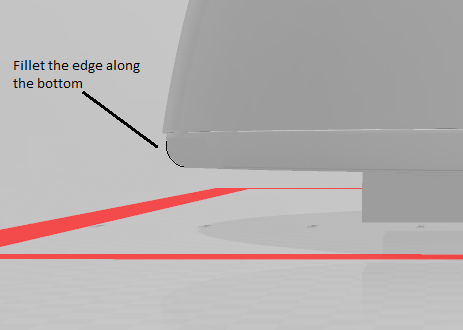
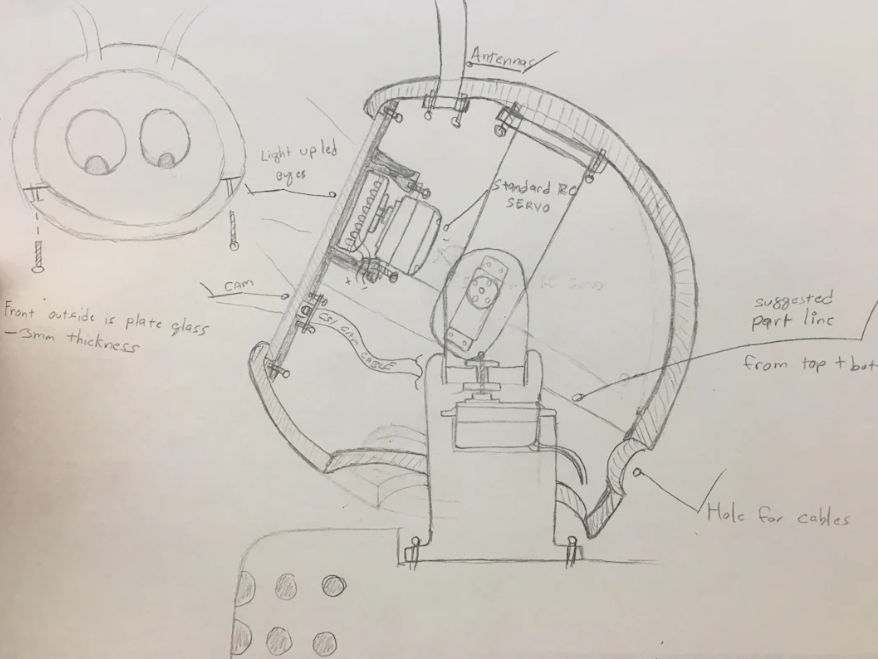
After the first initial draft, I can tell the area under the head needs to be about twice as thick. This way it has room for the heads servos and rs550 motors as well.
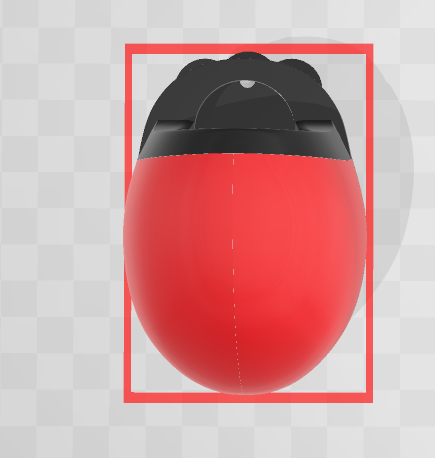
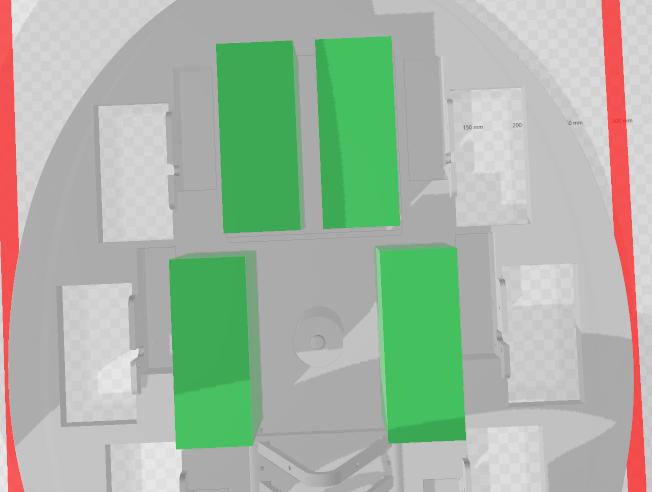
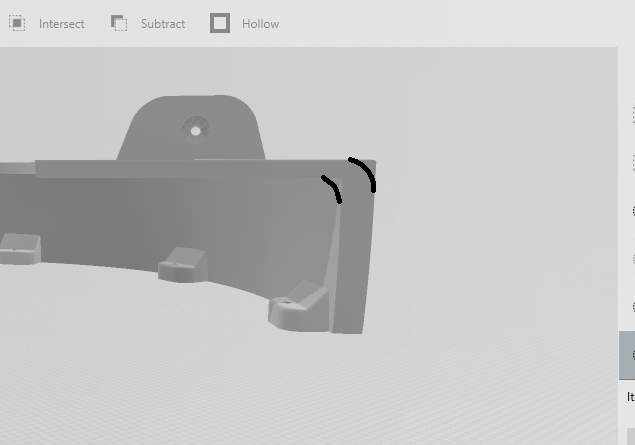
Here are other views of the initial draft of the ladybug model. I can see the wheels will need to be shifted to the rear and a couple inches closer together.
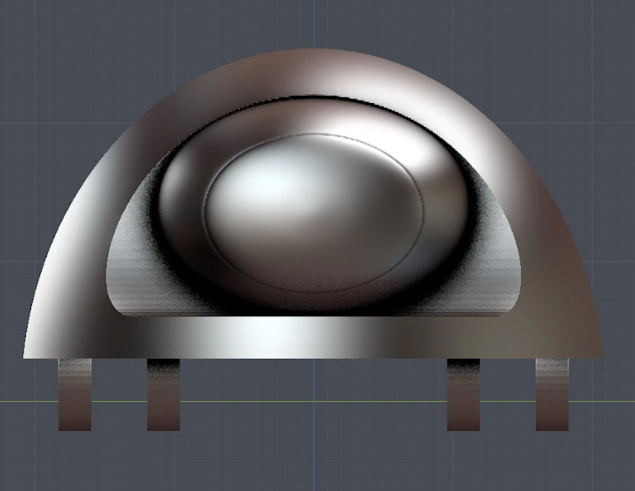
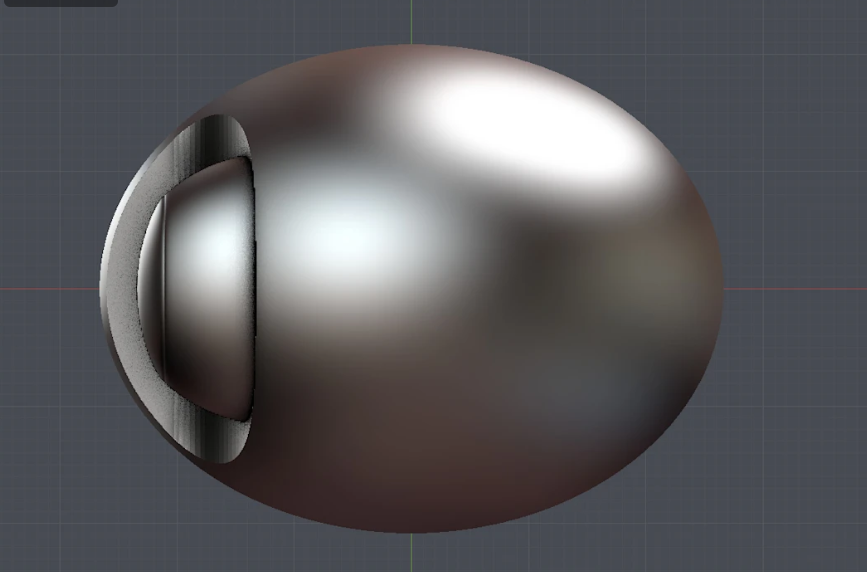
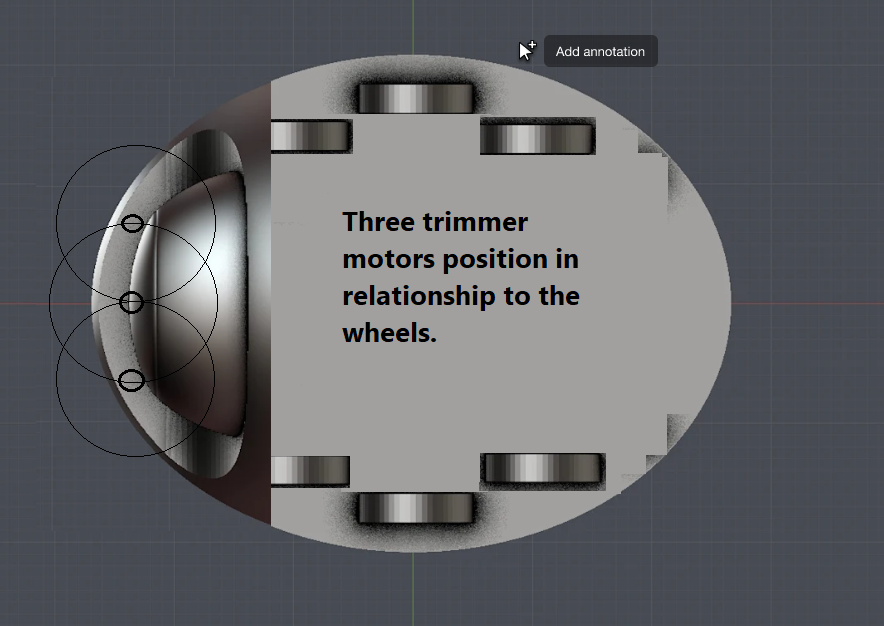
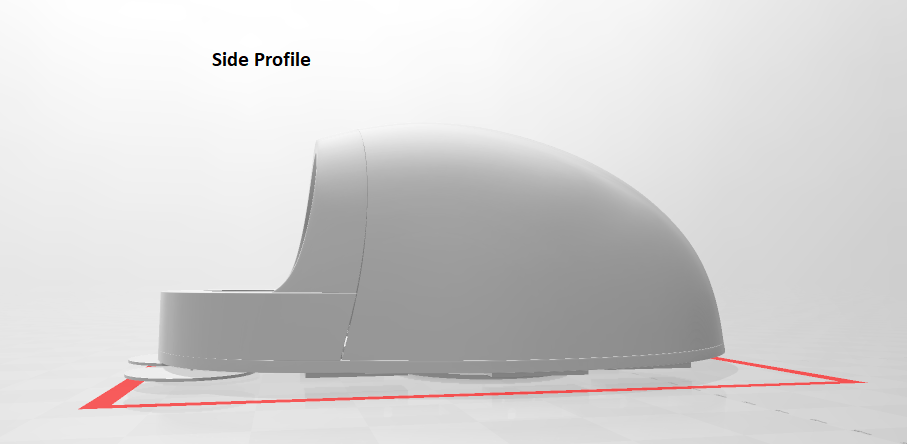
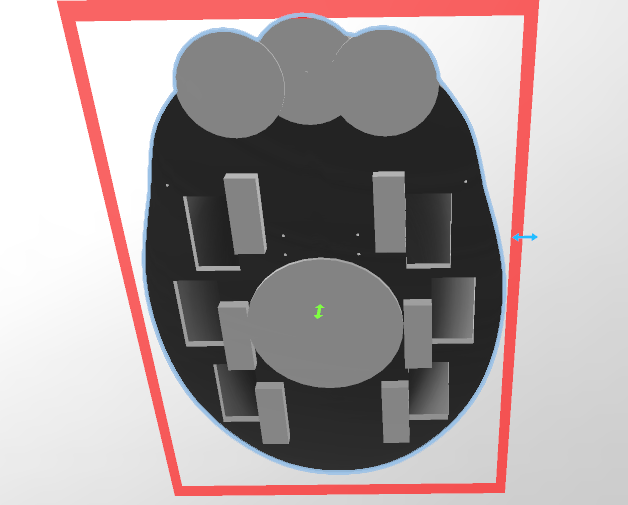
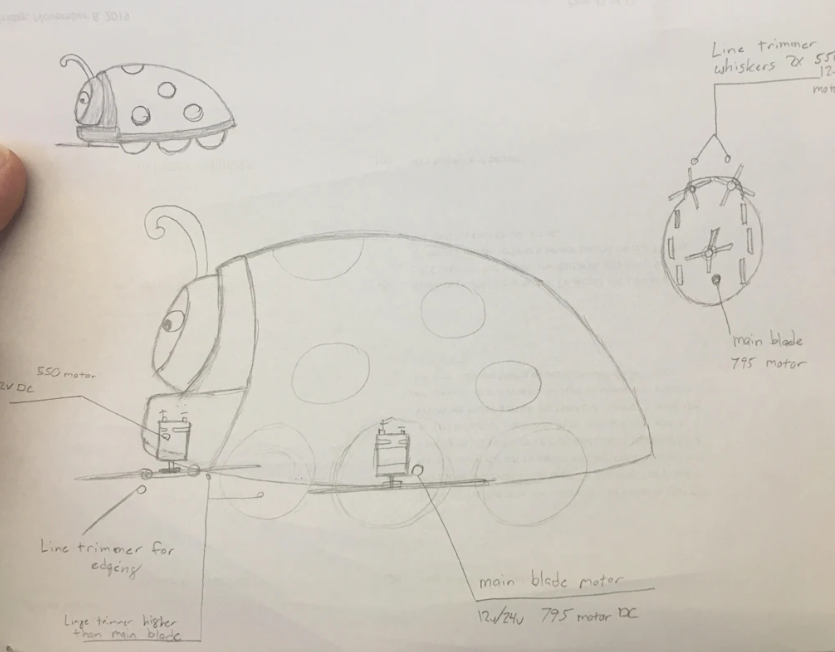
Here my revised idea of how that should look. The wheels closer together but still staggered.
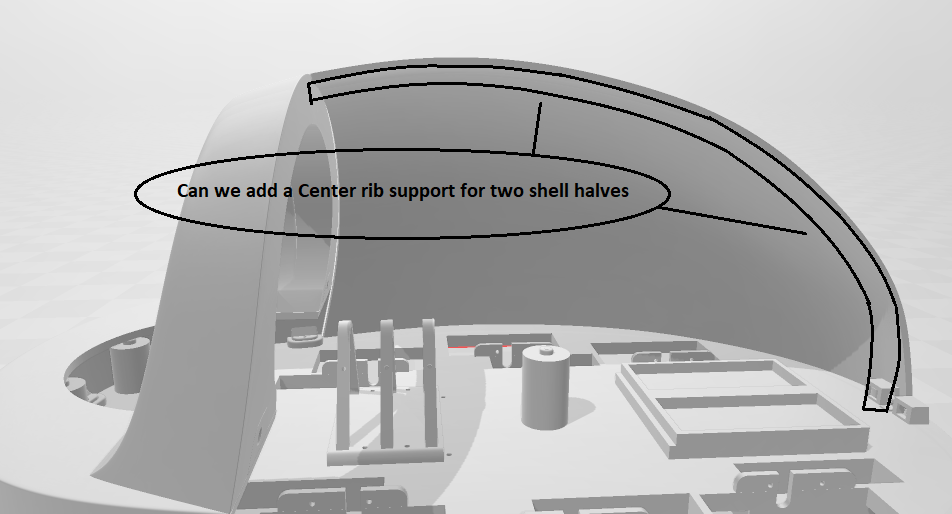
This may look a little wierd but the very front and very rear dont have much weight in them.
@[u]jstarne1 [/u] I have to ask, and might of missed one of your postings, But Are you going to be printing this on the new extra large 3D printer you were building?? Its all gone quiet on the progress of the build, and I know there were a few folks very interested on how it was going to perform, including myself, have you had major issues with the build??
Hello Cem! , I do intend on printing the extra large parts on the extra large printer if possible. The printable area on the big printer I believe is 19 inches by 26 inches, so I would still need to break up parts into 2-4 pieces. The big printer is not up yet, I am to the step up loading firmware and configuring which is a bear to do because this is a completely DIY machine with NO INSTRUCTIONS for this from the kit maker.
Great to hear your still working on the 3D printer build! Can’t wait to see it fully built and in action.