

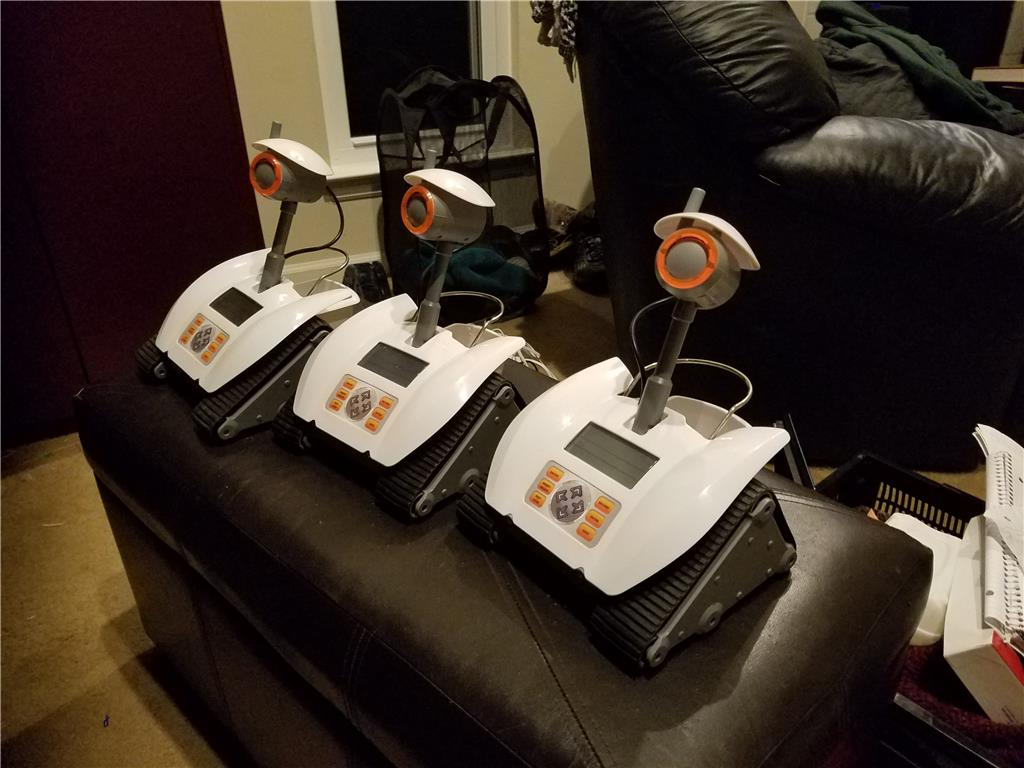
Hello everyone, I am sharing this as I will take lots of pics of the tear down of this guy. On ebay I came buy 7 working units and I thought they might be good donors robots to put a IOTINY board in and a camera in for educational purposes. When it comes to kids and even high school age it makes me nervous to let them really have control at the risk of damaging a project I have worked a long time on so instead I will demonstrate projects I have done ,but the "hands on" robotics missions will have more durable and less invested units.
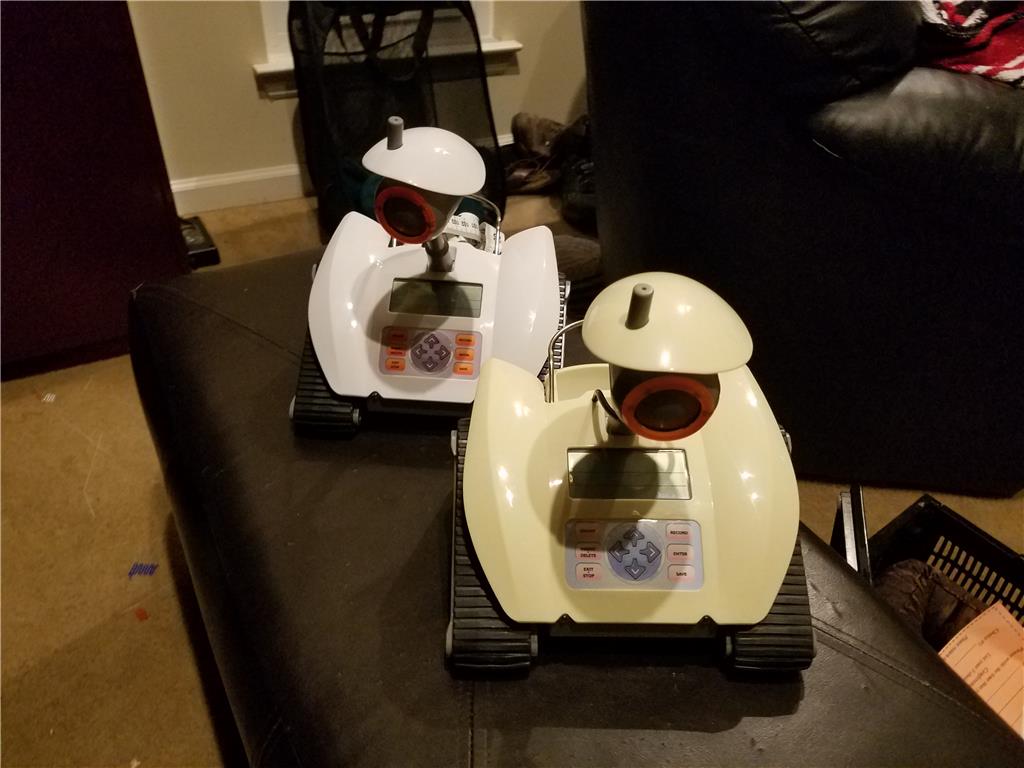
I have 6 that came basically new looking and 1 looks like it has been around smoke with the heavy yellowing. I will probably make that one the guinea pig. I shall name him Glenn because he is taking one for the team !
( Too soon... ? )
I bought mine used to save money but You could buy one from barnes and noble for 38 dollars shipped
Discover more robots
Robohappy's Cybot2.0
R2D2's Robot Navigator

Initial teardown, more specific pics will come but these are the basics.
1st point! The tracks have a billion (maybe 12) screws to remove and 6 on each side are hidden under cleverly placed plugs that look like rivets. The only way I found to remove them was with a utility knife blade, the sharp edges can grab the top of the rivet.
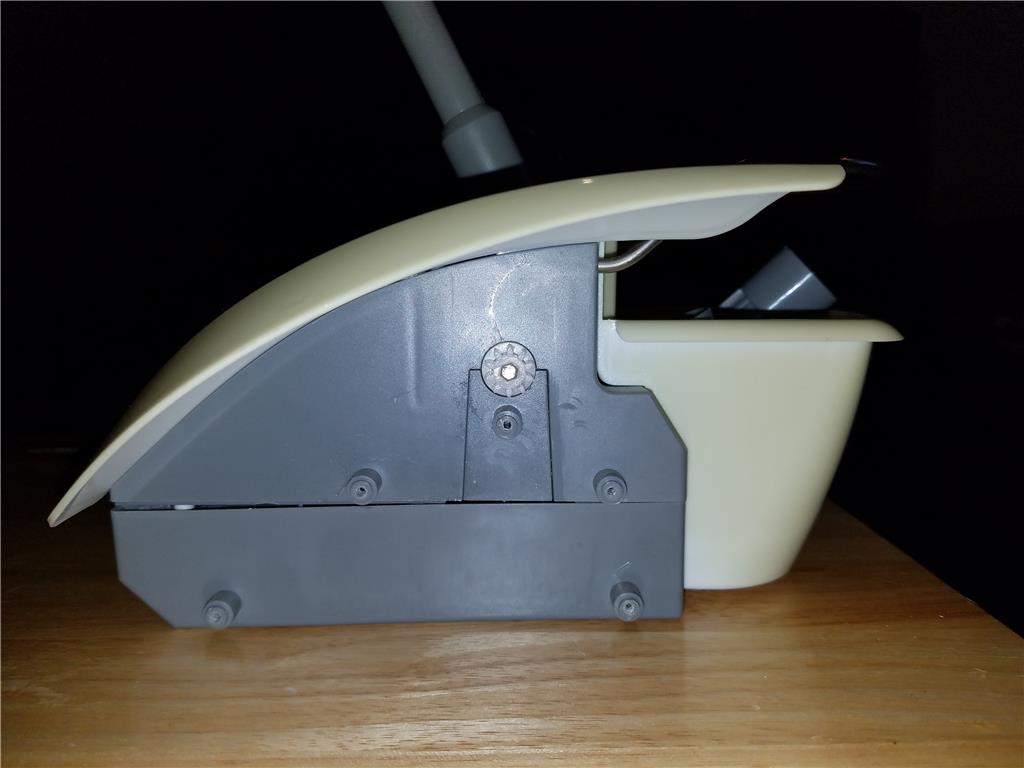
Side view once the track is removed , very clean and there is only one gear that meshes with the drive pulley.
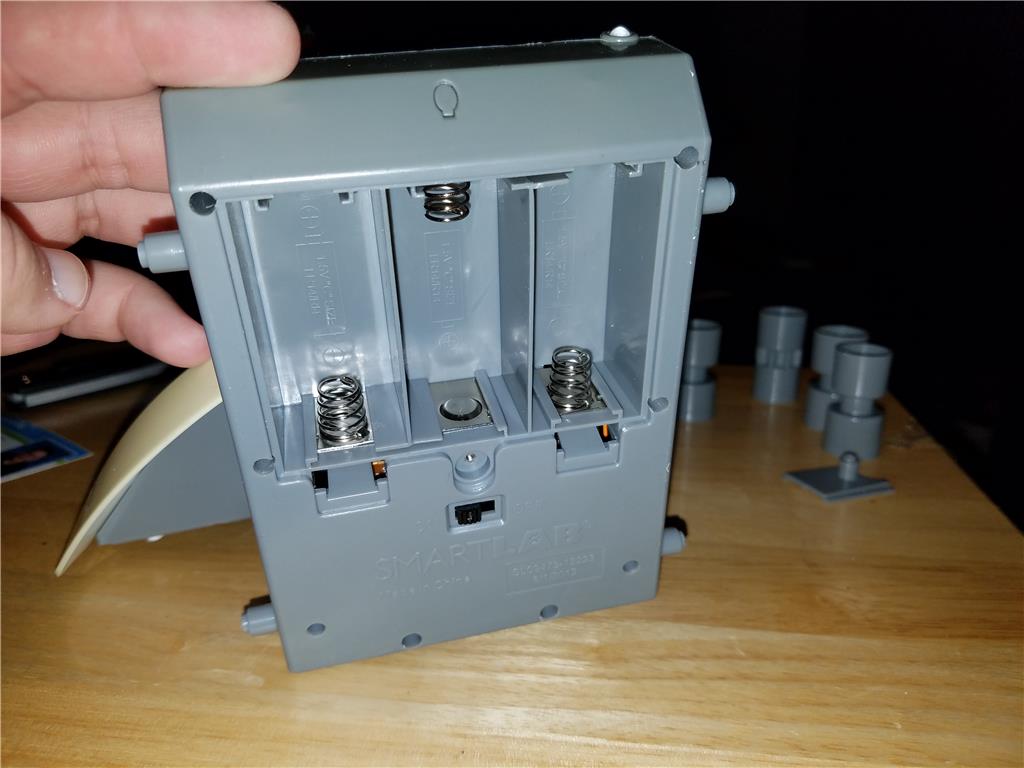
The gray section of the body has an upper and lower half. The lower has a battery compartment for 3 C cell batteries and a sunken pocket for the brain.

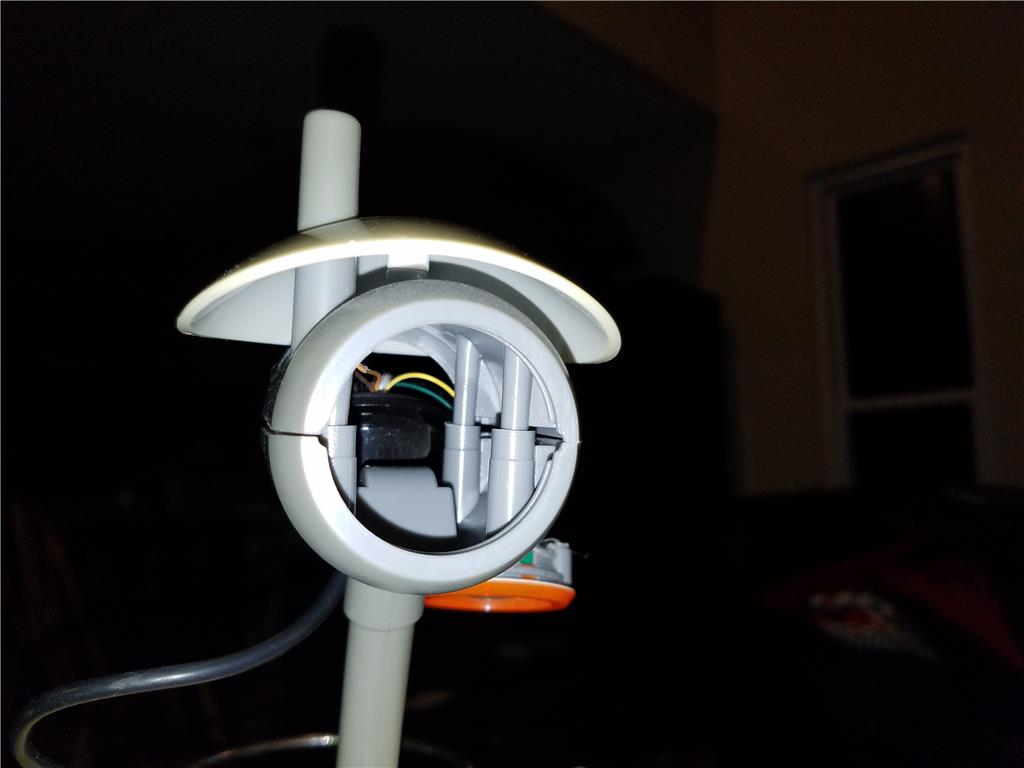
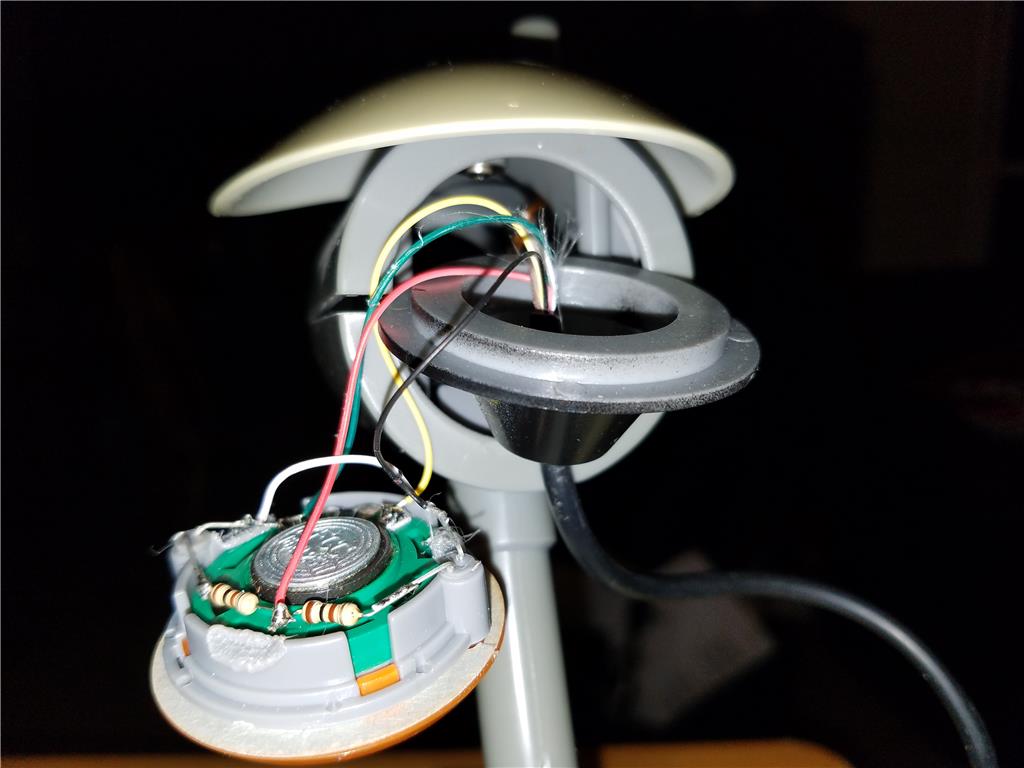
Well this is the inside of Glenns Eye socket, its all popped out. There is a fairly large speaker in the eye stalk. I think that this could be a good place to mount a light ring and a EZ camera.Thanks for the pics.
I was curious how they counted the distance moved. I think I see a disc with a sensor?
Is "Glenn" getting a total Lobotomy? Will you keep the drive? and misc. lights and speaker?
just curious?
Have fun!
Ron
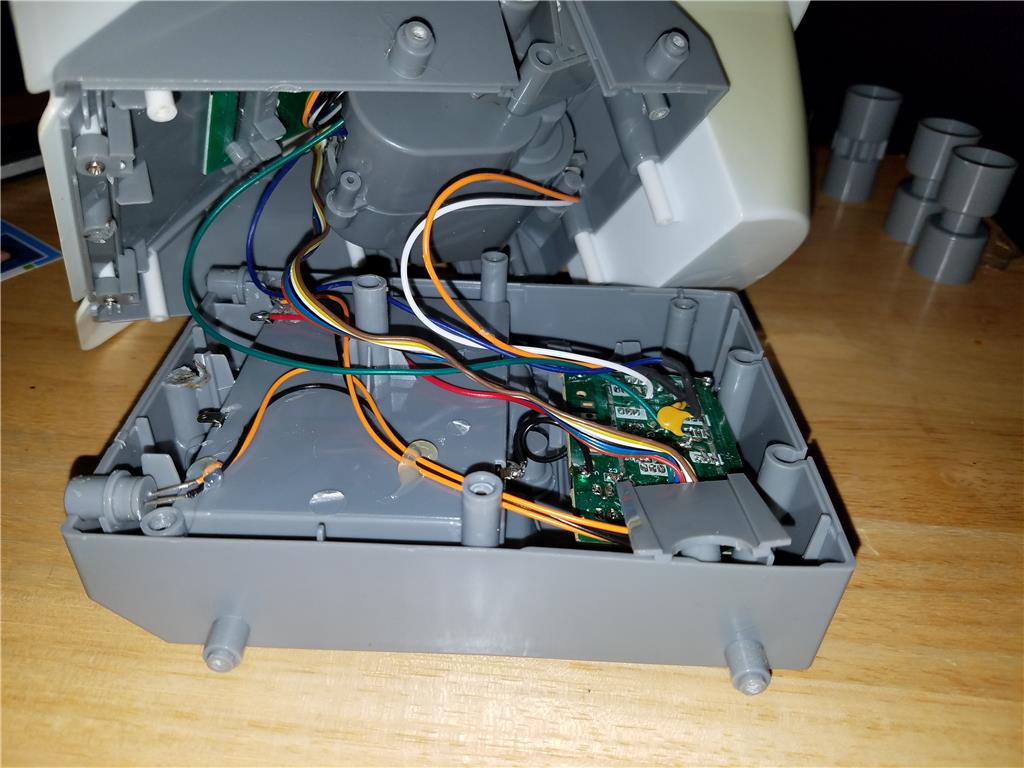
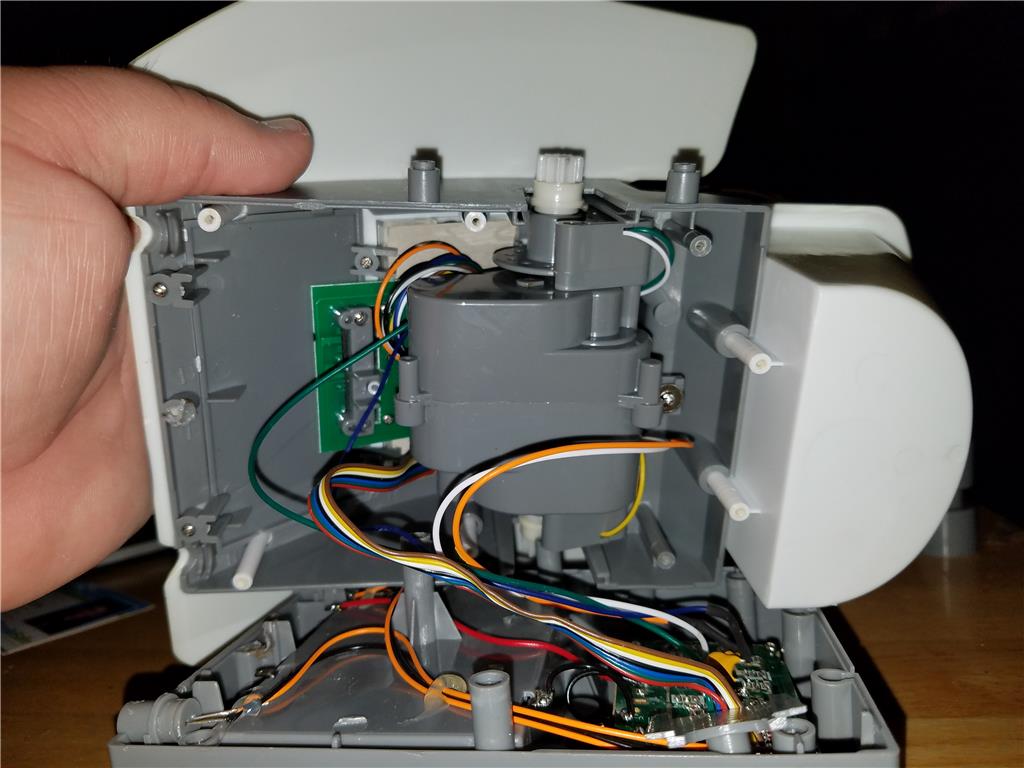
Gearbox:
My initial impression on the gearbox was mixed. There appears to be two versions of this robot, the first version appears to be faster while the second is slower. The purpose for the slower box was for accuracy. there is also a calibration option to make 90 degree turns accurate and drive straight.
My goal here was CHEAP and durable! I can see it would be pretty easy to pull the gear off the axle and put it on a continuous servo so that you would not need to use an L298n H Brdige driver. For me a h bridge is cheaper, about 3 bucks. Continuous servos are going to be nearly twice as fast as this gearbox but around 25-30 bucks. I keep telling myself ( lower cost josh!)
Will you try to keep the feedback sensor? and incorporate it into your nav. script?
Yeah, because of your application for educational use they need to be cost effective and repairable.
Built in encoders:
Hey , it does have a basic encoder. I likely will leave that out of the mix because it makes the concept of programming more difficult for a beginner. ( even more difficult for a regular user) However I will not remove them in case they are useful later, they really are not in the way of anything.
Thanks for the added info. I will watch for your future posts.
I hope to have one soon.
I have 2 continuous servos, so I will need to see if I will be able to incorporate the encoder with them, if I don't go with your H bridge idea (which I also have 2 of which I can steal from an old project).
Ron
Have fun!
So I am considering making the head move , it would make it more fragile but would add visual tracking capabilities. I imagine that would be more appealing. What do you think? Leave the original neck and just put a cam in or animate the head with some small servos?