
Roboquad Resurrection With ESP-32 And ARC
@DJ Sures, @Athena,
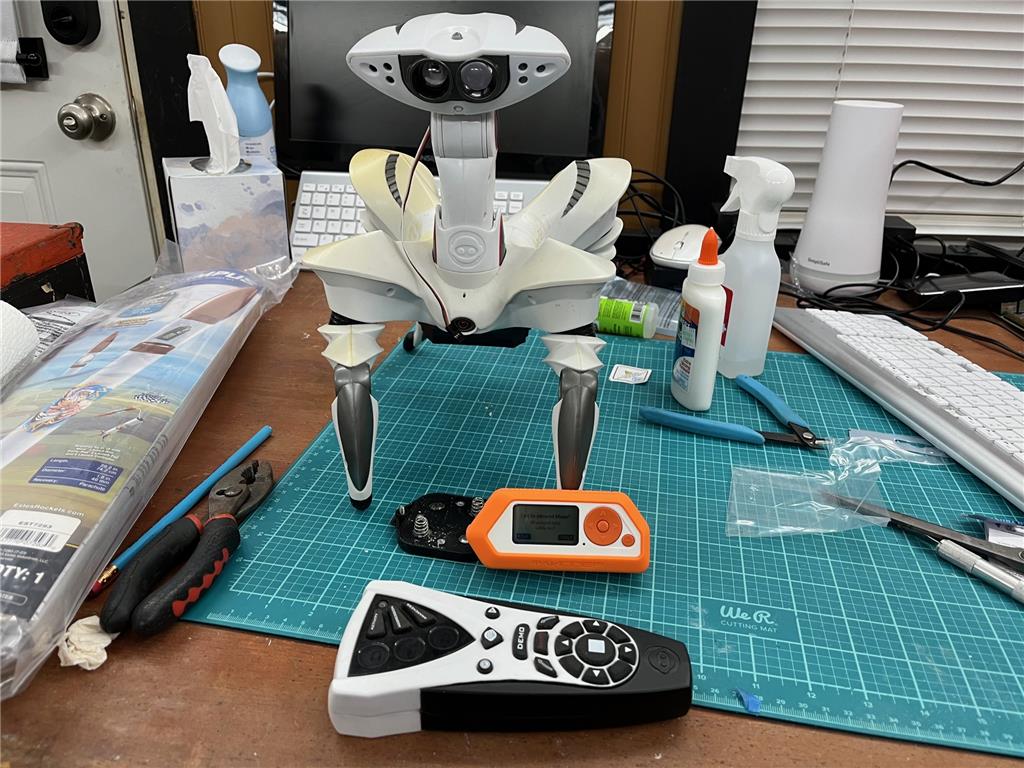
Back in the day with the EZ-B V3, I modified my RoboQuad to control it based on a tutorial or guidance from you. The basic idea was to intercept the IR receiver, hardwire it into the EZ-B, and send the codes to the robot via output from the EZ-B V3. When the EZ-B V4 was released, there was an issue you mentioned that prevented it from working correctly. It had something to do with the string codes needing to be sent over Wi-Fi instead of Bluetooth, but I can't recall the details.
Now, using the Flipper Zero, I should be able to retrieve the action and movement codes. What if I used an ESP32 with modified firmware to store the codes onboard the ESP32, with ARC sending various bit combinations to represent specific IR code outputs?
Do you have any pointers or ideas on how to get started? I plan to use the Flipper Zero to capture the IR codes first. Do you still have the old codes and strings you used to send? Is there anything specific I need to know before attempting this?
Related Robot Skills (view all robot skills)


Got it! Let's focus on setting up the custom Movement Panel in ARC with a single script for each direction. Here's how you can configure it:
Step-by-Step Guide to Use Net.sendUDP() in ARC with a Custom Movement Panel
Create a Custom Movement Panel:
Configure the Custom Movement Panel:
Add JavaScript Code to Send UDP Commands:
For each movement direction, you'll use the
Net.sendUDP()function to send a command to the ESP32. Here's an example of how you can set up each direction:Assign the Functions to Movement Directions:
sendUDPCommand("F"),sendUDPCommand("L"),sendUDPCommand("R"),sendUDPCommand("B"), andsendUDPCommand("S")to the respective movement directions.Test the Setup:
Notes:
esp32IP) matches the IP address of your ESP32.esp32Port) should match the port you configured in the ESP32 code.Net.sendUDP()function sends the command as a byte array, which the ESP32 will interpret to execute the corresponding IR command.Feel free to ask if you have any questions or need further assistance!