jstarne1
Hey guys I'm always learning cool new stuff and this is one I think is valuable honestly because very few people have a 3d printer but most people have access to paper , a printer , scissors and glue. While I was at the Dragoncon convention I saw all kinds of costumes , robotic animation of characters for sci do stuff , and more. I had to ask them how they did it and most use the Pepakuru or Papercraft method. Pepakuru is a Japanese word for papercraft but many people call it that because it's origin is Japanese.
I will update this first post periodically if newer better option come to my attention but this is a start. Pepakura Designer https://www.tamasoft.co.jp/pepakura-en/
Pepakura Viewer https://www.tamasoft.co.jp/pepakura-en/download/viewer.html
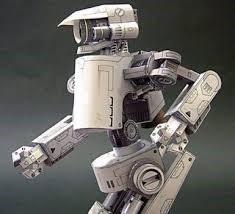

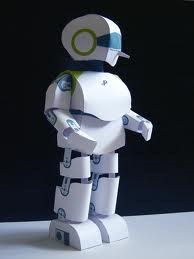
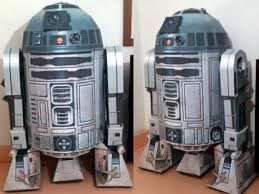
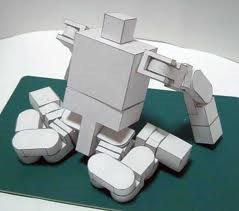
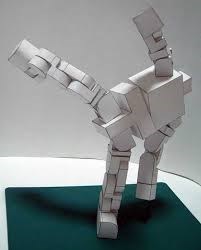
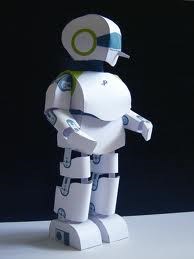
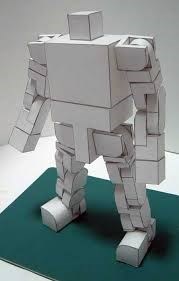
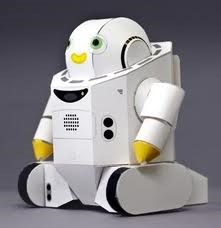

Pepakuru was one of the first things I thought about using when I started building robots, I mentioned it in one of my first topics. And there is a very good reason why I have not used it to build any robots to date... because it is very time consuming.
There are a lot of replica props and costumes discussed on www.TheRPF.com, I am part way through making a full Iron Man suit, I have been since around this time last year, so far I have got the helmet done but still not satisfied with the results.
Not only do you need to cut out and stick hundreds or thousands of small paper/card/foam pieces together but you also need to strengthen them with fibre glass, smooth them with filler, sand, rinse and repeat.
Yeah you could rush them like some people on the rpf do, you can tell though, they are not even close to a standard I would find acceptable.
James over at xrobot.co.uk uses (or did use) pep to make his ironman armour but it took a long time and has since been improved using other methods (side note, check his site, he has some really awesome projects).
Yeah I am fascinated by all of his work, some really cool stuff on his site (and at least one funny video - check out his original $ store ARC reactor video)
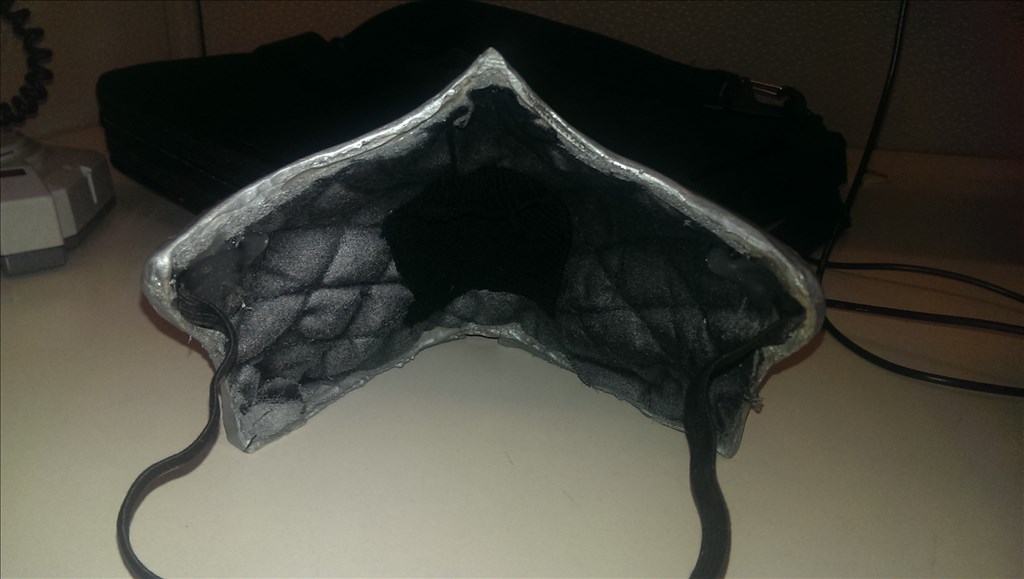
Here's a mask my buddy threw together for a mortal kombat costume , I think it took 4 hours or so.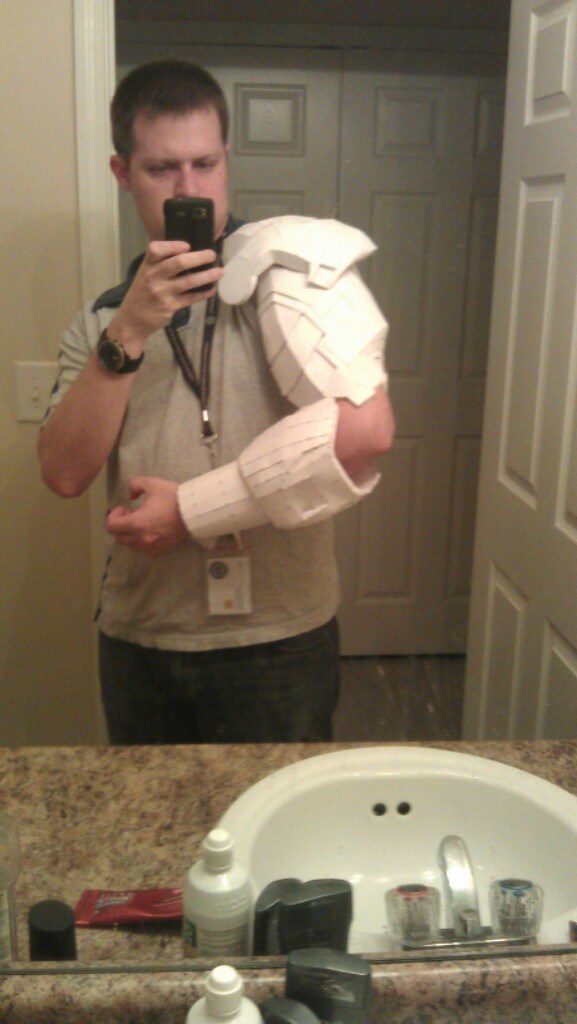
He managed to do a few ironman arm pieces Sunday which looks pretty cool. Both he and I are proficient in fiberglassing and mold making so that's the easy part. We are doing a this mk6 suit for him them motorizing it , helmet lifting , plates moving ect. I think due to my size a hulkbuster suite would be appropriate for me and that suite has tons of lighting ezb could control as well as servos ect.Your right it's time consuming but when we are talking about building a custom robot outside of just clicking some premade parts together there is no way to avoid work. It's not for everyone that's why ezbits exist but for those like me who love to add detail and personality fabrication is always useful.
The way to avoid the work is to 3D print. Pep is great if you have the time and lack the funds to 3D print, I will give it that, I just don't have the time (and am too much of a perfectionist to accept a lot of what others seem to believe is good enough - as can be seen by Melvin's arms taking 4 attempts so far and I'm still not satisfied with them).
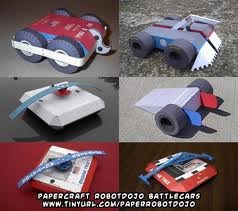
You nailed it right there , too little money for 3d printer and time to build then it might be for you. Anyways I see there's plenty of options. There's even papercraft battlebots lol awesome
Some things are awesome to 3d print don't get me wrong but there are size limitations. Its possible but very difficult to create smaller pieces and then glue them all together from seperate 3d prints but if they all are not just right now they are glued together and you gotta start over or try to rip them apart to figure out which piece is slightly off. This is for things possibly s little bigger than a consumer 3d print can handle.
@jstarne1 Is there a link to this free software I'm missing or are you just referring to Paint and such as being the free sofware?
Pepakura Viewer is the free version, but can only view other people's stuff.
Pepakura Designer is the full version but costs $38 for a licence.
I have the full version but to be honest the viewer would have done what I needed it for just fine. If you are going to use it to make your own designs then go for the full version, if you only want to use what's readily available at places like The RPF have a play with the viewer only