TimothyDrake
Canada
Asked
I am currently printing JD from the Thingaverse parts. https://www.thingiverse.com/thing:781145
Is there a list of parts somewhere so I know how many to print of each part besides the obvious like One right and One left foot..etc ?
For example.... can figure out from photos that I need 8 of the P24-A-01. I thought if there was a list it would make figuring it out a bit easier.

Take a look at the building process in ARC
download and install ARC
load the JD default project
answer YES to viewing the assembly instructions
*Note: you can click on each part of the assembly instruction and view the STL files and details as well
Thanks DJ. I appreciate the response.
Best,
Tim
Hello All,
I am printing a JD robot. Really impressed with the thought that went into it. My only question at this point is " Is there a hardware list someplace?" The parts to print are all listed in the assembly instructions but where might I find info about what size of screws hold the servos into the feet..etc. Is it just a trial and error method until I find the right size or is there a list of actual sized parts should use. The screws that come with servos are too small.
Thanks in advance,
Tim

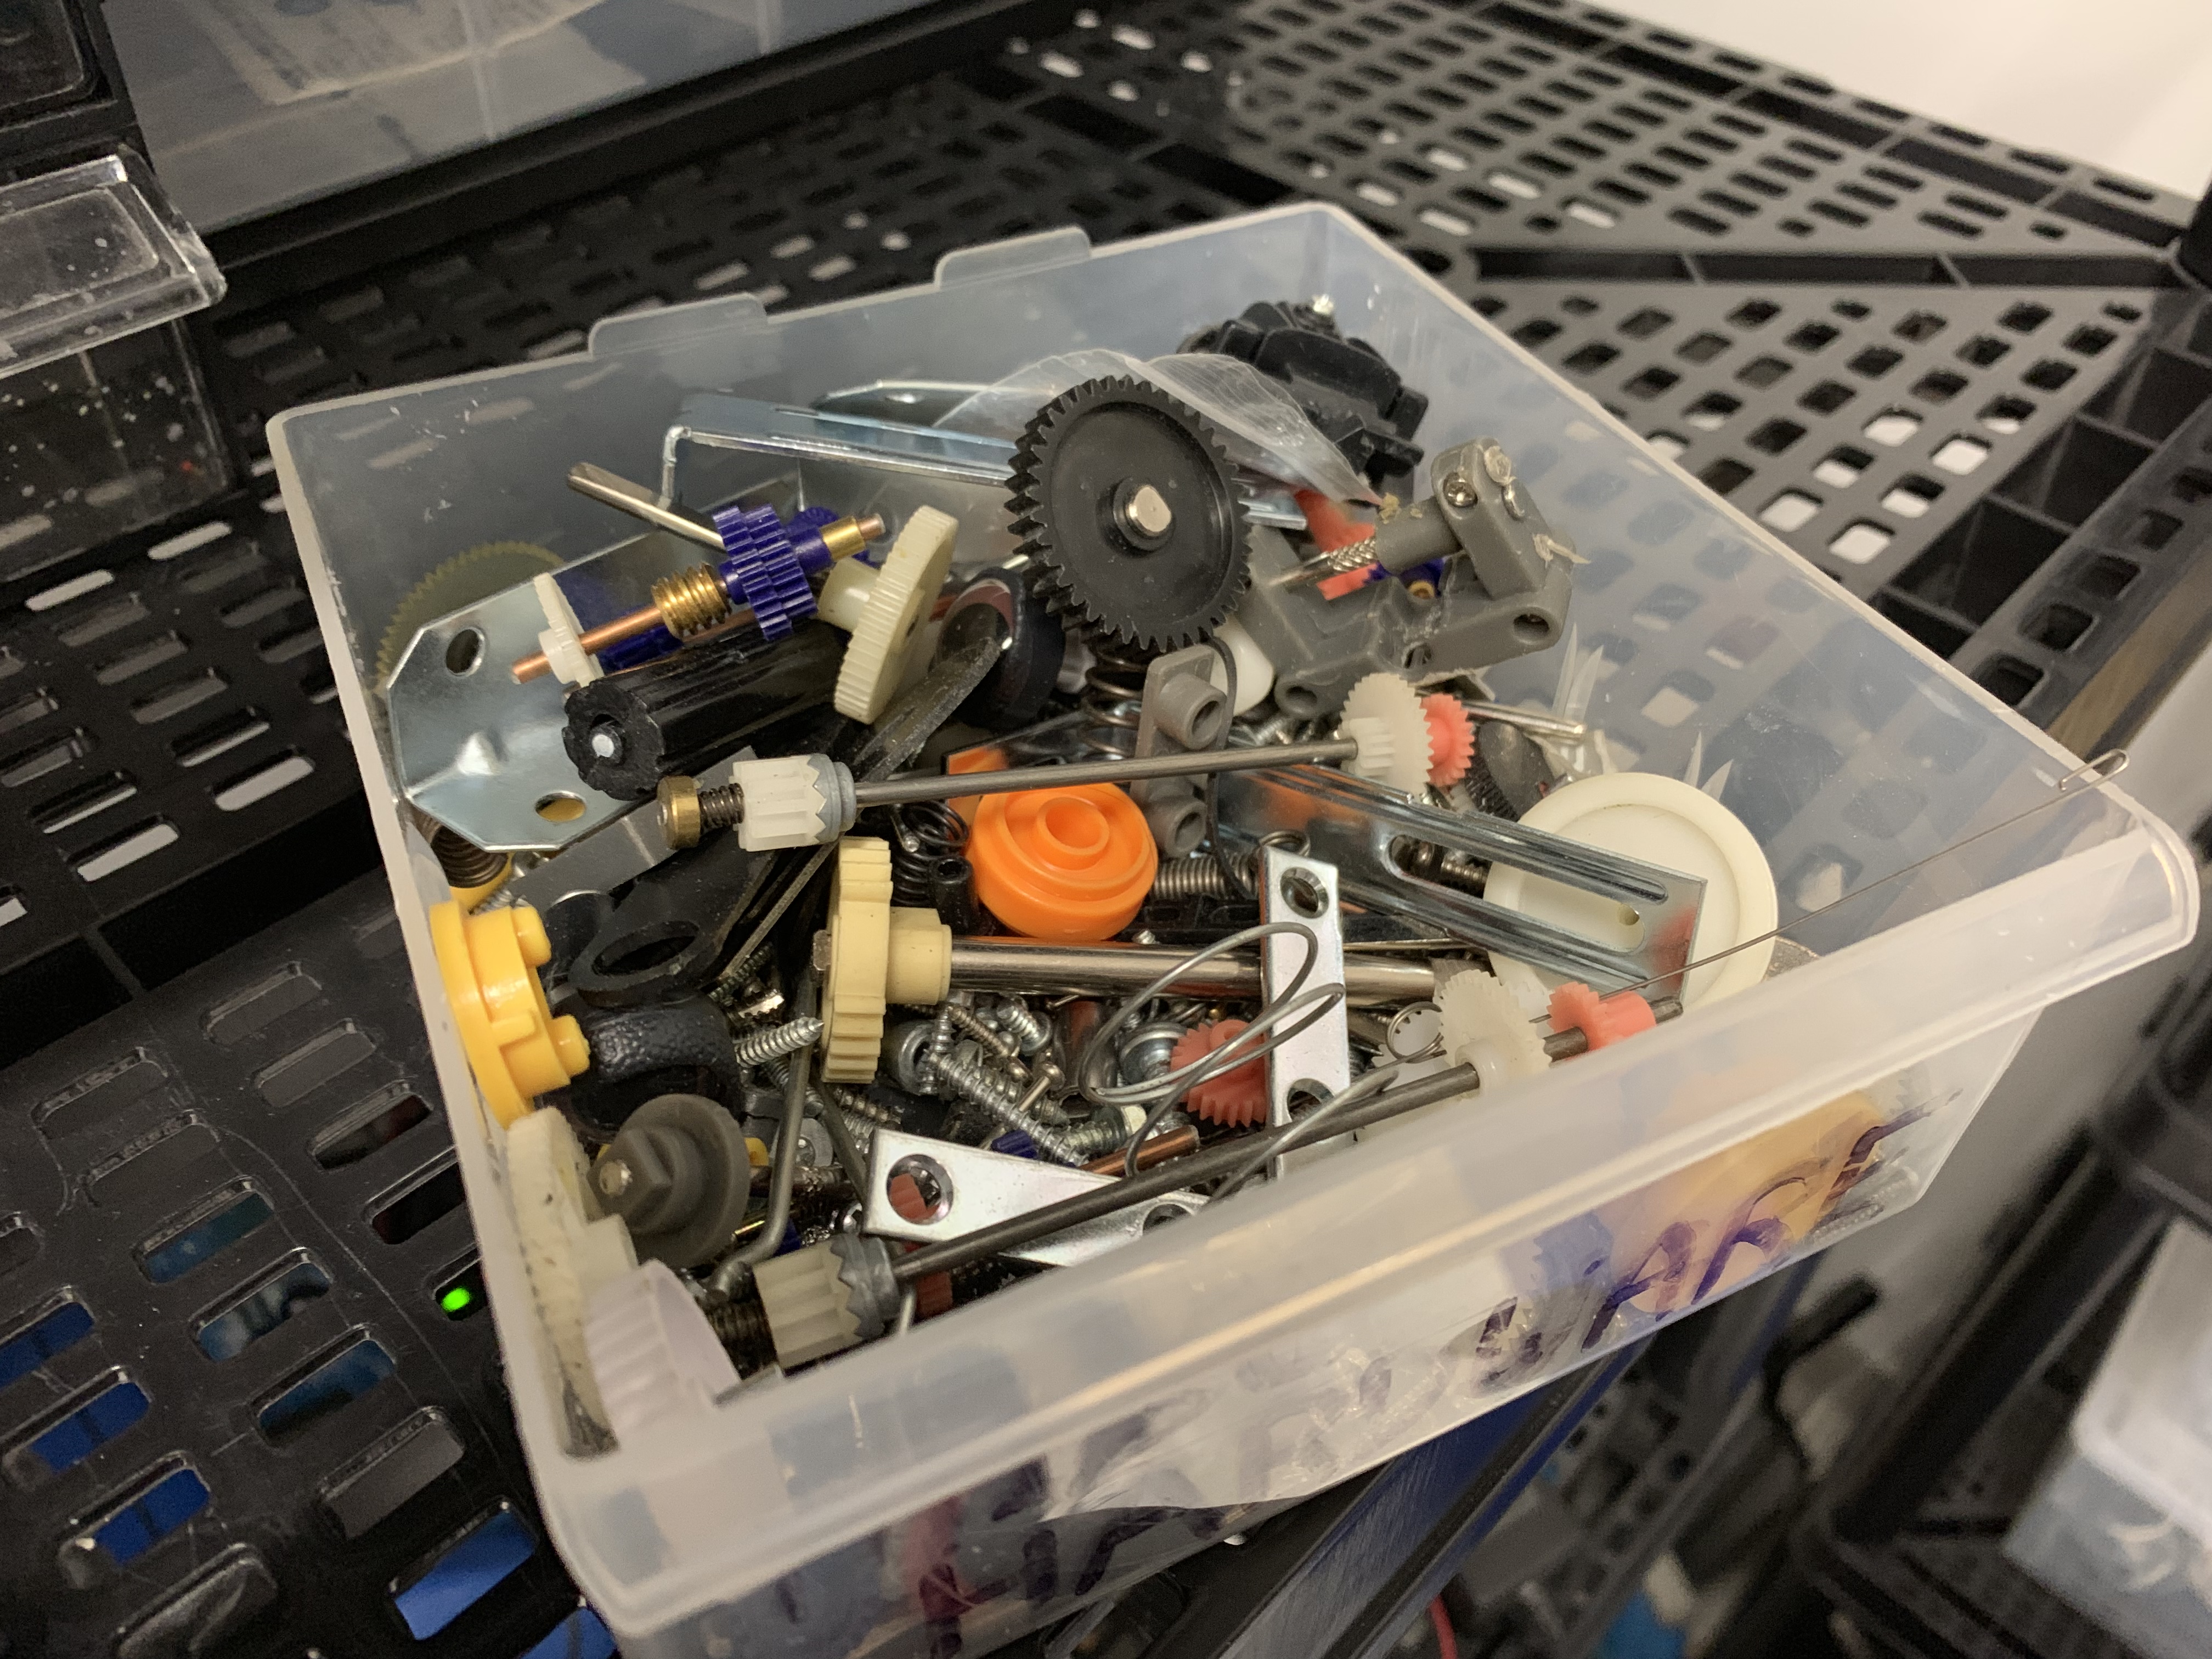
haha - yah, some screws you will have to guess on which sizes to use. I don't actually know what sizes EZ-Robot uses for JD, but i usually keep a box of screws around from toys that i turn into robots. You know, when i teach an old toy new tricksI am curious to see your 3d printed JD though! I haven't seen one in a number of years. At EZ-Robot when we were first designing them, they were all 3d printed. I think the trouble was with the ankle, if i remember correctly.
You might want to put some glue in the ankle hole for the servo so it doesn't slip/strip
Thanks for the tips DJ. Your junk drawer looks a lot like mine. I will be happy to post photos shortly when all parts are printed. You wouldn't know it from my questions here but I have an extensive background in design and building. ( this territory is new to me however so thus the elementary questions ) The more I print of JD the more I am impressed with the thought that went into the design of the EZ Robot system. Thanks for your contribution to robotics and learning in general.
Thanks for the kind words! Your questions are totally fine. it’s a fun process of what you’re doing.
Hello DJ,
Sorry... the questions never end it seems. Ok.. so I have printed out all the parts and just waiting for some more servos to come back into stock at Robotshop.ca .
My issue now is how to connect the EZ-B to the JD robot. I can make it fit into the socket but don't have the hardware to plug it in and out of JD's back. Do I need to hard wire is or is they a socket connector I can purchase that I can install in JD's back so I can have the option of removing and replacing the EZ-B at will? Not the end of the world if I have to hard wire it or make " MaGuiver it" ( ok.. now I am showing my age ) but thought I would ask about the connector first.
UPDATE: I just looked at the website and see the robot body including 2 HDD servos and a battery is more than a bargain so I will just purchase the body and avoid the altering.
Best,
Tim
there's a connector cable with switch, fuse and pcb that ez-robot has for it. Some people hack the pcb connector from the ez-b power shell, but i really don't recommend that. Visit the ez-robot.com website and use the Contact Us to ask them about the cable harness connector