
Asked
— Edited
Ezb4 6 Pin Camera Extension
I have read the threads concerning the EZ3 camera and extending or adding to it and I have seen threads on making an extension for the 6 pin 2.0mm JST connector on the new EZB4 ... BUT ...
My question is though I've not seen anywhere that defines how the wires need be configured, I know I could cut the end off and connect wire to wire and crimp another JST connector ... .. BUT ... I was hoping to avoid having to solder wires if I could.
Do you think this would work as an extension?
https://www.amazon.com/2-54mm-Pitch-JST-XH-Adapter-Extension/dp/B00R1LNGJ8/ref=sr_1_13?ie=UTF8&qid=1421701873&sr=8-13&keywords=JST+2.0mm+6-Pin+Connector+with+Wire
Thanks again for all the help guys!

@Hal... I don't think those will fit... EZ Robot briefly had 60cm camera extension cables in the store... I managed to buy 5 before they disappeared... No sure why they removed them...
I think these will fit, however... 6pin JST
@Hal.
Here's how I did mine.
I made some pins using some steel wire I had laying around which, using some pliers, I gently pushed the wire in to the camera plug, then fitted a replacement camera ribbon I got from the shop so they are a snug, tight fit. Trim off any excess wire and wrap the join with electrical tape (optional). This is a cheap solution that makes a tight, reliable connection, and works really well.
You want to find connectors that have a 2mm space between pins.
I found some connectors at allelectronics.com
Soldering is required but the one cable with the bundled up ribbon cable is 30 inches long.
Thanks RobotDoc, Steve and Richard.
Based on the eBay item and the great information you guys provided I've tracked this down.
The eBay measurements are actually off but just a hair for that connector. I believe this is a thin, low-profile 2.0mm (.079") pitch connector 7.5mm (.295") in height after mounting and 4.5mm (.177") in width.
You can see the datasheet from Farnell for all of the JST PH connector types (https://www.farnell.com/datasheets/39631.pdf).
I think includes the JST B6B-PH-K-S(LF)(SN) wire board connector (Header), 6POS, 2MM (https://www.farnell.com/datasheets/80560.pdf) with AWG #24 wire.
So my question then is:
or
If you did the second of the two, what crimper or punch down did you use?
Steve -- Very creative btw, turning the female end into a male end and making an extension !

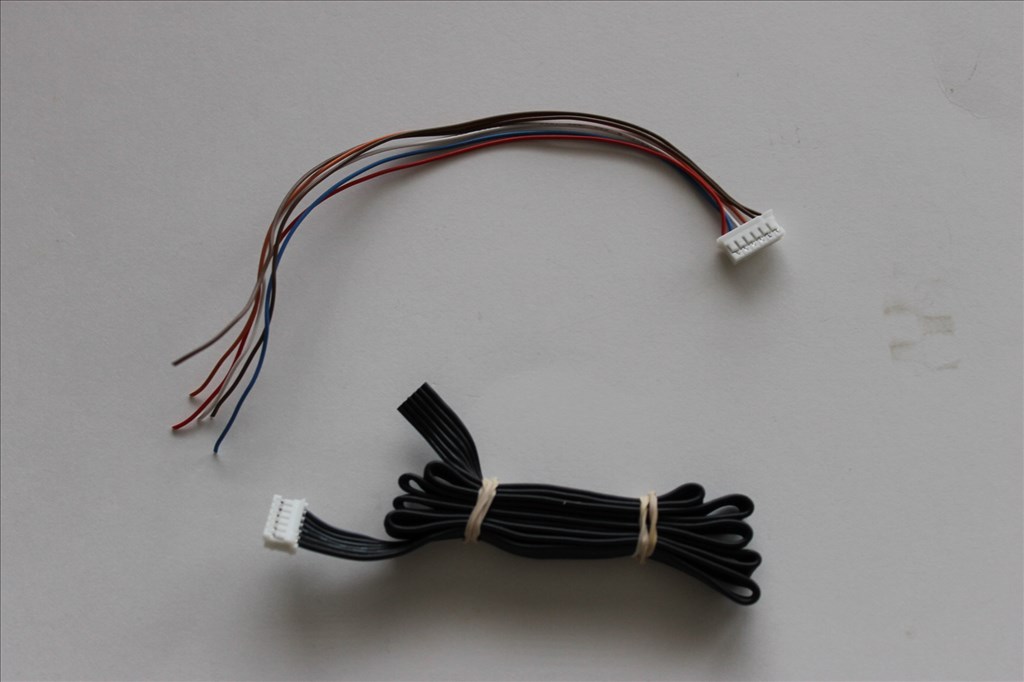
I just stripped the ends of the ribbon cable as well as the ends of the individual leads on the short connector, installed a short piece of heat shrink and soldered each connection. The cable has no turnovers so all wires run straight through.
That's correct they are a 2.0mm pitch JST-PH connector. 6 positions for Camera port and 4 positions for the I2C ports. I believe I shared that info a while back, but it's probably lost in the forum archives
We are working on a true extension in which the camera enclosure or JD-head won't have to be opened for the cable to be extended.
Yep, that's kind of what I'm thinking. I think I may end up making a couple extra. I understand from Jeremie they are working on it but not sure of their timeline.
I just need to get my JST crimpers out and find order a handful of both gender ends.