Welcome to Synthiam!

The easiest way to program the most powerful robots. Use technologies by leading industry experts. ARC is a free-to-use robot programming software that makes servo automation, computer vision, autonomous navigation, and artificial intelligence easy.

Get Started
Asked — Edited

Adventure Bot Improvement

so the adventure bot is for playing,i notest the batt wire is dragging on,
the floor withs is not good.here simpel solution.put the wire on top.
and like cars have a wing,adventure has one to now.


User-inserted image


User-inserted image


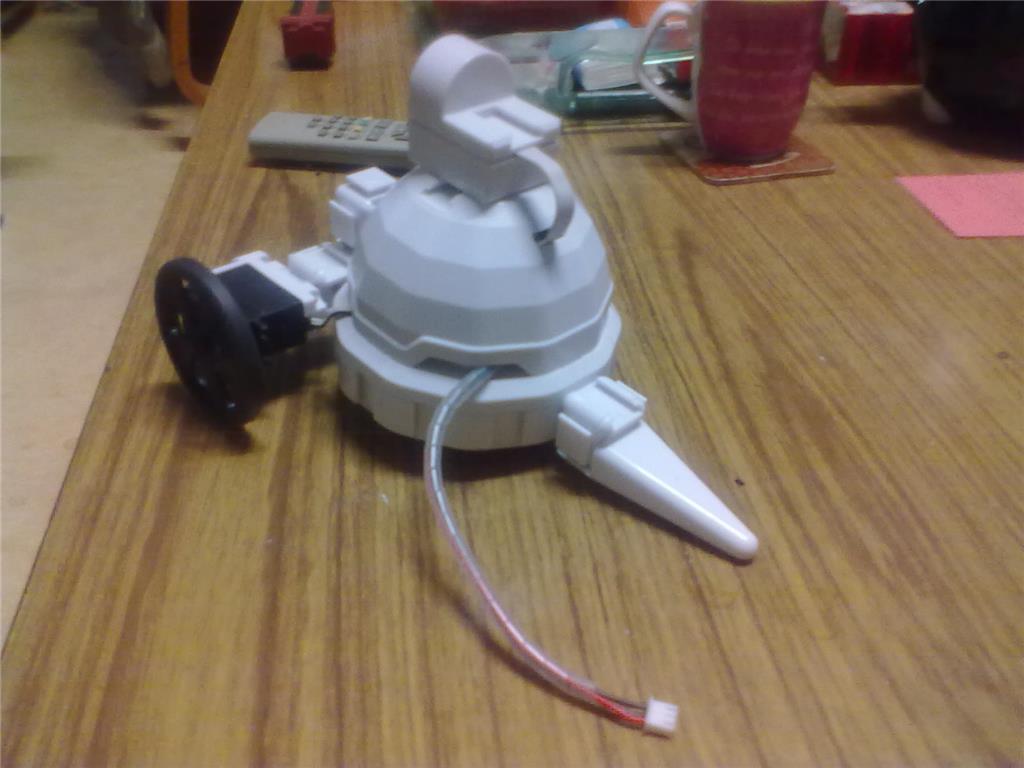
as you can see no wire below,comes out ontop.

User-inserted image


ARC Pro

Upgrade to ARC Pro

Experience early access to the latest features and updates. You'll have everything that is needed to unleash your robot's potential.

PRO
Canada
#3  
Hi @Nomad,

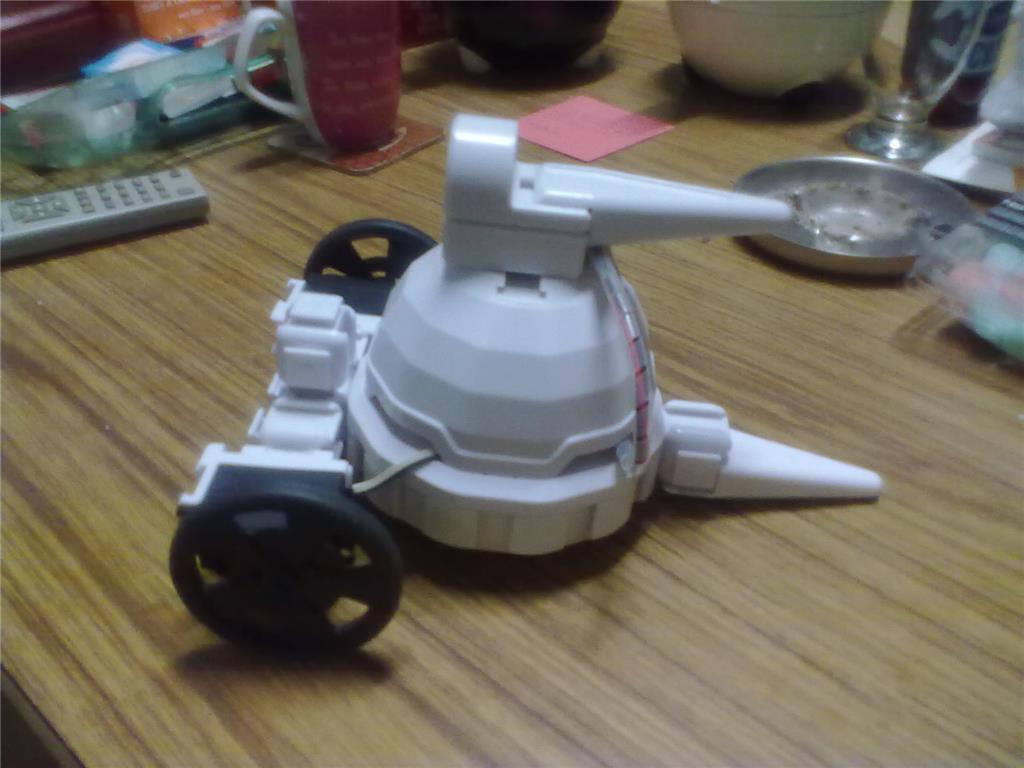
We found this too when playing with different designs for the Adventurebot so we added an extra cube at the back to raise him up a little more. I think we just missed the extra cube in the Adventurebot's assembly instructions.

User-inserted image
PRO
Belgium
#4  
that looks also good.will it not tip over?
PRO
Canada
#5  
Nope, the center of gravity is still pretty low.
#6  
I was wondering why he came with an extra cube. I thought it was just a packaging error.

Alan
PRO
Belgium
#7  
jeremie

good thinking.

alan

you are so lucky haha
#8  
@Jeremie,

The front end in your picture (and in about half the pictures of AdventureBot) is also different from the assembly instructions. The wheels are lower and set back further. I can't quite tell looking at the various pictures how all the cubes are oriented. When I tried to duplicate it, the wheels sat further from the body, and the tail was flat on the floor, rather than just dragging its tip.

Alan
#9  
Good tip! I was thinking the same thing about him always dragging the charging cord. May have to see if I can convince my Builder to spare a cube he is currently using for Six's "hair" lol
PRO
Belgium
#10  
alan
can this pic of use for you?


User-inserted image
#11  
Patrick, that is how mine is set up, and matches the assembly instructions in the sample project, but is different from Jeremie's picture, and about half the pictures in the store (but not the other half).

Alan
PRO
Belgium
#12  
this jeremie pic.maybe he can post the front to.


User-inserted image
#14  
Thanks for the closeups Patrick. that answered my question of why I couldn't make it work.

(with the front cube upside down, it doesn't fit right....).

Alan
#15  
It makes a good place to build a compass mount?
#16  
Actually, with the front cube upside down, it was an excellent place. Will need to rethink it if I change to this configuration. Although maybe in this configuration I can put the compass on the bottom so the bright white LED on it is not so irritating....

Looking forward to getting home from work today so I can play around with this.

Alan
PRO
Belgium
#17  
alan
me too ,i want to speed him up a little.