Asked
— Edited
3D Print Jd Head
hi
has anyone printed a jd head?my question is ,how do you print the head on the printbed?
thank you
Related Hardware (view all EZB hardware)
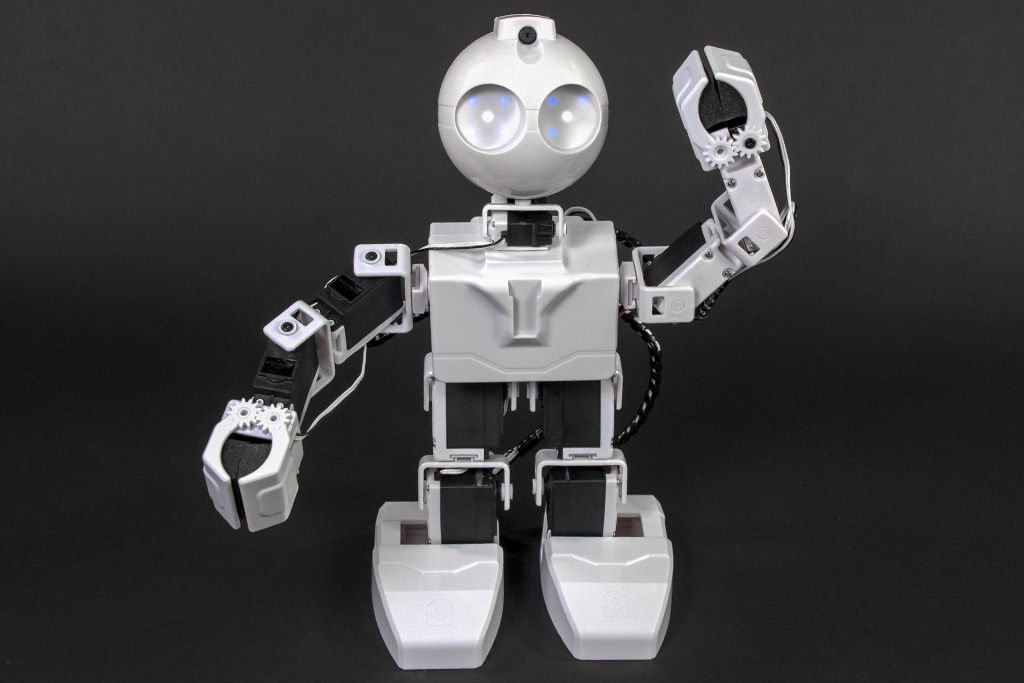
JD Humanoid
by EZ-Robot
JD humanoid robot kit - WiFi-enabled, 16 DOF with metal-gear servos; easy, fun, educational, available from the EZ-Robot online store.
Wi-Fi / USB
Servos
24
Camera
Audio
UART
3
I2C
ADC
8
Digital
24
Related Robot Skill (view all robot skills)
File Manager
by Synthiam
Displays files currently open for reading by scripts, shows only read-opened files, helps diagnose read/write locks and file access errors.


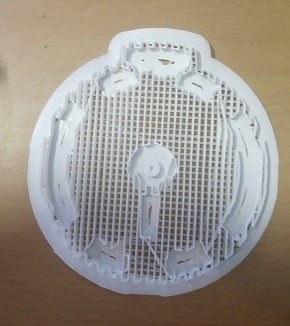
Hello Nomad, Here's how I print it. I use supports and a raft.many thanks jeremie.i am printing a glow in the dark one.
hey jer
is the backside ,the middle pin made chorter?
No Sorry Nomad, it’s just a illusion of the angle I took the screen shot at. The middle pin sticks out and there should be support material that holds up the rest.
hi jeremie
i found the auto ad support in cura.thank you thank you:D
hahaha my first attempt to print the backside of jd's head.lol. it printed only the supports.xD second attempt looks better,hopefully.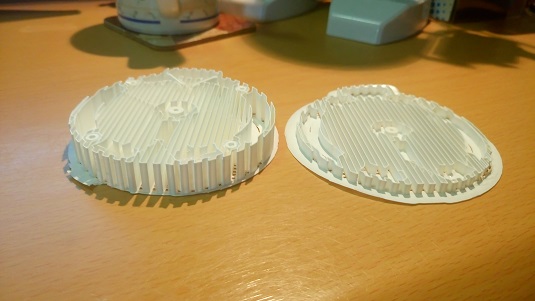
wel it printet a little more.but stopped again.i do see there is no written time laps on the printpage that says howlong it will take, to print.https://www.youtube.com/watch?v=1vQQxNHwVn4
sofar i am not able to print the jd front head with the eyes.so i found a solution.i printed a plate, and two rings.as you can see in the video.the eyes where not smooth,thats why i use the rings. they have two clean sides.