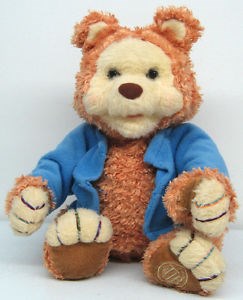
Hello EZ-B community! I am a new member and robot maker. For my first projects, I am looking to restore a duo of talking toys from the 80’s. I am working on Teddy Ruxpin and his pal Grubby. I have high hopes for the two of them, so I am going to take my time and do it right!
Having browsed through the forum I found the following links for hacked Teddy Ruxpins (which I plan on reviewing thoroughly). There were 15 articles in total with that as keyword, these seem to be the main ones. Lip-Sync Ventriloquist Robot - //www.ez-robot.com/Community/Forum/Thread?threadId=154 Teddy Ruxpin Robot V1 - //www.ez-robot.com/Robots/Teddy-Ruxpin-Robot-V1 Help A Newbie Get Started - //www.ez-robot.com/Community/Forum/Thread?threadId=6966 D.cochran's Teddy - //www.ez-robot.com/Community/Forum/Thread?threadId=7220
Grubby, on the other hand, doesn’t have any posts. So, he is all new territory.
After reading and reviewing all the posts, I will figure out exactly how I want to configure Teddy and Grubby, based on what has and hasn’t worked for other people. Since they are actually two separate projects, in two separate phases, I am dividing them up. One project will be "Betty Buckskin" (formerly Teddy Ruxpin) who will be mounted in a wheelchair, and the other will be "Stubby" (formerly Grubby) who will have roller-skates. The second stage will be to add improvements and make them mobile.
I ordered a EZ-B v4 Developer Kit which I hope will do a majority, if not all of what I would like to do for Betty Buckskin Stage 1 (and parts of stage 2)
Here is a list of both projects and what I want to do.
Betty Buckskin Stage 1 Eye - up and down movement Mouth - open and close movement Voice Sync - for speech
Stage 2 Head - left and right movement Arms - up and down movement Wheelchair - movement Camera - tracking and movement
Stubby (formerly Grubby) Stage 1 Eye - up and down movement Mouth - open and close movement (two motors) Voice Sync - for speech
Stage 2 Head - left and right movement Arms - up and down movement Roller-skates - movement Camera - tracking and movement
I am looking forward to starting these projects and learning about the EZ-Robot format! Hopefully, those of you who have experience with this can offer some suggestions, tips for me along the way.
Other robots from Synthiam community

Antron007's Mobi2 (I Like To Score Too)

Faengelm's Rider The Ball Kicker Servo Port Numbers


Looks like you're off to a good start. Good plan, great hardware choice (EZB(4). Create a nice work location and gather up your tool options. Enjoy the experience and good luck.
Nicely set up. Well outlined. I'm sure you'll have a blast an succeed. I'll be watching and enjoying your progress. Welcome!
Project Update:
Hello everyone. I wanted to give an update on my progress so far.
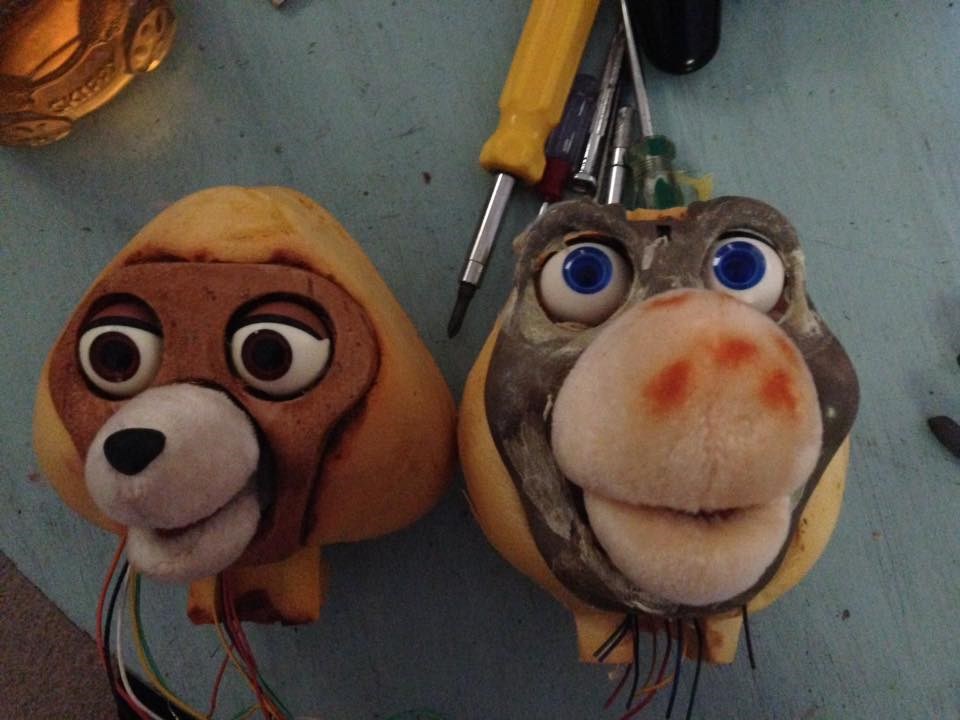
Since I have to wait for my kit to arrive, I started prepping the base and working area for the robots. Having removed all unnecessary electronics and hardware, I was left with the foam shell for the body and three pieces for the head. The head consists of a face plate, face mechanism, and foam shell. Grubby was a different matter, while his head consisted of the face place, face mechanism, and foam shell, his body was much different than Teddy’s. He doesn’t have the same "guts" in his body. He basically had a speaker inside him and supports for the head. This made me realize that the scope of work may be a little too ambitious. Moving arms and mobility for both robots isn’t realistic. Here is an updated list:
Betty Buckskin Eyes - up and down movement Mouth - open and close movement Voice Sync - for speech Head - left and right movement, up and down Camera - tracking
Stubby Eyes- up and down movement Mouth - open and close movement (two motors) Voice Sync - for speech Roller-skates - movement Camera - tracking and movement
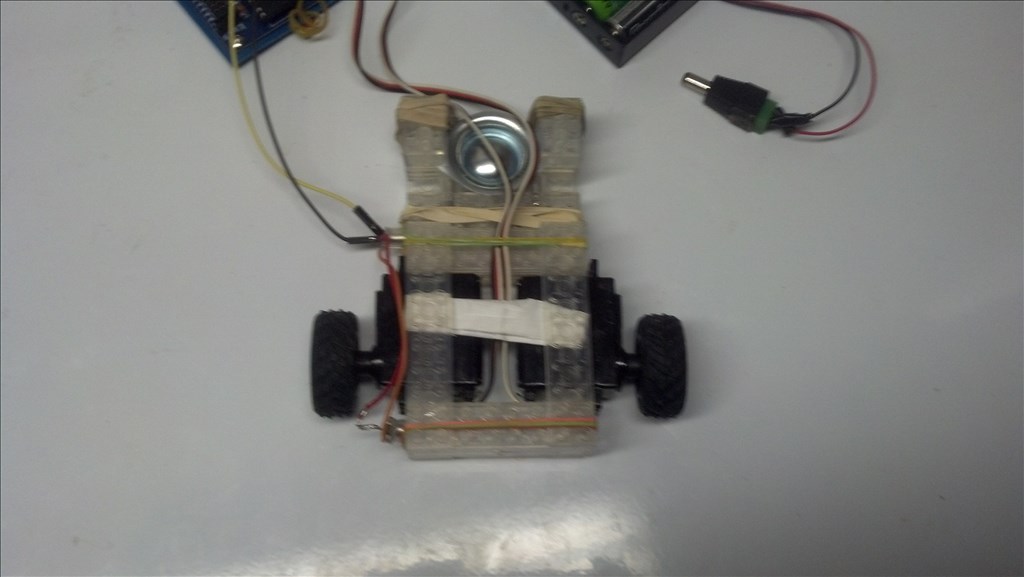
It was then that I remembered that I had previously made a turret camera robot from Trossen Robotics a few years ago that would actually work out well for the head of teddy with limited alterations. The turret also had a joystick controller for manual operation. I removed the camera from the turret. I then hot glued the camera onto the foam head piece and replaced the fur around it and glued it back down. I had to cut a hole in the fur and foam for the camera to fit, but the cord ran down the seam and was easily hidden. The laser from the turret I hot glued to the "face plate" (only after I unfortunately snapped the wires off it, so they will need to be resoldered) so that it will do tracking. Some of the fur around the mouth area was removed for easy installation. The foam is now covered with fur and can slide over the face mechanism with the face plate snapping on last. This will allow me to easily access the face mechanism without having to reglue the fur every time. The fur that is missing is covered by the face plate which I will make furry at a future time. I then hot glued the head mechanism to the turret. After a little further alteration to the foam body I was able to glue the foam body around the turret base. So, this will allow his head to turn left and right, and tilt up and down.
However, since I had used the Roborealm software on an old computer, I wasn’t able to reinstall it without first writing the company to get a new key (which I have done). So, I was unable to do any testing of the mechanics. The video feed however works and I tried it out last night.
I will add pictures this evening.
Here is a "Sway" that I am making regarding my progress. I am hoping it will eventually make it easier for someone to follow directions. Sway presentation
I found this tutorial was good for starting the speech aspect of Betty. https://synthiam.com/Tutorials/UserTutorials/144/1