


-634974074855781250.jpg)
-634974075002031250.jpg)
-634974075348281250.jpg)
-634974075906250000.jpg)
-634974076093750000.jpg)
-634974076263593750.jpg)
-634974904682656250.jpg)
-634974904810156250.jpg)
-634978127365781250.jpg)
-634978127536562500.jpg)
-634978128046093750.jpg)
-634978128198437500.jpg)
-634978128871093750.jpg)
-634978253971406250.jpg)
-634978254227031250.jpg)
-634978254415468750.jpg)
-634978254571093750.jpg)
-634978255874843750.jpg)
-634978256025156250.jpg)
-634978380732343750.jpg)
-634978380897500000.jpg)
-634978381839687500.jpg)
-634967031845625000.jpg)
-634967032284687500.jpg)
-634967033279375000.jpg)
-634967034264062500.jpg)
-634967034602187500.jpg)
-634967034824218750.jpg)
-634967034932812500.jpg)
-634967035040312500.jpg)
-634967035215468750.jpg)
-634954106306562500.jpg)
-634954106467968750.jpg)
-634954107063437500.jpg)
-634954107253750000.jpg)
-634954107416875000.jpg)
-634954107579062500.jpg)
-634954863071093750.jpg)
-634954864847187500.jpg)
-634954865047500000.jpg)
-634954865249375000.jpg)
-634954866326406250.jpg)
-634955967993593750.jpg)
-634955968285468750.jpg)
-634955969057656250.jpg)
-634955969230000000.jpg)
-634961961068750000.jpg)
-634961961667656250.jpg)
-634961961979218750.jpg)
-634961962171718750.jpg)
-634966920820781250.jpg)
-634966920927187500.jpg)
-634966921405625000.jpg)
-634966921508437500.jpg)
-634966254285625000.jpg)
-634966254761718750.jpg)
-634966255153437500.jpg)
-634966255502968750.jpg)
-634966256650937500.jpg)
-634966256854687500.jpg)
-634966257558281250.jpg)
-634966257746718750.jpg)
-634966258163750000.jpg)
-634966067328750000.jpg)
-634966068045000000.jpg)
-634966068766093750.jpg)
-634979120024531250.jpg)
-634979121039375000.jpg)
-634979121191875000.jpg)
-634979122585781250.jpg)
-634979122849843750.jpg)
-634982661826220703.jpg)
-634982662011787109.jpg)
-634954100905156250.jpg)
-634954101097343750.jpg)
-634954101331718750.jpg)
-634954101791875000.jpg)
-634954102047343750.jpg)
-634954102225312500.jpg)
-634954102518750000.jpg)
-634954102695000000.jpg)
-634912695324931640.jpg)

-634881857145156250.jpg)
-634899524197255860.jpg)
-634899524412343750.jpg)
-634899524565830078.jpg)
-634905744360322265.jpg)
-634905744808828125.jpg)

-634952517295312500.jpg)
-634952518096250000.jpg)
-634952518363593750.jpg)
-634952519087500000.jpg)
-634952519325625000.jpg)
-634953296065625000.jpg)
-634953296478750000.jpg)
-634953296688906250.jpg)
-634953297970781250.jpg)
-634948929860781250.jpg)
-634948930568593750.jpg)
-634948931050156250.jpg)
-634948931338125000.jpg)
-634948931513750000.jpg)
-634948932129062500.jpg)
-634948932351562500.jpg)
-634930608073125000.jpg)
-634930608951250000.jpg)
-634930610537968750.jpg)
-634948774508906250.jpg)
-634948774728125000.jpg)
-634948775394531250.jpg)
-634948775567031250.jpg)
-634948776015625000.jpg)
-634948776181875000.jpg)
-634948777227343750.jpg)
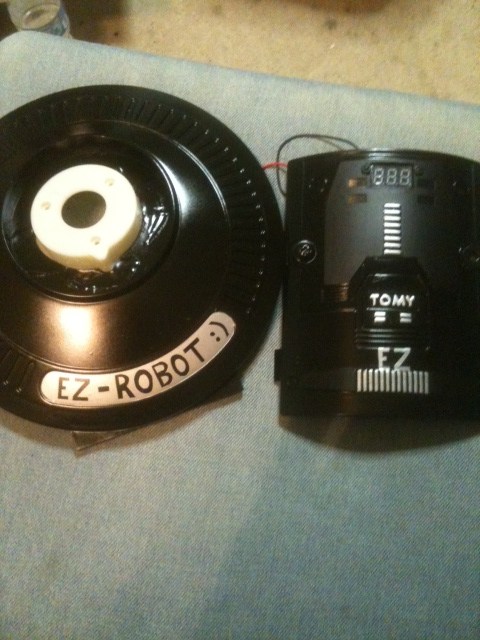
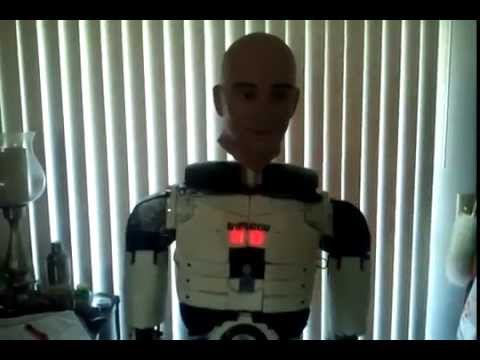
Since my original work on BOB (Bret's OmniBot) I have worked on a couple of other robots and now Bob is feeling left out. So it is time for an upgrade. Soon he will become Gunslinger Bob and sport some killer weaponry. Thanks Josh!
By bret.tallent
— Last update
Other robots from Synthiam community
Redzone's Mo, My Inmoov
Inmoov Mo build progress: assembled torso, shortened neck to fit larger head, awaiting EZB4 to power the head and add...
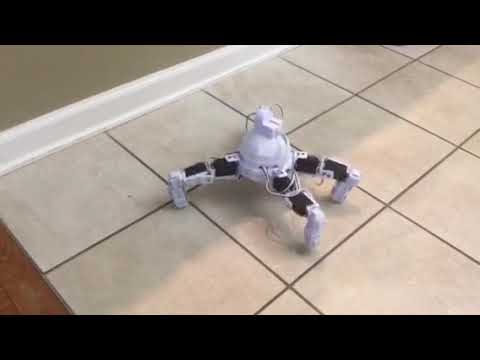
Ezang's My New Robot - Spider Bot
New robot showcased again, enjoy and laugh at my latest robot.
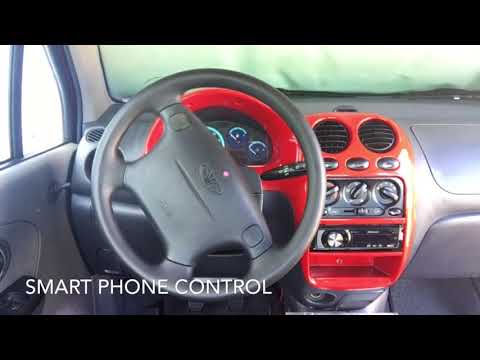
Bravia's ?? Automation Project
Auto conversion of a standard car automating steering, clutch and gears with switch-to-AUTO, EZB controller testing,...

Yup soon you will get your first goody box!
2 x New Cyberforce Defender automatic airsoft guns Modded nerf launcher case NEW 12V Yusa 7ah battery 7 inch LCD display Roll of dynamat Servo ext wires Ez board 40mm cooling fan
We want to get gunslinger bob going so he can show off his skills at makefare (I think I spelled it right lol)
Josh, you da man!
Second Goody Box set to go out tommorow
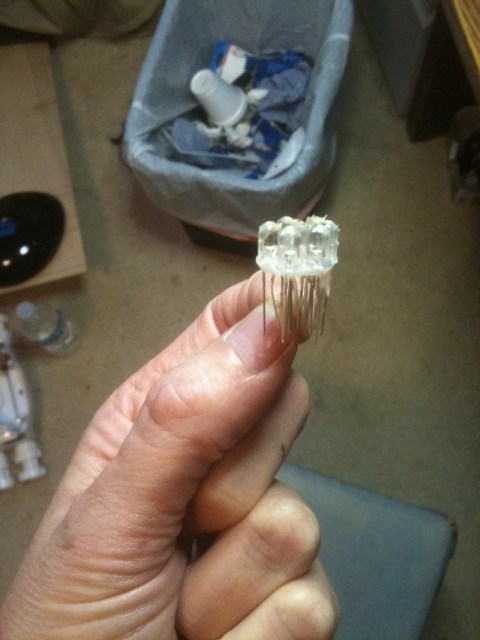
Robie SR helmet and torso topper New 12V Yusa Battery 7ah Laser pointer Xt60 turnigy high amp connectors Spare rotary tool Omnibot 2000 motors
Edit: Also included 2 x EZ Robot High Torque servos for arms (the guns might be too heavy for standard servos) Craftsman electric screwdriver
Josh, I don't know what to say except thank you.
@brett no problem man , we gotta make ourselves and EZ Robot look good at makefare. . This should give gunslinger bob everything he needs to get moving and shooting stuff.
That's right, and RoboRAD can haul drinks around for us in his cooler trailer. I think we can make a good showing. I should have at least 3 bots to bring. It would be cool if DJ would come too.
Well between radb9 , gunslinger bob, robotrad, dusty, Jarvis, cyler, Rad Rattler and dusty we could potentially bring 8 robots to the show. I dont know if he would want to fly in but looks like so far we could bring a handful of robots.
Something just occurred to me! We should install those brackets that use laptop locks or somthing so we can lock the robots individually down to the table or to each other so someone cant walk off with one of the robots and we could enjoy the fare without being paranoid a robots going to walk off (thats not supposed to)