Asked — Edited

Upgrading Makerbot Replicator 2 Heater And Extruder Mk6

I have 2 Makerbot Replicator 2 series 3d printers as many know. These are very popular printer that is good enough for a entry level engineer and great for the individual who wants to create. There are many off brand machines that basically duplicate the makerbot . When I took my machine apart recently the first thing I noticed is nothing says makerbot on it , not the stepper controllers , not the reprap controller , or any of the steppers which tells me they outsource all of this. What I want you to take away from this is though makerbot has a great product there are excellent replacements or even upgrades.

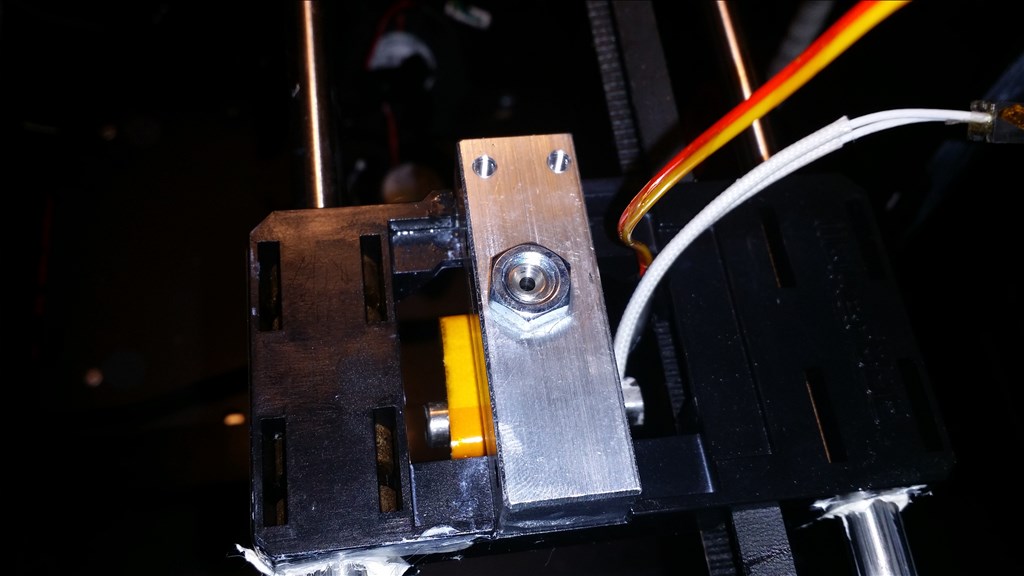
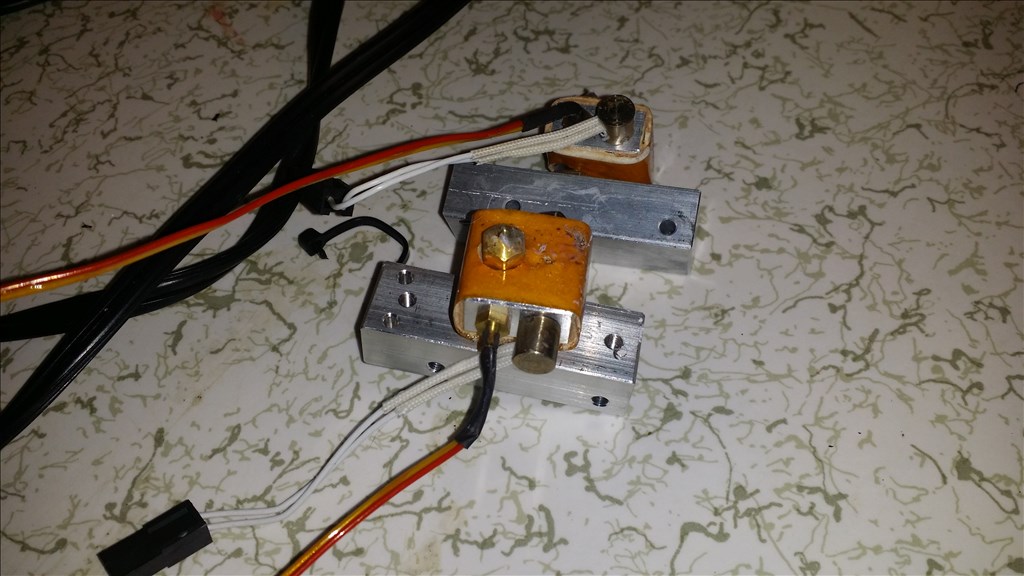
The original tips that came with maker bots were prone to clogging and heaters wear out quickly. Here I am swapping out the original assembly for a mk6 bar assembly.
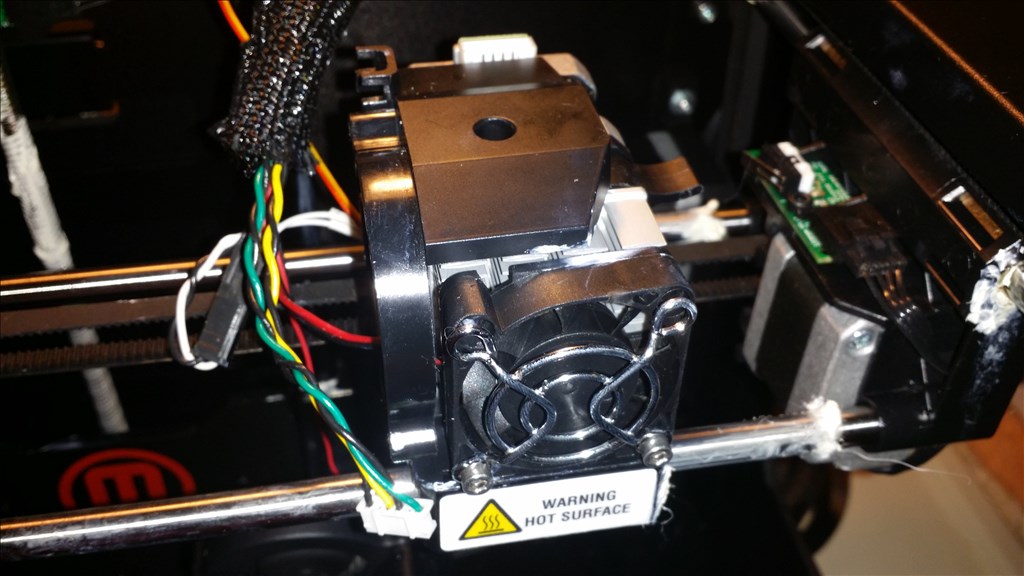
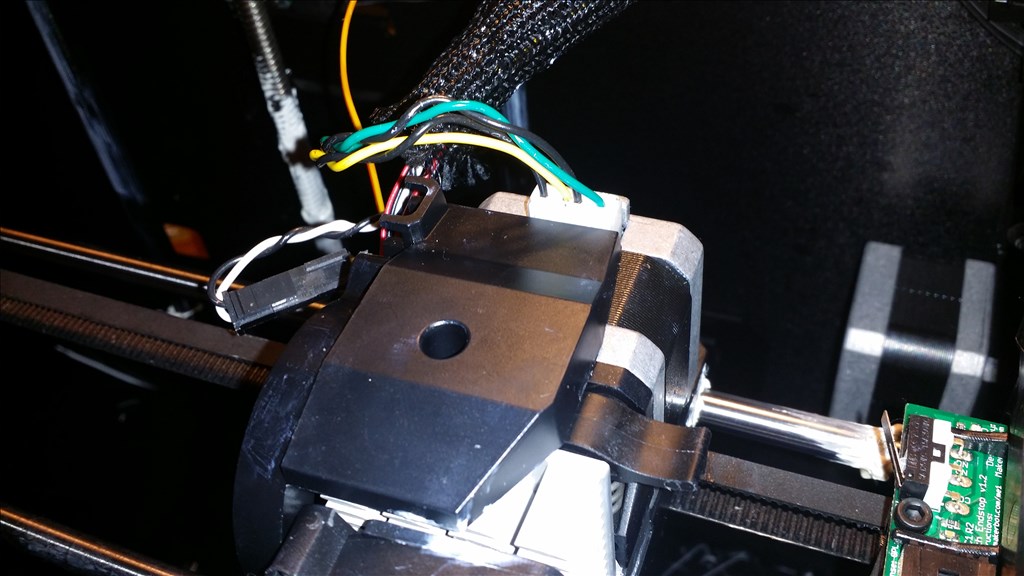
 User-inserted image

User-inserted image

User-inserted image

User-inserted image

User-inserted image

User-inserted image

User-inserted image

User-inserted image

User-inserted image

User-inserted image


ARC Pro

Upgrade to ARC Pro

ARC Pro is your gateway to a community of like-minded robot enthusiasts and professionals, all united by a passion for advanced robot programming.

#1  

Removing extruder

  • flip the makerbot onto it's side -remove the 4 screws from the under cover and carefully remove the bottom
  • unscrew the temp sensor leads
  • cut all zip ties along the cable bundle -remove the temp sensor leads from the bundle until you reach the extruder assembly -unscrew the two Phillips screws in the blower fan -unscrew the extruder cooler fan and remove it
  • use Allen wrench to unscrew the fan mount shroud. There are two screws side by side.
  • unplug the stepper and remove it
  • remove the two Allen screws from the underside of the bar assembly and now the whole extruder can be removed
  • unplug the heater , the wires are white and black

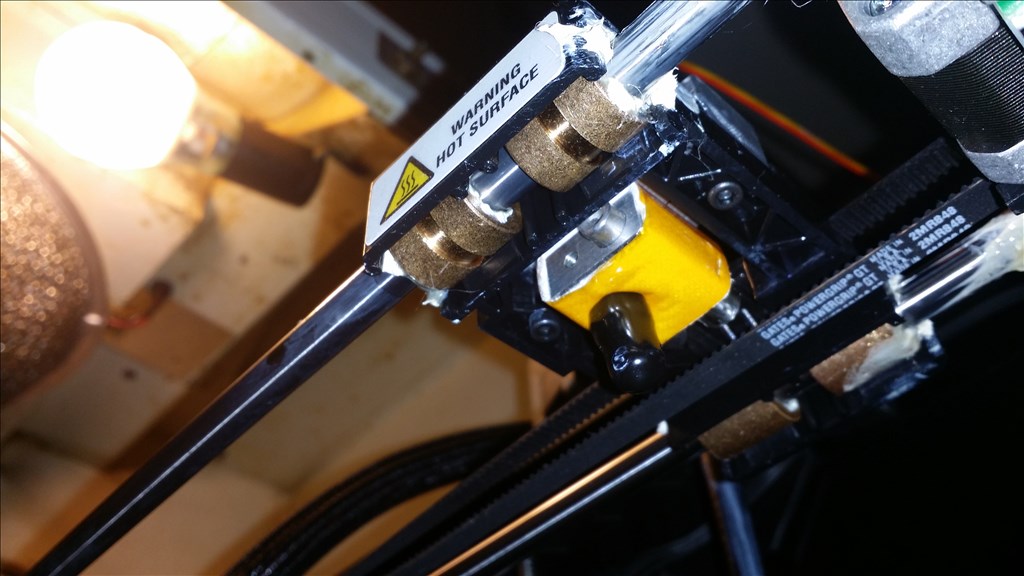
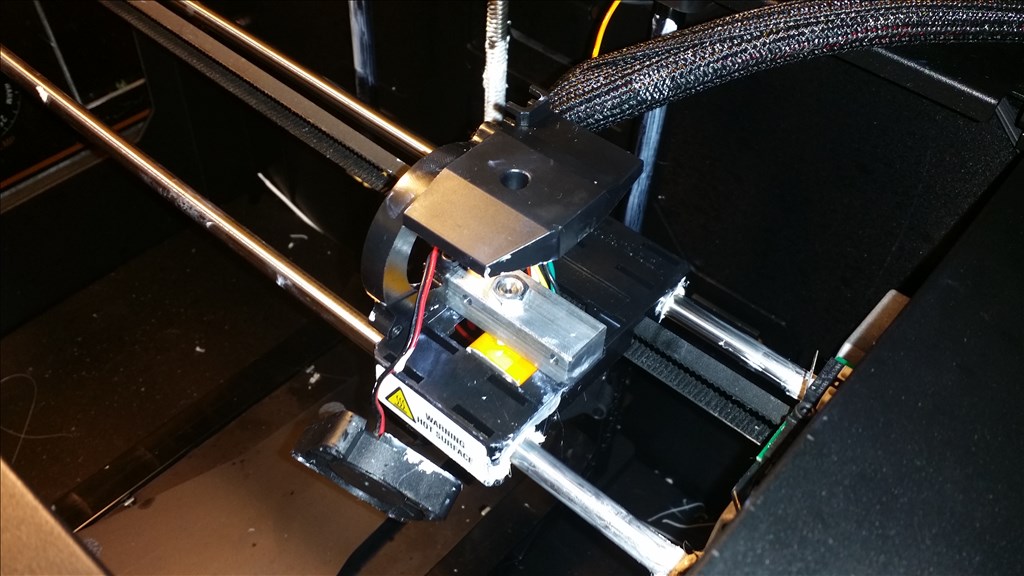
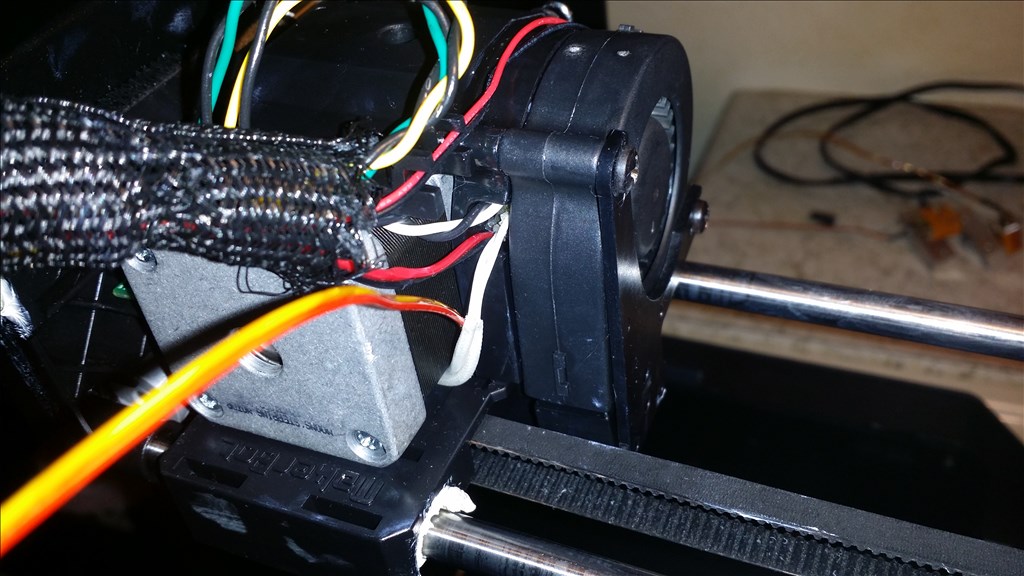
Installing the extruder
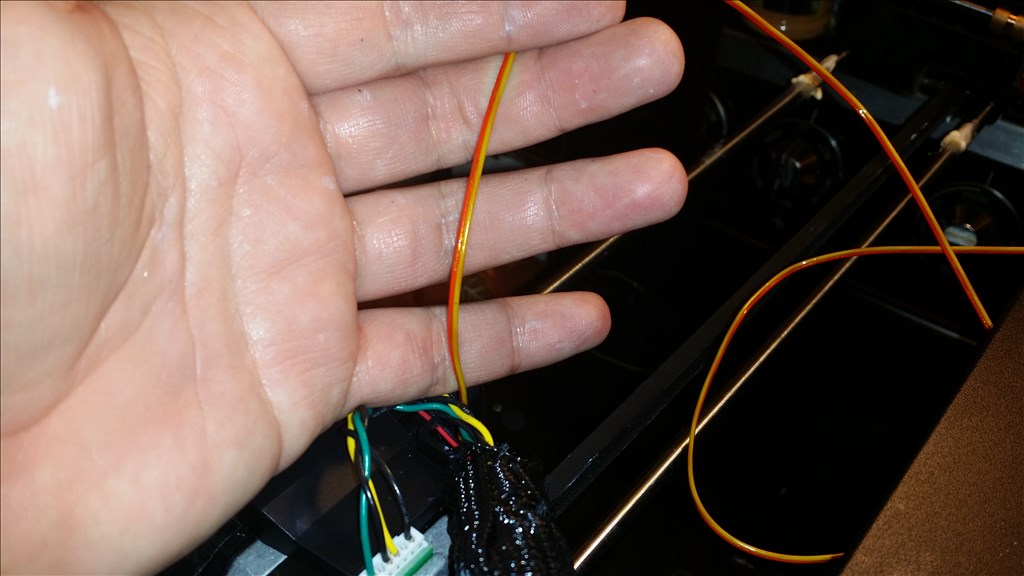
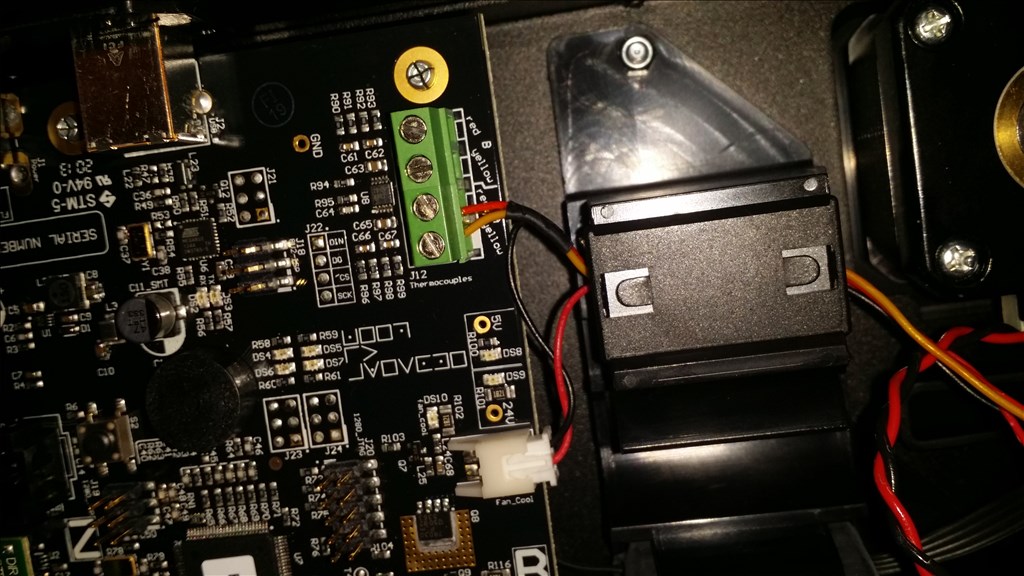
-plug in the heater

  • place the assembly down -use the two Allen screws to affix it from the bottom -reposition the fan mount shroud and screw it down with the two Allen screws -position the stepper onto the carriage and over the extruder -position the heatsink against the extruder lined up with the holes. -use the two very long chrome Allen screws and spacers to mount the fan. These screws go through the assembly directly into the stepper motors casing. This mounts both items
  • plug in the heater and tuck the wires into the found mount shroud. Then use the two Phillips screws to remount the blower back. :: MAKE SURE YOU DO NOT PINCH THE HEATER WIRES , this is very easy to do::
  • once this is done last is plugging the stepper motor wires back in. -feed the thermocouple wire back into the bundle of wires until you reach the base. Flip the makerbot on its side.
  • feed the thermocouple wires (yellow and red) through the choke.
  • use wire clippers to shorten the leads by about 1/8 inch.
  • insert them into the red and yellow thermocouple terminals and screw them down.
  • remount the bottom cover with the 4 Allen screws carefully

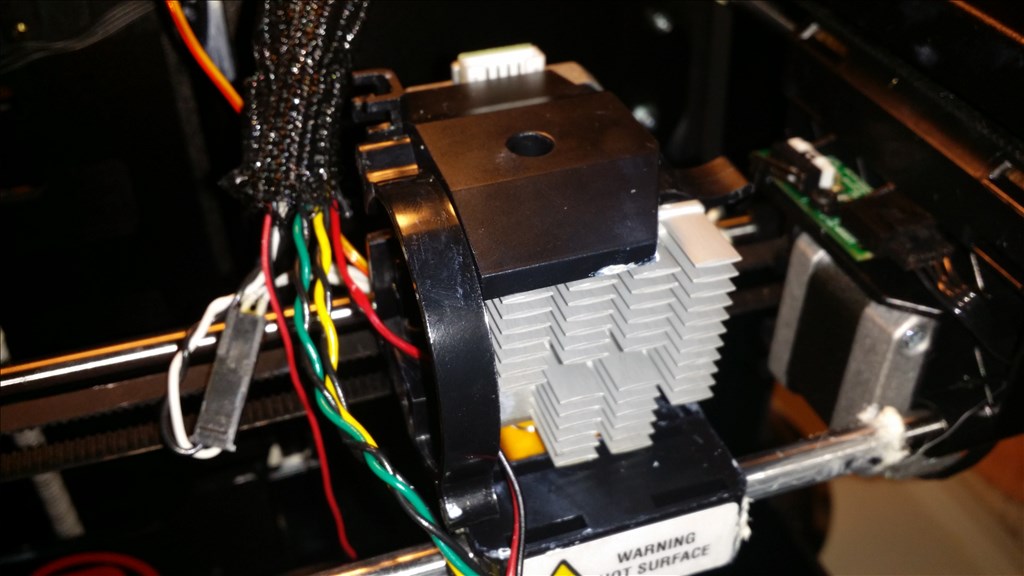
When everything is back together you can use 4 zip ties to affix them to the designated mounts , 2 on the back , one by the stepper on the carriage and one at the base of the cake bundle.

The makerbot extruder tip I'm told is .2mm but for some red the one they sent appears to be a tiny bit bigger. Maybe the original was a .1? I have read the smaller the tip the more likely a clog and also it is difficult to clean.

Cleaning - I picked up a set of extruder cleaners. They are like tiny drill bits the exact size of the extruder tip you use to clear it from the outside. In the future I'm going to clean the tip every few hours of printing because I really don't like the se clogs. I have had 7 all together , two in the he same day within a couple hours.