Asked — Edited

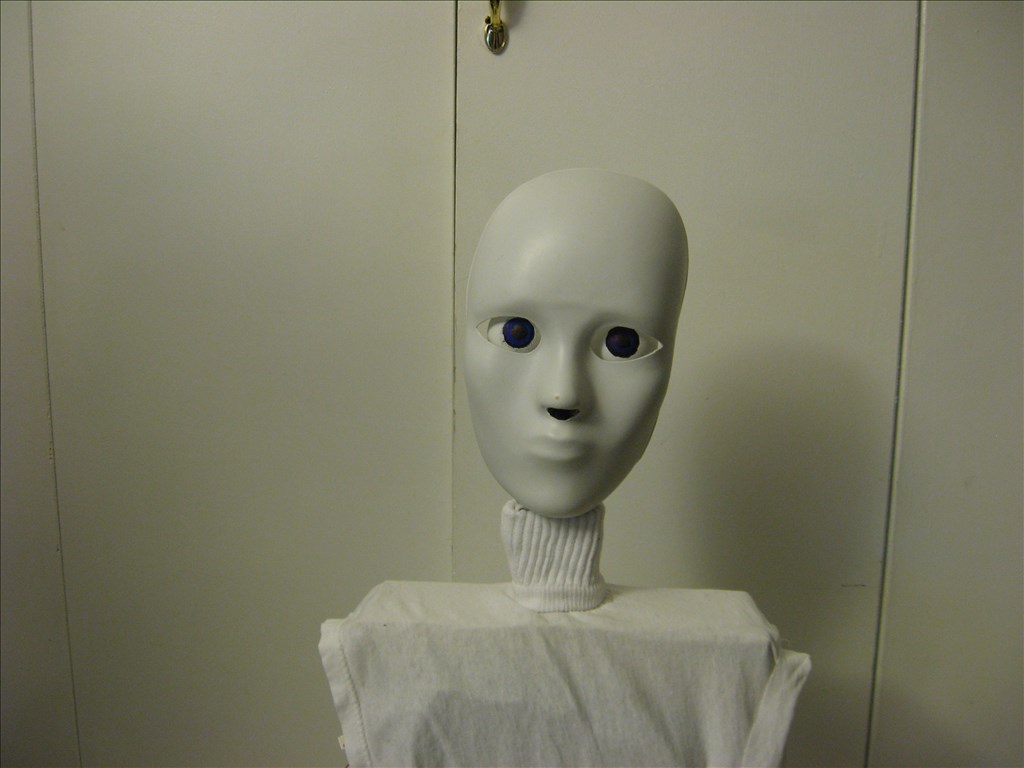
Tips On Humanoid Head Design For 3D Printing?

Soon, I will need to make a decision about whether the JD head will be the best choice for the user (student) interface for the distribution version of my remedial math tutorial system. If not, I will be considering designing and 3D printing my own design.

My question is whether you have any tips on design so that cleanup is minimal, assembly is straightforward, and required hardware fits as designed?

Ron


ARC Pro

Upgrade to ARC Pro

Unleash your creativity with the power of easy robot programming using Synthiam ARC Pro

#1  

I don't have any specific 3D printing advice, but in my opinion I think something with a moving mouth and a somewhat more humanoid shape will fit the concept you are going for better than a JD head. (although I suspect if you count in the time and materials, your costs would be higher than just buying JD heads and mounting plates).

Take my advice with a grain of salt though. My wife and I are childless by choice and I don't really get along well with children or teens that are not related to me (and some that are...) so I may not be the best judge of what would work as a teaching aid for that demographic.

Alan

#2  

MathProf Although not a humanoid looking head, you may be interested in this design that is already for 3D printing since the STL files are easy to download. There are also construction procedures available online at this [url=https://blog.adafruit.com/2014/03/29/

Once you reach the site, scroll down the page and look for the "Robot Head" topic. The URL link cannot go directly to the topic because part of the URL address contains the word "learning" which is smacked by the EZ site as something else.

User-inserted image

#3  

Yes, agreed, Alan. For sure I want the students to quickly identify with the interface. Since my hope is that there is a high demand for the final product and so a need for a good production rate of heads, more than likely modifying JD heads is a second choice.

Thanks for your (childless but helpful) perspective. :)

Ron

#4  

Check EDIT changes to my earlier post Ron.

#5  

@Robot-Doc

Will check it out. Could be a very useful resource.

Thanks!

Ron

#6  

@Robot-Doc

The link didn't work directly, but I did get to the base website. I believe I'll be spending a bunch of time there. For those who might be interested, here's the "About" blurb for adafruit.com:

Adafruit was founded in 2005 by MIT engineer, Limor "Ladyada" Fried. Her goal was to create the best place online for learning electronics and making the best designed products for makers of all ages and skill levels. Adafruit has grown to over 50 employees in the heart of NYC with a 15,000+ sq ft. factory. Adafruit has expanded offerings to include tools, equipment and electronics that Limor personally selects, tests and approves before going in to the Adafruit store. Limor was the first female engineer on the cover of WIRED magazine and was recently awarded Entrepreneur magazine's Entrepreneur of the year. Ladyada is on the NYC Industrial Business Advisory Council. In 2014 Adafruit was ranked #11 in the top 20 USA manufacturing companies and #1 in New York City by Inc. 5000 "fastest growing private companies".

Great tip! Thanks!

Ron

#7  

Ron, fixed the URL kinda. You can now get closer to the topic and just have to scroll down to find the robot head post. There is a keyword (learning) in the original URL that gets smacked and not recognized as part of a URL and thus a 404 error.

#8  

(we need to thank DJ for that gob-smacking?)

#9  

Here are two more ideas to add to the mix,

A simple mask with eyes and mouth. the example is eyes only but a servo and a sound /servo board could operate the mouth.

The second one is more complex. use a form with a display inside. the screen would show thru the form as a face or data.

User-inserted image

User-inserted image

#10  

Many craft stores carry these items

Ron R

#11  

There is also the old Disney technique of projecting a face onto a blank head. It's amazingly lifelike when done with a video. It could also be done with a blank mannequin head or mask (as shown in the previous posts) and a small video projector. Brookstone has a nice small one. The projector would be mounted just above the head and out in front somewhat. The video face image might have to be modified somewhat to make up for distortion caused by projecting at anything other than a straight projection to the face. The face and eye and lip movements would would be hosted on the workstation PC and synced to the words. Such a system would allow for different faces at each position as well as non-hardware modifications when making changes to the face. Each user can have a face of their choosing. The only significant hardware cost would be the projector and mount. Not sure how it would work out in a fully lit room, but the mount would provide some shading for the head.

#12  

Thanks Ron and WBS! Some good ideas to look at there.

Here's more: look at how they get Robothespian to "talk" without moving the jaw . . .

Robo Thespian

No so many servos!

Ron

#13  

I was told a Scary Terry board with some linkage on one servo will do what we saw on the video. The mouth servo will follow the speech played. No scripting needed. Pull the audio off the EZB or audio source to the driver board. Someone, I think it was Dave Cochran, just did a thread on it not too long ago. The next version of my robot will have that type of system on it.

Ron R

#14  

I didn't see anything concerning Robothespian talking without moving it's jaw. But I did see the Socibot doing that via projection. Looking at some videos showing the Socibot in action. It appears they use rear projection, eliminating the problems with front projection. The projector(s) might be in the body with the image(s) sent to the face via a front surface 45 degree mirror. Though there could be a problem keeping the image in place as the head moves, requiring the mirror to move to compensate. Placing the projector in the head would be a problem due to space. Perhaps a mirror system there could help as well, allowing the projector to be placed vertically in the lower part of the head, again using mirrors to bounce the image to the face. That would give a longer optical path as well so as to make the image larger in a small space.

A ready to go unit is only about $14, 780. Of course it has all sorts of bells and whistles and price markups. Should be able to make something like it much cheaper. Using an EZB4 it can still have facial recognition and tracking. Though I would suppose the user would not be moving about while seated at the station.

Those things should not be called robots. They are actually animatronic devices. A robot would have it's own power source and be able to move about on it's own. The Robothespian likely can't even stand on it's own, let alone walk. If it were a true robot, one would expect that it could do both. With these, an air compressor (or an air tank) would have to somehow be on board to boot. Backpack maybe. Looks like the actuators for the air servos and cylinders, at least, are on the figure itself, but I'm not sure.

#15  

@ MathProf
Is your final project still just the head and shoulders for interaction?

If so, I assume you want a camera installed to allow tracking eyes and maybe the head and neck movement, a moveable jaw for speech, and maybe eyebrows or some other expressive device. This is can be done as you have seen with "Alan".

Or your other option being a projected unit such as a flat screen interaction or a projection within a head (the Disney concept). This "Smoke and mirrors" (LOL) in my opinion becomes to difficult and expensive to build and program.

My opinion would be to build a simple face or head and see how it would work. I tends to build rough versions for proof of concept then build the real thing. Maybe a foam head or mask from a craft store with an EZB and some servos will give you a good easy start. Tape and hot glue rules for the build.

Just an opinion from another Ron,