
Provides a means to send HTTPGet() messages from ARC to the IFTTT applet Webhooks Channel in the IF This clause, allowing EZB scripts to use a ControlCommand() to activate IFTTT applets
 Get
Version
4
Get
Version
4
How to add the IFTTT Sender robot skill
- Load the most recent release of ARC (Get ARC).
- Press the Project tab from the top menu bar in ARC.
- Press Add Robot Skill from the button ribbon bar in ARC.
- Choose the Misc category tab.
- Press the IFTTT Sender icon to add the robot skill to your project.
Don't have a robot yet?
Follow the Getting Started Guide to build a robot and use the IFTTT Sender robot skill.
How to use the IFTTT Sender robot skill
Please note that this plugin only handles the sending of messages to IFTTT. If you plan on receiving messages from IFTTT, take a look at this tutorial: https://synthiam.com/Support/Skills/Misc/IFTTT-Sender?id=15883
As this is my first plugin, it may be a bit rough... feedback and advice welcomed. Thanks to DJ Sures for the great plugin tutorial and sample code.
- First, create an IFTTT account here: https://ifttt.com/


Click on My Applets

Click on New Applet

Click the "If This" clause

Choose Maker Webhooks channel

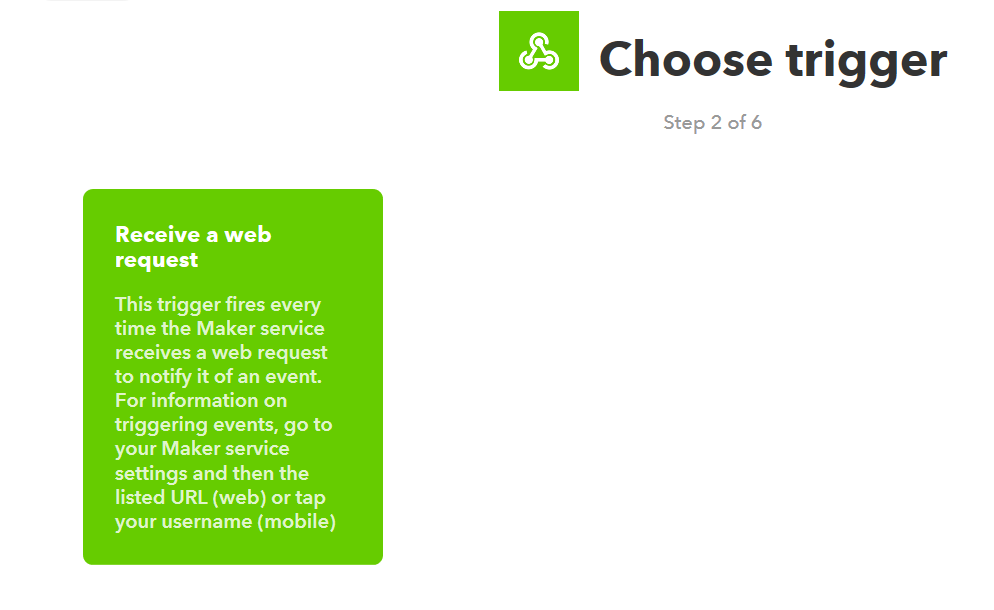
Choose a trigger- receive a web request
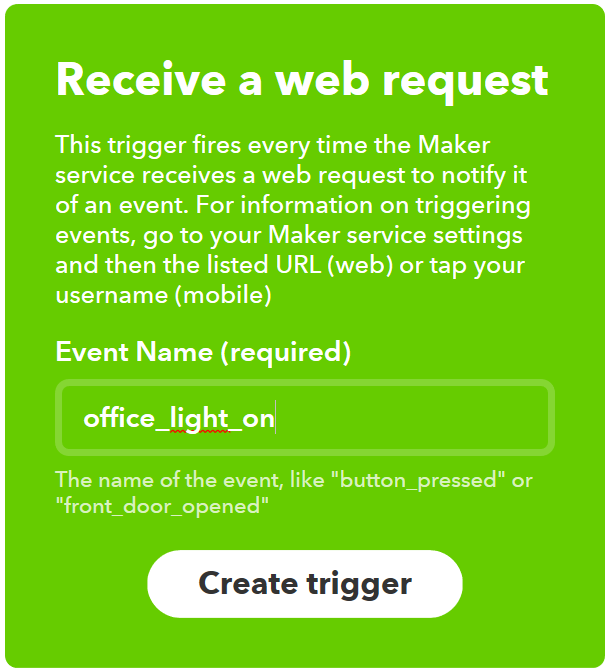
Enter an Event Name- Remember this exact name for use in your EZB script. In my example, I chose office_light_on Click Create trigger
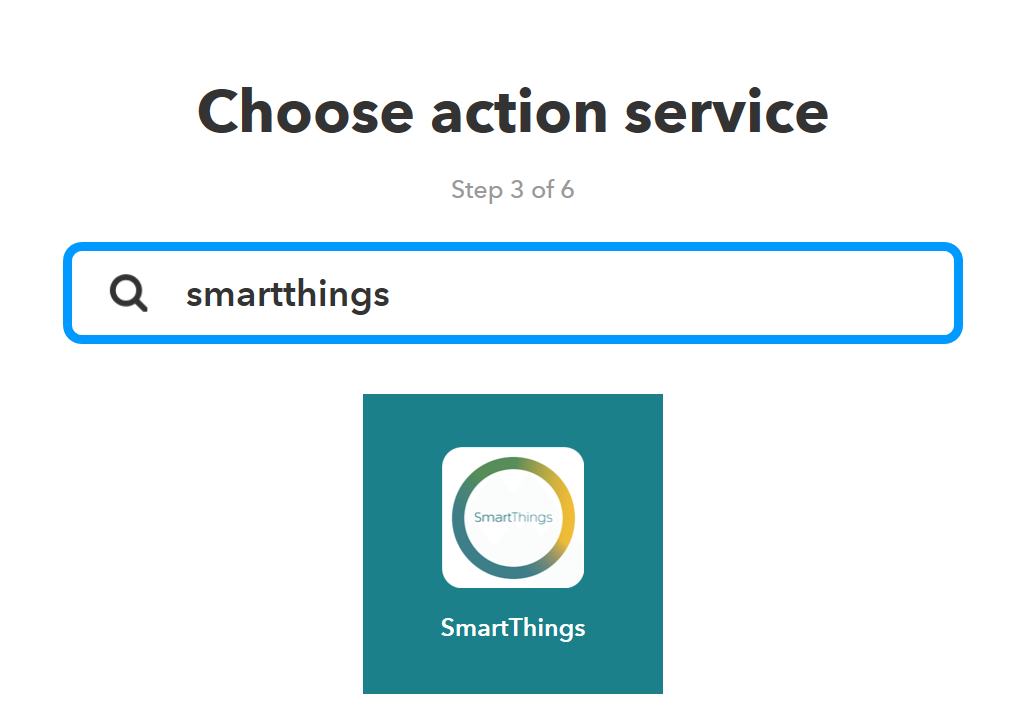
Click Then That

Choose Action Service- in may case, SmartThings.. you could chose anything e.g. WeMo
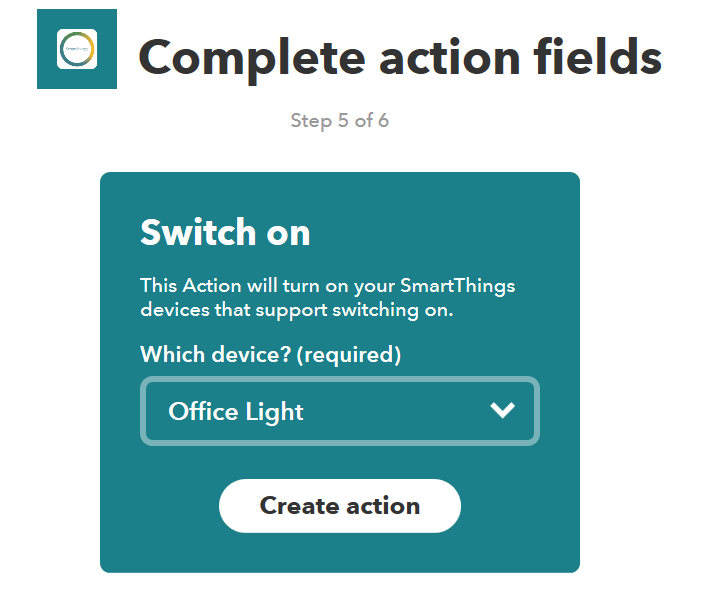
The rest of the steps are SmartThings specific... Choose Action
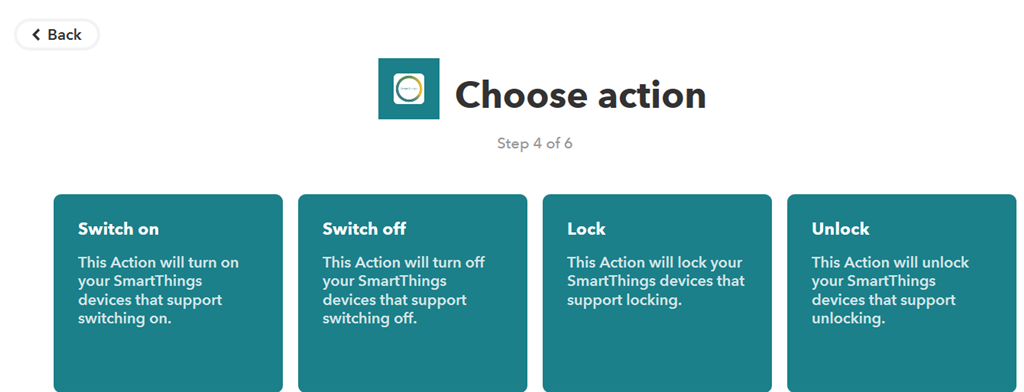
I picked Switch On
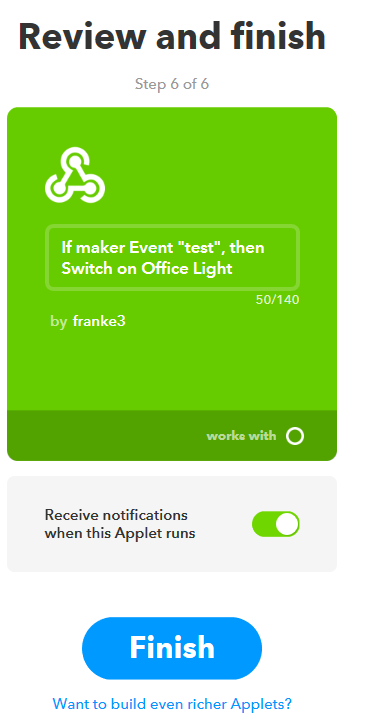
Finally- Finished with IFTTT side
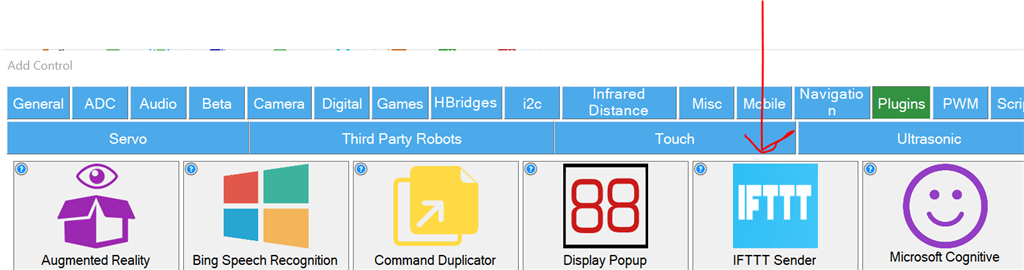
Now, unto setting up the Plugin..... In your EZB project, add the IFTTT Sender Plugin
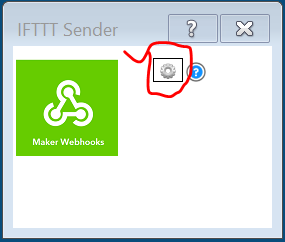
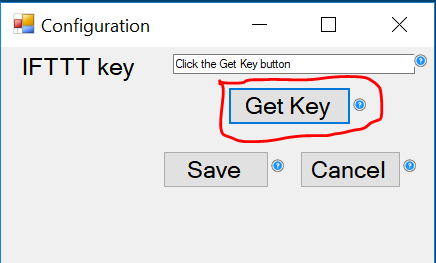
Click the Configure button
Click the Get Key button
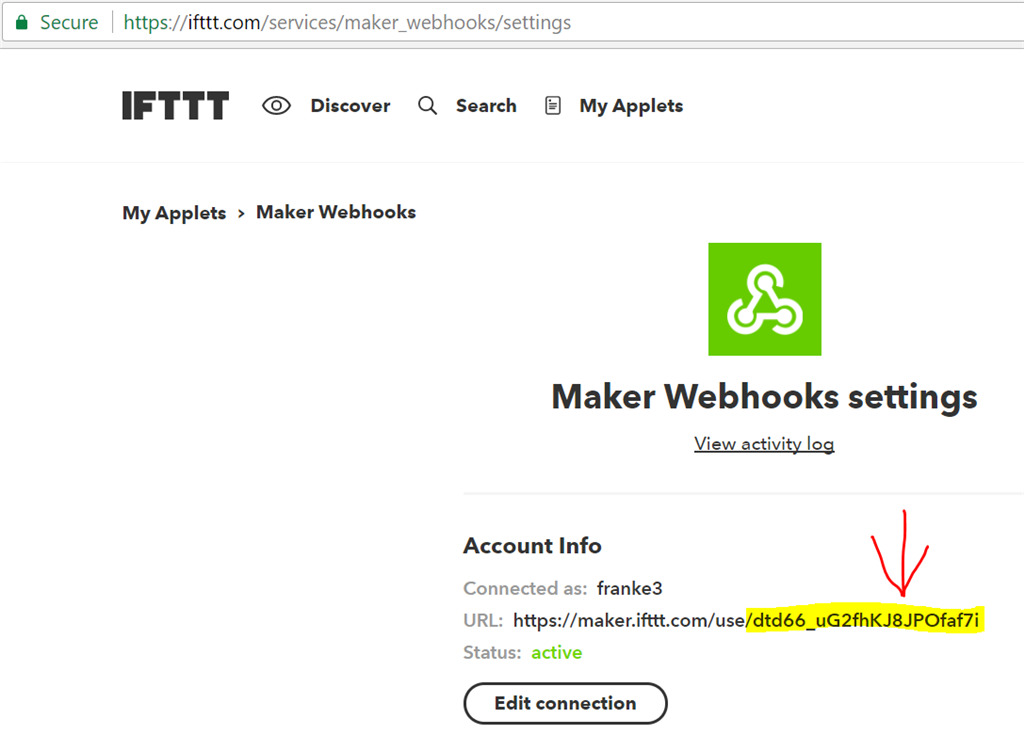
Copy the IFTTT key
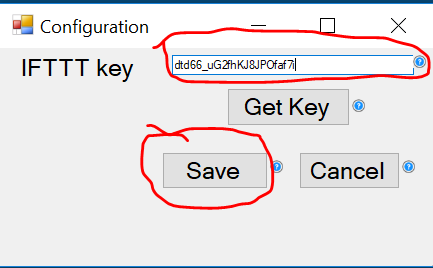
Paste it into the form and save it
The plugin is now ready to use...
Create a script in your project
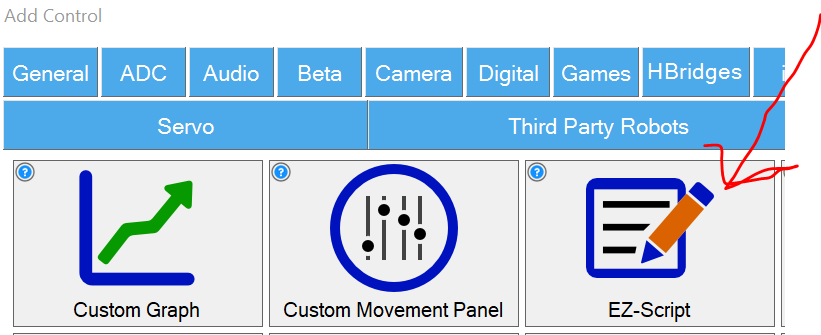
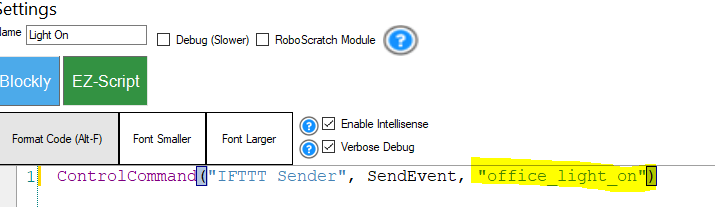
Right-click in your script and choose ControlCommand for IFTTT Sender

Edit the script- use the exact Event Name you setup in the IFTTT applet. Remember to keep the quotes
Save your script and test it

You are now ready to start using the plugin in any script... enjoy
