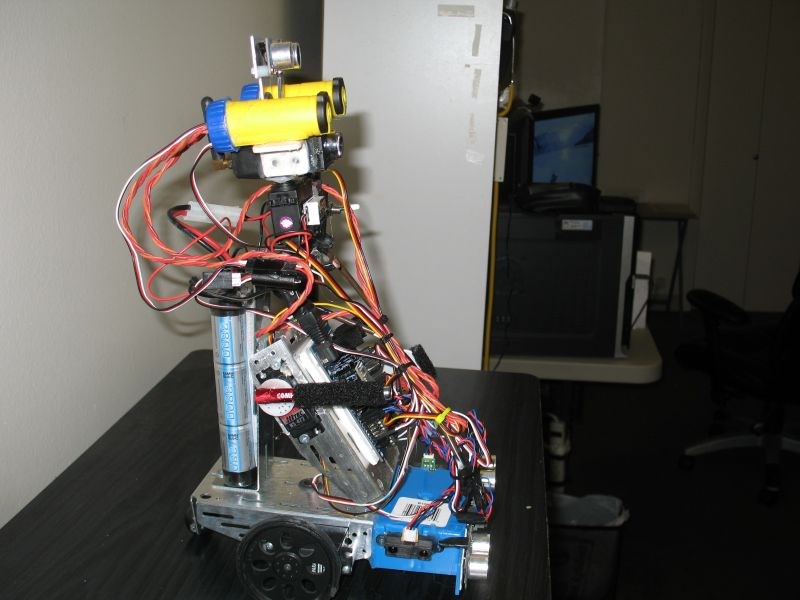
Initial test of my InMoov robot running on the new EZBv4. I have 24 servos connected to one v4 and all are running OK.
Thanks for everyone's help to get it up and running.
By bhouston
— Last update
Other robots from Synthiam community
Moviemaker's Bobii Reborn From Frizby Bob
I decided to make a smaller test-bot. My wife said I could not buy or make any NEW robots. So, I took my BOB Frizby...
J's My Hexapod Project
This is what Im now working on now I finally have all the parts for it now and all my aluminum cut thanks to a local...

Lumpy's Lumpy's - R2-D2 Build Two-Two's
Hello Again, Ive been asked to post some pics of my R2 build. Ill toss them up. This has been approx. a 3 year project...

that is the coolest robot EVER! thank you for sharing so smooth and fluid. The motions are so emotional. I'm blown away with your work
PS, now it needs an ezrobot label on the chest!
...or perhaps "Powered by Ez-Robot" !
I had to watch this a few times, it's so "awesome" (to copy an expression from one of my kids)!
What a fantastic range of movements, all so smooth and lifelike! You've done an amazing job of it!
I see Wall-E in the background watching intently, saying "I wish my arms could move like that"
@bhouston... Nice work.... I assume you did all this on a 3d printer? What printer do you have and do you have a link to the Inmoov project and 3d files?
I echo what DJ said, coolest robot ever! I only wish I had the funds to build one myself, this has made me want one even more. No disrespect to anyone but this really makes all others pale in comparison!
Also, I've not forgotten about your emails I just haven't had too much time lately, I will get on to having a look soon though.
@Rich... I totally agree... I haven't been interested in a 3d printer until recently... I don't really have the money either right now, but after seeing the inMoov (and @bhouston's version) project I am going to try and find the money... Since I basically know squat about 3d printing I need to do some research first... Then I have to find a good printer...
Nice job!
He has a makerbot in the background. The files are on thingiverse. Instructions are in the inmoov website for the build.
This is an awesome build. Thank you for sharing. I have the left arm printed and my printer died. Parts on the way and I will be printing again.
@d.cochran.... Thanks
Your Immoov is so awesome! What a great job! The movements are great.
I see you have the lower pelvis, is that on Gael's site? Are you using POTs on the side to side movement?
Over the top! VERY impressive.
Would you share what servos your useing for the shoulder and elbow? Are they able to go any faster or is what you've shown top speed? They sound powerful.
bhouston, Your project is so impressive! We are all anxious to learn more details. If I had a 3D printer, I know what I would be building! What is the weight of your build? Steve S
Great Job! Nice to see a v4 in full action...
For person's looking for a great 3D Printer, check this site what this guy does with 3D printing. I have the same printer.
xrobots.co.uk/
J :D
I've followed James' (Xrobots) work for years, in fact his android 12 has been a huge influence in my androids design. However, I still think the inmoov (especially EZ-B powered) is the most impressive robot I've seen
Thanks for all the nice comments. For more info on this robot check out www.inmoov.com, all of the information is there, as well as, all of parts downloads and assembly instructions. I have put about 600 hrs on my Makerbot Replicator 2 3D printer to print out all of the parts and I have lost track of how many hours I spent building it. The robot has 11 HS - 805BB servos, these are in the head, neck, shoulders, biceps and torso and there are 13 smaller servos -HS-311 and MG996R - one for the jaw and 6 in each forearm, for the wrists and fingers. It also has one of EZ-Robots cameras in an eye as well as a PIR sensor to detect motion. There are 2 more servos for the eyes but I'll have to install a second v4 to run them. My goal now is create some interactive scripts for the robot - this may be more challenging than building it - I'm not very good at writing scripts but I will learn. My other goal, as I have mentioned before is to get the jaw moving with text rather than with sound. A life size humanoid robot, in my opinion, really needs to "talk" properly. Thanks again to everyone who has helped me out with this project.
@bhouston... I may actually tackle Inmoov one day. First I need a 3d printer. I am actually doing a similar project that you are doing, however not as impressive as your 600hr inmoov bot... Here is the link Fritz Robot Basically I got it because it was cheap and will allow me develop some sophisticated human expression and interaction routines until I can afford to upscale to something like inmoov...
Note what bhouston says... 600 hours printing minimum if everything comes out right the first time... I had many printing issues. There is also a lot of working with parts to make them fit properly and get the gears running correctly.
I met with Gael in September ay Maker Fair in NYC. Great guy. I got actually see his InMoov that he brought from France. This is a great project but take a lot of equipment and when he releases the torso and if I upgrade to V5 board I will have about $2500 invested in the project.
He did have new worm gears on his robot which his is also going to upload. at least 3 times the size in diameter. I may this winter, opt to go for pneumatic pistons instead of some of the worm gears.. still not sure.
Great project, but be sure you want to spend the time and money before starting.
I was just looking at the MakerBot website... Question, is the Makerbot mini too small to effectively produce something like the inmoov project? I would have no issues with the mechanics, electronics and programing once I have the parts. Where I don't have the experience is in 3d printing...
Richard,
No it is not too small. I am using Maker Bot Replicator 2 and I think Gael made the parts so you could use a little smaller printer.
Do not try to place too make too many parts at one time. I was getting warping. Also use default settings.
I use PLA Plastic but I believe some have used ABS with better gear results due to a small amount of shrinkage and it makes the gears fit better. I know the PLA is very tough.... but I really do not know what plastic is best. I believe Gael used ABS.
@jackphillips1953 that is a serious funky robot thanks for sharing Pat
@jackphillips1953 Thanks... I can't believe I am actually considering it.... :)
As a person that has lost the ability to do ANY of the actions that the robot does due to ALS, this is the future for people like me. I doubt that affordable robotics will be a reality in my lifetime since I am in the 1% group that has outlived the 2-5 year lifespan, 13 years 5 months and counting! I am trying to find a way to get a kinova rehab robotic arm that attaches to the wheelchair and controlled with the chair's joystick. At the $50,000 asking price, I don't see it happening. You can see it in action, simply amazing. The upper torso would be my choice, if I could choose which half to be able to use again.
Awesome project man.. robot moves so life like.
and @stelmobarry thanks so much for sharing. Maybe the community here can start a project , maybe even a joint kick starter to build this thing so people can afford it.
@stelmobarry. Thanks for putting things in perspective, while we sit around playing with our toy robots there are people, like yourself, out there who could really use a robot. Whether it be a robotic arm or hand, I see that as being the immediate future of robotics. I know that Gael, the inventor of InMoov, is working on a robotic hand prosthetic. The robotic arm in your video, is very impressive but at a $50,000 price tag, not many people will benefit from it. There is a few 3D printed arms out there that could be easily built and controlled by EZ - Robot , for example there is this one - http://www.instructables.com/id/3D-Printed-Robot-Arm/
If this community is looking for a project, this would be be a noble one. @stelmobarry, please email me at - houston5913@hotmail.com.
@bhouston.... When you modified the HS-805BBs to remove the pot. Did you use the same pot from the servo in order to report positioning of the joints or did you use a different one?
I am looking at this project closely now and seriously looking at the makerbot mini as my first 3d printer...
I seem to be going down a path that I know I can't return from... LOL
Thanks Richard
I removed the pots, they are hanging of the servos now.. I have not used them yet.. I control by software the movement for now.
@Richard R, yes I removed the pot from the servo and installed it according to Gaels instructions in his assembly tutorials. Keep in mind that I built and ran it for awhile with the programming from My Robot Lab. As jackphillips said he is running his without the the pots, so I don't know if it is necessary to remove them if you are using EZRobot software. When I switched over to EZRobot sofeware I used the same settings I had before and everything is working fine. I believe all the parts for InMoov can be printed on a 6" x 6" printer bed so a Mini might work.
@Richard R, I too am using the POTs from Gael's instructions. Because I found when I removed the POTS to get the servo to run continuously , the servos would not stop in the right position to control the servos using EZB. I did find that the newer servos pots have changed from round to square. I had some burnout servos that had the round pots and used them.
I am not sure how jackphillips is controlling his servos because I tried not use the pots and could not get the servos to stop before breaking parts on the inmoov. If you find a way that would be great because for me setting the pots was a pain in the backside for me.
I am using the solidoodle 4 8x8 bed and have had no trouble with the printer. I only had problems getting the prints to stick to the bed.
If you search Inmoovs blog on google I believe you can use a 6x6 bed to print the parts.
Merne, have you used hairspray on the bed before printing? I use suave extreme hold hairspray and prints stick well.
@ d.cochran, yes. That is what I learned reading and trying different products. I sometimes use a little superglue too. Specially on parts that are tall or small. Like printing the finger covers. :)
@ bhouston , do you mind sharing where you found the lower hip cover and the stand to mount your inmoov?
@merne, I'm not sure what you mean by the "lower hip cover" as for the stand, I made it out of a telescoping light stand and made a plywood base on top of it to mount the robot on.
Late to the compliment party, but really nice work. The movement is super smooth and lifelike. Very nice.
Alan
Those modified HS-805BB are great motors for the arms and shoulders... @bhouston... Can your inmoov grasp and lift say a 500ml bottle of water?
On the inmoov site... the owner states that any printer with a print area of 12cm x12cmx12cm will work...
You can control those HS-805BBs without the external pots, but it is not going to give you precise control over the movements... Adding pots to the joints will provide feedback to the ezb as to the position of the particular joint... This is kind of important because without feedback you can easily over extend the joint stripping the gears or breaking the joint itself....
@bhouston. the part under the stomach. The v shape. is that what you made out of plywood for the stand.
@merne, correct.
@ Richard R, I have not picked up a bottle of water but I have seen other InMoov's do that and pour the water into a glass.
@bhouston... Thanks and great work... I have decided to take a stab at this... Just have to wait a week or two to get my printer....