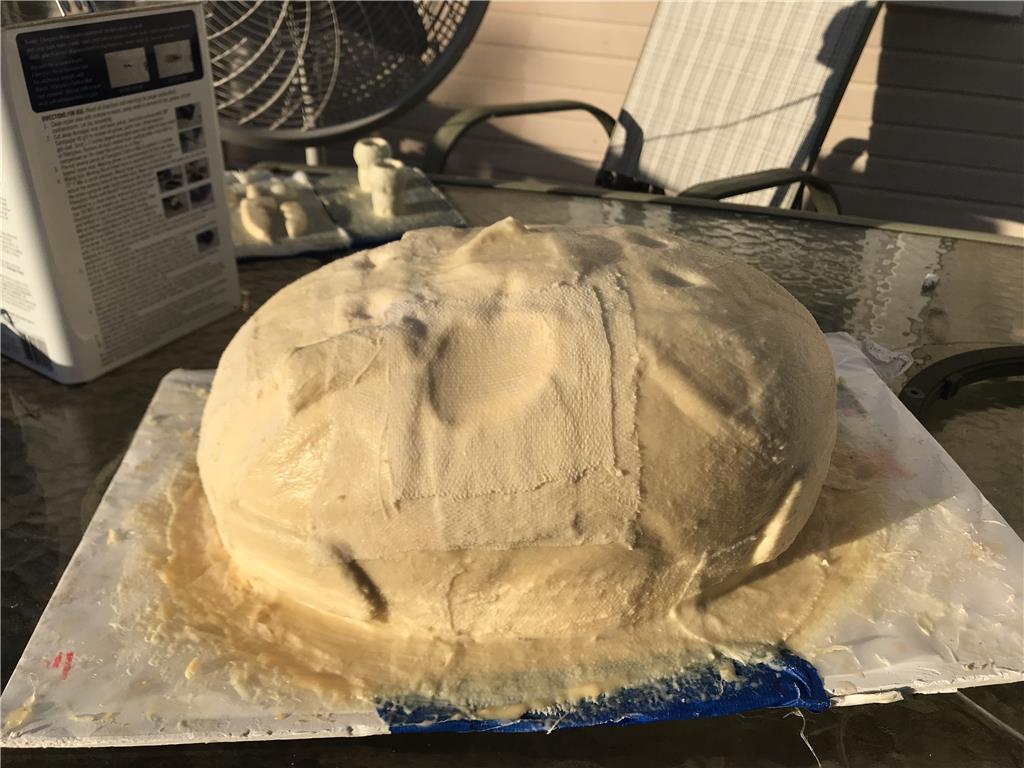
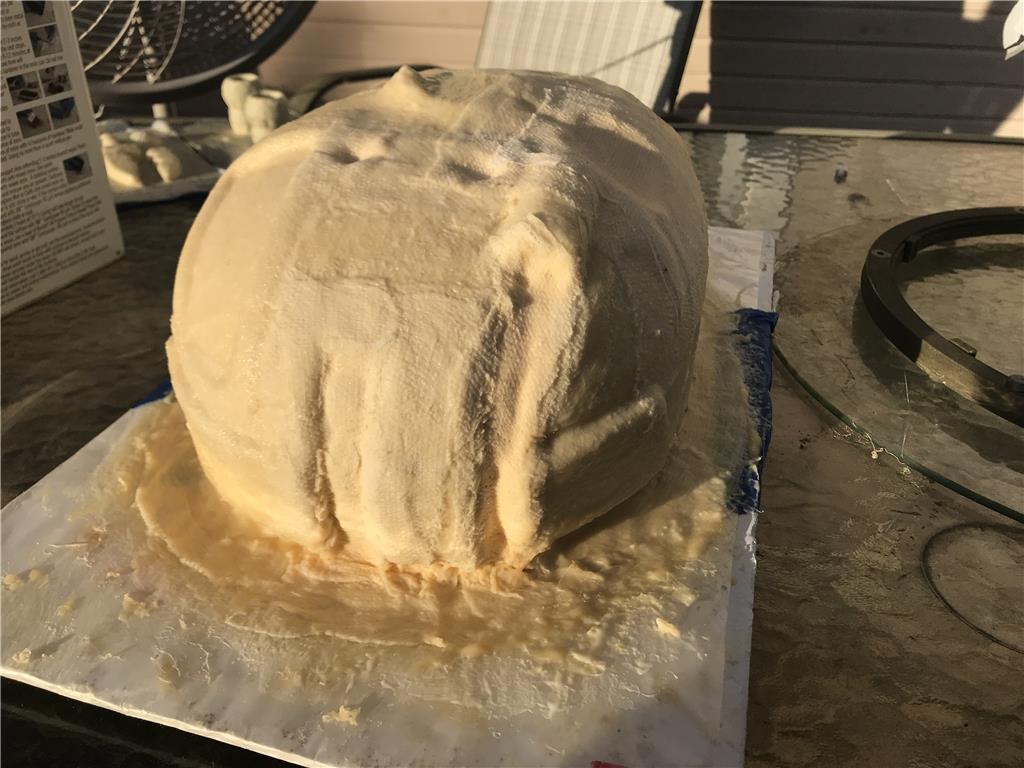


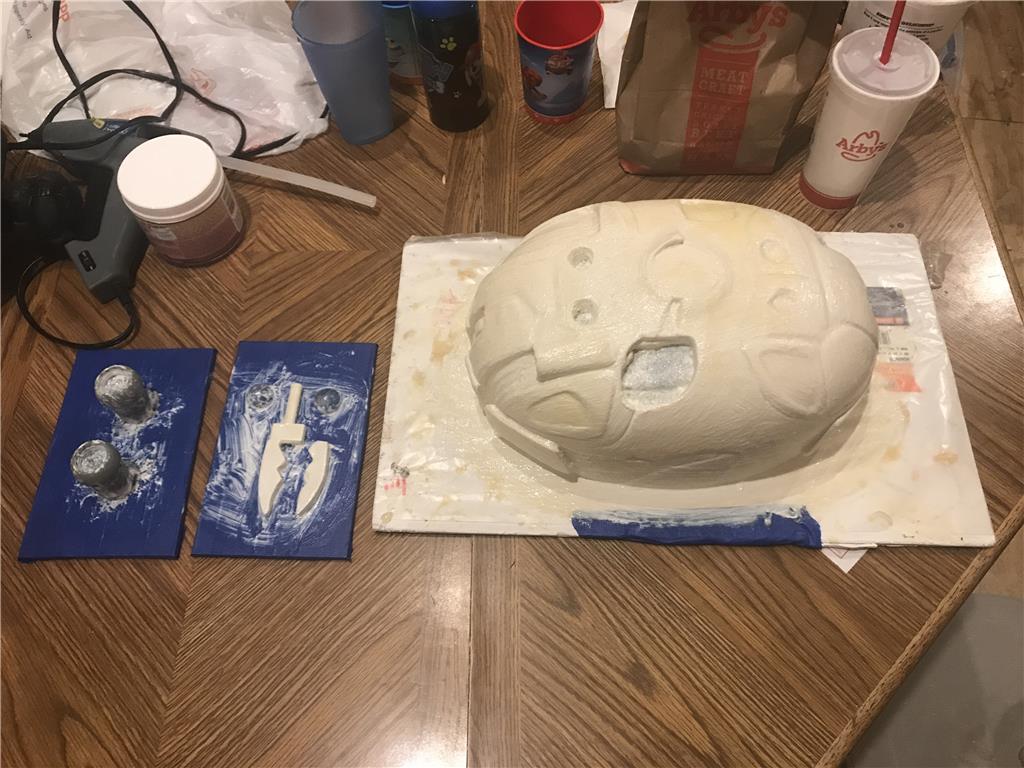

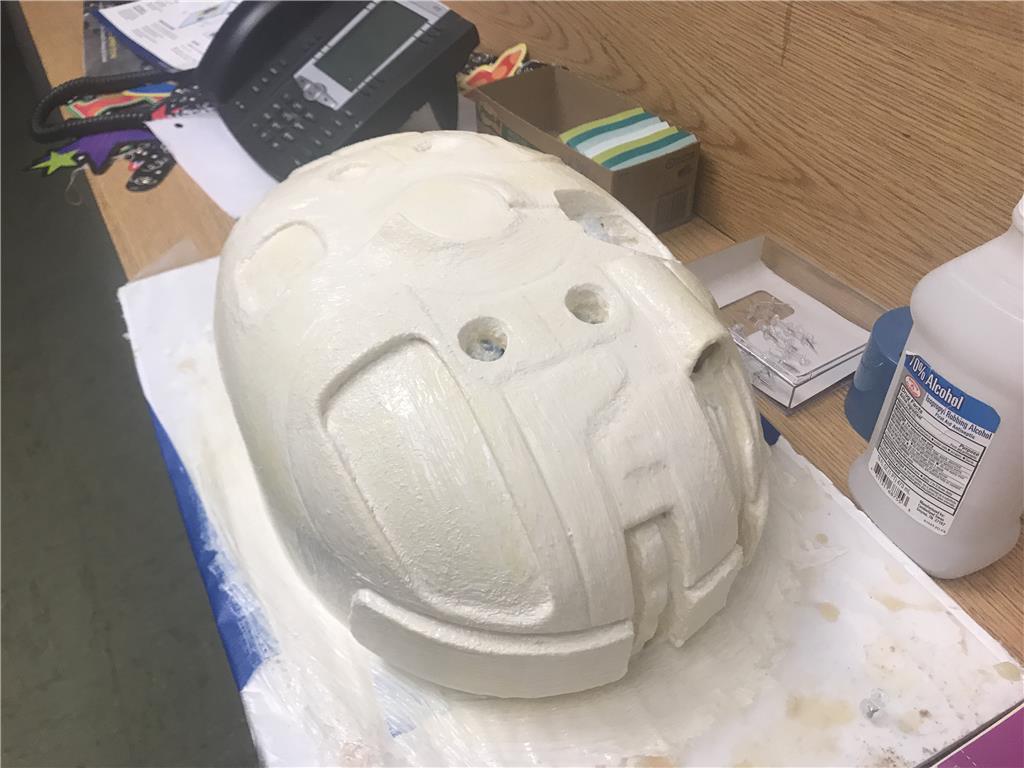
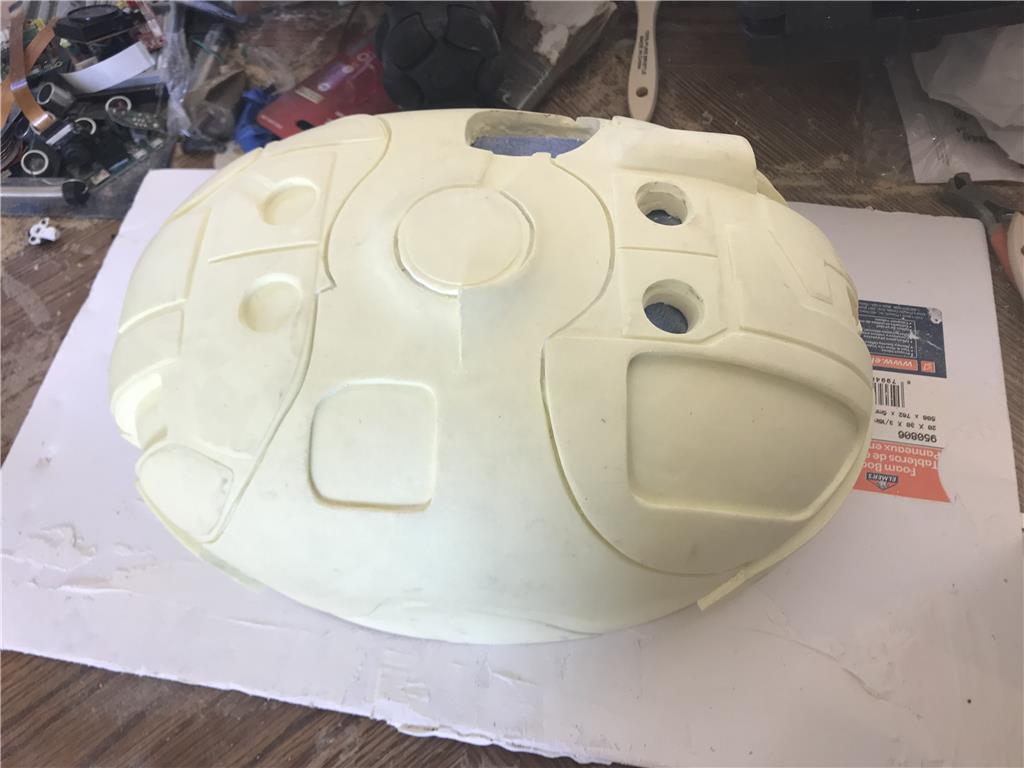
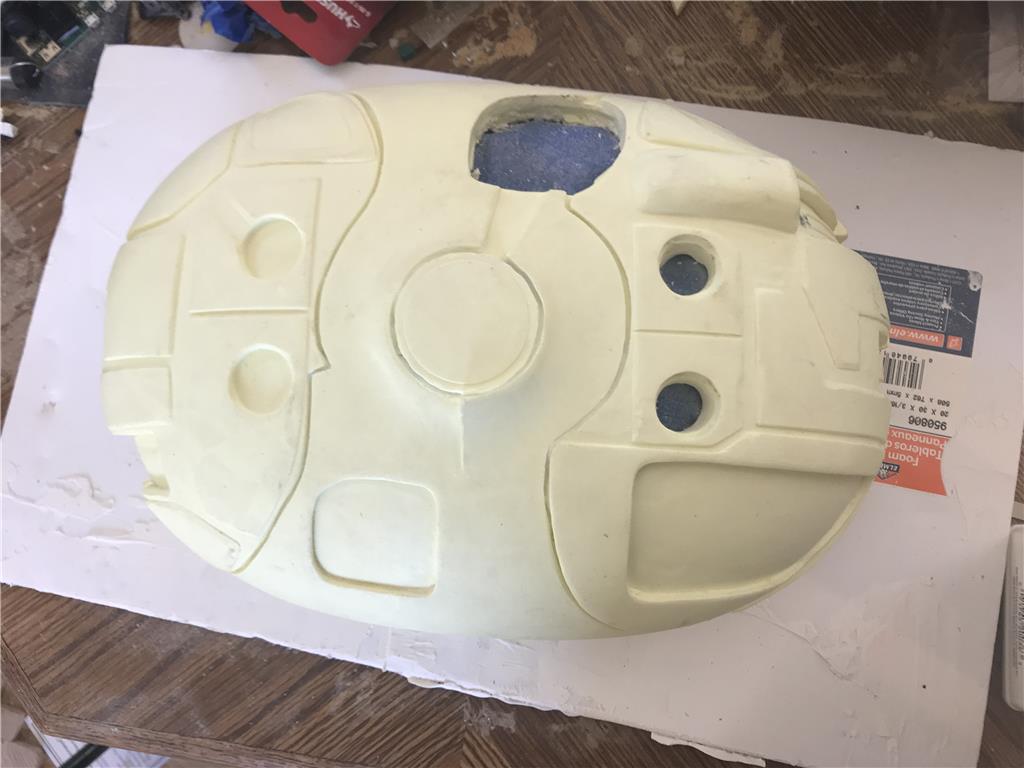
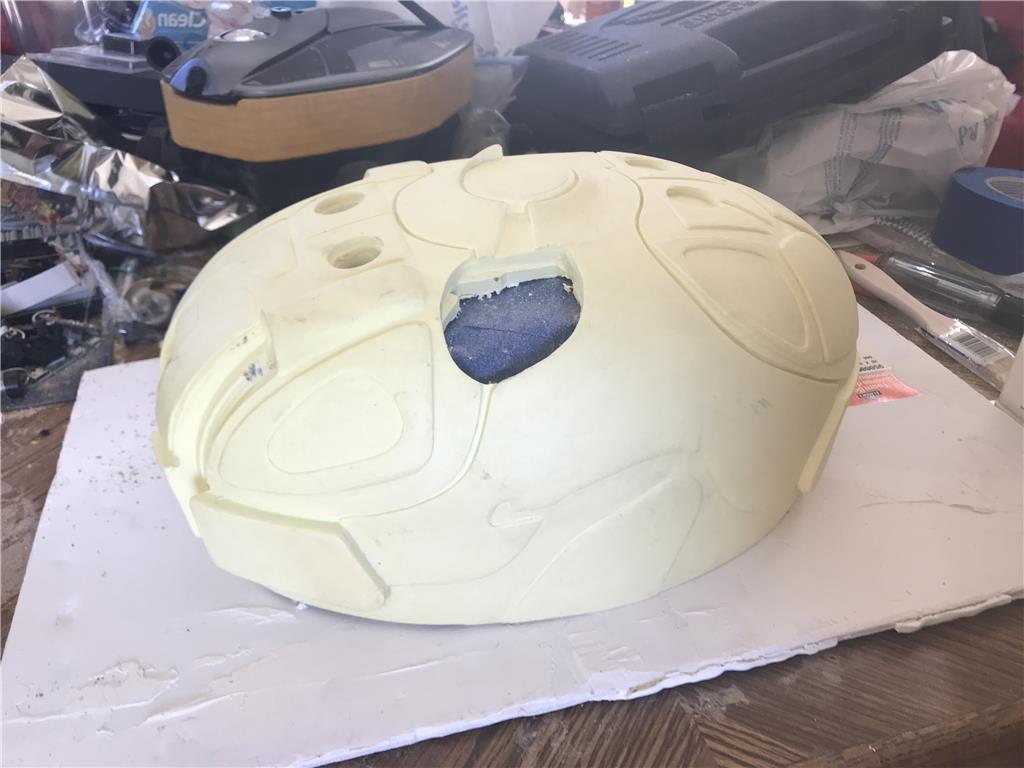

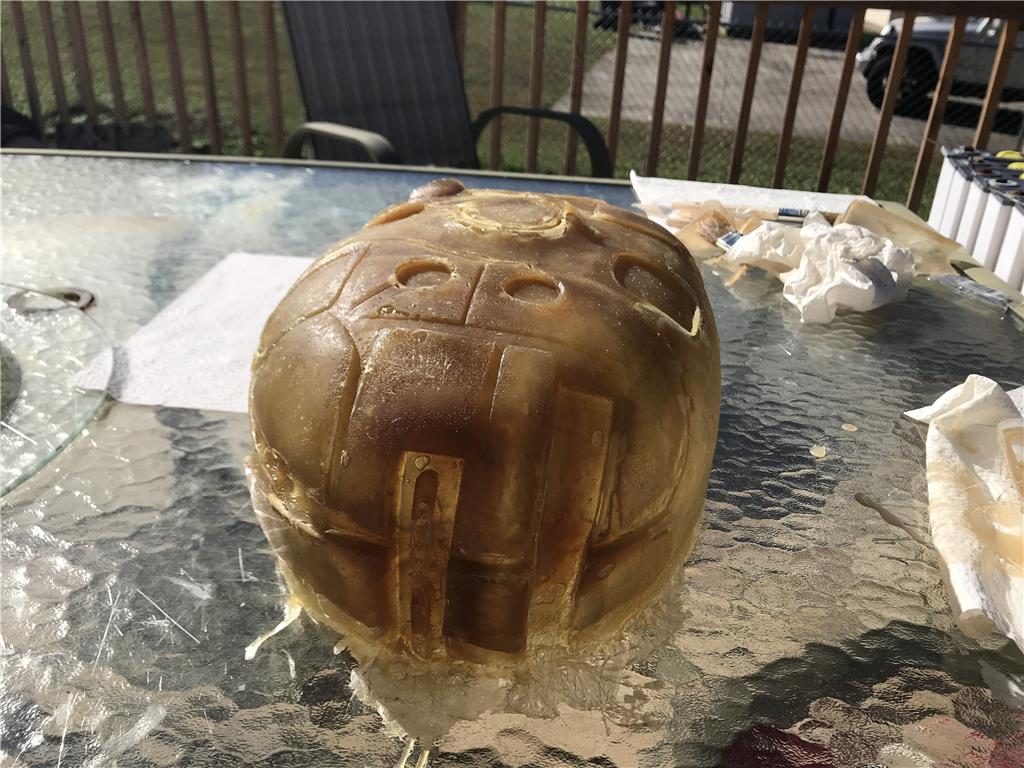
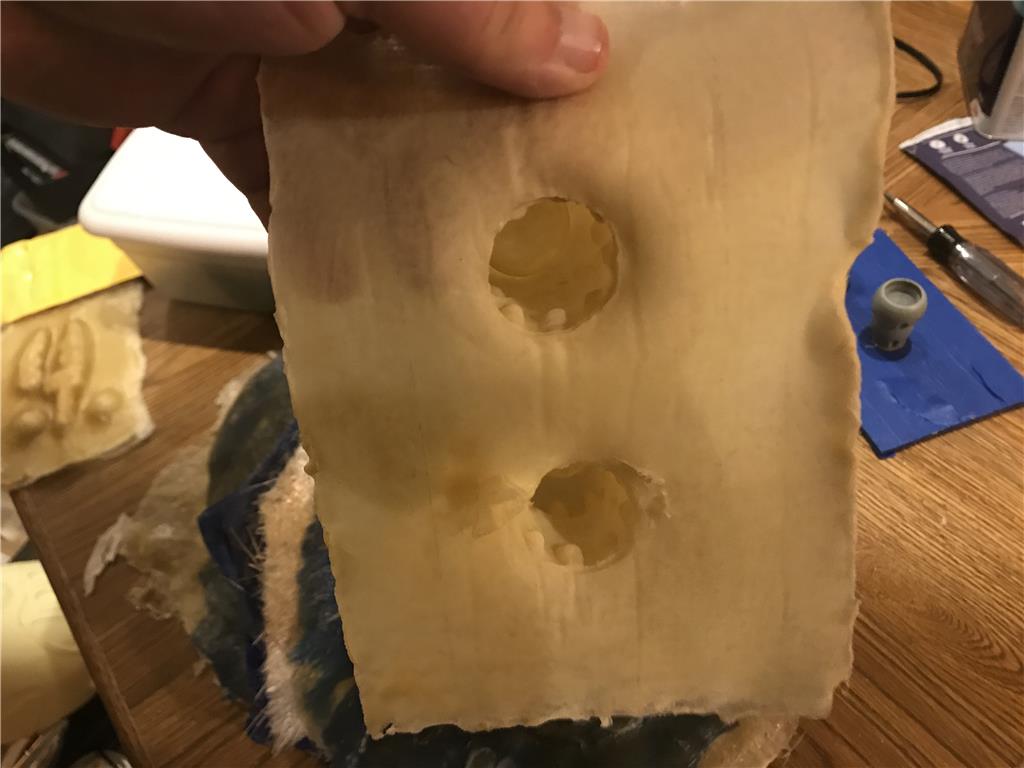


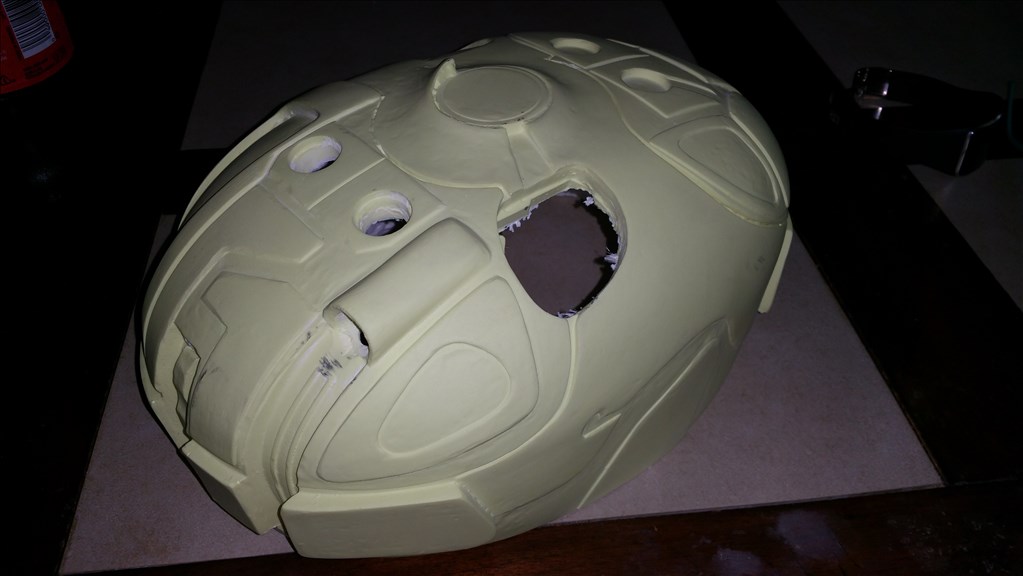
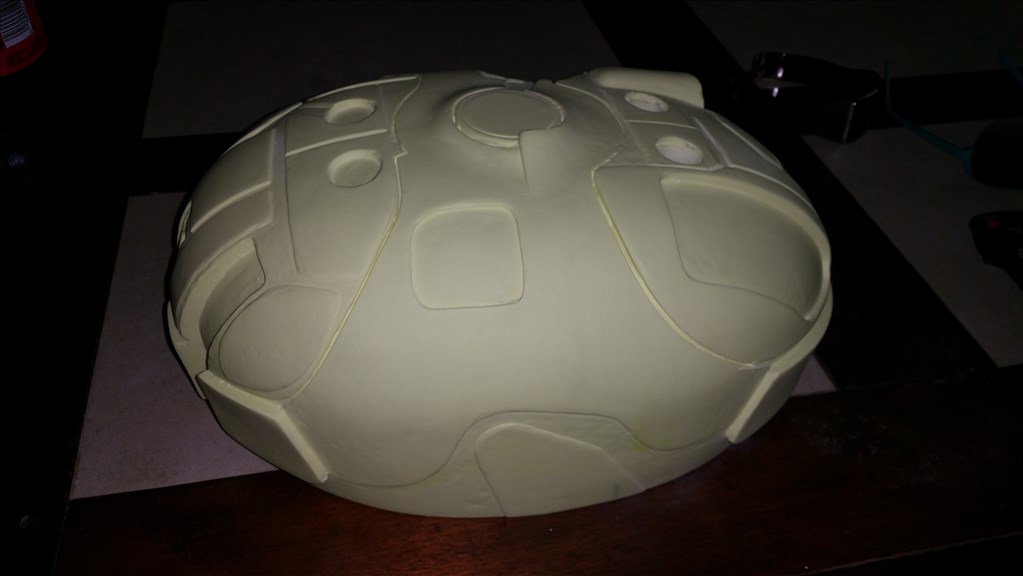
We poked around about doing this a year ago but where to start got us hung up! Due to the DRD Strange shape and size larger that the makerbot , 3d printing the whole shell as one piece was not possible. However drawing details and then applying them to a hand made oval body is totally doable! This is the start of the project , I wanted to get something together that could be shared with the rest of the community. Once details are glued on then you can use a DREMEL to dig out the cavities between details. This is what makes them POP!
By jstarne1
— Last update
Other robots from Synthiam community
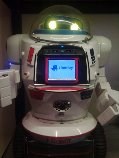
DJ's DJ’S Test Platform (K8)
This is my robot I rebuilt to use as a test platform for ARC. When developing skills and ARC features, this is one of...
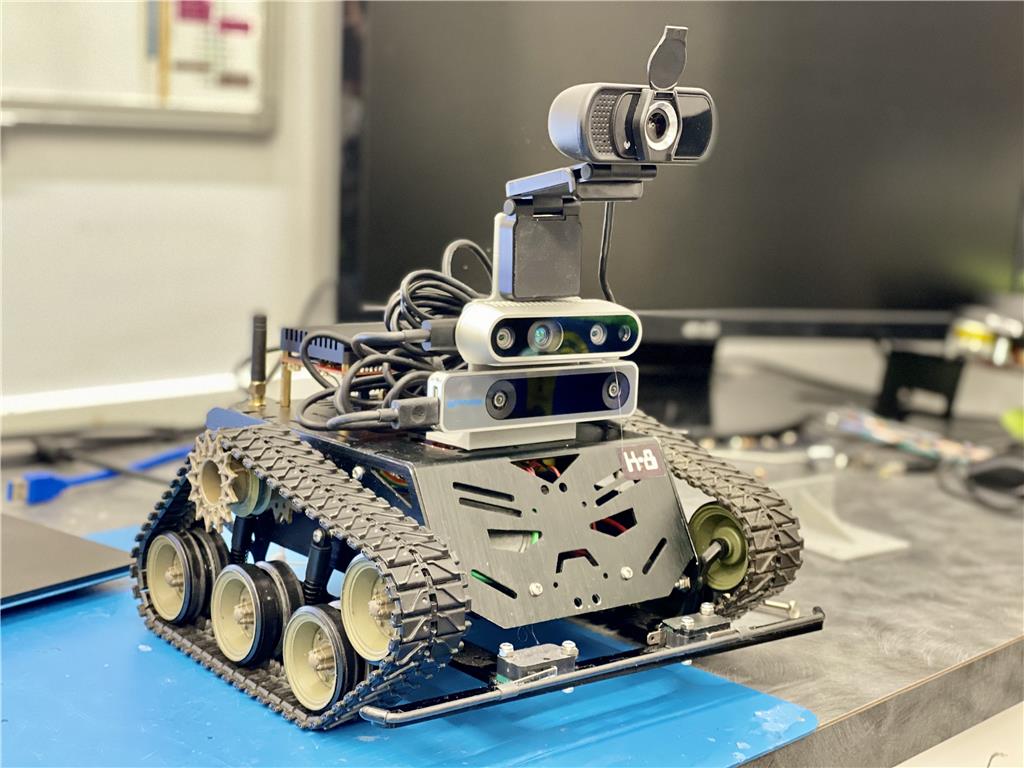
Cardboardhacker's Mtr(Mechanical Tracked Robot)
Hey guys! Heres The first version of MTR. As I mention in the video, more improvements to come. Tech.
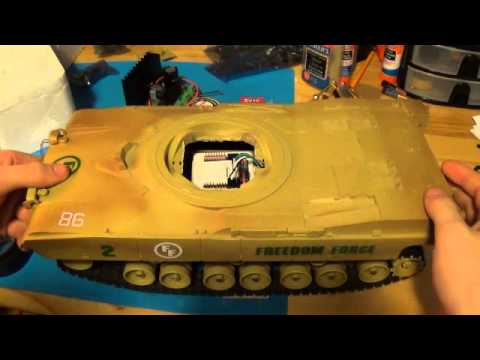
Rb550f's Ez Robot Rover V2
Here are design updates on my EZ robot rover. The drive train is made from a Sharper Image EVAC. Uses EZB V3...Used a...

On the "To-Do" list
3d model and print the cylinder light in the center. I may consider making this so a ez robot camera can fit inside here.
make a mechanism that pops up that periscope light on demand.
craft the three doors
cut a ring to go around the bottom that will later be cast in clear resin.
-make eye stalks. I would like to make them have a few joints and they could be manipulated with fishing line type filament that feeds down into the body and connected to 9g micro servos.
Your off to a great start. Looking great so far with the detailing you have. I remember seeing a thread a while ago about making one of these. I look forward to seeing your progress with this as this was something I wanted to do myself, but never got around to it. What are your plans for the drive system? Are you going by way of the Roomba, or a custom drivetrain?
A roomba is a round circle for a body so you can't really stuff it inside. I don't know what drive system I will use yet. Gear motors are an option and so are nema 17 steppers. A high torque servo modified for continuous rotation is also a option. I believe I will do a skid steer option instead of the RC car version. The show had a RC car under the body in most scenes.
Actually a roomba just might fit, a drd's base is about 14" x 10", a roomba is about 13" in diameter. However the guts are just under 10" in diameter, so it is doable. Also if you can supply the 3d model I can print a solid piece. My printer's build area is 15"x15"x17".
My school district just purchased some ez-robot kits and 3d printers and a DRD would be a great project. I know this thread is old but I was wondering how far a long you got with yours.
Hey , I started this project before I bought my house and I do most my robot work when it gets cold outside so I am just now getting back into the swing of things. I need to clean up the shell and 3d print some parts and then I can cast it. I am happy to sell some copies to people
@Josh, i also want one!
@rolland - you can also 3d print any of the revolution robots! When you view a robot in the store, for example Six Hexapod, JD Humanoid or AdventureBot (the easiest), click on the CAD FILES tab and voila, there's all the 3d printable parts!
You can also press the 3D Printing menu option on this community forum to access ALL of ez-robot 3d printable parts: https://synthiam.com/Community/Revolution
Oh man @DJ and I were talking about this project the other day. Whenever I see a flexible black LED light it reminds me that I really want a DRD too ;D
Lol how many do you guys want? ;)
I think 500-6,000 should be enough
One at a time?
Sweet, 6000 units , estimated ship date December of 2021 , will that be monopoly money or rupees?
:)
Christmas is right around the corner , you never know what Santa might bring.
How many monopoly sets do you want in exchange? :D
All fun aside, let me know if you cast extras. I would be interested In one.
Ron
PS ... LOL ..... that would only leave 5999 for DJ.
I'll need two, one to paint yellow and one to pain red white and blue for 1812.
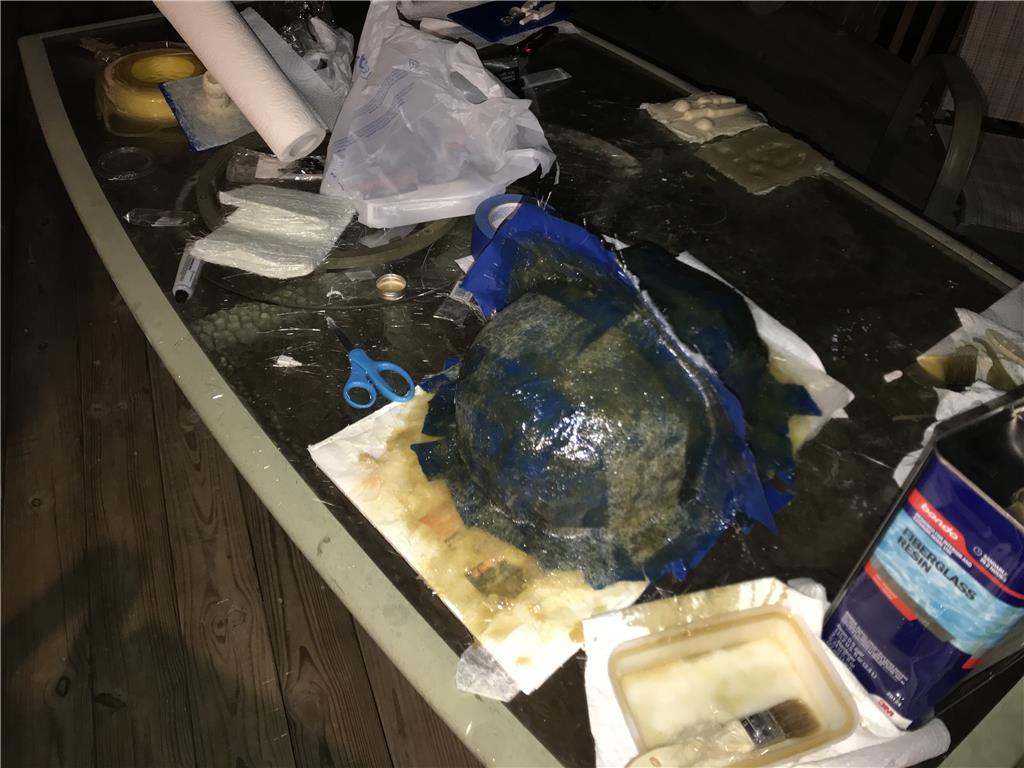
Hello everyone , I will look forward to making a mold of my master soon. I believe the copies will be fiberglass or polyurethane based resin.
Hello,
I would love to purchase one of these!
@jstarne1 Please email me at alexkmaciel@gmail.com
Thank you:)
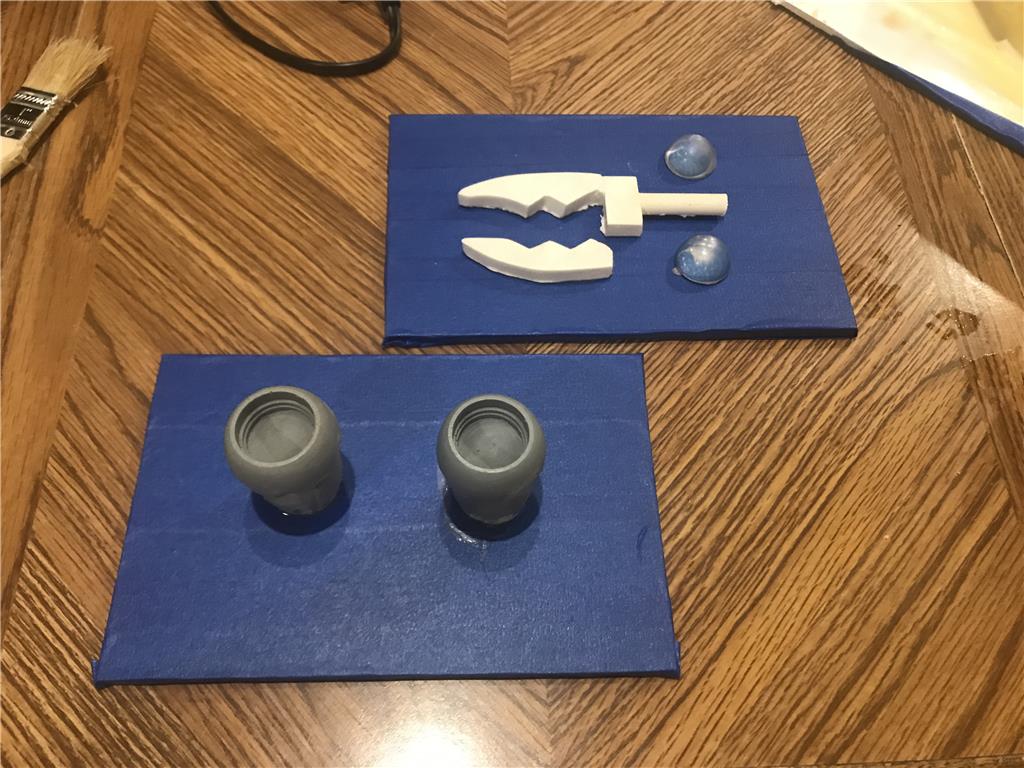
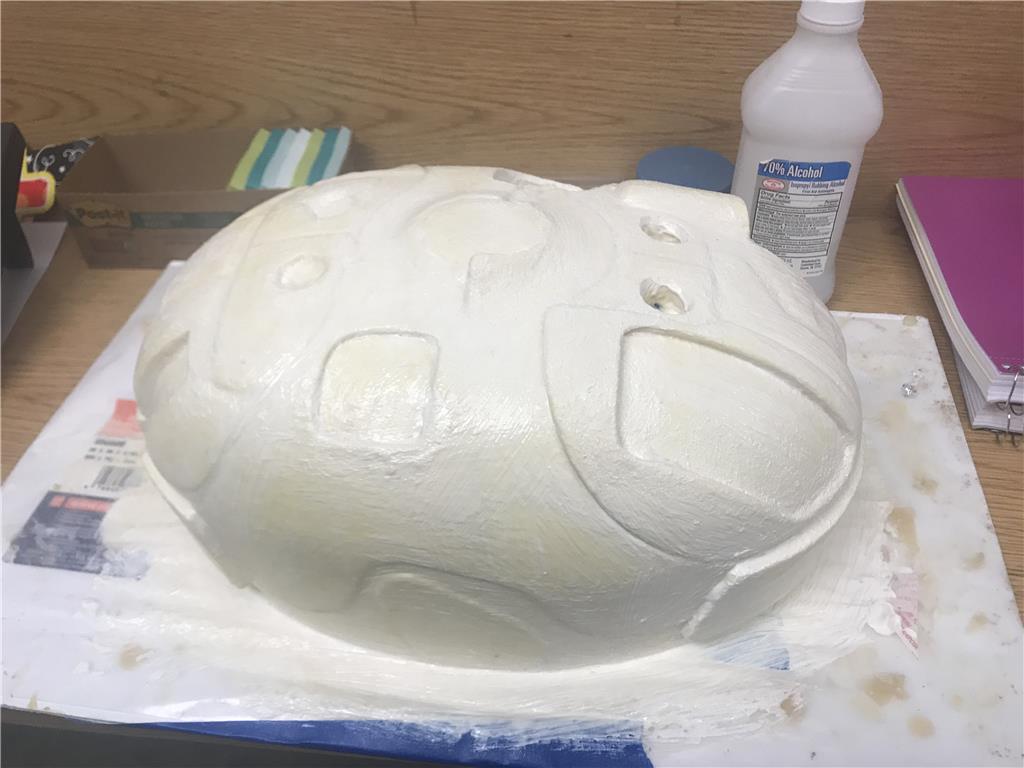
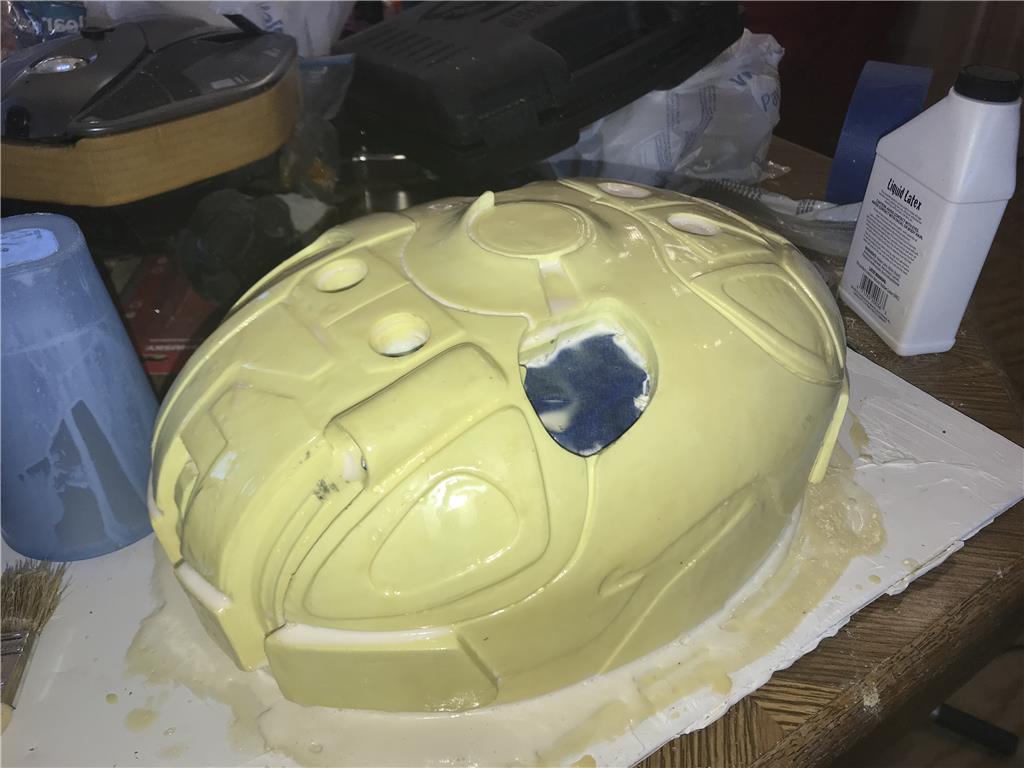
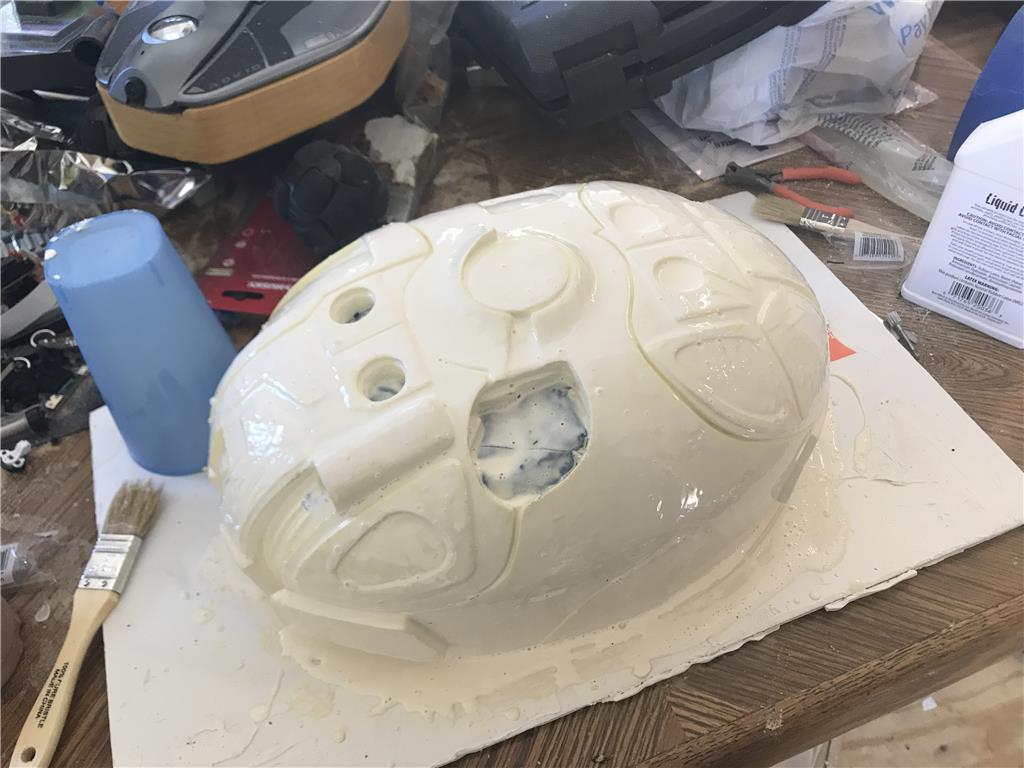
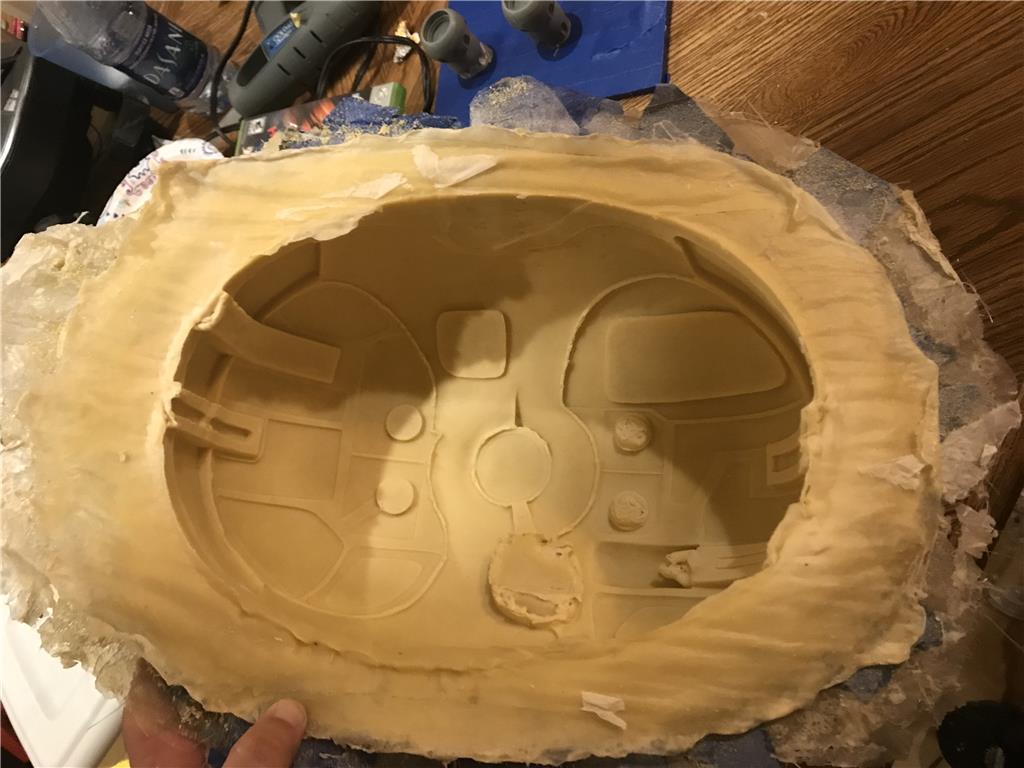
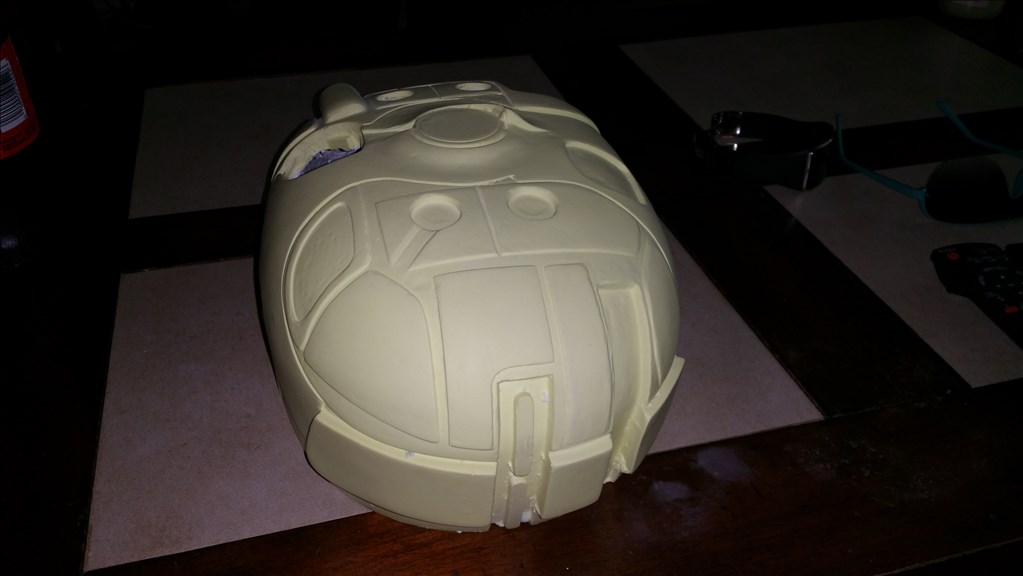
I finished shaping and etching out the lines so that it is ready to me cast into a master mold. Going cheap instead of the super expensive stuff. Liquid latex layers , once it is built up Then build up a hard layer for support. If anyone is interested in buying one let me know , I made eye stalk pods and a claw too.
If anyone wants to buy one let me know kandyred@gmail.com
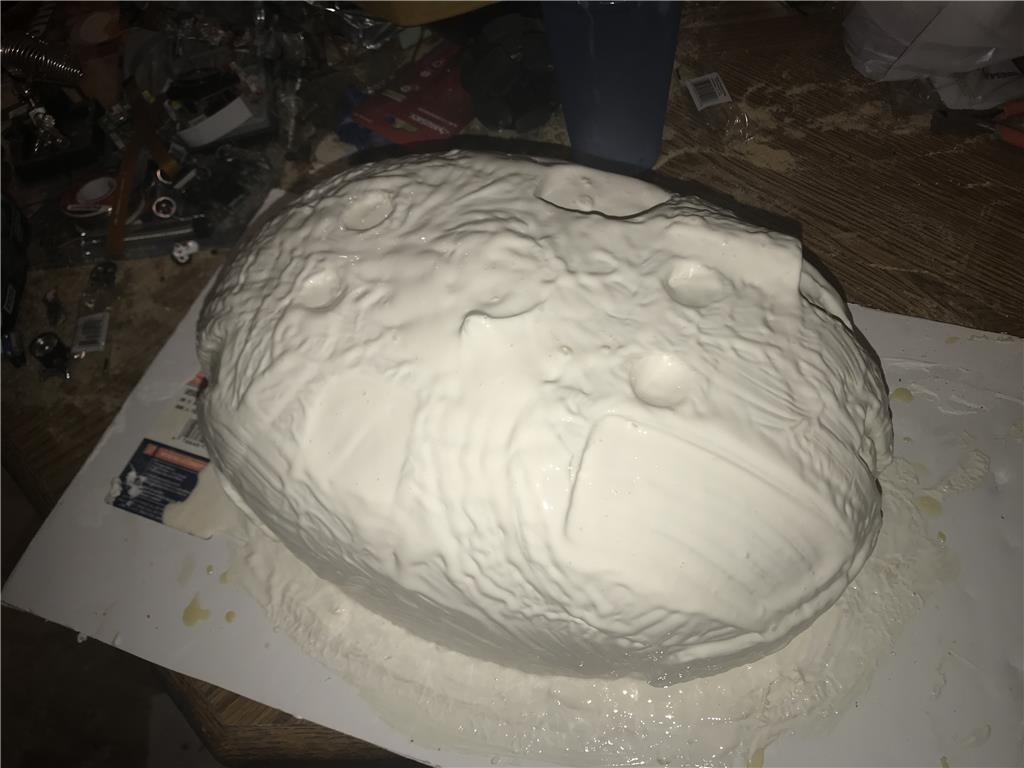
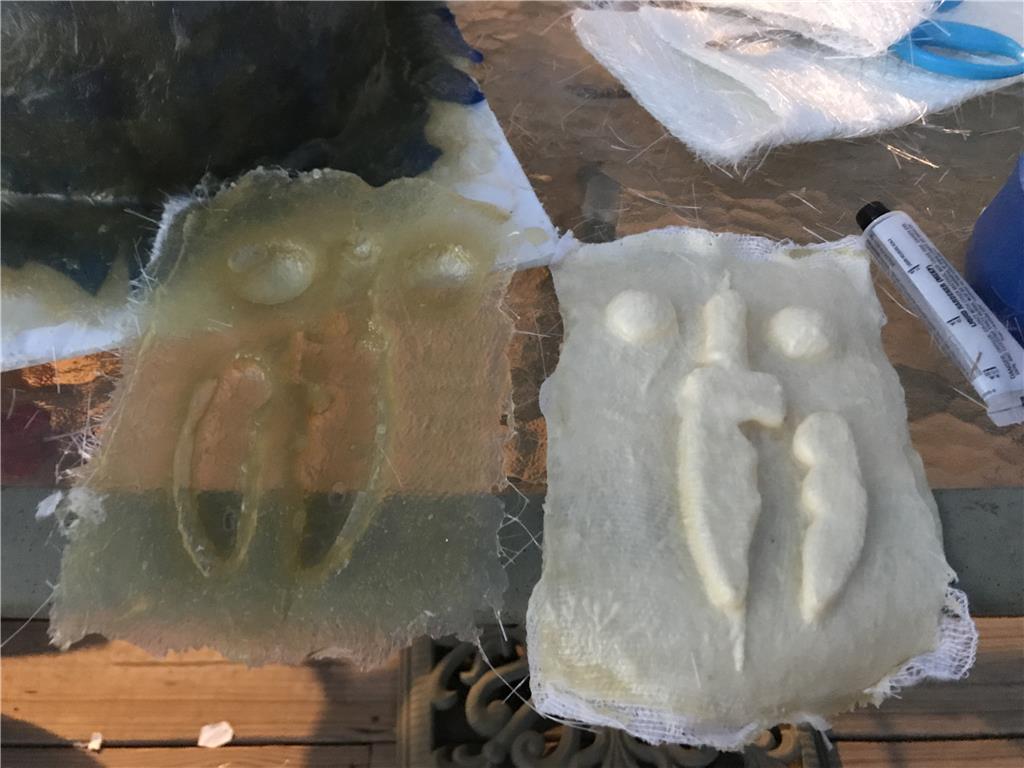
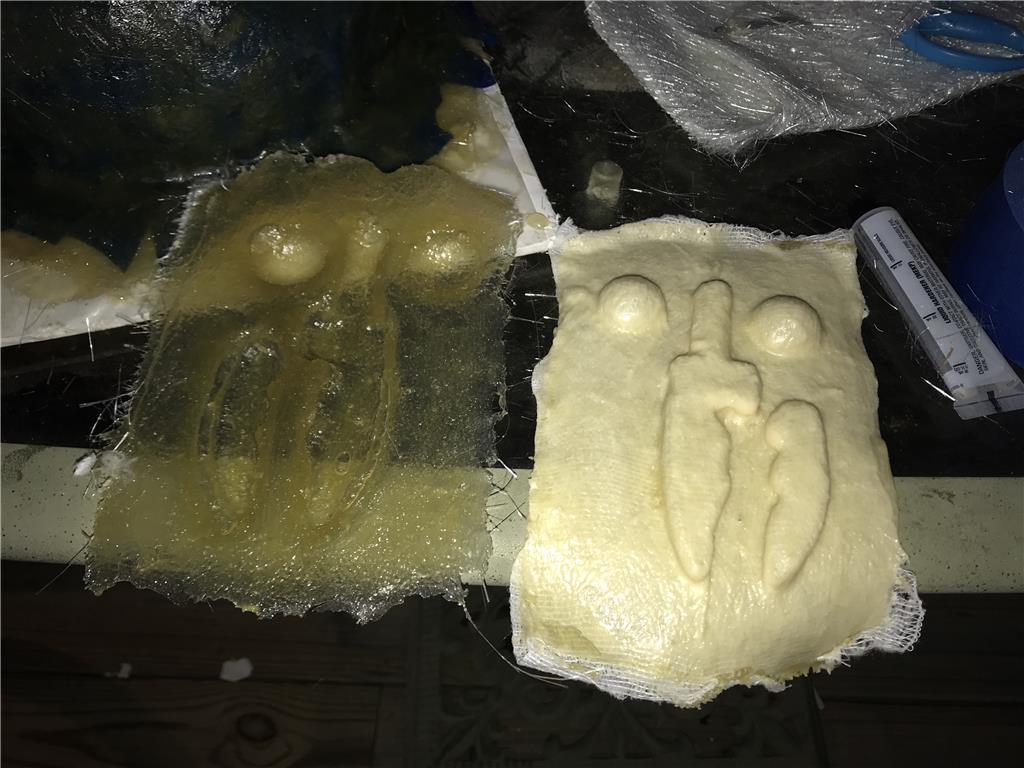
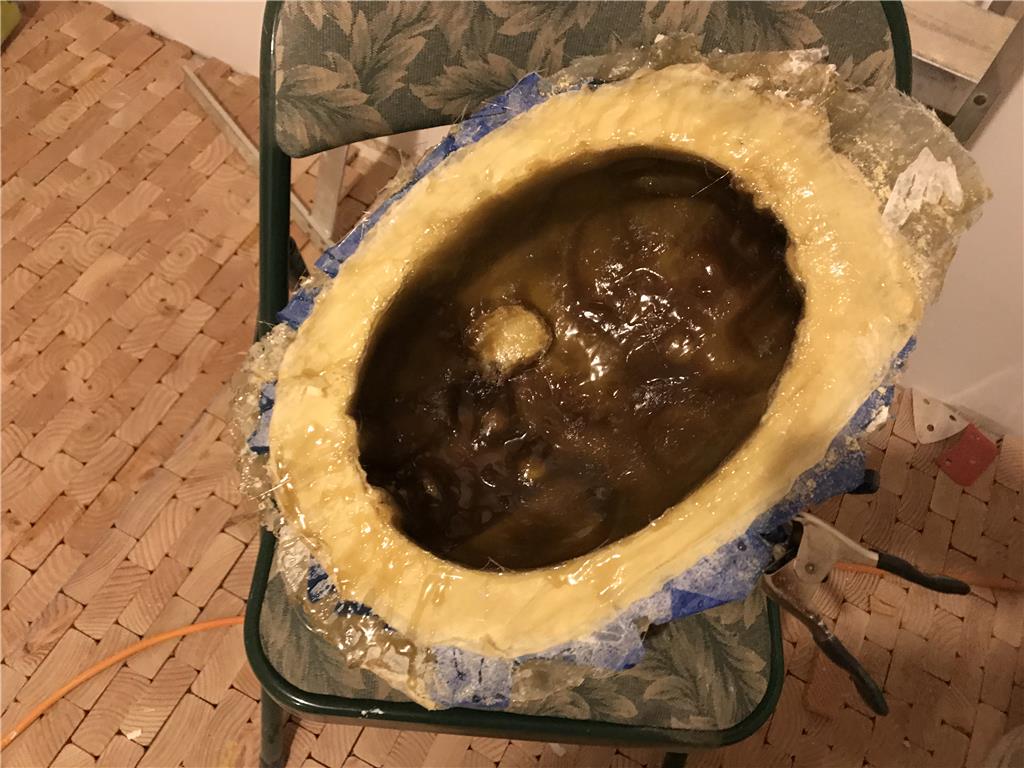
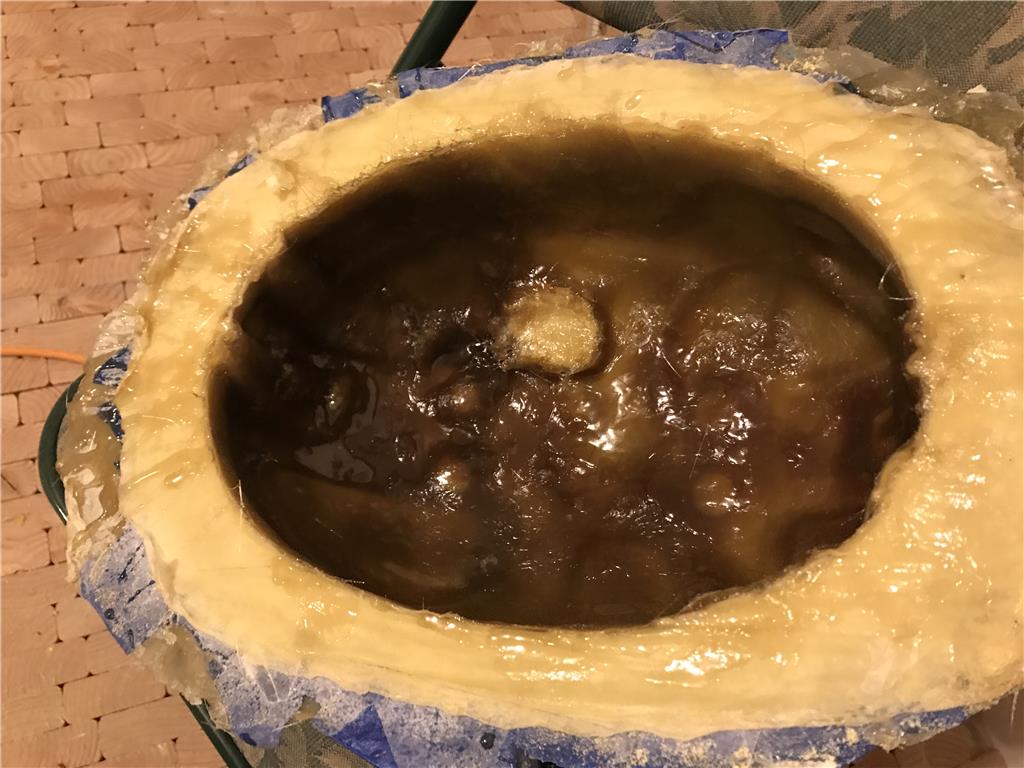
The latex I was using was super watery thin so I switched to Mold Builder from Hobby Lobby, this is one coat, this stuff is much thicker than the previous liquid. After three coats of the watery stuff...
After one good coat of mold maker you can really see the difference in thickness
That’s pretty awesome!
Thanks Dj!
So I ended up peeling off the super thick layer because some corners never dried, they were so thick that the outside dried and sealed in the wet latex. So I peeled it off and started agian with thinner layers. The previous attempt would have worked , but I really want the person I give a recast to has minimal finishing work. I started agian this morning. Its not a big deal, about 5 dollars in material lost, so its minimal. After 20-25 coats I will move to making the outside support with fiberglass matt in multiple pieces. This looks like it will be a two piece mold support. I have 11 hour shifts so I brought it with be to add a coat about every 3 hours.
Third coat today of liquid latex , this is gonna take a couple days :/
Alright, I just got home and put on the 5th coat of latex , I also starting building the mold for the claw and the eye pods too! I am trying to get the layers to dry quicker with the help from a large stand up fan.
Looks awesome...good to see you are still sticking to that project! Keep it up! :)
Thanks Mickey!, I am on the 7th coat of latex for the DRD, I have learned if your going to do this, make sure you setup a fan to blow across the parts because it cuts dry time to 1/2 between coats which I think will help in any case.
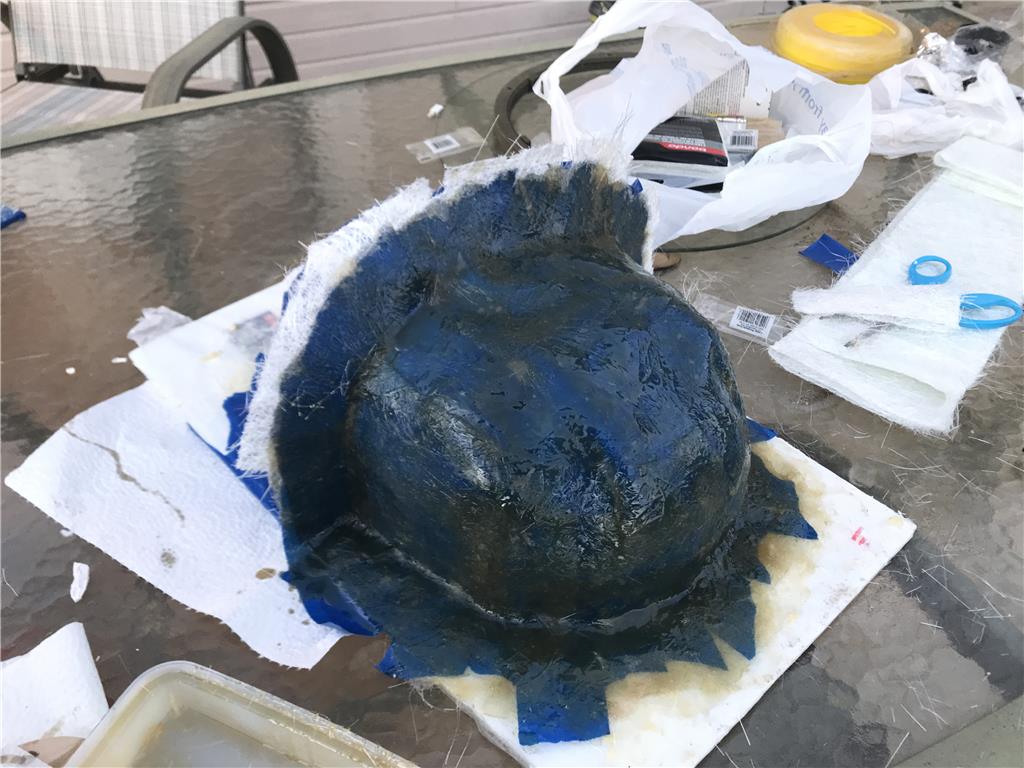
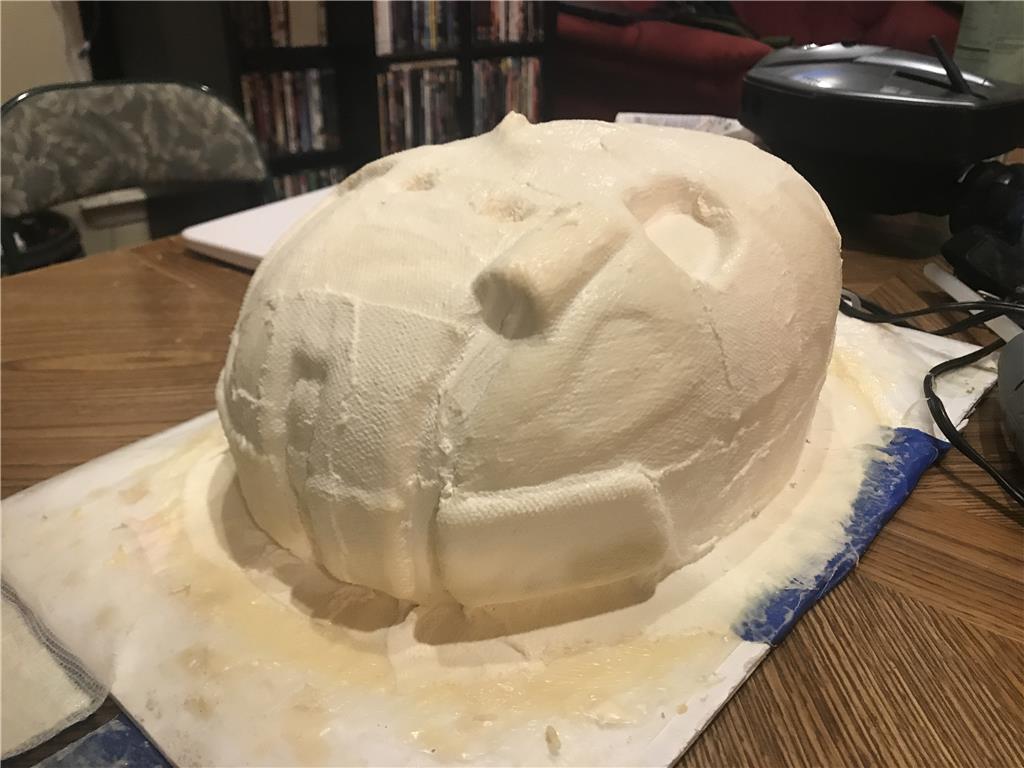
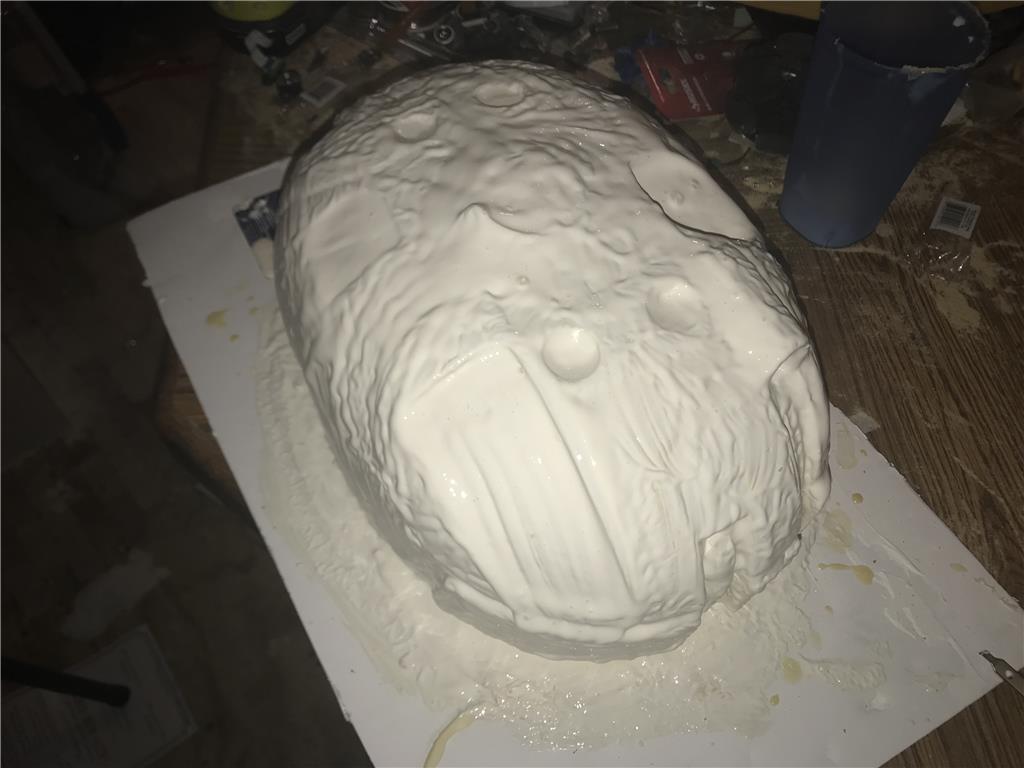
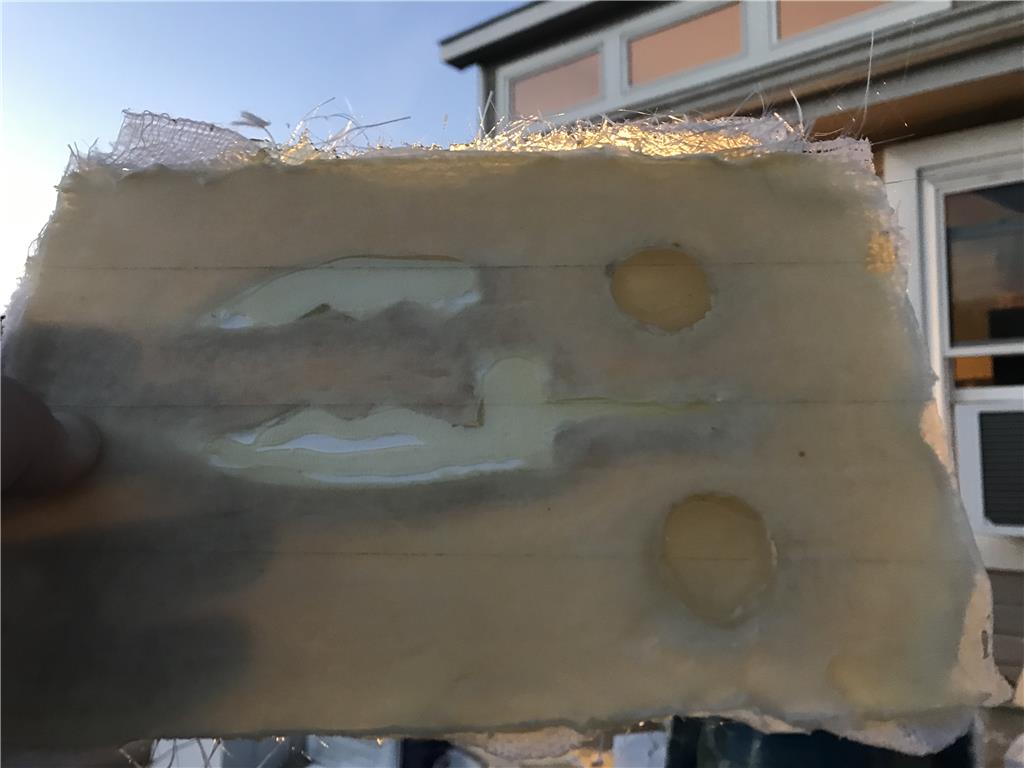
After 12 coats on the DRD body I wrapped the whole body with cotton gauze and soaked with liquid latex. It sort of looks like a cast right now because the latex is white until cured. I have a fan on it and I will let it sit overnight at this stage to bond to the previous layers of latex. Tommorow I will likely add another layer or two to use up the rest of the liquid I have.
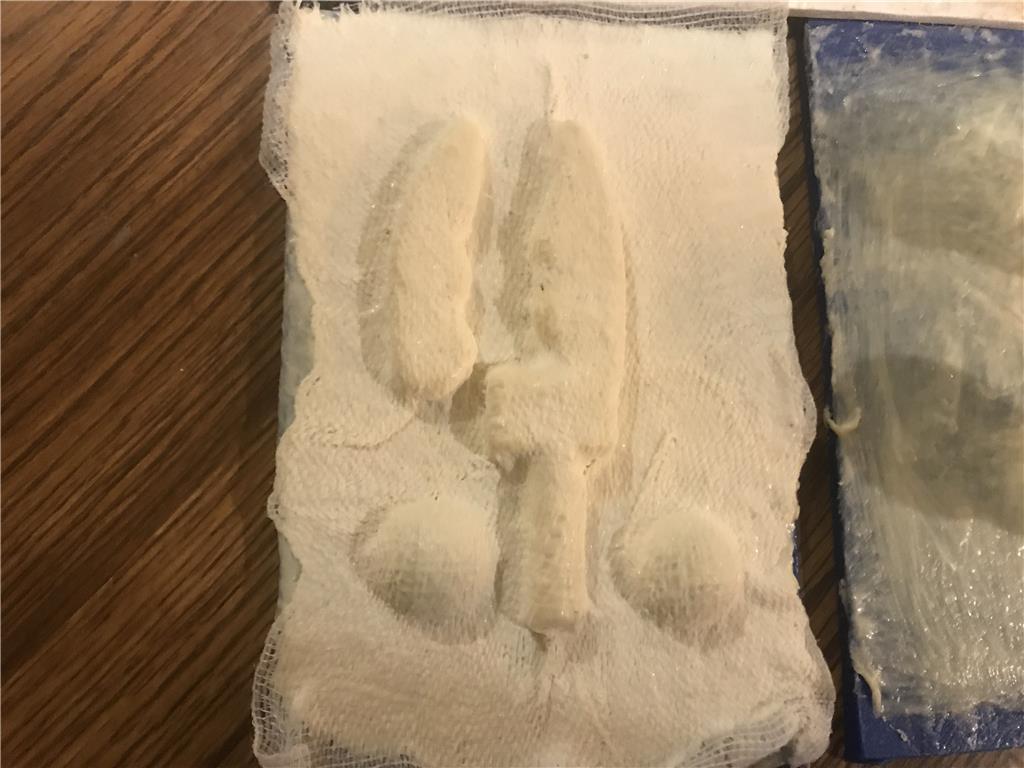
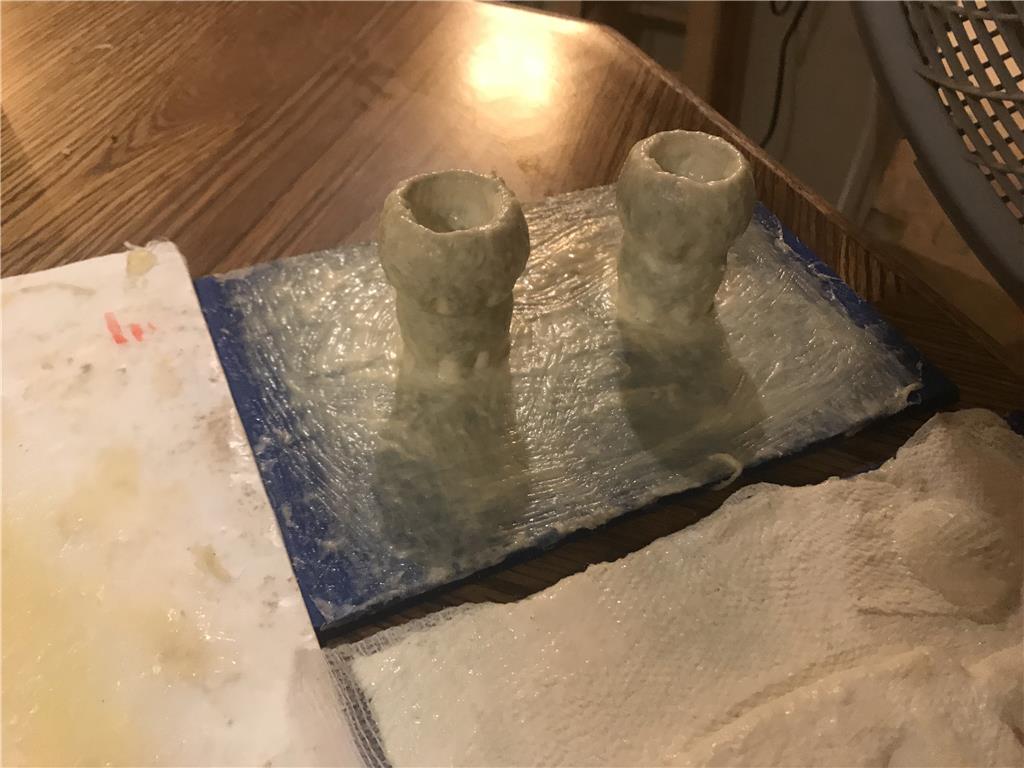
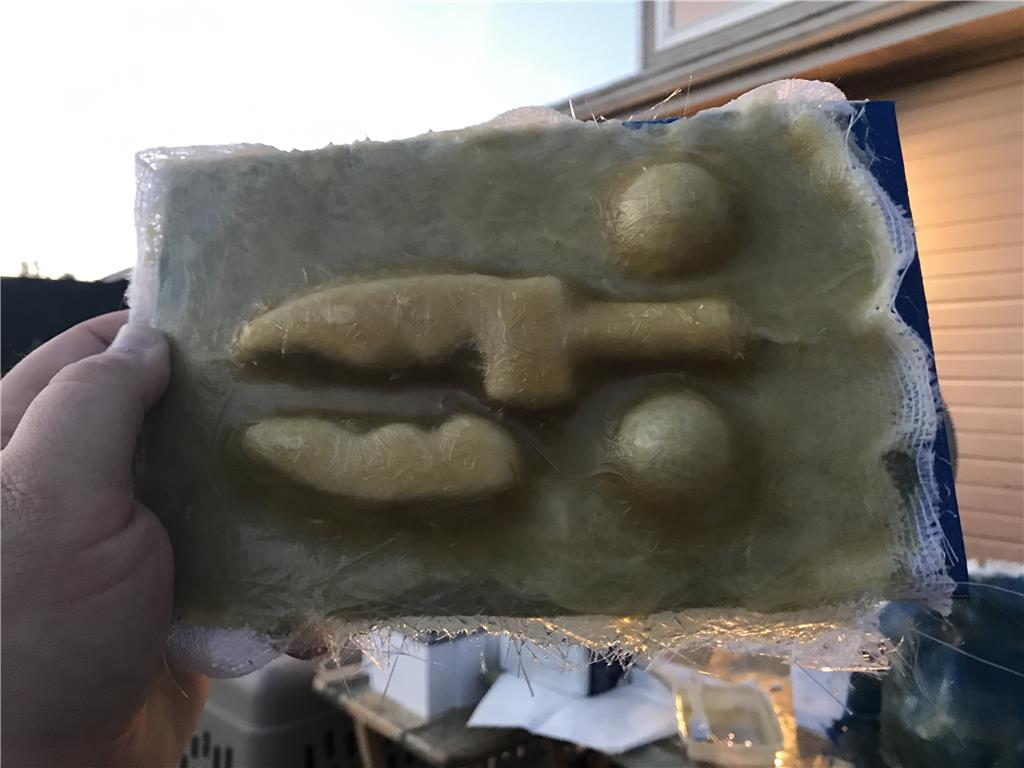
The eye pods didn’t get the gauze because I need them to be very flexible to peel off when I cast the eye pods. The eye lenses and the claw took to the cotton gauze well and I can tell it will turn out well.
It’s looking good! Thanks for the update Josh!
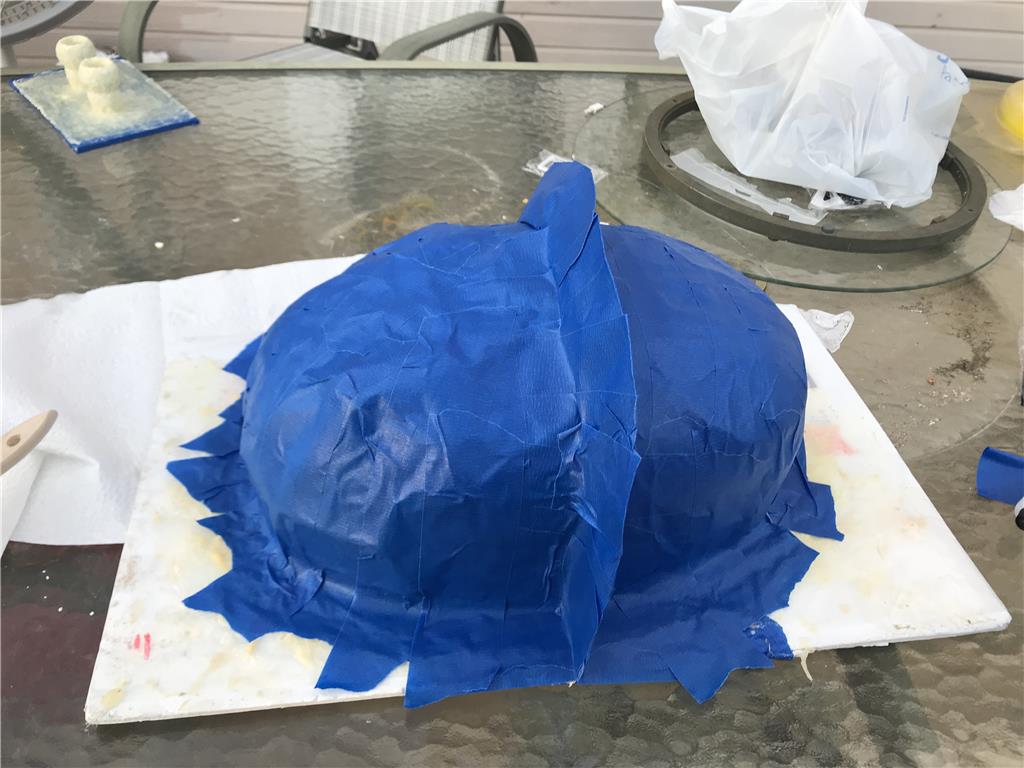
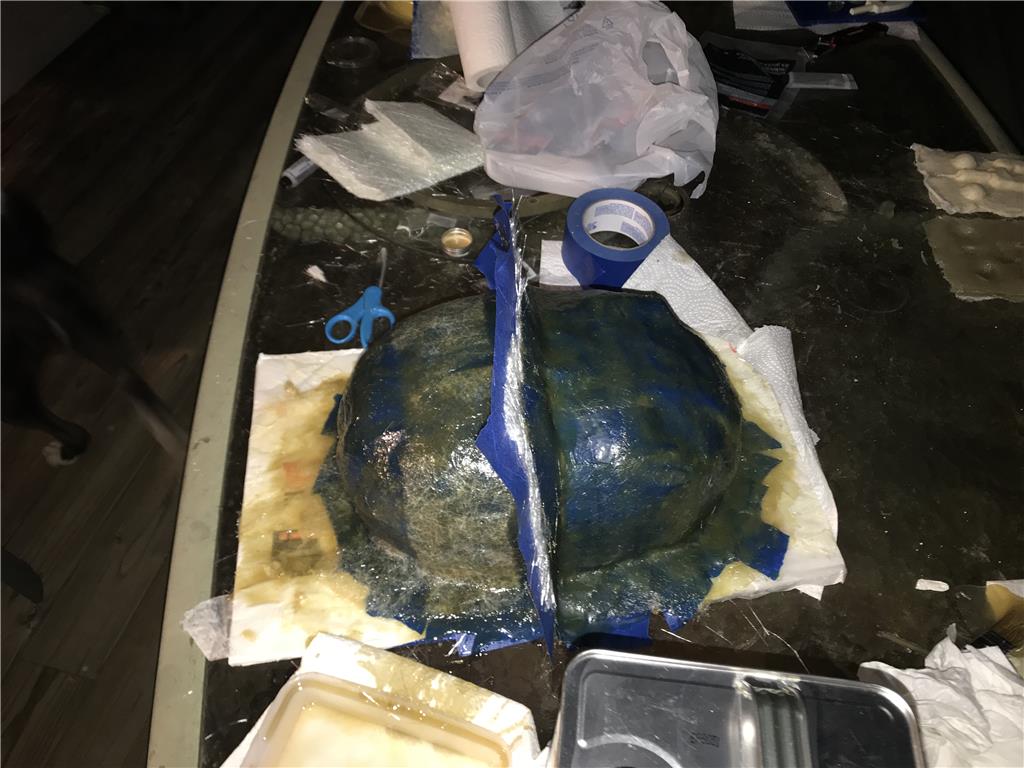
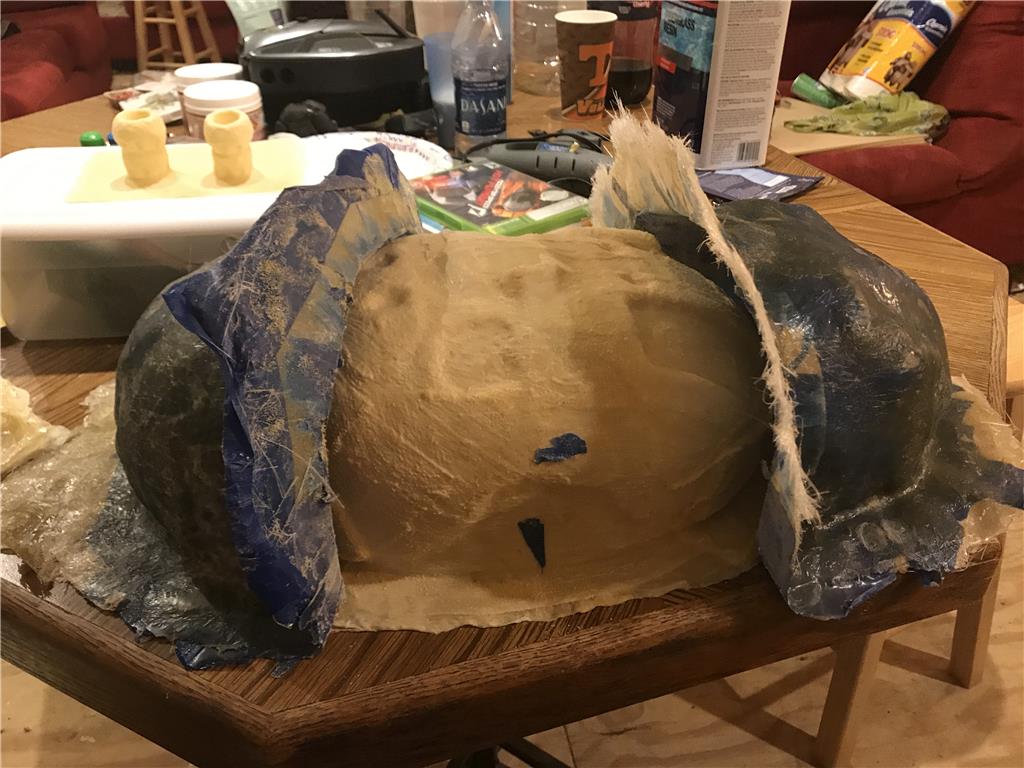
Ok update for today, the last of the latex has dried and I lost count of coats, maybe 13 or 14ish. I taped off the body and separated it with a tape divider. Next is fiberglassing the mother mold into two halves:)
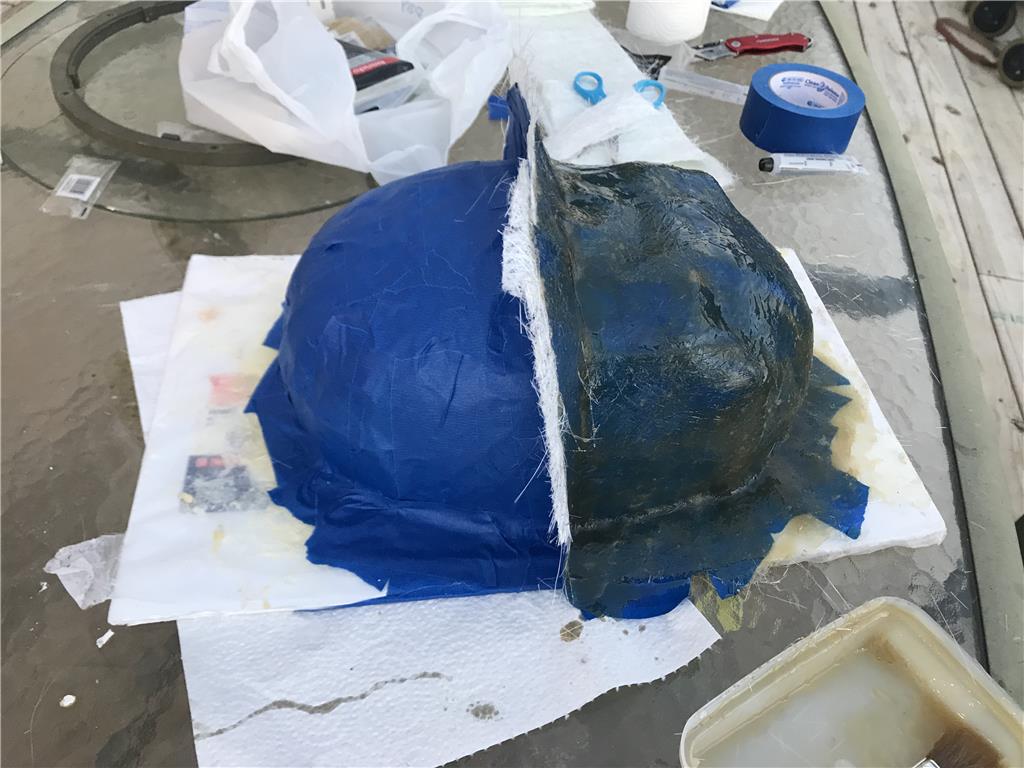
I will give this guy a hour to harden and then switch to fiberglassing the other side. I will let that harden an hour then use a deemed to shape the flanges and finally pull the mold apart for its first casting!
Side B was just fiberglassed with 2 layers of resin and Matt. The seam has a distinct lean so there is no possibility of assembly backwards.
So Side A hardened fine but side B has not yet likely because the temperature dropped into the 50s shortly after I laid the fiberglass. If it is not hard by morning I will need to lay a HOT coat on top of this. That’s where you double up the hardening catylist and paint it on top of the partially cured resin to harden it up. I moved the piece inside where the temp is 67 which may help as well, we will see :)
Checked this morning, it is 90 percent hardened so I think a once over with a hot coat is a good idea and that will finish it up. Then I can pull everything apart and start the first casting ! Excited.
All molds are finished, now before any casting they need to be coated with a release agent to prevent sticking and then I can start. I really dislike this setup, I prefer urethane or high strength silicone and it takes the pain in the axx out of this process.
Hi Jay, As always, A super project... I look forward to the next steps.
@Andy Roid , Thanks!
Now who all is interested in getting their very own DRD kit?!
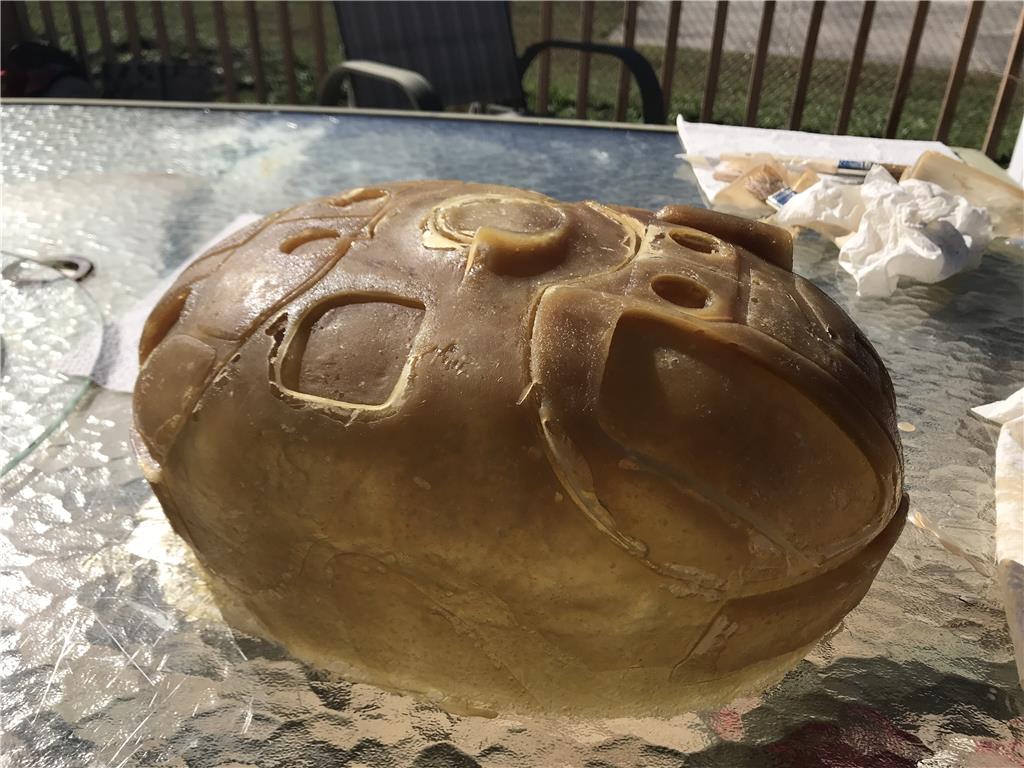
Fiberglass and resin goes into the mold, I used canola cooking spray as a mold release. I will let it sit overnight and go from there.
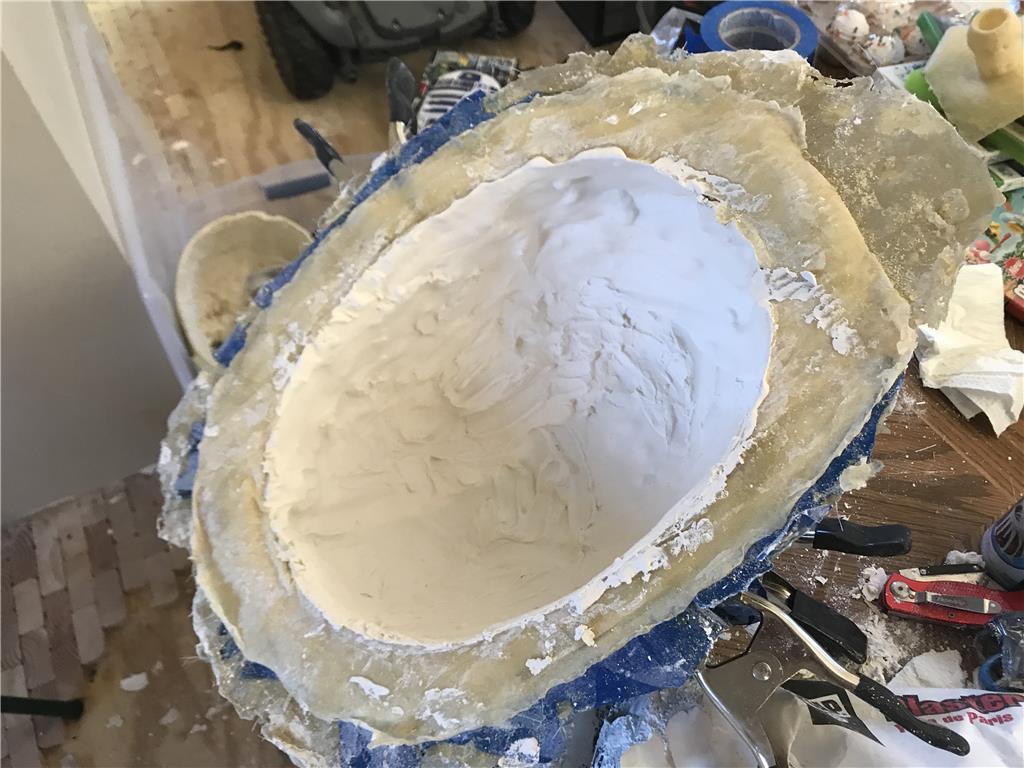
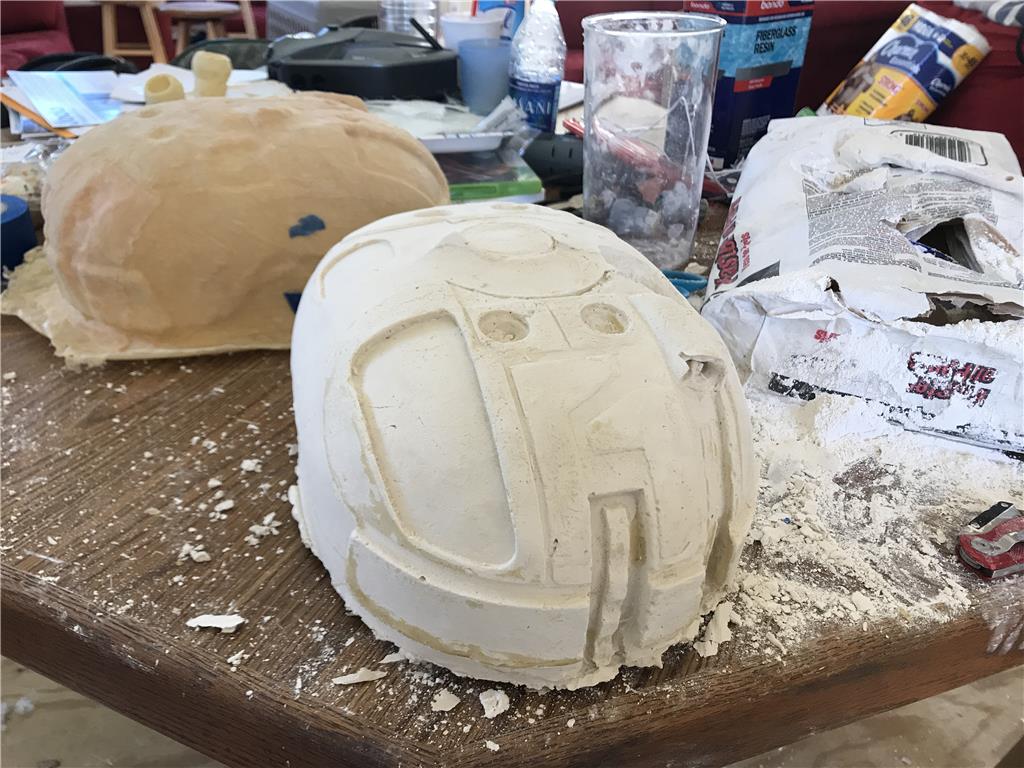
Quick try on fiberglass and plaster , I will need to do a liquid rotary cast to get the plaster just right.
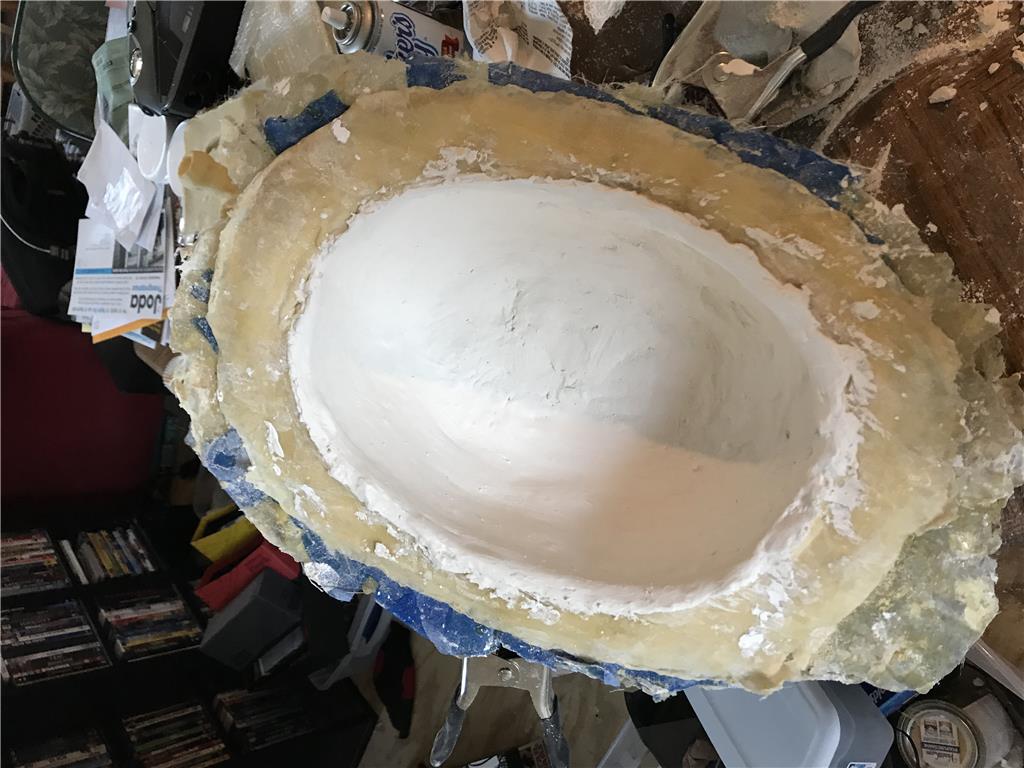
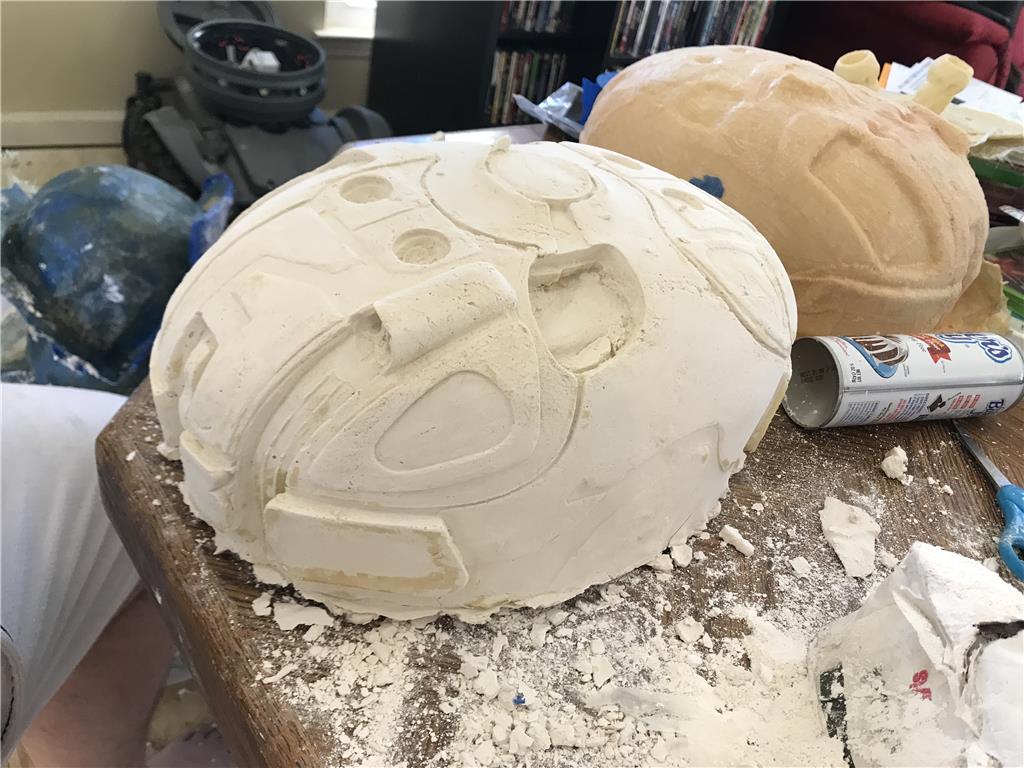
Brush method sucks for ceramics so instead I tried the 2 to 1 water to plaster ratio and turned the mold slowly to make a 1/8 coat each pass , I did three passes. It turns out much cleaner and minimizes waste this way.
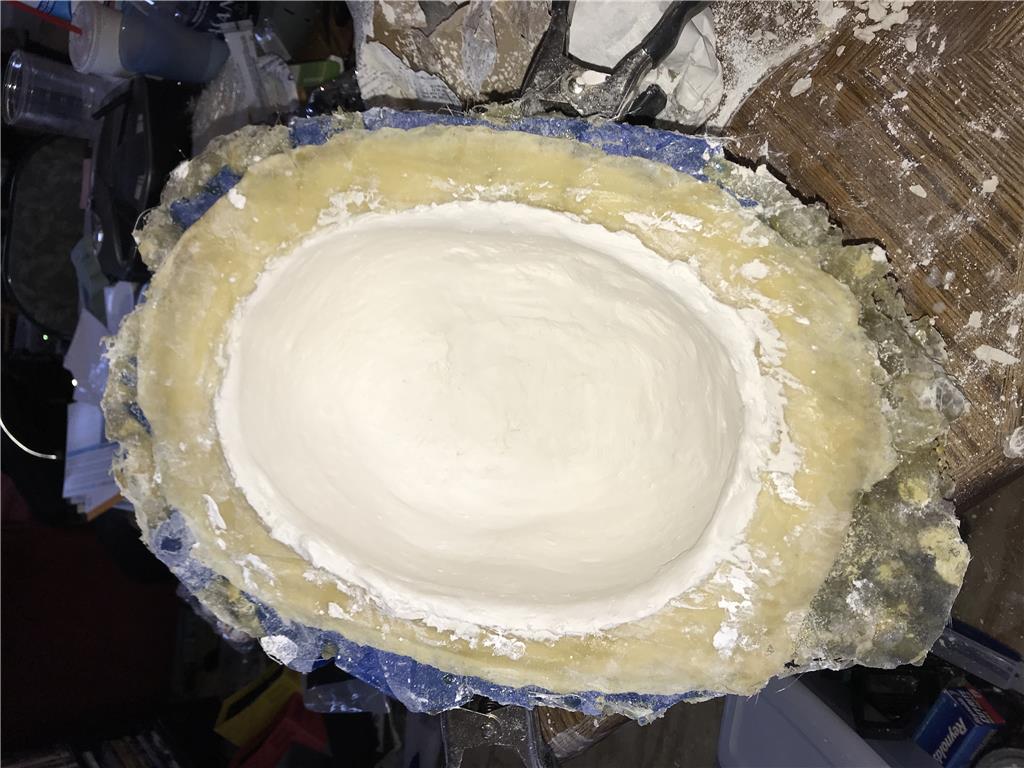
These first two plaster copies of my DRD are on the way to EZ-Robot! I hope DJ and Jeremie finish them and enjoy my little contribution to the fandom of Farscape and science fiction.
cool pics