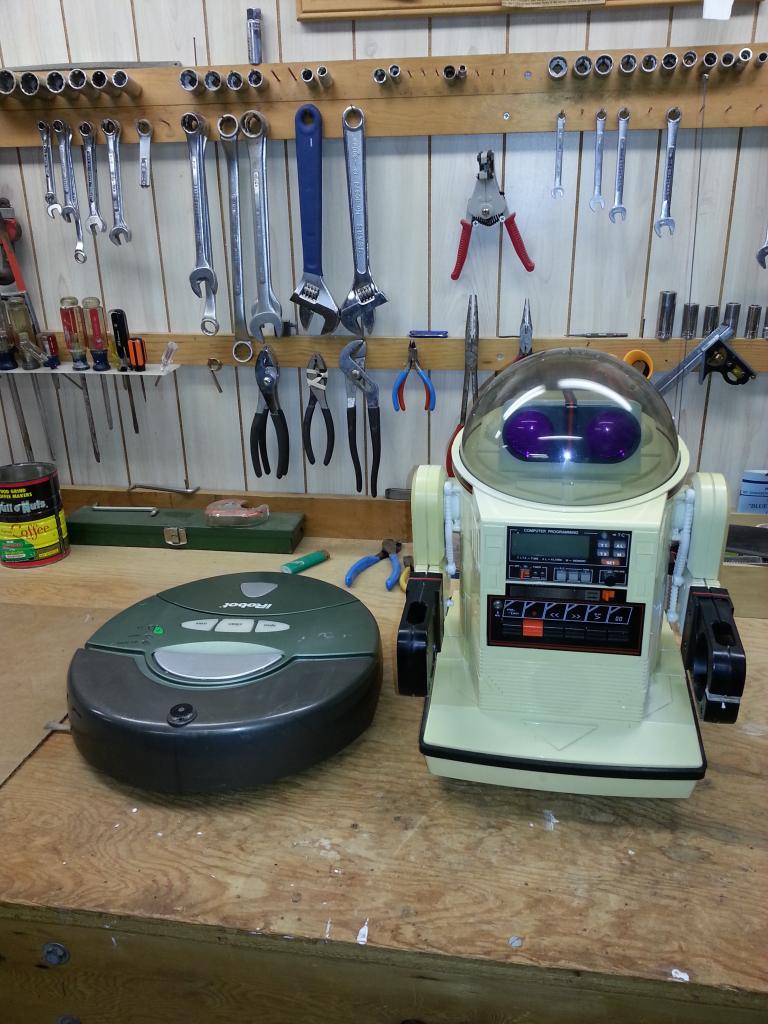
This is my first build so it might take a while. Here is an overview of the project an Omnibot will be mated to a Roomba to create cleaning bot that can run on its own or by my control. I still have lots of things to work out but the robot will be getting the full EZ Robot kit so I'll be adding the camera with a servo for head movement. Still trying to figure out if his head will go just side to side or tilt pan. Servo's for his arms and wrists. The sonar with possible scaning servo. I am not really sure if this is necessary and would appreciate hearing the pro's/con's of this from some of the more experienced builders on the board.
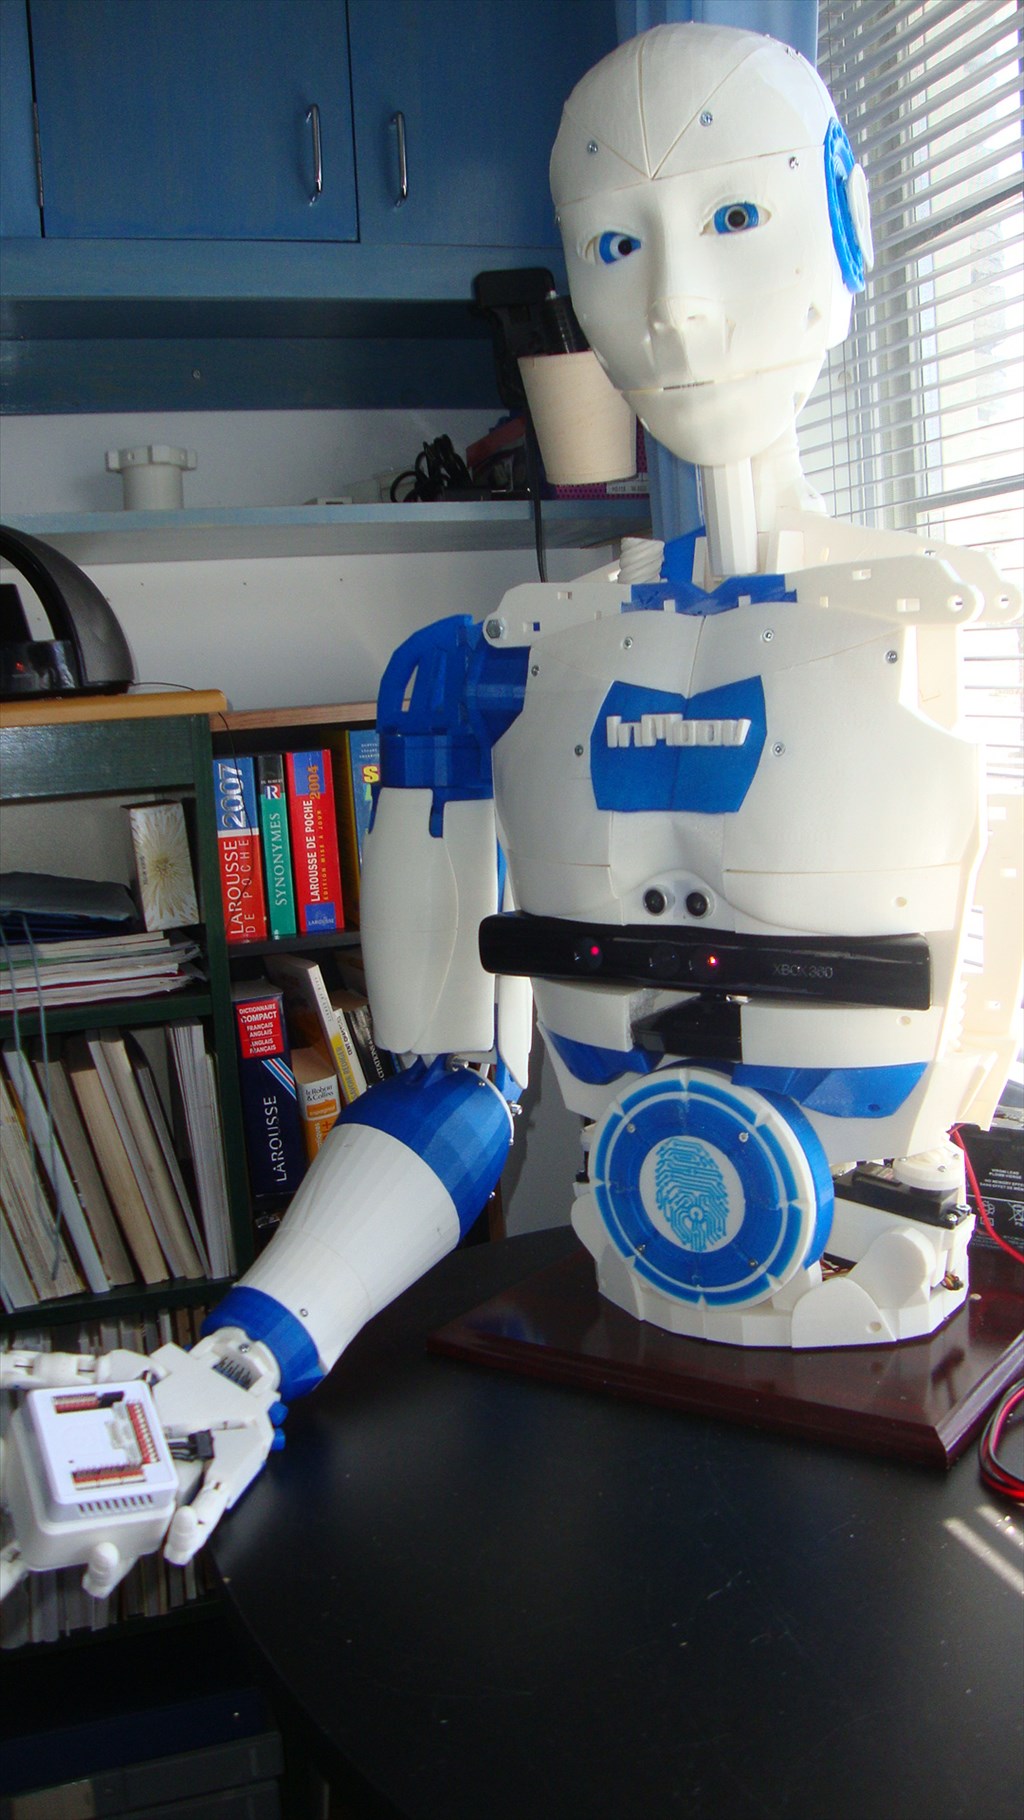
For the front panel, where the cassette deck was, I am planning to relocate the Roomba control buttons and led's. It is going to be a cleaning robot after all. The ability to give the robot a voice and some personality. That's all I have for now but I am sure there will be lots of other things that come up down the road here are some pictures. Not much done yet but this is an idea of what Romni will look like.
Other robots from Synthiam community
Jstarne1's Levi Rover Modular Robot 3D Print

Jstarne1's Security Cam Robot, This Droid Is Watching For...

Hi there actually I've been thinking about this mod for awhile and I'm bidding on a Roomba on Ebay at the moment. I've kinda given up on the 1980's drive train in the Omnibot the rubber wheels have long since perished and its basically far too noisy for my environment. Its been great fun and I've learnt loads on the way. I use the sonar and a servo to scan backwards and forwards mounted in Omni's chest that is a brilliant feature. The camera is mounted in his head and the head can move side to side and both arms have servo's but not the wrists.
The sonar won't pick up everything and sometimes his arms or head will get stuck on things but with the Roomba base that should minimise some of this.
There is a great some great web resources for the Roomba this guy Dean Segovis
shows how to use the motors and the H bridges that the roomba has on board. I doubt mine will be a vacuum bot but you never know.
Keep us posted and a very tidy workshop you have!
2nd comment :D
@JER361 i design roomba robots,they are great platforms,i also repair them also looking for idea's to make it better,one idea i remove all vacuum motors and parts from the robot second is gives 3 controlled outputs that can be controlled by EZB 15 to 17 at 1.5 amp and 2 at 500ma,second by removing all that and adding a deck it has room for a second battery and boards plus i designed a second automatic battery switching circuit i also design and updated the pcb to use higher torque motors and change the motors on the drive system,on the top i added a 12 inch circle for about $8 already cut this project i see as a TURTLEBOT DESIGN that sells for over $500 ,i sell alot less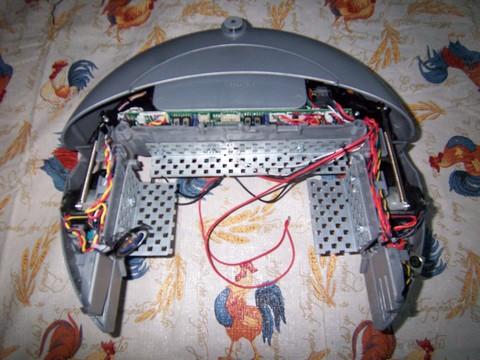
also you dont need to relocate the controls on the roomba the EZB can access them good idea some use is low cost LCD panel or voltage or temperature montior or both in place of the cassette
@winstn60 that link you added ,i save his idea before,but main item needed is the optical encoders the the roomba main board has i have the schematic on the roomba
I am very interested in your outcome also.
:D
@winstn60 Thanks for the link I watched the video's before disassembling the Roomba they where a big help.
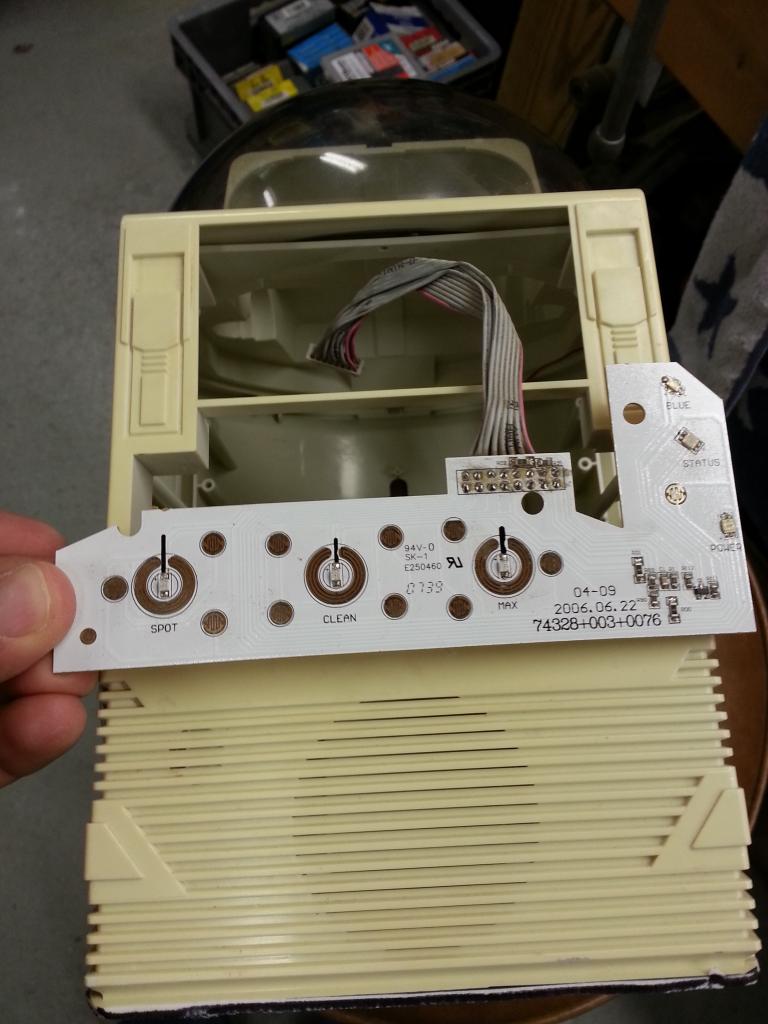
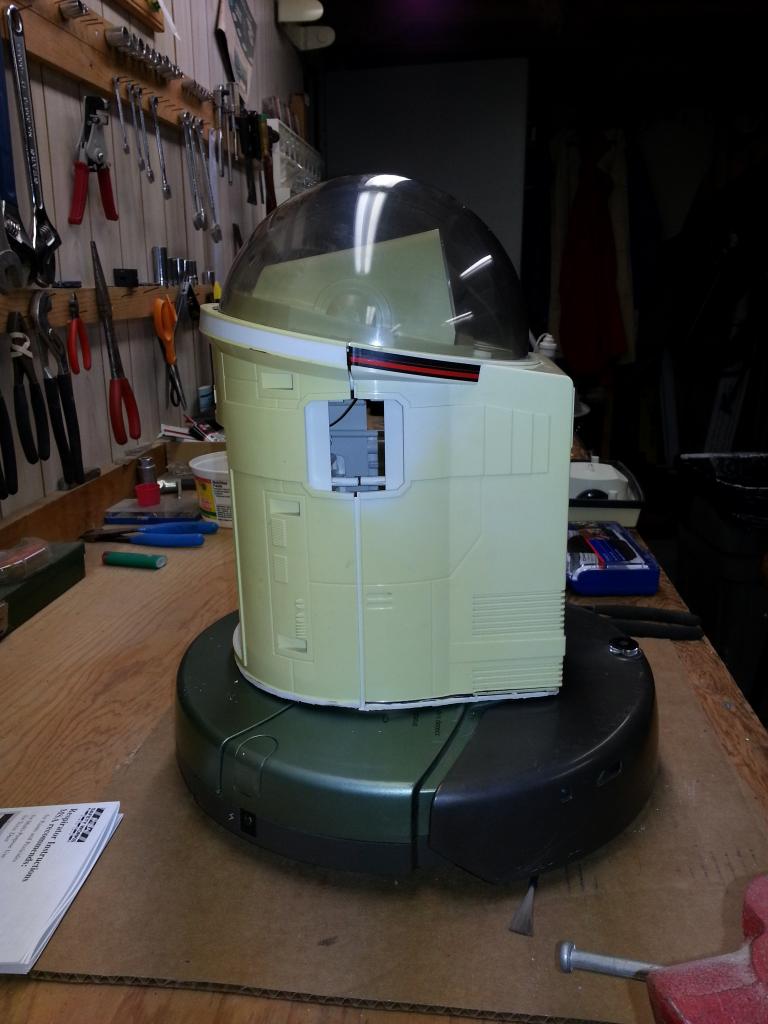
@robotmaker Maybe you could help me with this but I hit my first real snag today I got cover off and removed the control unit with the intention of relocating but realized it is too big to fit anywhere and cannot be cut. The problem is the way I'm mounting the Omni it will be covered and I will have no way to access it. I was thinking since its just four buttons and three led's that I might just be able to buy new individual ones and wire them direct. Or else see if you know of another solution.
@MovieMaker Thanks I'm interested to see the outcome as well might be slow going though as I'm new to this but the forum has been a huge help for ideas and inspiration.
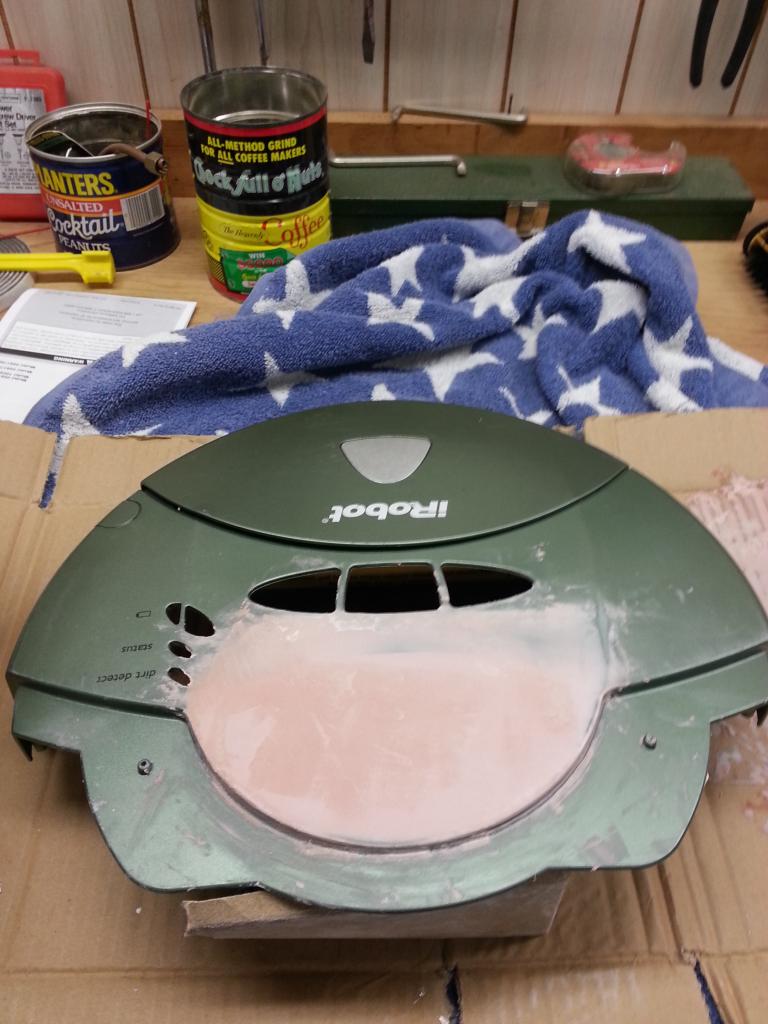
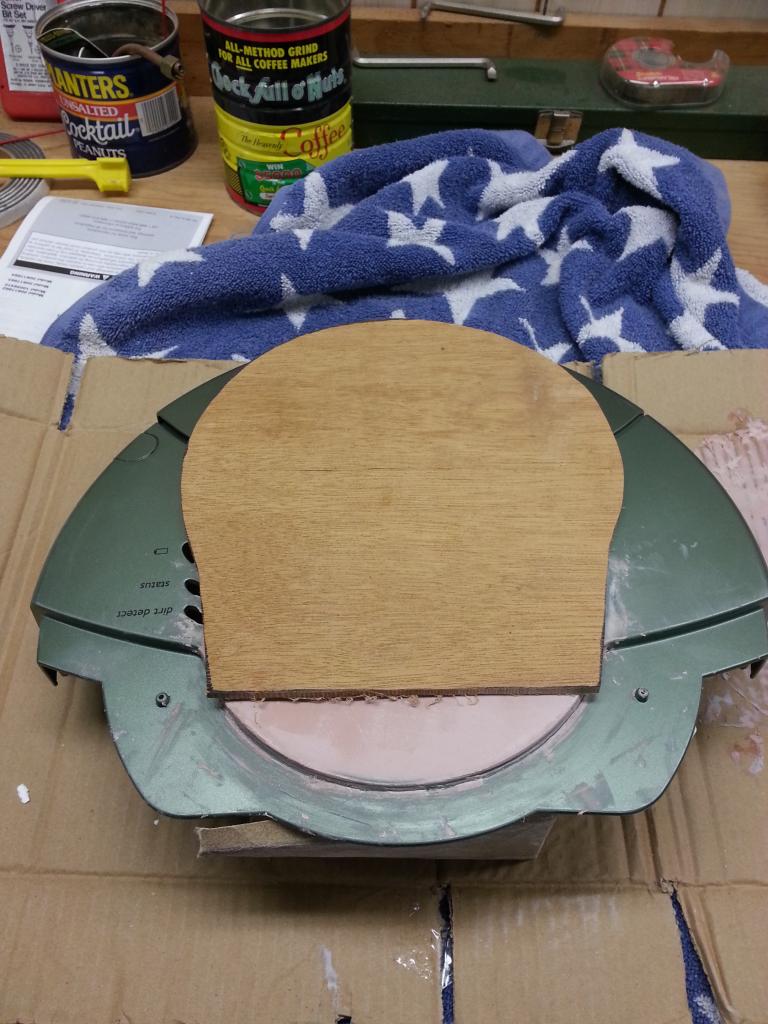
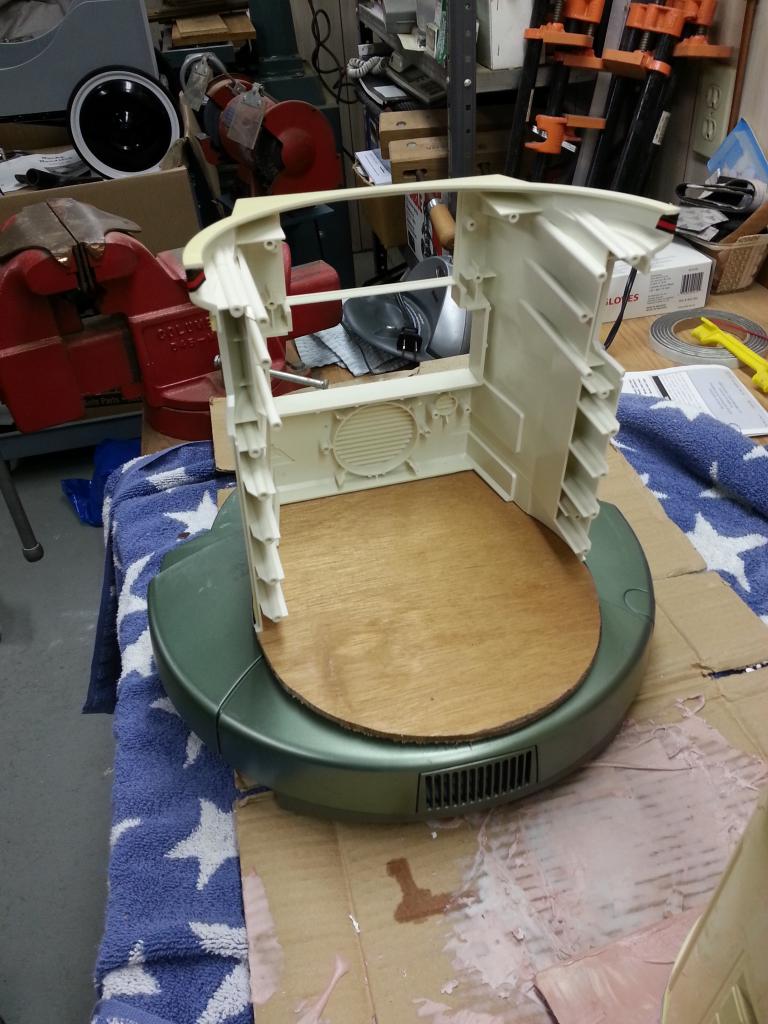
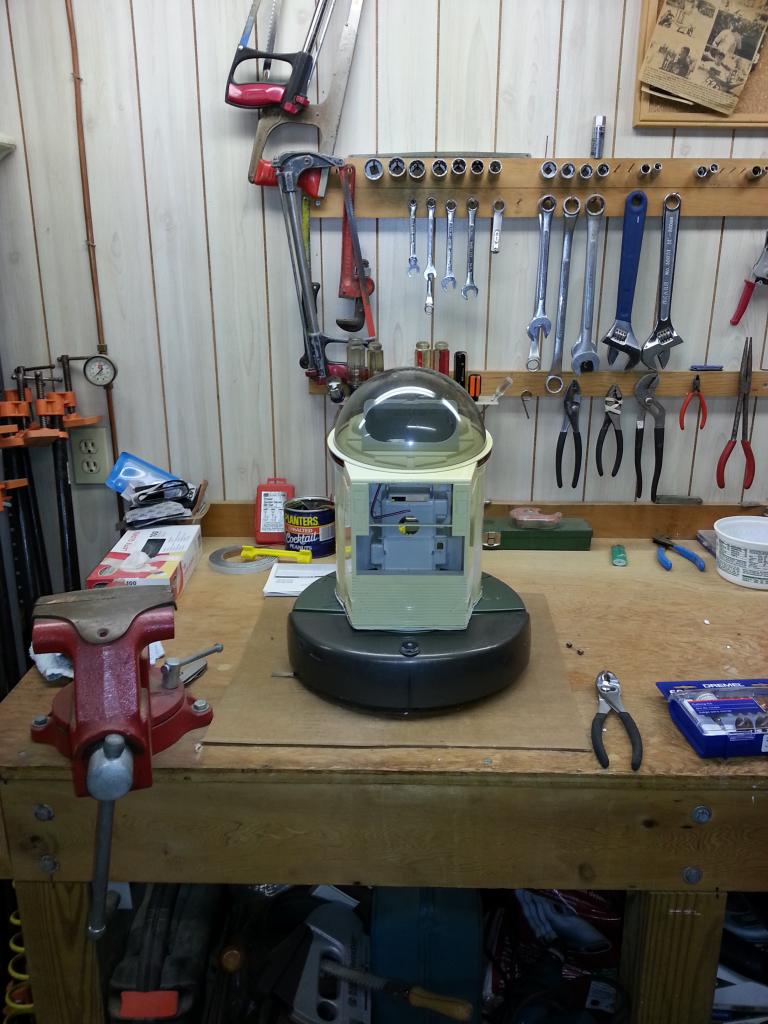
As for Romni I used bondo to fill in the space where the Roomba handle was today and cut a plate to attach the Omni. I'm planning on solid mounting the front half with blocks, screws, epoxy, and bondo to prep it for paint. The back half will slide on and off for access and I'm going to have to notch the rear to get to the dust bin latch. Here are some pictures. The first one is my problem if any one can help.
@Jer361 Looking good
I just won a Roomba on Ebay should arrive in a few days
Are you going to put the arms back on the bot? If not you could mount that control board on end on one side of the omni.
Congrats on the Roomba what model did you get? If I can't make this one work I might have to look for one of the single button models.
@bret.tallent Yes is was hoping do the arms like you did on Bob excellent job with him by the way.
I got a 5545 model which has sucking problems but moves around ok. I only really want the motors and wheels but will wait til I get the Roomba to decide
Why do you need the control panel ARC can do all the Roomba control for you?
How can I turn it on and off without access to the panel? Also I would like to see the charge light so I know it's docked correctly.
Why don't you mount a led somewhere else and run wires to the board and solder them on. You can do the same with buttons too.
I don't have the schematic and have zero experience with electronics but I thought about just wiring up my own led's and buttons. At this point I'm thinking of just buying a Roomba 400 it's the same case with only one button top if I can't come up with another solution.
Why don't you buy a create? It is easier to work with.
@winstn60 so you roomba .....sucked...... ih that pun hurt lol
I see the there is a bundle of wires on that board. If you follow the trace on the board from the buttons back to the pins you can identify them. I would take a photo and on your computer and as you figure out which bottons are wired to each pin.... label them in your photo. Then you can cut and splice one wire at a time to standard momentary switches and leds. Once your done splicing the wires to the new switches and leds you can trash the original board and just plug your new wiring harness into your roomba board... -Josh
good idea, Josh!
I have confidence in you jer361 , watch a tutorial on soldering and when you solder your wires to switches add in a additional piece of wire maybe 12 inches long so you can drill holes in the back of your robot and insert the switches through. Go to radioshack and buy regular 12v rated momentary press button switches and a pack of assorted leds.
Sounds like a plan to me! :D